JavaでWebアプリを作る必要が出てきたんだけど、どうせならとモダンな環境でやってみたくてHelloWorldしてみたのでメモ書き。基本的に何も入ってないことを前提にする。
参考リンク
- Eclipse - Market Place プラグインのインストール方法 - Qiita
- Gradle入門 - Qiita
- Java - Gradle使い方メモ - Qiita
- GradleとEclipseを使う場合のTipsをいくつか紹介 - wadahiroの日記
- Spring Boot お勉強 その1 ~環境構築など~ - yosshio0426's blog
- Spring BootでつくるCRUD API | Developers.IO
- Spring Bootで高速アプリ開発 | Developers.IO
環境構築
今回のソース一式は Z:\source\spring-boot-hello-world に配置するものとします。
何はともあれJDK。JDKは C:\JDK8 にインストールします。
IDEはとりあえずPleiadesをダウンロード。不要なプラグインもあったりするので、Platform Standardにしておく。
ZIPを解凍したら C:\Eclipse に配置。
SpringBootやるならMavenでいいんだけど、なんとなく面倒なイメージしかないのでGradleをダウンロードする。ZIPを解凍したら C:\Gradle に配置。
Gradleはコマンドラインから起動するので、環境変数をセットしておきます。
GRADLE_HOME -> C:\Gradle
PATH -> %PATH%;%GRADLE_HOME%\bin;
Javaが見つからない場合は追加で設定します。
JAVA_HOME -> C:\JDK8
Eclipseプラグインのインストール
プラグインのインストールを簡単にするため、まずはEclipse Market Placeプラグインをインストールしておきます。
あとはそれぞれのプラグインページから Install を Eclipse にドラッグしてインストールしましょう。
プロジェクトの作成
Spring Tool SuiteはEclipseベースなので、Eclipseプロジェクトファイルを Gradle から生成します。まずは build.gradle を下記の内容で作りましょう。
buildscript {
  repositories {
    mavenCentral()
  }
  dependencies {
    classpath("org.springframework.boot:spring-boot-gradle-plugin:1.1.9.RELEASE")
  }
}

apply plugin: "java"
apply plugin: "spring-boot"
apply plugin: "eclipse"

eclipse {
  classpath {
    containers "org.springsource.ide.eclipse.gradle.classpathcontainer"
  }
}

jar {
  baseName = "spring-boot-hello-world"
  version =  "0.0.1-SNAPSHOT"
}

repositories {
  mavenCentral()
}

dependencies {
  compile("org.springframework.boot:spring-boot-starter-web")
  testCompile("org.springframework.boot:spring-boot-starter-test")
}
次にソース格納用フォルダを作成しておいて、GradleでEclipseプロジェクトファイルを作成します。
cd /d z:\source\spring-boot-hello-world
mkdir src\main\java
mkdir src\test\java
gradle eclipse
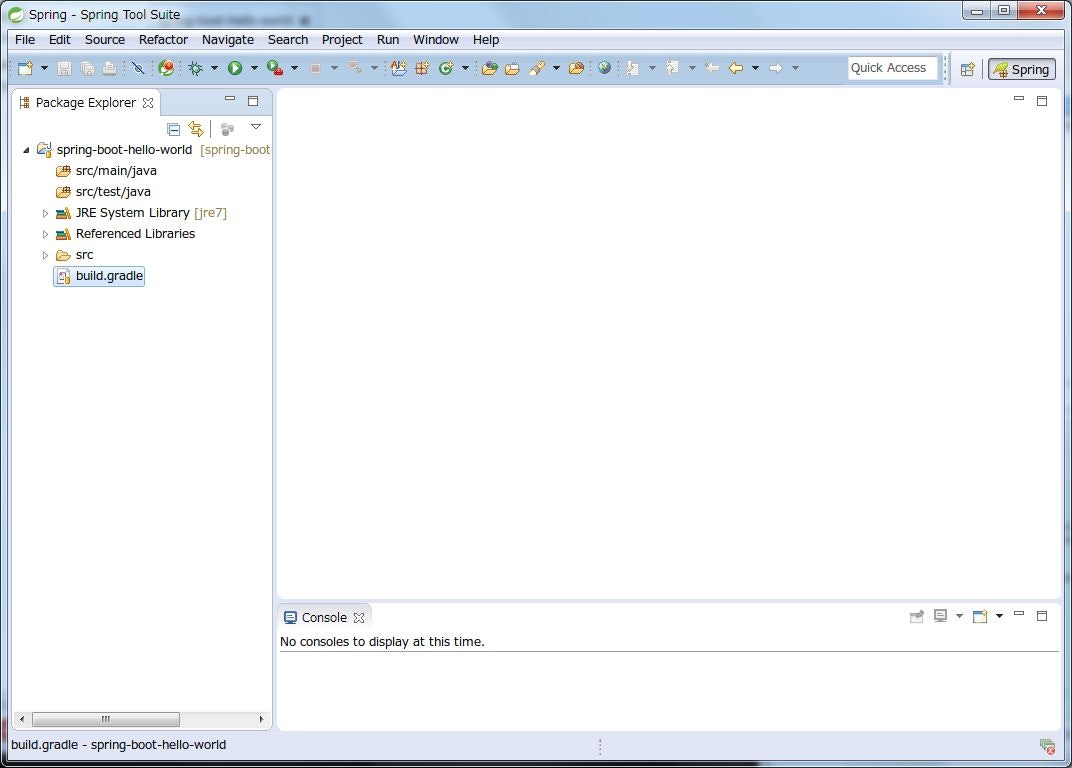
プロジェクトのインポート
メニューから ファイル -> インポート を選択し、 一般 -> 既存プロジェクトをワークスペースへ を選択。 Z:\source\spring-boot-hello-world を選択します。
起動ポイント作成
起動ポイントとなるクラス
z:\source\spring-boot-hello-world\src\main\java\test\Application.java
を作成します。
package test;

import org.springframework.boot.SpringApplication;
import org.springframework.boot.autoconfigure.EnableAutoConfiguration;
import org.springframework.context.annotation.ComponentScan;
import org.springframework.context.annotation.Configuration;

@Configuration
@EnableAutoConfiguration
@ComponentScan
public class Application {
  public static void main(String[] args) throws Exception {
    SpringApplication.run(Application.class, args);
  }
}
作成したら一度ビルドして、起動しましょう。
gradle build
java -jar build\libs\spring-boot-hello-world-0.0.1-SNAPSHOT.jar
ブラウザで http://localhost:8080 にアクセスすると、次のように表示されるはず。
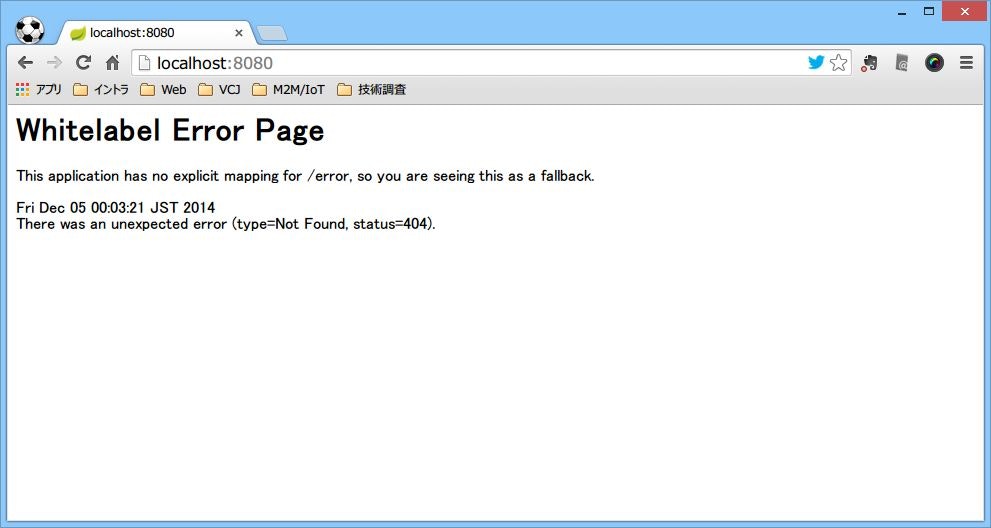
Hello World
Hello Worldを表示するため、コントローラクラス z:\source\spring-boot-hello-world\src\main\java\test\HelloController.java を追加します。
package test;

import org.springframework.stereotype.Controller;
import org.springframework.boot.autoconfigure.EnableAutoConfiguration;
import org.springframework.web.bind.annotation.RequestMapping;
import org.springframework.web.bind.annotation.ResponseBody;

@Controller
@EnableAutoConfiguration
public class HelloController
{
    @RequestMapping("/")
    @ResponseBody
    public String home() {
        return "Hello, Spring Boot Sample Application!";
    }
}
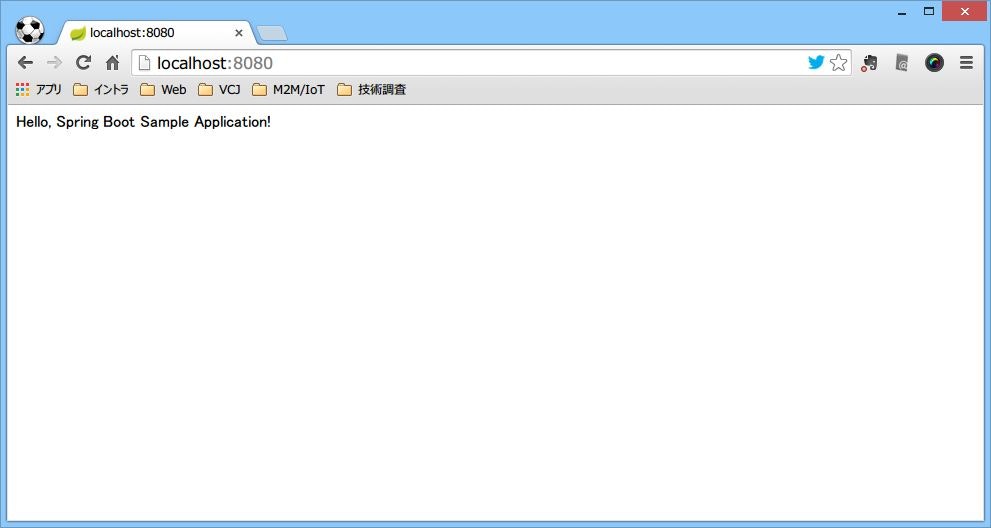
ビルドして実行後、ブラウザで以下のように表示されれば成功です!