はじめに
第一回はこちら
第二回はLaravelのView、blade周りについて解説します。
今回のソースはこちらで確認できます。GitHub
Route
<?php

/*
|--------------------------------------------------------------------------
| Web Routes
|--------------------------------------------------------------------------
|
| Here is where you can register web routes for your application. These
| routes are loaded by the RouteServiceProvider within a group which
| contains the "web" middleware group. Now create something great!
|
*/

Route::get('/', function () {
    return view('welcome');
});
Webのルーティングファイルです。他にもAPI用のapi.phpなどがありますが、web.phpにはhtmlを返すものを書きます(違ったらコメントください)。
初期生成コードは「/にGETでアクセスしたときにwelcomeという名前のビューファイルを返す」ようになっています。
試しにアクセスして確認してみましょう。(php artisan serveでサーバーを建てておきましょう)
http://localhost:8000/
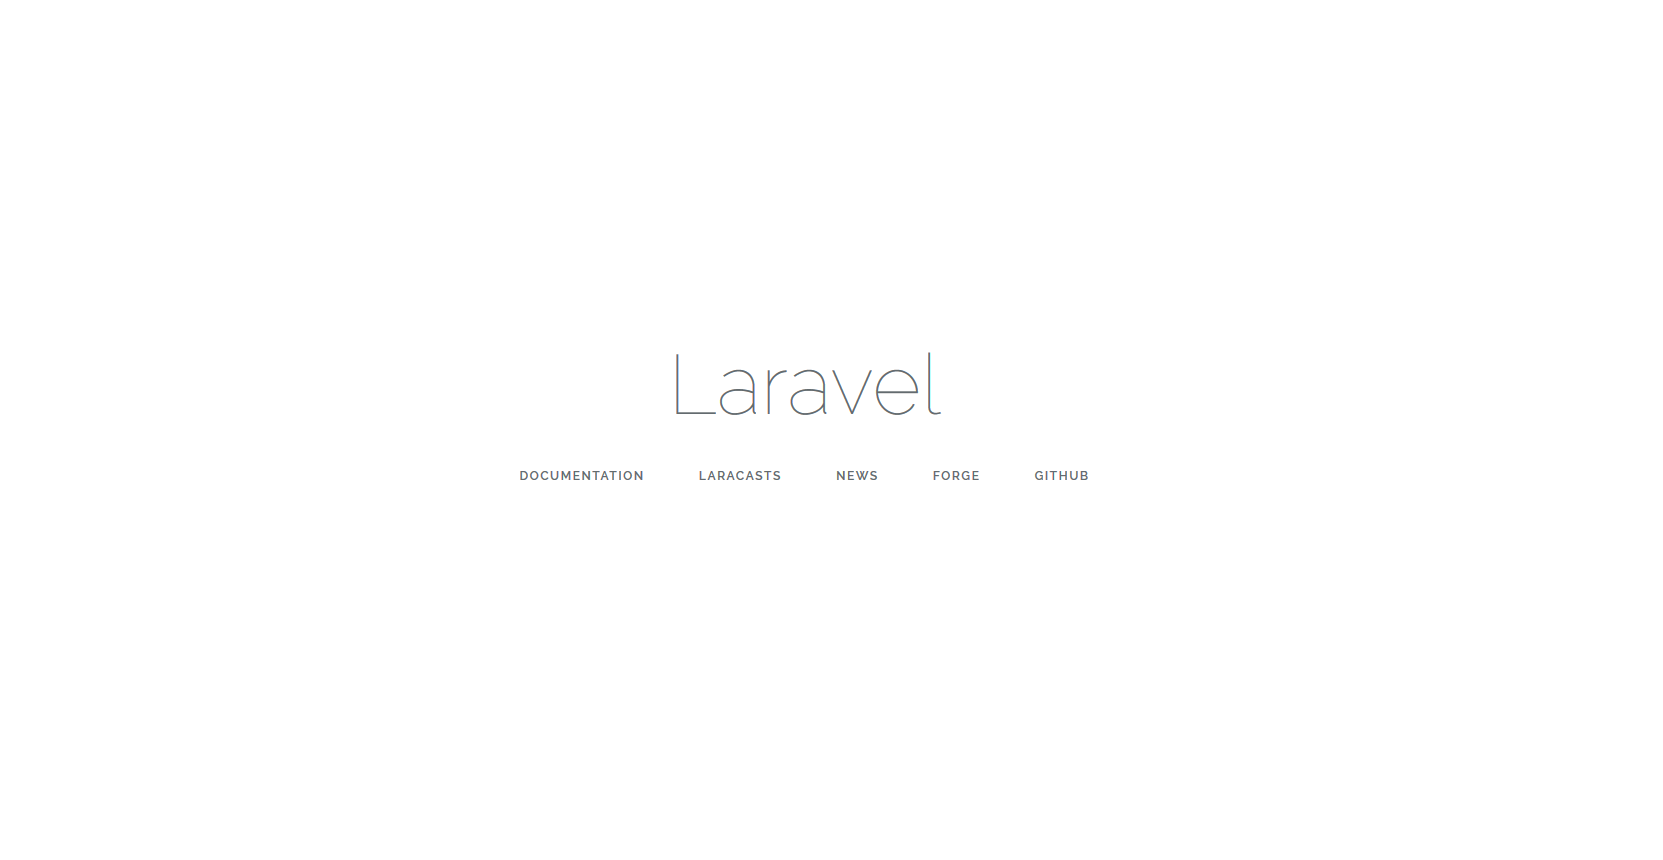
このトップページのhtmlは「welcomeという名前のビューファイルの結果」です。
resources/views/welcome.blade.phpがこのビューファイルになります。
blade
<!doctype html>
<html lang="{{ app()->getLocale() }}">
    <head>
        <meta charset="utf-8">
        <meta http-equiv="X-UA-Compatible" content="IE=edge">
        <meta name="viewport" content="width=device-width, initial-scale=1">

        <title>Laravel</title>

        <!-- Fonts -->
        <link href="https://fonts.googleapis.com/css?family=Raleway:100,600" rel="stylesheet" type="text/css">

        <!-- Styles -->
        <style>
            html, body {
                background-color: #fff;
                color: #636b6f;
                font-family: 'Raleway', sans-serif;
                font-weight: 100;
                height: 100vh;
                margin: 0;
            }

            .full-height {
                height: 100vh;
            }

            .flex-center {
                align-items: center;
                display: flex;
                justify-content: center;
            }

            .position-ref {
                position: relative;
            }

            .top-right {
                position: absolute;
                right: 10px;
                top: 18px;
            }

            .content {
                text-align: center;
            }

            .title {
                font-size: 84px;
            }

            .links > a {
                color: #636b6f;
                padding: 0 25px;
                font-size: 12px;
                font-weight: 600;
                letter-spacing: .1rem;
                text-decoration: none;
                text-transform: uppercase;
            }

            .m-b-md {
                margin-bottom: 30px;
            }
        </style>
    </head>
    <body>
        <div class="flex-center position-ref full-height">
            @if (Route::has('login'))
                <div class="top-right links">
                    @auth
                        <a href="{{ url('/home') }}">Home</a>
                    @else
                        <a href="{{ route('login') }}">Login</a>
                        <a href="{{ route('register') }}">Register</a>
                    @endauth
                </div>
            @endif

            <div class="content">
                <div class="title m-b-md">
                    Laravel
                </div>

                <div class="links">
                    <a href="https://laravel.com/docs">Documentation</a>
                    <a href="https://laracasts.com">Laracasts</a>
                    <a href="https://laravel-news.com">News</a>
                    <a href="https://forge.laravel.com">Forge</a>
                    <a href="https://github.com/laravel/laravel">GitHub</a>
                </div>
            </div>
        </div>
    </body>
</html>
ビューファイルはこのようになっています。ぱっと見htmlのようですが、bladeファイルなのでいくつか違う点があります。
bladeで使用できる記法
{{ hoge }}
二重鍵括弧で囲んだ部分はphpのコードが動きます。帰ってきた結果をエスケープして出力します。
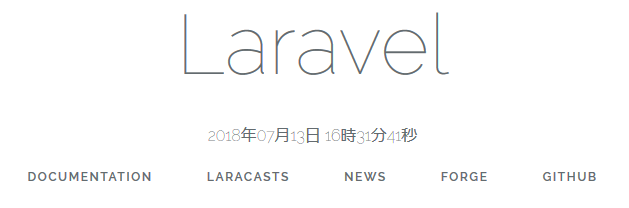
試しに適当な箇所(84行目)に以下を記載してみると、今の日時が表示できます。
コード
                <div class="title m-b-md">
                    Laravel
                </div>
-
+               <p>{{ \Carbon\Carbon::now()->format('Y年m月d日 H時i分s秒') }}</p>
                <div class="links">
                    <a href="https://laravel.com/docs">Documentation</a>
                    <a href="https://laracasts.com">Laracasts</a>
                    <a href="https://laravel-news.com">News</a>
                    <a href="https://forge.laravel.com">Forge</a>
                    <a href="https://github.com/laravel/laravel">GitHub</a>
                </div>
結果
Tips
- CarbonはLaravel付属のDateTimeのラッパーライプラリです
- 使わない選択肢はないので積極的に使っていきましょう
- ※タイムゾーンが日本になっていないと思うので、日本にする場合は変えておきましょう
-
{{ hoge }}はhtmlをエスケープするので、htmlをそのまま表示する場合は{!! hoge !!}で実現できます- スクリプトインジェクションの脆弱性となり得るので注意しましょう
@hoge
bladeファイルでは@から始まるいくつかの予約された記法が利用できます。
良く使うのをいくつか挙げると、
@if
@if (条件式)
  <p>真</p>
@else
  <p>偽</p>
@endif
@foreach
@foreach (配列等 as $item)
  <p>{{ $item }}</p>
@endforeach
@auth
@auth
  <p>認証済み</p>
@else
  <p>未認証</p>
@endauth
他のものはドキュメント等をご確認ください。
Blade Templates - Laravel - The PHP Framework For Web Artisans
Bladeテンプレート 5.5 Laravel
実際どうなっているの?
bladeファイルは、単純なphpファイルに変換されます。
storage/framework/views/ にあるphpファイルを見てみると、
{{ hoge }}は<?php echo e(hoge); ?>に
@if (条件式)は<?php if(条件式): ?>に変換されています。
変数を使用する
bladeファイル上でphpコードを実行できますが、複雑なロジックや、変数の定義などをViewに書くことは好ましくありません。変数を使用する際はbladeを読み込む前に定義し、変数を渡すようにしましょう。
Route::get('/', function () {
-   return view('welcome');
+   $now = \Carbon\Carbon::now();
+
+   return view('welcome')
+       ->with('now', $now); // $nowを'now'という名前でbladeに渡す
});
withを利用することでblade側で変数を使用できます。
                <div class="title m-b-md">
                    Laravel
                </div>
-               <p>{{ \Carbon\Carbon::now()->format('Y年m月d日 H時i分s秒') }}</p>
+               <p>{{ $now->format('Y年m月d日 H時i分s秒') }}</p>
                <div class="links">
                    <a href="https://laravel.com/docs">Documentation</a>
                    <a href="https://laracasts.com">Laracasts</a>
                    <a href="https://laravel-news.com">News</a>
                    <a href="https://forge.laravel.com">Forge</a>
                    <a href="https://github.com/laravel/laravel">GitHub</a>
                </div>
レイアウトを共通化する
このままだと別のページを追加する際に welcome.blade.php の大部分をコピペしないといけないようになるので、共通化しましょう。
※ここからインデントはスペース2つに変えています
resources/views/layouts/frame.blade.phpを新規作成し、resources/views/welcome.blade.phpの内容も変更します。
<!DOCTYPE html>
<html lang="{{ app()->getLocale() }}">
<head>
  <meta charset="utf-8">
  <meta http-equiv="X-UA-Compatible" content="IE=edge">
  <meta name="viewport" content="width=device-width, initial-scale=1">

  <title>@yield('title', 'Laravel')</title>

  <!-- Fonts -->
  <link href="https://fonts.googleapis.com/css?family=Raleway:100,600" rel="stylesheet" type="text/css">

  <!-- Styles -->
  <style>
    html,
    body {
      background-color: #fff;
      color: #636b6f;
      font-family: 'Raleway', sans-serif;
      font-weight: 100;
      height: 100vh;
      margin: 0;
    }

    .full-height {
      height: 100vh;
    }

    .flex-center {
      align-items: center;
      display: flex;
      justify-content: center;
    }

    .position-ref {
      position: relative;
    }

    .top-right {
      position: absolute;
      right: 10px;
      top: 18px;
    }

    .content {
      text-align: center;
    }

    .links>a {
      color: #636b6f;
      padding: 0 25px;
      font-size: 12px;
      font-weight: 600;
      letter-spacing: .1rem;
      text-decoration: none;
      text-transform: uppercase;
    }
  </style>
  @yield('style')
</head>
<body>
  <div class="flex-center position-ref full-height">
    @if (Route::has('login'))
      <div class="top-right links">
        @auth
          <a href="{{ url('/home') }}">Home</a>
        @else
          <a href="{{ route('login') }}">Login</a>
          <a href="{{ route('register') }}">Register</a>
        @endauth
      </div>
    @endif

    <div class="content">
      @yield('content')
    </div>
  </div>
</body>
</html>
@extends('layouts.frame')

@section('title', 'Laravel')

@section('style')
  <style>
    .title {
      font-size: 84px;
    }

    .m-b-md {
      margin-bottom: 30px;
    }
  </style>
@endsection

@section('content')
  <div>
    <div class="title m-b-md">
      Laravel
    </div>
    <p>{{ $now->format('Y年m月d日 H時i分s秒') }}</p>
    <div class="links">
      <a href="https://laravel.com/docs">Documentation</a>
      <a href="https://laracasts.com">Laracasts</a>
      <a href="https://laravel-news.com">News</a>
      <a href="https://forge.laravel.com">Forge</a>
      <a href="https://github.com/laravel/laravel">GitHub</a>
    </div>
  </div>
@endsection
@extends
指定したbladeを継承します。今回はresources/views/layouts/frame.blade.phpを継承しています。
@extends('layouts.frame')
@yield
継承された子から値を挿入することができるフィールドを用意します。
第一引数でフィールド名を、第二引数を指定すればデフォルト値を設定できます。
<title>@yield('title', 'Laravel')</title>
@section
親bladeにある@yieldに要素を挿入します。
第二引数に値を指定するか、指定せずに@endsectionで囲むことで挿入できます。
@section('title', 'Laravel')

@section('content')
  <div>
    <p>要素</p>
  </div>
@endsection
ページを追加する際
次回からページを追加する際は、
@extends('layouts.frame')

@section('content')
  <div>
    <!-- ページ内容 -->
  </div>
@endsection
といった様にするだけで共通のフレームを使ってhtmlを返すことが出来ます。
スタイルの別ファイル化
bladeにstyleを直接書くのは面倒なので、scssで管理するようにしましょう。
個人的にbladeファイルとscssファイルは対応させると管理しやすいので、ディレクトリ構成等も同様にします。
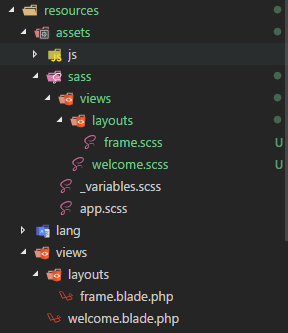
resources/views/layouts/frame.blade.php
  <!-- Styles -->
- <style>
-   省略
- </style>
+ <link href="/css/app.css" rel="stylesheet" type="text/css">
resources/views/welcome.blade.php
- @section('style')
-   <style>
-     省略
-   </style>
- @endsection
-
  @section('content')
-   <div>
+   <div class="v-welcome">
      <div class="title m-b-md">
resources/assets/sass/views/layouts/frame.scss
// frame.blade.phpのstyleを持ってくる
html,
body {
  background-color: #fff;
  color: #636b6f;
  font-family: 'Raleway', sans-serif;
  font-weight: 100;
  height: 100vh;
  margin: 0;
}
// 省略
resources/assets/sass/views/welcome.scss
// トップに指定したクラスで囲むことによってページごとのスタイルとする
.v-welcome {
  // welcome.blade.phpのstyleを持ってくる
  .title {
    font-size: 84px;
  }
  .m-b-md {
    margin-bottom: 30px;
  }
}
resources/assets/sass/app.scss
  // Fonts
  @import url("https://fonts.googleapis.com/css?family=Raleway:300,400,600");

  // Variables
  @import "variables";

  // Bootstrap
  @import "~bootstrap-sass/assets/stylesheets/bootstrap";

+ // views
+ @import "views/layouts/frame";
+ @import "views/welcome";
+
アセットのコンパイル
アセットのコンパイルにはnpmが必要なので、ない場合はNode.jsをインストールしておきましょう。
https://nodejs.org/en/download/
インストール後、パッケージのインストールをします。
PS > npm i
アセットのコンパイルをします。
resources/assets/sass/app.scssがpublic/css/app.cssにコンパイルされます。
PS > npm run prodction
http://localhost:8000/ にアクセスして、今まで通りスタイルが適用されていれば完了です。
次回
次回はControllerについて解説します。
参考サイト
Blade Templates - Laravel - The PHP Framework For Web Artisans
Bladeテンプレート 5.5 Laravel