Cache'側の準備
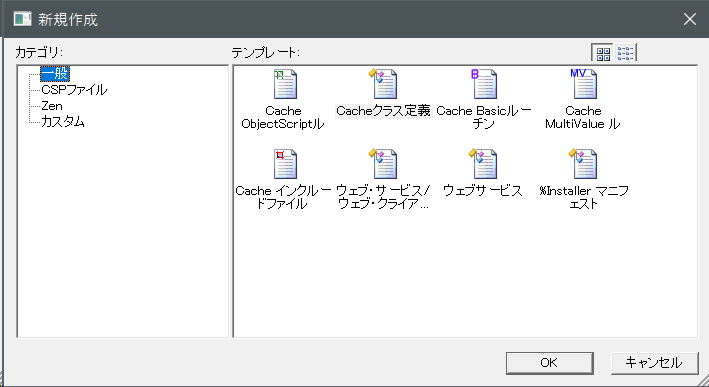
Studioで新規作成→Cacheクラス定義
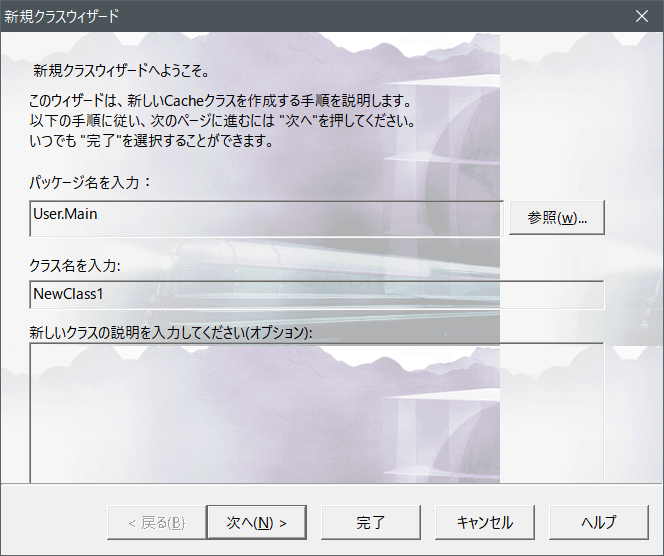
User.Main.NewClass1という名前のClassを生成
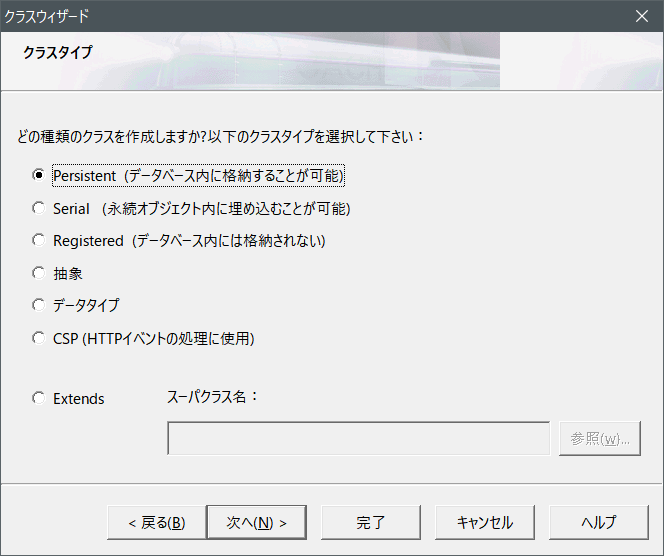
データベースとして使いたい場合、Persistentを選択
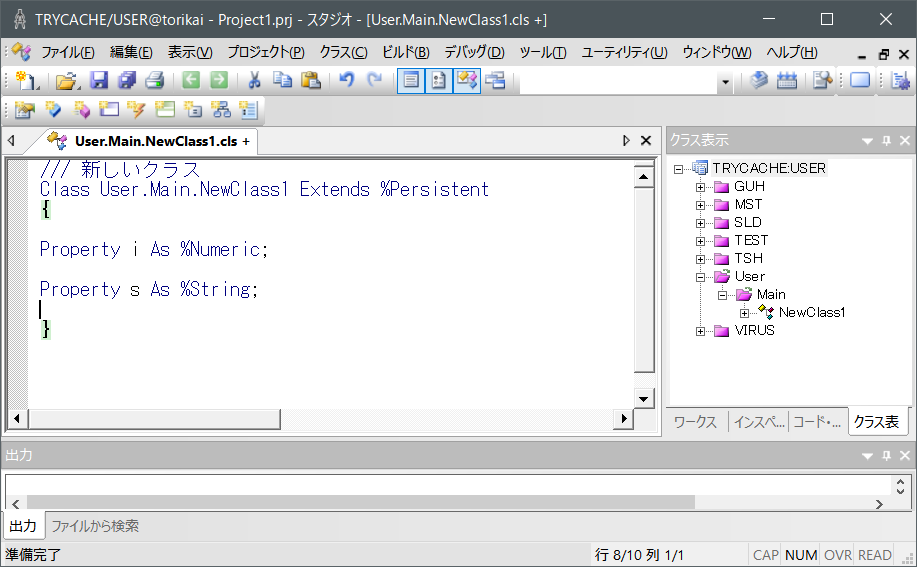
コードは、Propertyが変数(かつフィールド名)(ここはVB風)
%Numericは数字(整数、少数を含む)
%Stringは文字列
最後に;をつける(ここはC風)
Property i as %Numeric;
Property s as %String:
コード例
Class User.NewClass1 Extends %Persistent
{
Property i as %Numeric;
Property s as %String:
}
Studioでビルド→コンパイルでCache'側の準備はOK
VBA側から呼び出す
準備
開発→Visual Basicで画面を呼び出す
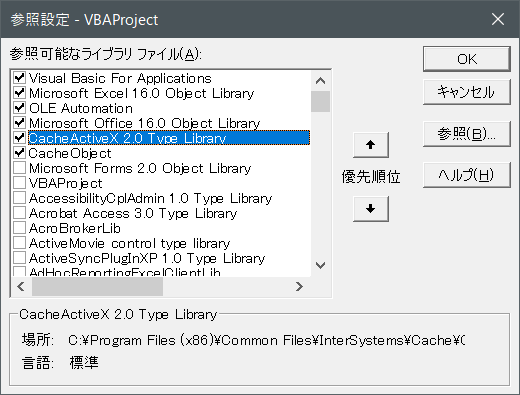
ツール→参照設定から、
CacheActiveX 2.0 Type Library
CacheObject
を選択
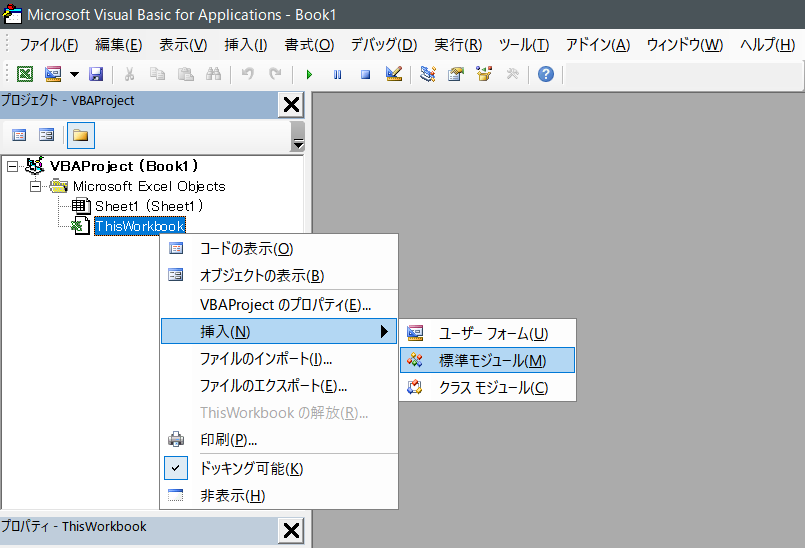
プロジェクトエクスプローラで右クリック→挿入→標準モジュール
(ここではModule1が生成されたとする)
Dim factory As CacheActiveX.factory
Sub TestCacheConnection()
       'Cache'と接続する方法----------------------------------------
       Set factory = CreateObject("CacheActiveX.Factory")
       If Not factory.IsConnected() Then
       Dim connectstring As String

     ' You can explicitly specify the connection string:
     connectstring = "cn_iptcp:127.0.0.1[1972]:USER:userid:password"

     ' Alternately, you can pop up a connection dialog
     ' This method returns the connection string.
     'connectstring = factory.ConnectDlg()

     'DBに接続する
     Dim success As Boolean
     success = factory.Connect(connectstring)

     'インスタンスを生成
     Dim inst As CacheActiveX.ObjInstance
     Set inst = factory.New("User.Main.NewClass1")

     'Propertyに値をセット
     inst.i = 10
     inst.s = "new input from VBA!" & Now()

     'Cache'DBに保存 = .sys_Save
     inst.sys_Save

     '接続を閉じる = sys_Close
     inst.sys_Close
     Set inst = Nothing

End If

End Sub
サブルーチンを実行すると、Cache'DBにデータエントリーができる
データを簡単に参照する方法
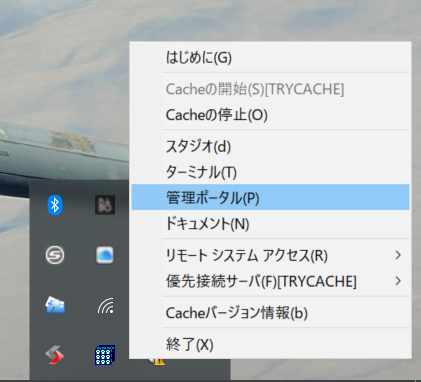
Cache'アイコン→管理ポータルを開き、右上のネームスペースをUSERに変更(大事)
システムエクスプローラ→SQLを開く
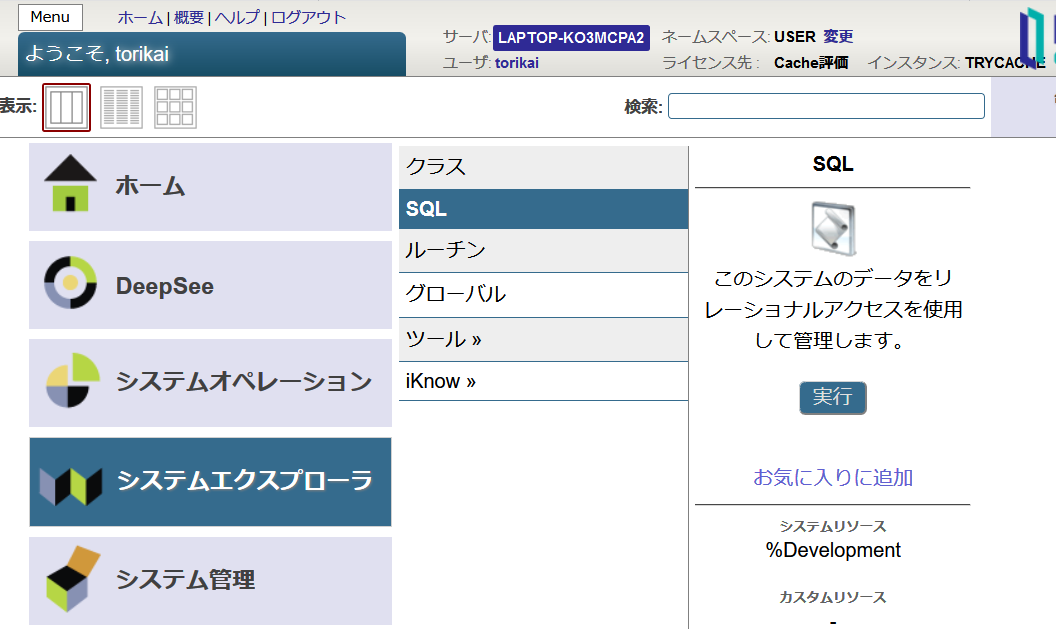
テーブルから、先ほど作成したUser.Main.NewClass1(ここでは、SQLルールにより、User_Main.NewClass1となっている)を選択し、右側のテーブルをクリック

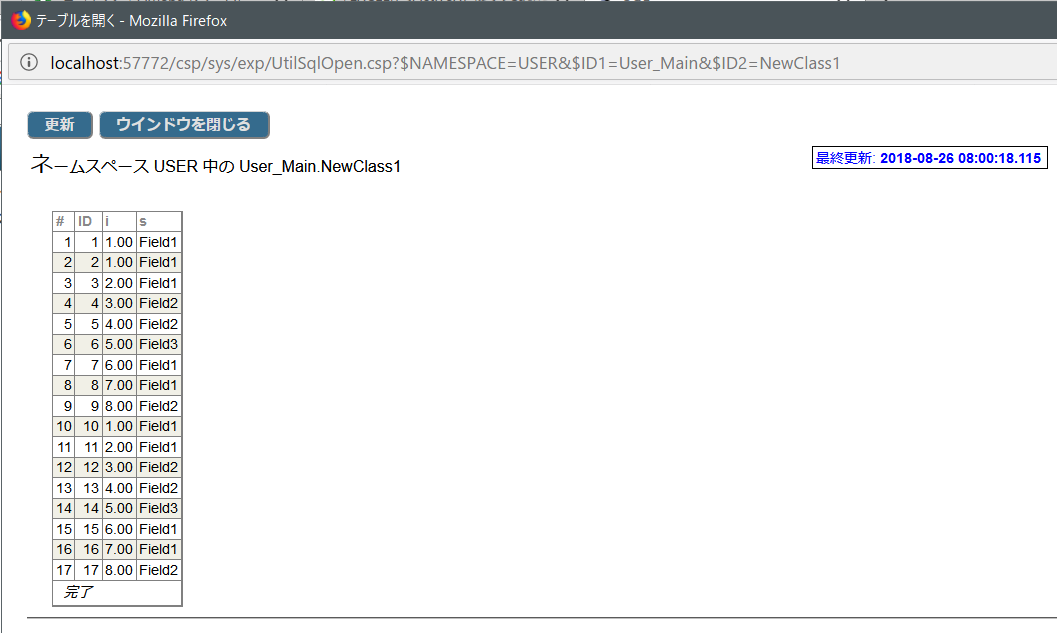
以下のようにテーブルが表示される(画面はいくらかデータを入力してみたところ)
