概要
Angular CLI を使って、Angular の Web アプリにマテリアルデザインをサクッと導入するために、
「Angular Material」という、Angular 用のデザインパッケージを利用して導入するときの備忘録。
前提
2019年1月1日時点の情報です。また、以下の環境になっている前提です。
- Angular CLI: 7.0.6
- Node.js: 10.15.0
- npm: 6.4.1
導入
以下の Angular CLI のコマンドでパッケージをインストール。
とりあえず、アプリのルートディレクトリあたりで実行すればOK.
ng add @angular/material
インストール時にインタラクティブ(対話式)で導入内容を尋ねられるので、各自自由に選択してください。
因みに、筆者は以下のとおりに回答した。
- カラーテーマは?:
Indigo/Pink選択 - HammerJS 入れる?: Yes (入れる)
- ブラウザアニメーション入れる?: Yes (入れる)
これで、angular.json 周りのインポート記述とかも勝手にやってくれる(はず)。
コンポーネント修正
とりあえず、トップページを「如何にもマテリアルデザイン」という感じにしていく。
アプリシェルを修正(省略可)
Universal 対応で AppShell を導入している場合、各ファイルを以下のとおりに修正。
導入していない場合(もしくは、「何それ?そんなん知らないよ」的な人)は、この手順をスキップしてください。
First Contentful Paint 状態の時なので、テキトーにスピナーでも回しておく画面にする。
<div class="app-shell">
  <mat-spinner></mat-spinner>
</div>
.app-shell {
  display: flex;
  justify-content: center;
  align-items: center;
}
import { NgModule } from '@angular/core';
import { ServerModule } from '@angular/platform-server';
import { MatProgressSpinnerModule } from '@angular/material/progress-spinner'; // 追加

import { AppModule } from './app.module';
import { AppComponent } from './app.component';
import { Routes, RouterModule } from '@angular/router';
import { AppShellComponent } from './app-shell/app-shell.component';

const routes: Routes = [ { path: 'shell', component: AppShellComponent }];

@NgModule({
  imports: [
    AppModule,
    ServerModule,
    RouterModule.forRoot(routes),
    MatProgressSpinnerModule // 追加
  ],
  bootstrap: [AppComponent],
  declarations: [AppShellComponent],
})
export class AppServerModule {}
トップコンポーネントを修正
トップのコンポーネントの各ファイルを以下のとおりに修正。
今回はヘッダーだけ作成して、マテリアルデザインっぽさを出す。
ボディのメインコンテンツは <router-outlet> で表現されるので、ここではデザインしない。
<header>
  <mat-toolbar color="primary">
    <span>Demo App</span>
    <span class="spacer"></span>
    <mat-icon>home</mat-icon>
  </mat-toolbar>
</header>
<main>
  <h1>Welcome to {{ title }}!</h1>
  <router-outlet></router-outlet>
</main>
<footer></footer>
.spacer { flex: 1 1 auto }

.icon {
  display: flex;
  padding: 4px;
}
import { BrowserModule } from '@angular/platform-browser';
import { BrowserAnimationsModule } from '@angular/platform-browser/animations'; // Angular Material 導入時に回答次第で自動追加
import { NgModule } from '@angular/core';
import { RouterModule } from '@angular/router';
import { ServiceWorkerModule } from '@angular/service-worker'; // PWA 対応(無くても良い)
import { MatToolbarModule } from '@angular/material/toolbar'; // 追加
import { MatIconModule } from '@angular/material/icon'; // 追加

import { AppRoutingModule } from './app-routing.module';
import { AppComponent } from './app.component';
import { environment } from '../environments/environment'; // PWA 対応(無くても良い)

@NgModule({
  declarations: [
    AppComponent
  ],
  imports: [
    BrowserModule.withServerTransition({ appId: 'serverApp' }),
    BrowserAnimationsModule,
    RouterModule,
    ServiceWorkerModule.register('ngsw-worker.js', { enabled: environment.production }), // PWA 対応(無くても良い)
    MatToolbarModule, // 追加
    MatIconModule, // 追加
    AppRoutingModule,
  ],
  providers: [],
  bootstrap: [AppComponent]
})
export class AppModule { }
ここまでで、マテリアルデザインの簡単な導入は完了。
確認
アプリ起動して、Web ブラウザでアクセスしてみると以下のようになる。
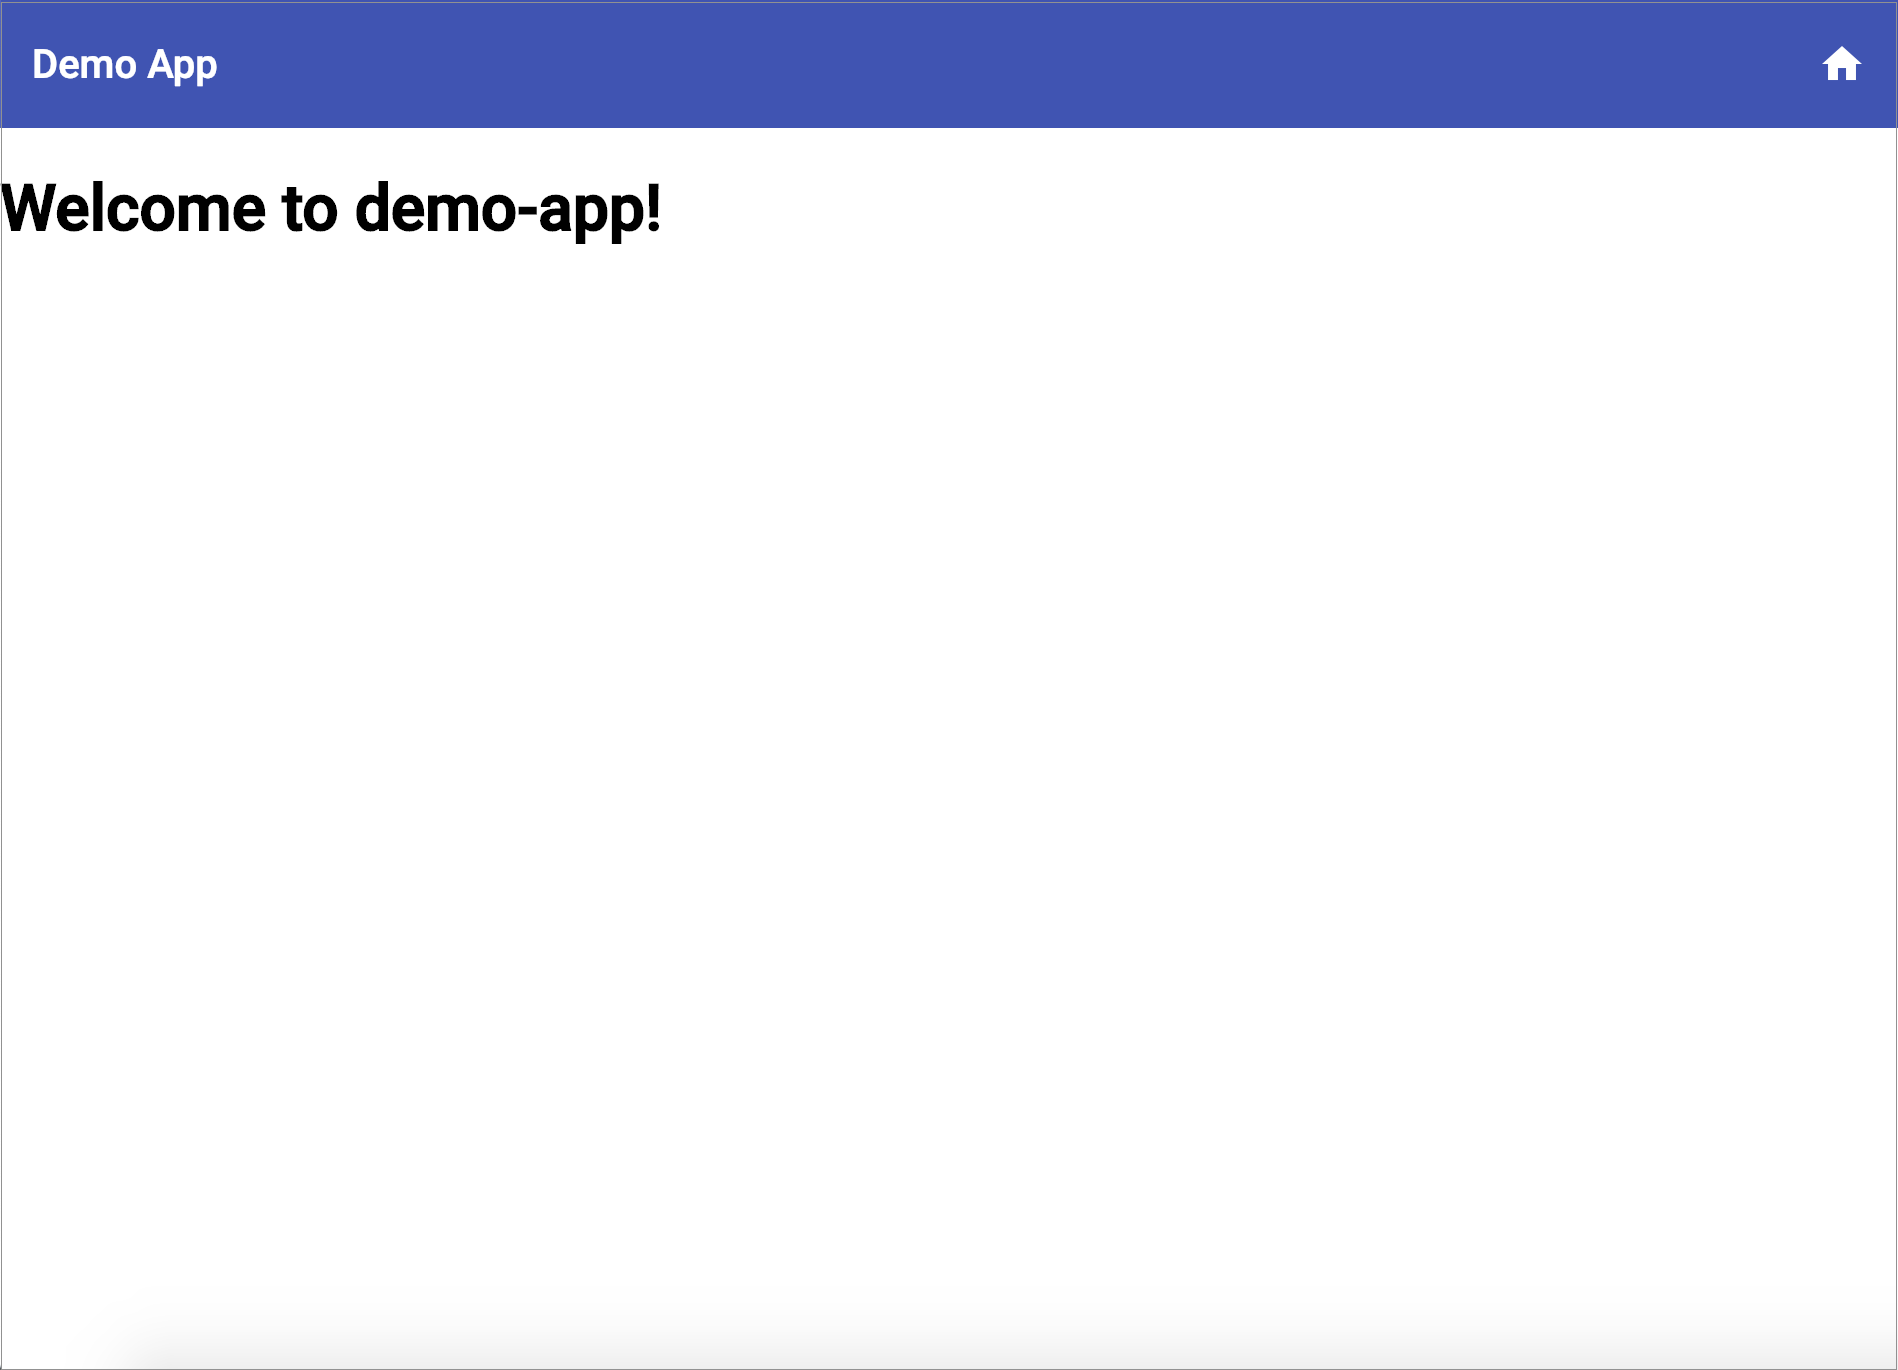
あとは、公式のドキュメント を見ながら、各コンポーネントで必要なモジュールをインポートしながらメインコンテンツを作っていくだけ。
以上で、マテリアルデザインの導入は完了。