概要
Angular7 に Bootstrap 4 (ng-bootstrap ではないよ) を導入する時の備忘録
手順
事前確認
テストとして、以下のようなHTMLを表示した場合を想定。
<h2>Angular に Bootstrap 導入</h2>

<div>
  <input type="text" placeholder="入力してください"/>
</div>
<div>
  <button class="btn btn-primary">ボタン</button>
</div>
導入前に画面を表示してみると、以下のような状態。

うむ。ダサい。
では導入していきましょう。
インストール
依存するライブラリ(jQuery, Popper.js)も同時に入れましょう。
npm i bootstrap jquery popper.js
angular.json に追記する
"styles" と "scripts" に、以下のとおりにライブラリの読み込みを追記する。
複数箇所あるので注意。
angular.json
...
      "styles": [
        "client/styles.scss",
        "node_modules/bootstrap/dist/css/bootstrap.min.css"
      ],
      "scripts": [
        "node_modules/jquery/dist/jquery.slim.min.js",
        "node_modules/popper.js/dist/umd/popper.min.js",
        "node_modules/bootstrap/dist/js/bootstrap.min.js"
      ],
...
上記は、Angular7 の場合の記載。
Angular6 以前の場合は、"../node_modules/bootstrap/dist/css/bootstrap.min.css" のように ../ が先頭に付く。(変更箇所は一緒)
確認
これでアプリを再起動して画面表示してみると・・・。
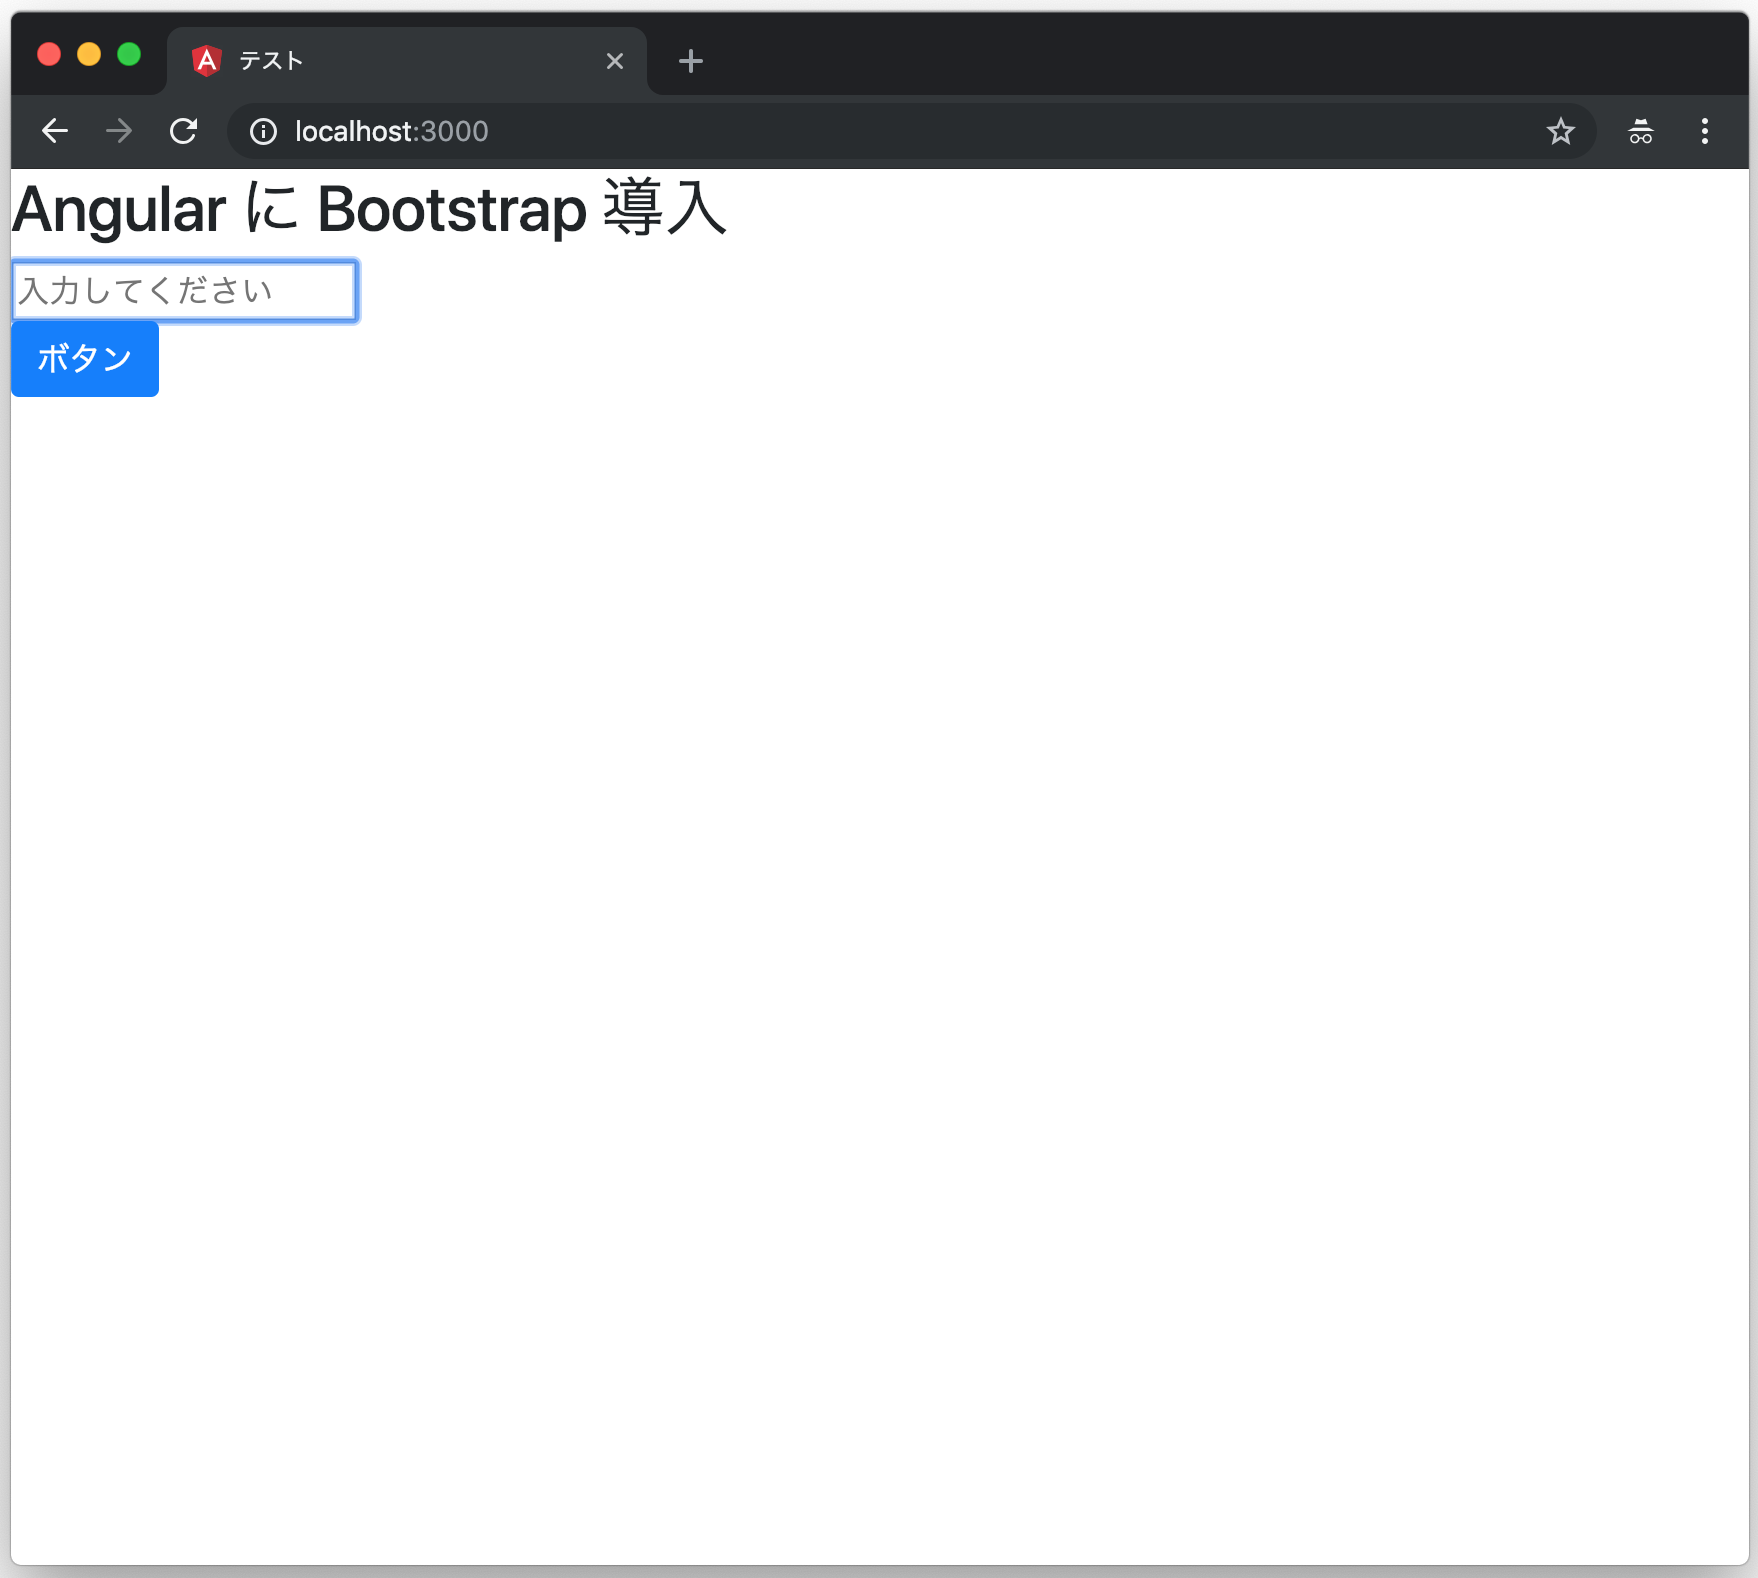
うむ。変わりました。
このままではまだダサいですが、ちょっと配置など変えるだけで簡単にデザイン改善できます。
以上で導入は完了。