はじめに
プロジェクト管理ツールの画面って味気なくてやる気が出ない...
プロジェクト一覧みたいな画面がtwitterっぽくしたらやる気が出るかも
というのがはじまりです
HTTPプロトコルをハックして書き換えるのは大変めんどくさいので,
ブラウザのアドオンでCSSを上書きすることで実現します
CSSを上書きしてくれるアドオンはStylusがオススメです
ここからはCSSのいじり方について書きます
twitterっぽくするコツ
普段, redmineというプロジェクト管理ツールを使わされてます使っています.
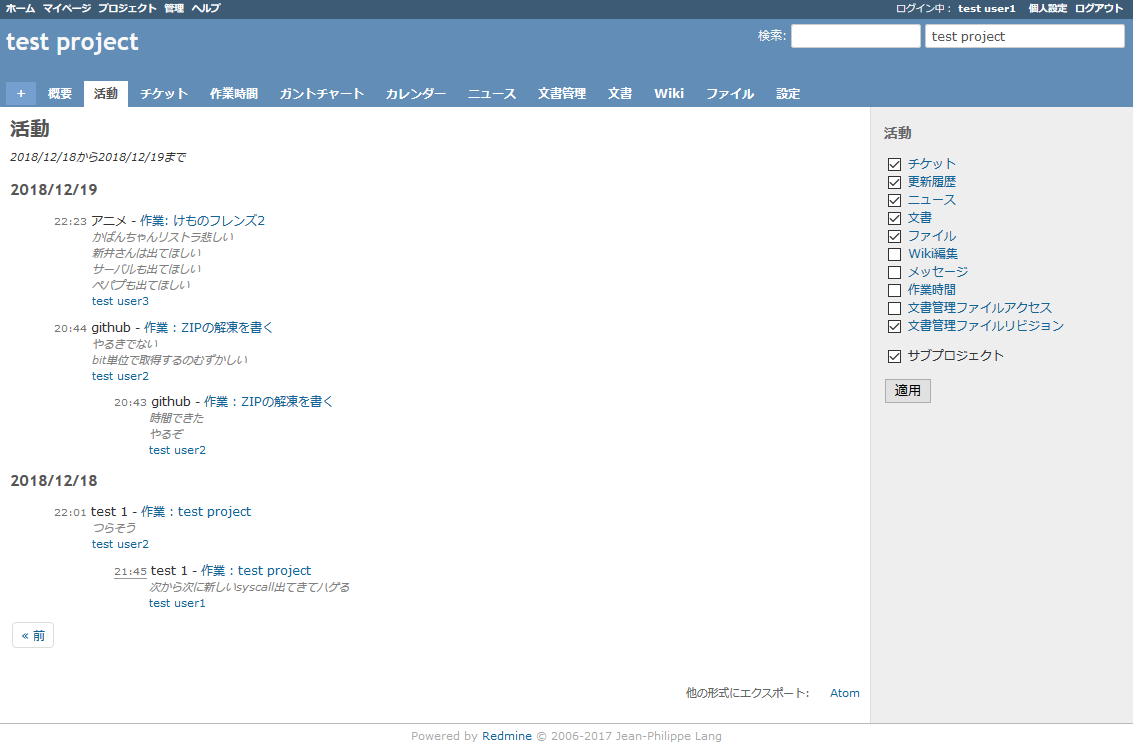
活動っていうチケットの更新一覧を見る機能があるんですが, まあまあ見にくいです
こんな感じです
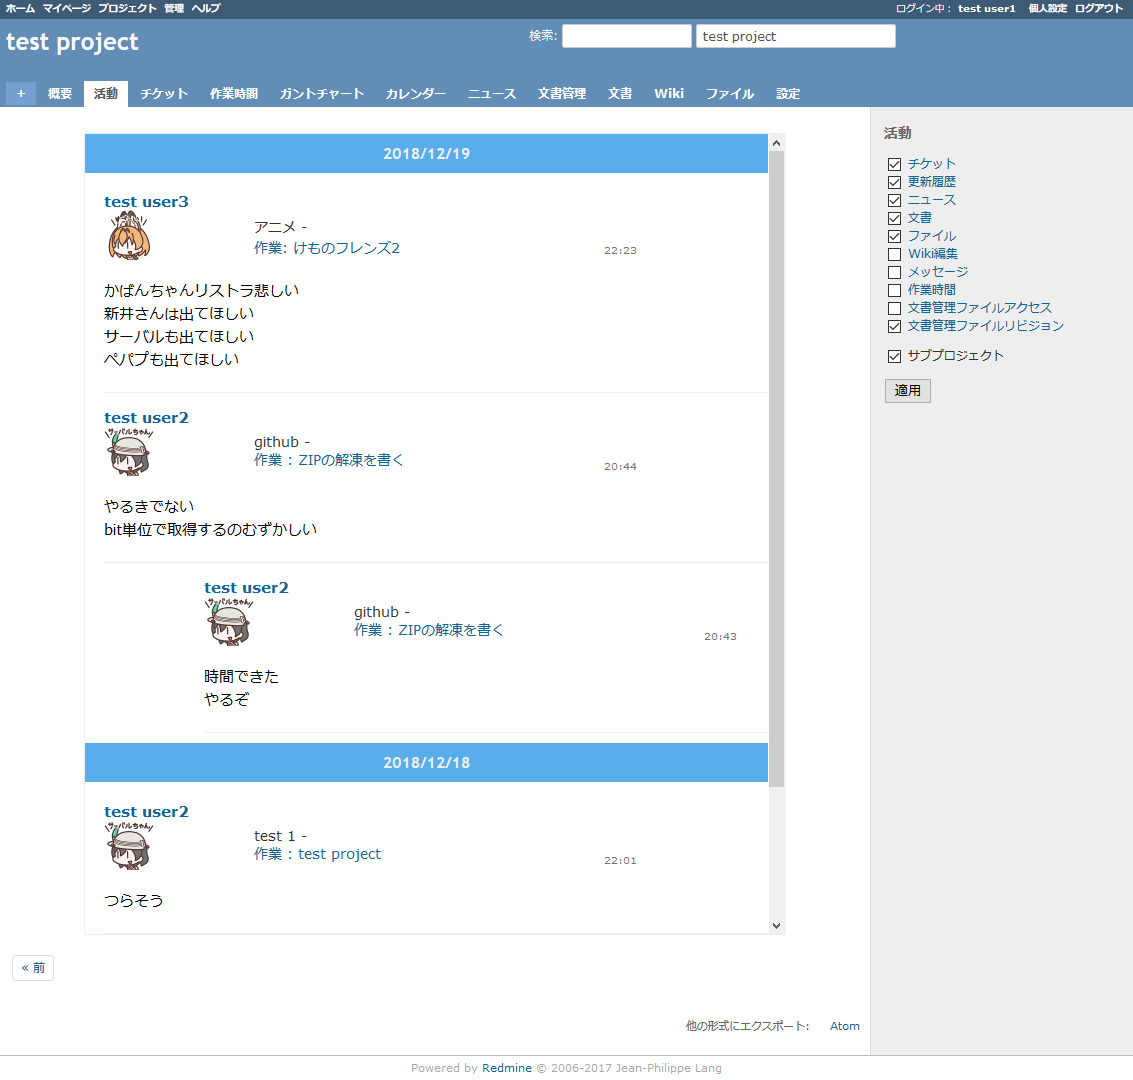
これがこんな感じになります
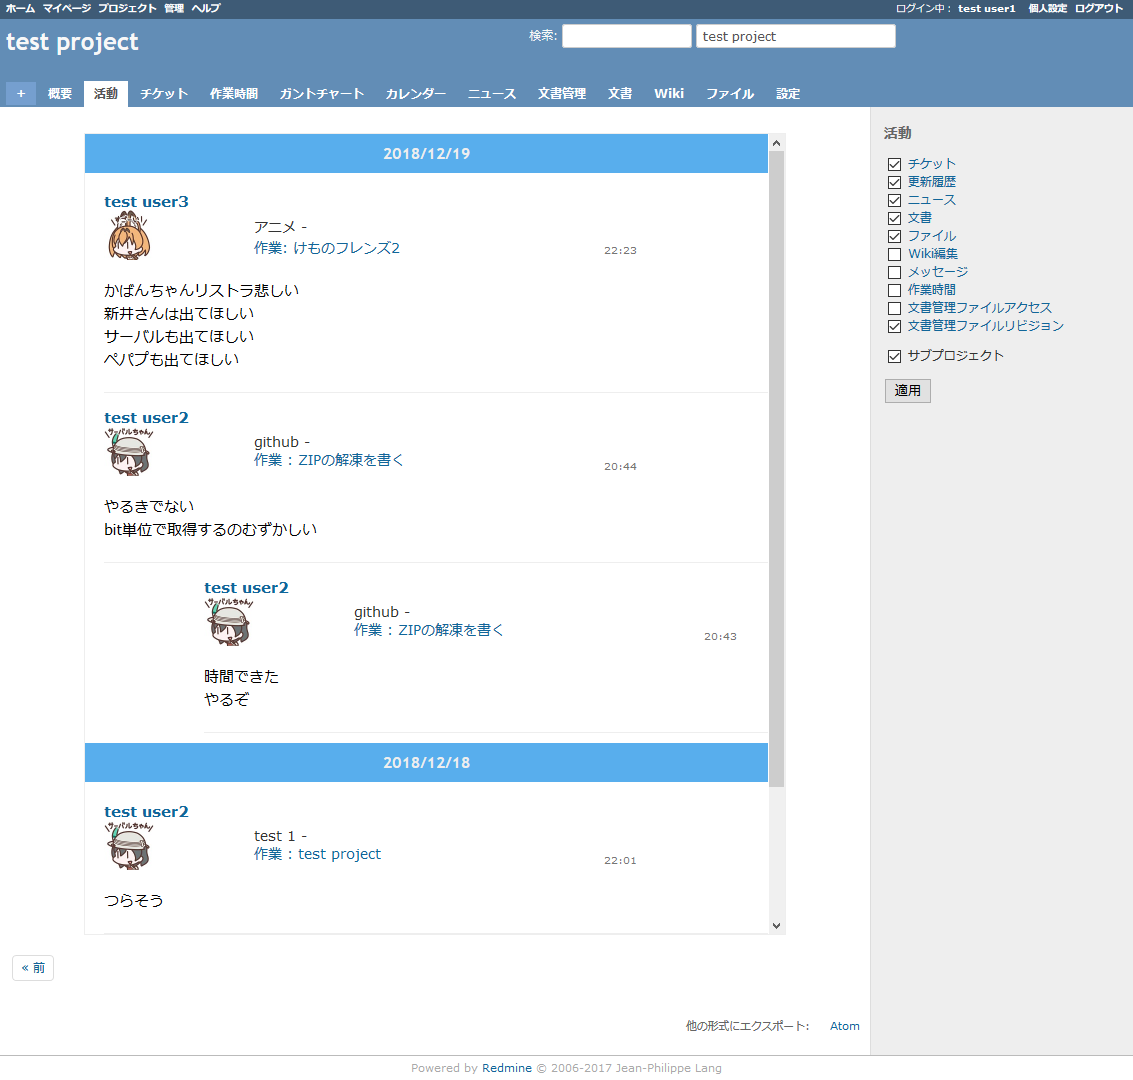
twitterっぽくするコツを, redmineでの例を交えて紹介していきます
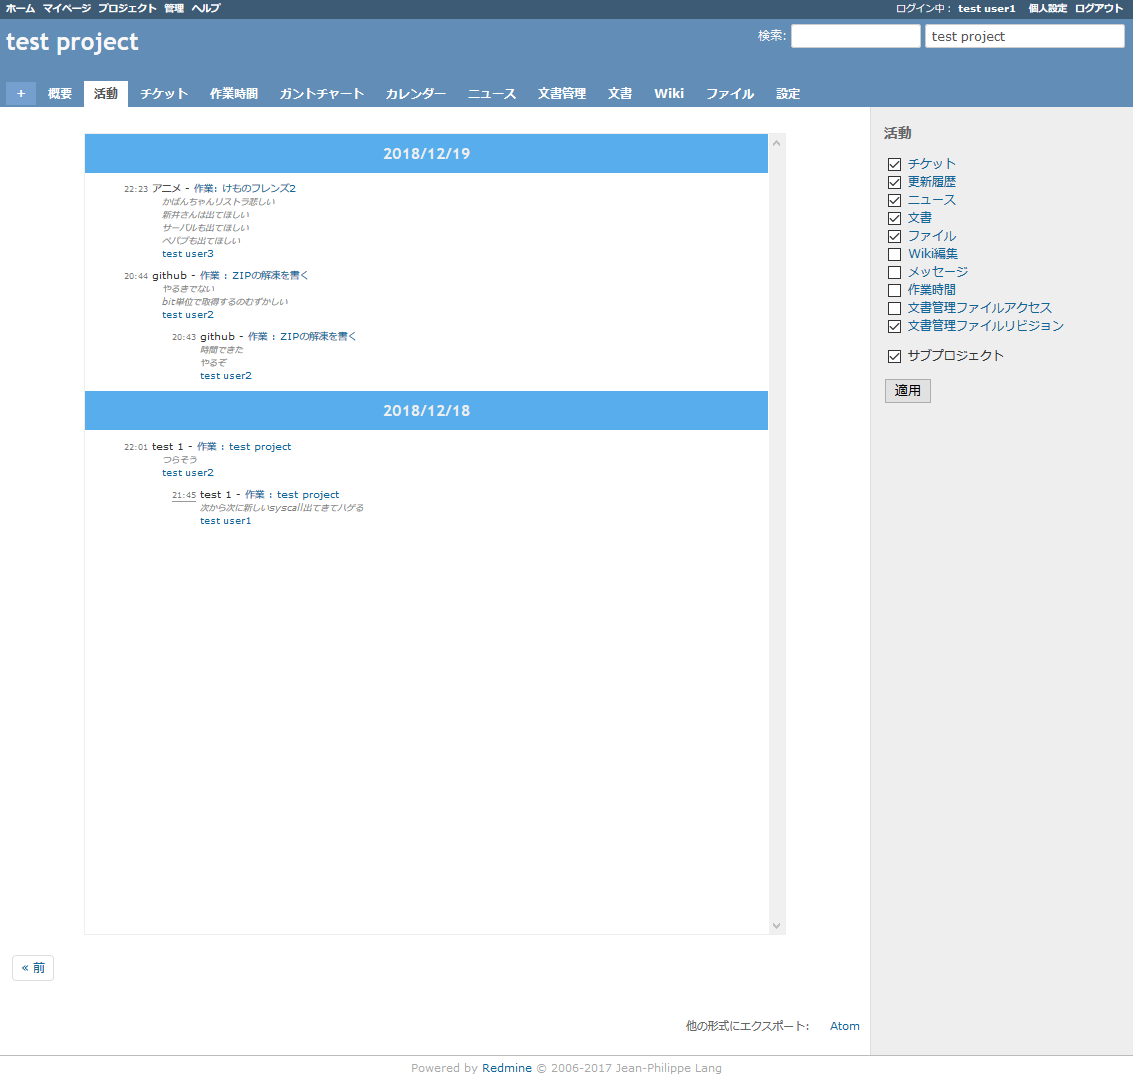
邪魔な要素を消す
display:none
タイムラインっぽくない要素はこれでどんどん消していきましょう
redmineだと赤丸で囲った部分です
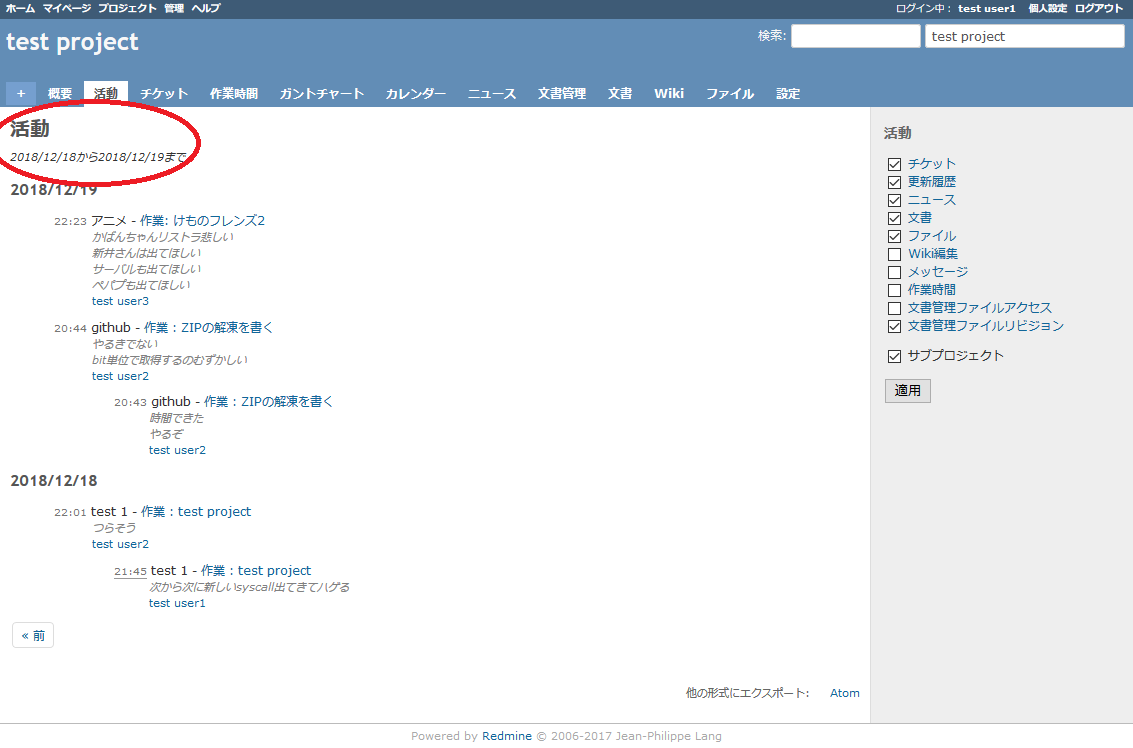
ヘッダーとフッターはそのままにしときます
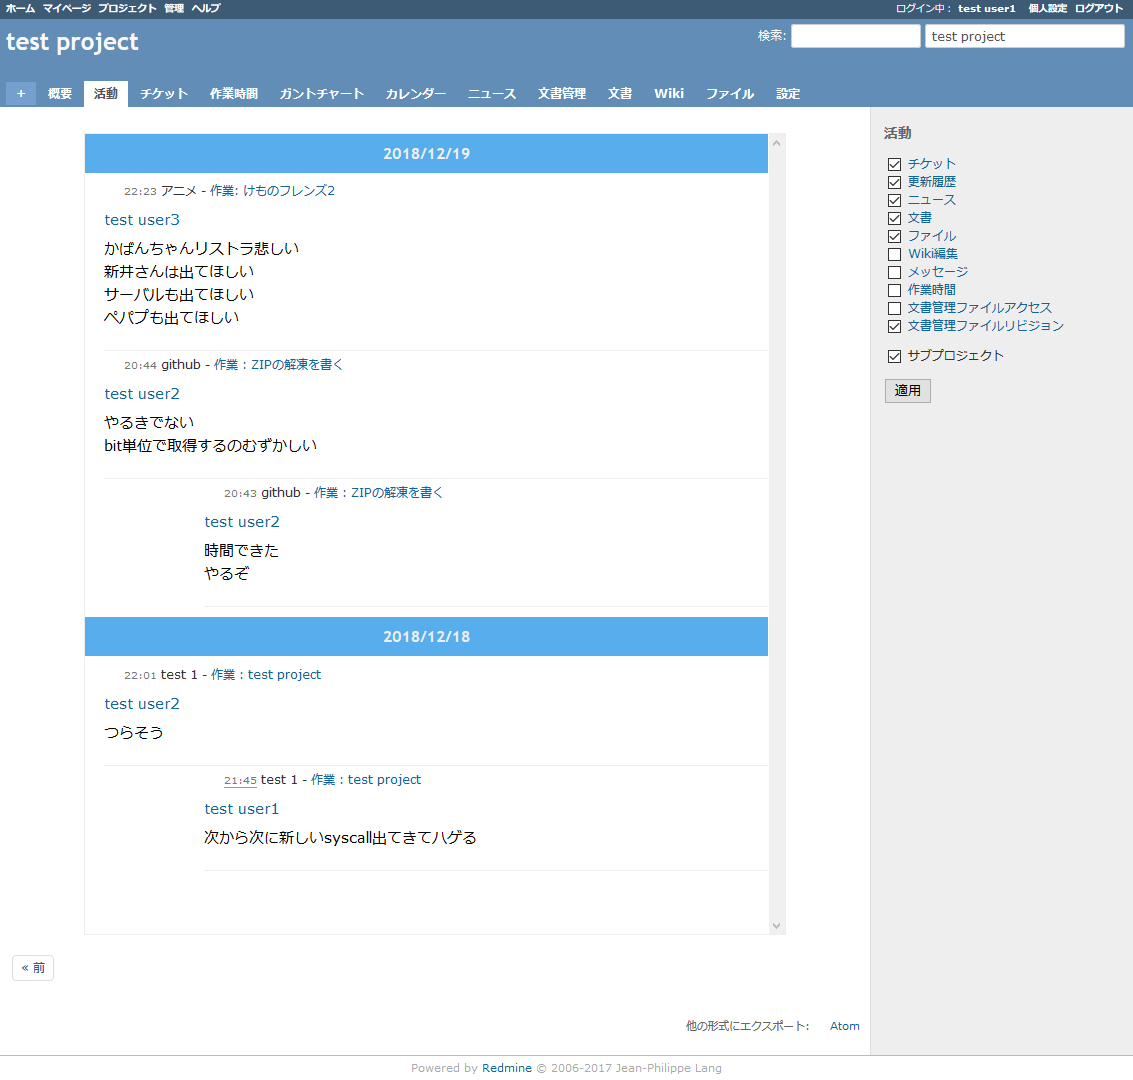
枠を作る
白をベースに青のヘッダーを入れるとだいたいそれっぽくなります.
全体のwrapperっぽいやつを見つけて適用します
/*タイムラインっぽくするwraper*/
div#activity {
    padding: 0;
    background: #ffffff;
    overflow: hidden;
    max-width: 700px;
    margin: 20px auto;
    font-size: 80%;
    border: solid 1px #eeeeee;
    height: 800px;
    overflow-y: scroll;
}
/*日付をヘッダーっぽくする*/
div#activity h3 {
    background: #58aeed;
    padding: 10px;
    text-align: center;
    margin: 0 auto;
    display: block;
    color: #eeeeee;
}
1要素をtweetっぽくする
リプライツリー構造を作ります
これはmarginを調整して実現します
従来は本文の下に名前が来ていましたが,
名前が上の方がtwitterっぽいのでそうします
これは要素をflexにしてorderで順番をいじることで実現します
あとは文字サイズを調整します
/*それぞれの要素を1tweetっぽく*/
/*groupedついてるやつが小さく表示されるやつ*/
div#activity dd {
    width: 100%;
    display: flex;
    flex-direction: column;
    padding: 10px;
    padding-left: 0px;
    margin-bottom: 5px;
    border-bottom: solid 1px #eeeeee;
    overflow: hidden;
    margin-left: 0px;
    font-size: 15px;
}
div#activity dd.grouped {
    width: 100%;
    display: flex;
    flex-direction: column;
    padding: 10px;
    padding-left: 0px;
    margin-bottom: 5px;
    border-bottom: solid 1px #eeeeee;
    overflow: hidden;
    margin-left: 100px;
    font-size: 15px;
}
/*本文*/
div#activity dd span.description {
    order: 2;
    margin-left: 000px;
    margin-top: 10px;
    margin-bottom: 10px;
    color: #000000;
    font-style: normal;
}
アイコンを作る
最後にtwitterらしさの一番大事なのがアイコンです
画像のためのdivとかimgとかが用意されてるわけがないので無理やりつくります
使えそうな要素の中身をposition:relativeで叩き出して,
background-img で画像化します
要素にユーザーidがhrefで埋め込まれていたので,
これを使って各ユーザーの画像を設定します
/*アイコン画像のwrapper*/
dl dt {
  width: 50px;
  height: 50px;
}
/*アイコン画像のwrapper内の要素を外に出す*/
dl dt a {
  font-size: 14px;
  position: relative;
  top: 20px;
  left: 150px;
  white-space: nowrap;
}
/*アイコン画像*/
a.user[href="/users/0"] {
  background-image: url();
  display: inline-block;
  height: 78px;
  background-position: 0px 18px;
  background-repeat: no-repeat;
  background-size: 50px;
}
a.user[]の部分を各ユーザー分作れば完成です
画像はbase64でエンコードして埋め込んでおくと, 高速に表示できるのでおすすめです
さいごに
つかったhtmlと完成したcssをgistにあげておきます
https://gist.github.com/tomokinex/651136d0452bd8d93d34bc4ec44f8fce
