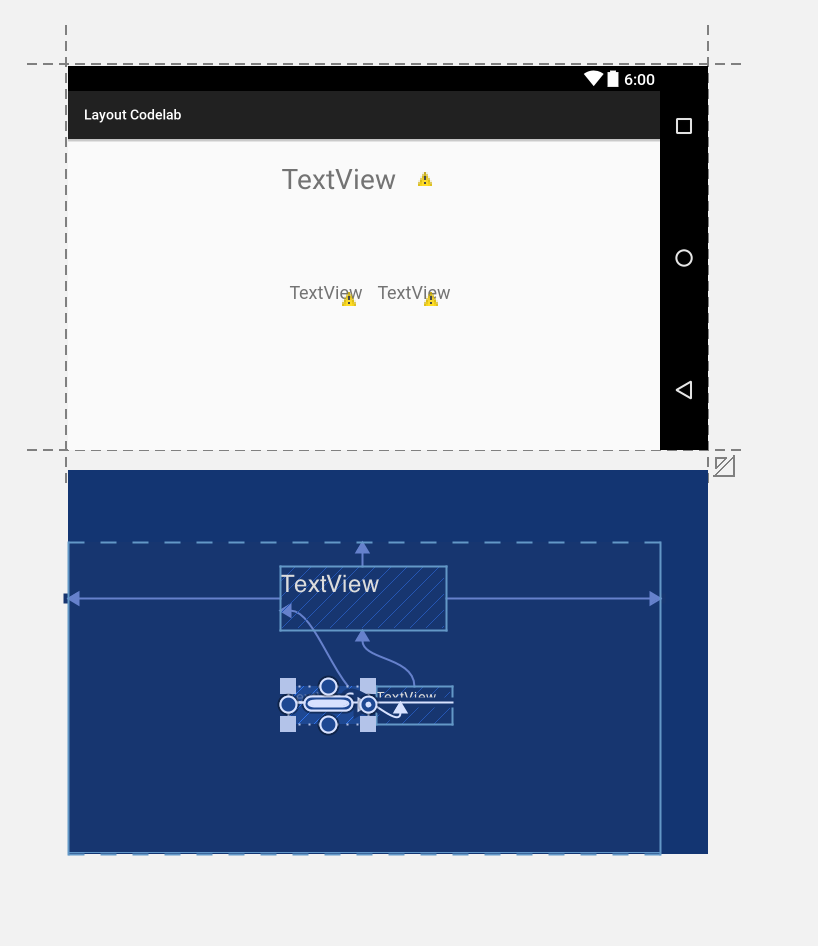
Android Studio 2.2 previewより、ConstraintLayoutという新しいLayoutが導入されました。本稿では実際に触ってみた操作感や実装方法などについて紹介します。
ConstraintLayoutとは
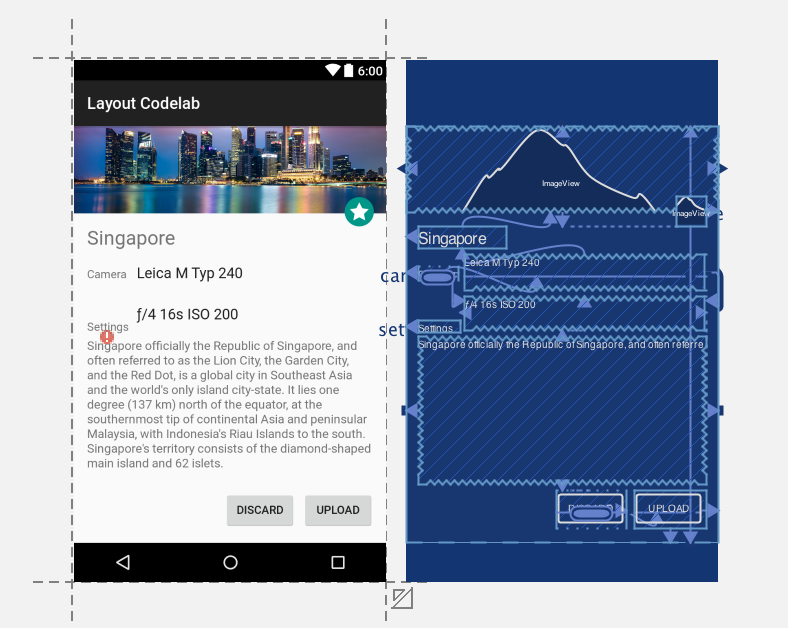
ConstraintLayoutは自動的にレイアウトの位置をマテリアルデザインに沿った最適な位置に調整してくれます。iOSでいうところのStoryboardのAutoLayoutのような機能をもったレイアウトです。
具体的な特徴として
- AutoConnectという機能を使って最適なレイアウトを調整できる
- Android Studioが自動的に一番フラットなxmlを生成してくれる
- Inferenceという機能で全体の整合性も調整できる
- API 9 までのバックポート対応
- 同梱ライブラリではなく、導入してもサイズが小さい (100kb)
ということが挙げられます。
これまでレイアウトを作る場合、開発者はほぼ間違いなくxmlを自分で書いていましたが、ConstraintLayoutを使うことでその作業から開放され、開発スピードが向上します。
利用の前提条件
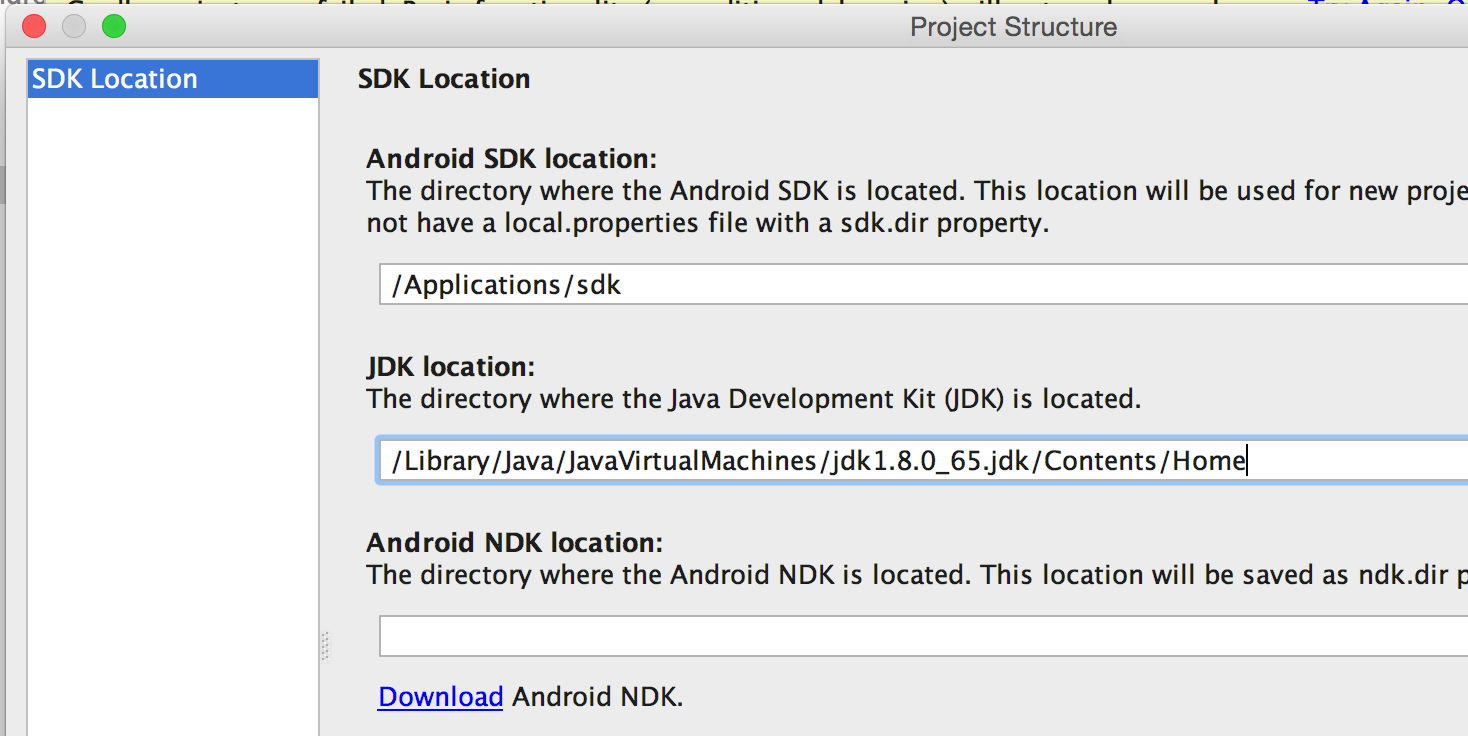
2016/5/19現在、ConstraintLayoutを使うためにはAndroid Studio 2.2 previewが必要です。またJDKも1.8を利用するようにします。
File->Other Settings->Default Project Structure->SDKsでJDK1.8を設定してあげます。
準備
ConstraintLayoutを使うにはdependenciesの追加するだけでOKです。
dependencies {
  compile 'com.android.support.constraint:constraint-layout:1.0.0-alpha1'
}
レイアウトの設定
以下のようにレイアウトを設定した後、 Designタブに切替えます。
<?xml version="1.0" encoding="utf-8"?>
<android.support.constraint.ConstraintLayout
    xmlns:android="http://schemas.android.com/apk/res/android"
    xmlns:app="http://schemas.android.com/apk/res-auto"
    android:layout_width="match_parent"
    android:layout_height="match_parent">

</android.support.constraint.ConstraintLayout>
また、blueprintボタンを押してレイアウト構造を見やすくします。

AutoConnectを利用したレイアウトの配置
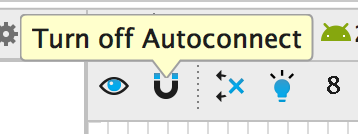
AutoConnectは標準でONですが、ここのUマークをクリックすると有効になります。
基本的な操作方法
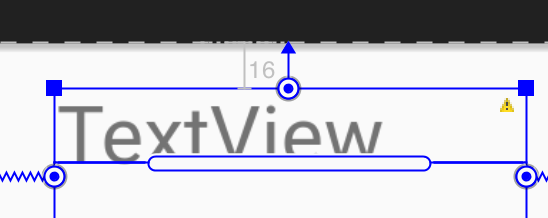
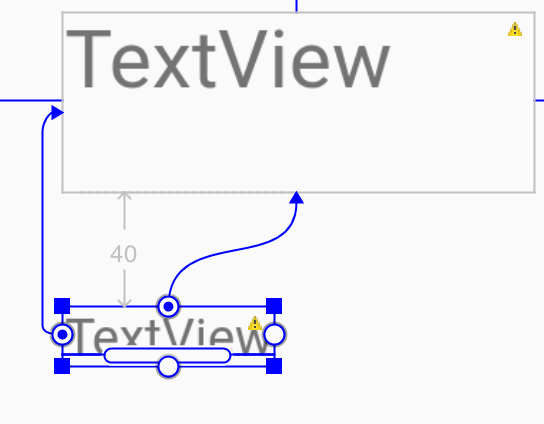
Viewの枠に現れる◎をクリックすると、自動的に最寄りの端に矢印が伸びます。
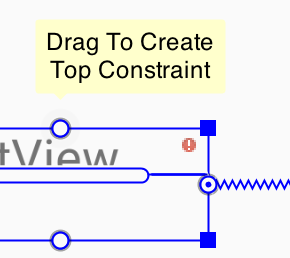
最適な高さに調整してくれます。もう一度クリックすると制約が消えます。
動いている動画はこちら
こんな感じでニョロっと適切な位置に配置してくれる。 #io16jp pic.twitter.com/owo1IbbrO0
— Tomoaki Imai (@tomoaki_imai) 2016年5月19日
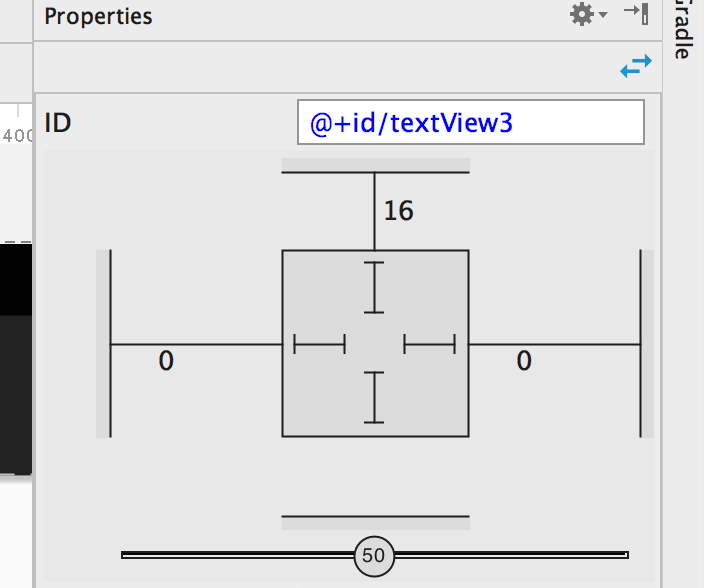
右に出てくるProperty viewで手動で値を入力することもできます。
枠の中心の横長のバーはTextViewのベースラインを調整します。
その他のViewがある場合は、やはりAutoConnect機能が有効であれば自動的に線がつながって、最適な距離と位置関係を作ります。
Property
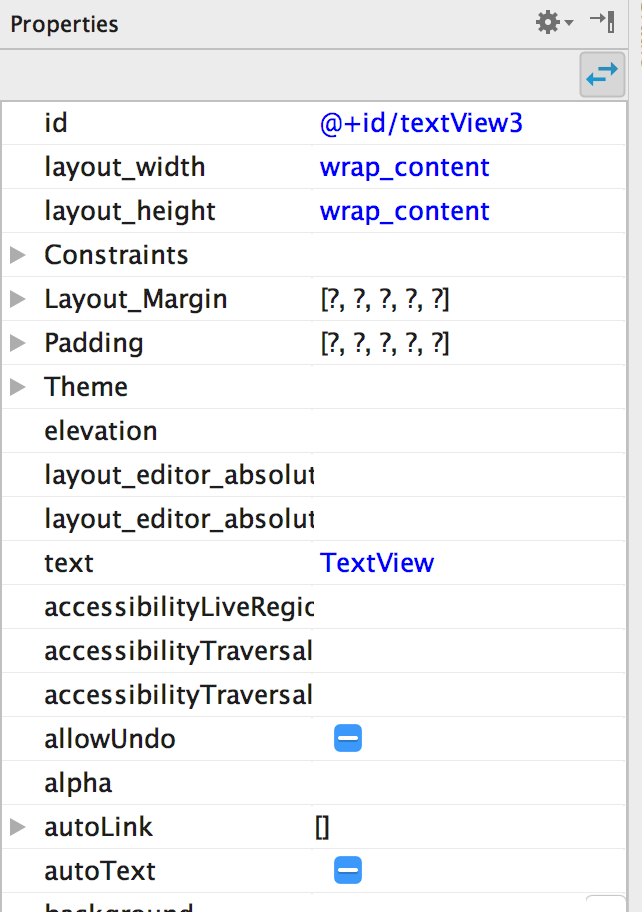
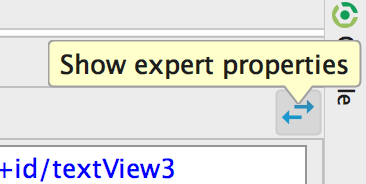
右端にあるPropertyはViewの細かい調整ができます。右上の矢印をクリックすると、詳細な値の設定パネルが開きます。
Inference機能
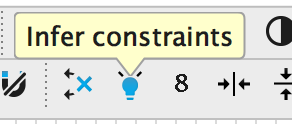
Inferenceも自動制約設定の機能です。以下のボタンで設定ができます。
AutoConnectとの違いはレイアウト全体の制約を定義してくれる点です。AutoConnectは部分的な制約設定しかできないので、Inferenceがあると複数のViewがある複雑な画面に対応しやすくなります。
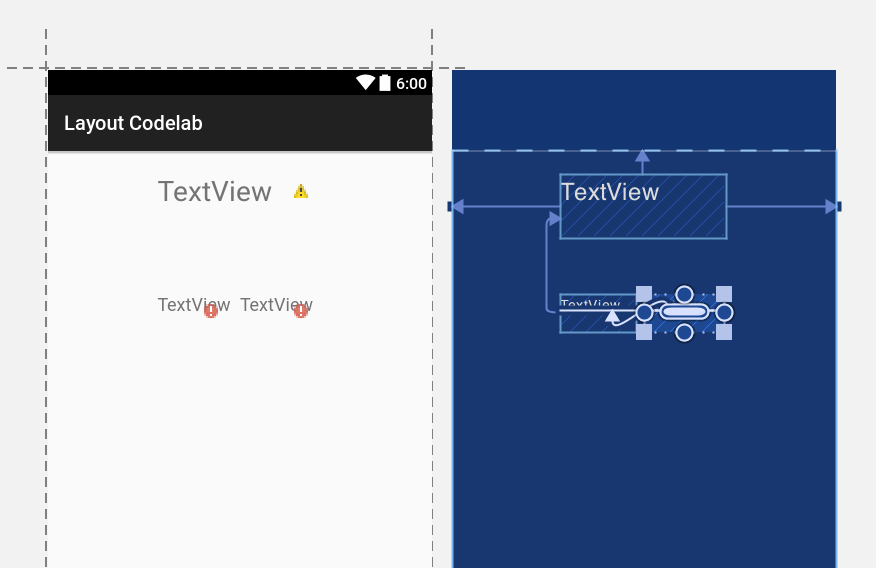
例えば、下のようにAutoConnectで設定したレイアウトがあるとします。
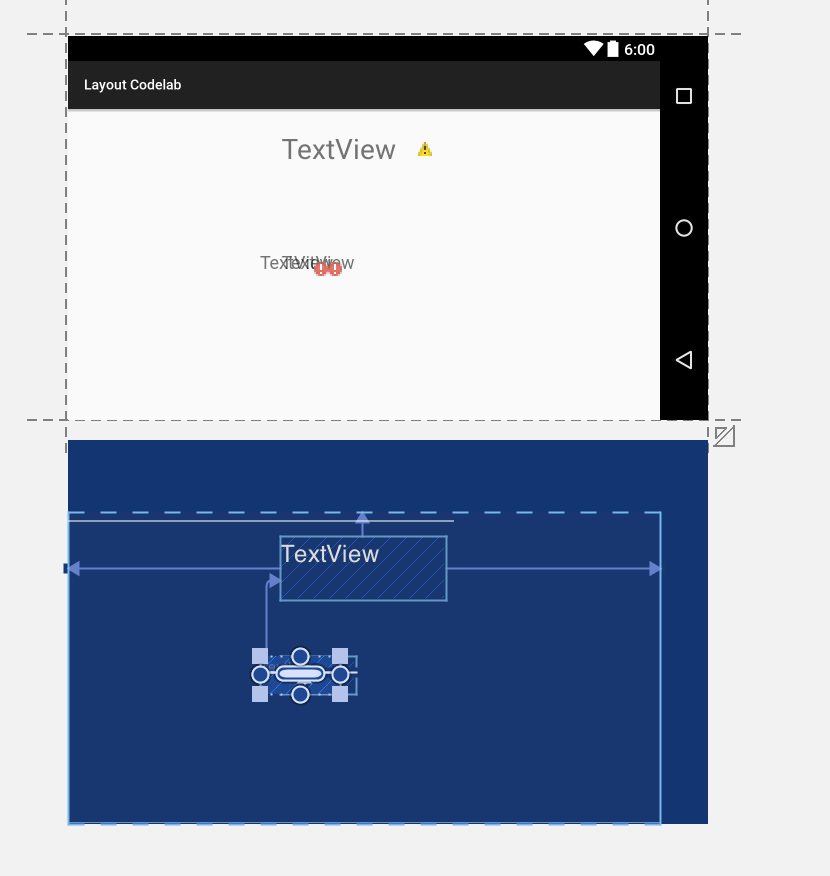
このレイアウトを横回転させると以下のようにレイアウトが崩れます。このケースでは各View間でしかレイアウトの制約が設定されていないからです。
Inferenceを使うと、全体のレイアウトの制約が設定されます。Inferenceを使うと、以下のように横画面でもそのままのレイアウトで画面が作られます。
自動ConstraintLayout変換機能
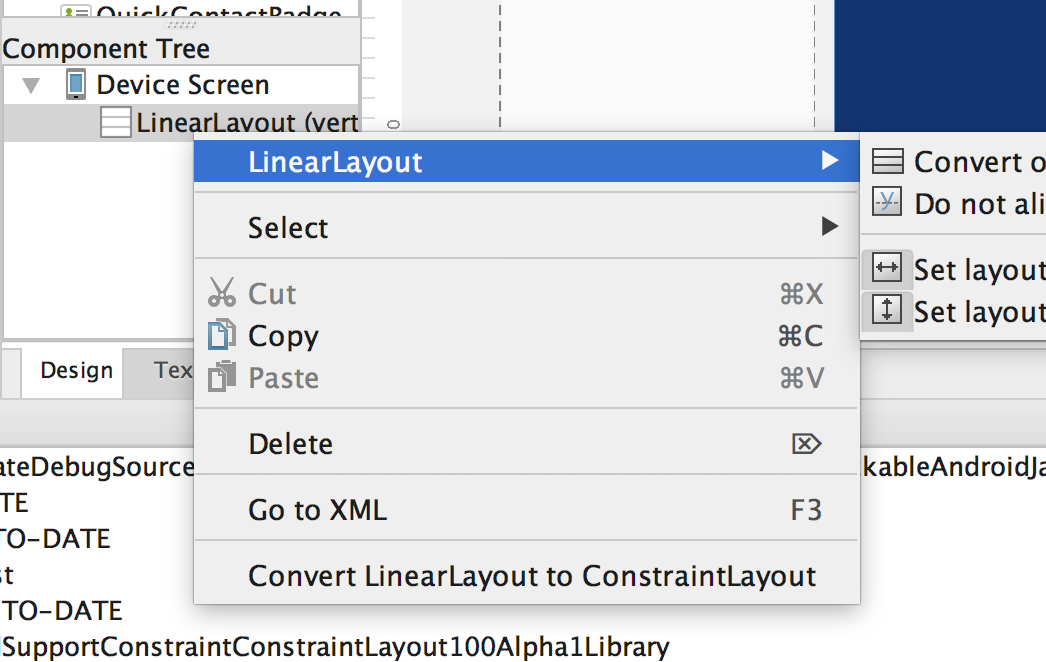
既存のLayoutをConstraintLayoutに変更する機能もあります。DesignタブのComponentTreeからLayoutを右クリック -> Convert XXXLayout to ConstraintLayoutを選択でできます。
実際に以下のRelativeLayoutに対して実行してみました。
実行前
<?xml version="1.0" encoding="utf-8"?>
<RelativeLayout
    xmlns:android="http://schemas.android.com/apk/res/android"
    xmlns:tools="http://schemas.android.com/tools"
    android:layout_width="match_parent"
    android:layout_height="match_parent"
    android:paddingBottom="@dimen/activity_vertical_margin"
    android:paddingLeft="@dimen/activity_horizontal_margin"
    android:paddingRight="@dimen/activity_horizontal_margin"
    android:paddingTop="@dimen/activity_vertical_margin"
    tools:context=".MainActivity">
    <LinearLayout
        android:id="@+id/button_layout"
        android:layout_width="match_parent"
        android:layout_height="wrap_content"
        android:orientation="horizontal"
        >
        <Button
            android:id="@+id/button_show"
            android:layout_width="wrap_content"
            android:layout_height="wrap_content"
            android:layout_marginTop="12dp"
            android:text="start"/>

        <Button
            android:id="@+id/button_search"
            android:layout_width="wrap_content"
            android:layout_height="wrap_content"
            android:layout_marginTop="12dp"
            android:text="end"/>
    </LinearLayout>
    <ScrollView
        android:layout_width="wrap_content"
        android:layout_height="wrap_content"
        android:layout_below="@id/button_layout">
        <LinearLayout
            android:id="@+id/process_view"
            android:layout_width="match_parent"
            android:layout_height="wrap_content"
            android:orientation="vertical"
            />
    </ScrollView>
</RelativeLayout>
実行後
<?xml version="1.0" encoding="utf-8"?>
<android.support.constraint.ConstraintLayout
    xmlns:android="http://schemas.android.com/apk/res/android"
    xmlns:app="http://schemas.android.com/apk/res-auto"
    xmlns:tools="http://schemas.android.com/tools"
    android:layout_width="match_parent"
    android:layout_height="match_parent"
    tools:context=".MainActivity"
    tools:layout_editor_absoluteX="0dp"
    tools:layout_editor_absoluteY="0dp">

    <LinearLayout
        android:id="@+id/button_layout"
        android:layout_width="176dp"
        android:layout_height="wrap_content"
        android:orientation="horizontal"
        tools:layout_editor_absoluteX="16dp"
        tools:layout_editor_absoluteY="16dp">

        <Button
            android:id="@+id/button_show"
            android:layout_width="wrap_content"
            android:layout_height="wrap_content"
            android:text="start"
            tools:layout_editor_absoluteX="0dp"
            tools:layout_editor_absoluteY="93dp"/>

        <Button
            android:id="@+id/button_search"
            android:layout_width="wrap_content"
            android:layout_height="wrap_content"
            android:text="end"
            tools:layout_editor_absoluteX="88dp"
            tools:layout_editor_absoluteY="93dp"/>
    </LinearLayout>

    <LinearLayout
        android:id="@+id/process_view"
        android:layout_width="7dp"
        android:layout_height="wrap_content"
        android:orientation="vertical"
        tools:layout_editor_absoluteX="16dp"
        tools:layout_editor_absoluteY="76dp"/>

</android.support.constraint.ConstraintLayout>
ScrollViewが消えてしまった...。また追加でConstraintの設定が必要なWarningが出ました。ちょっと変換後の動きは怪しそうです。
まとめ
つかいこなせるとさくさくレイアウトが作れるので、かなり便利なんじゃないかなと思います。一方でこれを使ってレイアウトを作ると、沢山設定項目が増えるので、手動で調整が難しくなりそうだと感じました。また現時点では若干レイアウトが実体よりズレたり、表示がおかしい部分もあるので、注意が必要そうです。
