確認画面を作成する
たくさん情報があるので(下記ご参照)、本記事は純粋に自分の理解度を深めるためのものです。なるべくわかりやすく書きます。
rails5です。
参考URL
Railsで登録の際に確認画面を挟むベスト・プラクティス
[Railsで入力の確認画面を出すときの定石]
(https://qiita.com/mm36/items/3753cb2fa65feedb145b)
[Rails で確認画面付きの Form]
(https://mmyoji.github.io/posts/2017-03-31-confirmation-form-in-rails/)
参考にさせていただきました。ありがとうございました。大変助かりました。
確認画面作成方法
コントローラー
def new
  @post = Post.new
end

def confirm
  @post = Post.new(post_params)
  render :new if @post.invalid?
end

def create
  @post = Post.new(post_params)
  respond_to do |format|
      if params[:back]
        format.html { render :new }
      elsif @post.save
        format.html { redirect_to @award, notice: 'Award was successfully created.' }
        format.json { render :show, status: :created, location: @post }
      else
        format.html { render :new }
        format.json { render json: @post.errors, status: :unprocessable_entity }
      end
    end
  end
end
まずはコントローラーです。最初はnewアクションです。これは投稿の画面を作るための受け皿となるインスタンス作成されます。
次のネックとなるconfirmですがこちらが投稿内容確認用のアクションです。createアクションにユーザーが記入した内容を送るためにhttpメソッドはpostとなり、strongparameterがつきます。もしpostの内容が不適切であればnewの画面に戻されるようになっています。
ビュー
そしてconfirmのビューはこちらです。
<%= form_for @post do |f| %>
  <%= @post.contents %>
  <%= @post.day %>
  <div class="actions">
    <%= f.submit '投稿画面に戻る', name: 'back' %>
  </div>
  <div class="actions">
    <%= f.submit '投稿する' %>
  </div>
<% end %>
form_forは自動的にcreateメソッドをURLにしてくれます。また、確認してみてokならば投稿、ダメならば戻らなければなりません。submitを押した場合、どのみちcreateアクションが発動するので、そのタイミングで元のページに戻るか、実際に投稿するかを決めます。上のコントローラーを見ていただくと、createメソッドの中にif params[:back]というif文があります。これで、backが飛んできたら元のページに戻ることになります。そのため、name: 'back'をconfirm側で用意してあげてparameterで渡してあげます。
そしてconfirmの前のnew画面がこちらです。
%= form_with(model: post, local: true, url: {action: 'confirm'}) do |form| %>
  <% if post.errors.any? %>
    <div id="error_explanation">
      <h2><%= pluralize(post.errors.count, "error") %> prohibited this post from being saved:</h2>

      <ul>
      <% post.errors.full_messages.each do |message| %>
        <li><%= message %></li>
      <% end %>
      </ul>
    </div>
  <% end %>

  <div class="field">
    <%= form.label :contents %>
    <%= form.text_area :contents, id: :post_contents %>
  </div>

  <div class="field">
    <%= form.label :day %>
    <%= form.date_select :day, id: :post_day %>
  </div>

  <div class="actions">
    <%= form.submit "確認画面へ" %>
  </div>
<% end %>
大事なのはform_withのURLはconfirmになるということです。
confirmが一つ追加され、newとcreateの間ができますが落ち着いてやれば問題ないかと。。。
個人開発をされている方へ
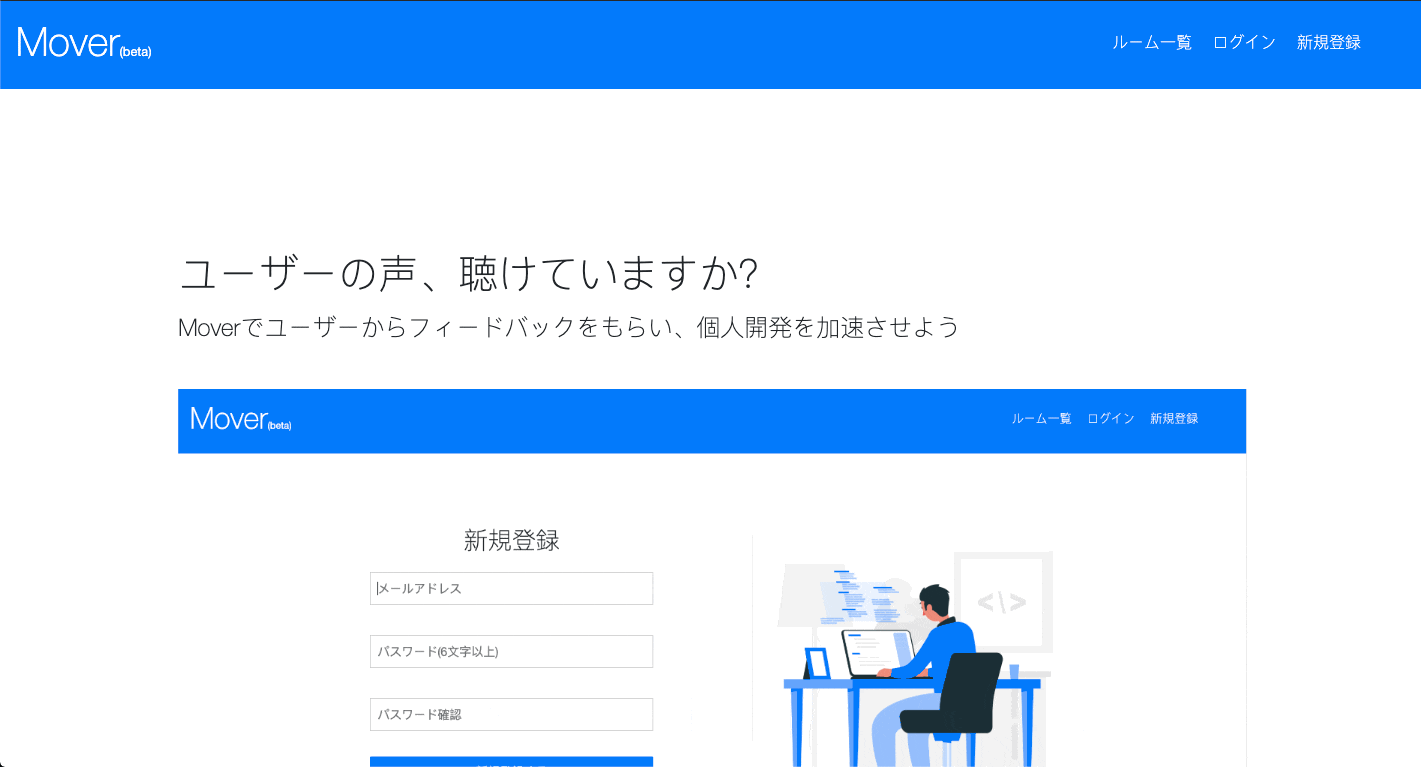
Moverというプロダクトを開発しています。登録していただくと、開発したプロダクトのテスト利用を依頼し、フィードバックをもらうことができます。自分のプロダクトを公開して個人開発を加速させましょう!! 現在僕のアカウントも登録されているので、そちらにテスト利用依頼をいただければ実際に使ってみた感想などをお送りさせて頂きます。(アドバイスなどではなく、一人のユーザーとしての感想となります。) もちろん無料です。
https://mover-web.herokuapp.com/
