ConoHa VM に websocket 経由でコンソール接続してみる
ConoHa で WebSocket 経由でVMのコンソールへ接続してみます。
とりあえず、下記の 3 種類で接続してみるつもりです。
- 公開 API で websocket のインターフェイスを作って python スクリプトで接続
- 公開 API で websocket のインターフェイスを作って novaconsole という公開されているクライアントを利用して接続
- websocket backend を tornado サーバで立てて、xterm.js から接続
1. 公開 API で websocket のインターフェイスを作って python スクリプトで接続
まず、公開APIで websocket 通信を発行する方法について
トークン取得
https://www.conoha.jp/docs/identity-post_tokens.html
curl -i -X POST \
-H "Accept: application/json" \
-d '{"auth":{"passwordCredentials":{"username":"ConoHa","password":"paSSword123456#$%"},"tenantId":"1864e71d2deb46f6b47526b69c65a45d"}}' \
https://identity.tyo1.conoha.io/v2.0/tokens
こちらで、トークン ID を取得
websocket のインターフェイス作成
https://www.conoha.jp/docs/compute-web_serial_console.html
curl -i -X POST \
-H "Accept: application/json" \
-H "X-Auth-Token: 35941e7df872405d84e5b026dba8323c" \
-d '{"os-getSerialConsole": {"type": "serial"}}' \
https://compute.tyo1.conoha.io/v2/1864e71d2deb46f6b47526b69c65a45d/servers/e25b3611-96df-4514-a54b-7729aec48dc1/action
こちらのAPIで先程指定したトークンを指定して、websocket のインターフェイスを取得してください。
{"console":{"url":"wss://console.tyo1.conoha.io/?token=9ab9223c-727b-4620-872f-228c44e3c89e","type":"serial"}}
正しく取得できればこんな感じで websocket URL 取得できます。
https://docs.openstack.org/nova/queens/contributor/testing/serial-console.html
↑の URL から websocket 接続用の URL をお借りします。
# sudo easy_install ws4py || sudo pip install ws4py
# cat >> client.py <<EOF
import sys
from ws4py.client.threadedclient import WebSocketClient
class LazyClient(WebSocketClient):
    def run(self):
        try:
            while not self.terminated:
                try:
                    b = self.sock.recv(4096)
                    sys.stdout.write(b)
                    sys.stdout.flush()
                except: # socket error expected
                    pass
        finally:
            self.terminate()
if __name__ == '__main__':
    if len(sys.argv) != 2 or not sys.argv[1].startswith("ws"):
        print "Usage %s: Please use websocket url"
        print "Example: ws://127.0.0.1:6083/?token=xxx"
        exit(1)
    try:
        ws = LazyClient(sys.argv[1], protocols=['binary'])
        ws.connect()
        while True:
            # keyboard event...
            c = sys.stdin.read(1)
            if c:
                ws.send(c)
        ws.run_forever()
    except KeyboardInterrupt:
        ws.close()
EOF
client.py のファイル名で保存して、pip 利用してws4pyをinstallしてください。
$ python client.py wss://console.tyo1.conoha.io/?token=9ab9223c-727b-4620-872f-228c44e3c89
こんな感じ。
終了するときは、CTRL + C で終了してください。
これでAPIで作成した websocket のインターフェイス経由でVMコンソールへ接続できます。
しかし!
取得したバイナリをそのまま標準出力へ flush しているからか、ずっと使っていると文字化けしてしまいます。
そして、TTY のフォーマットで出力されていないので、ログインパスワードなど本来表示されて欲しくない文字列もそのまま表示されてしまいます。
なので、次に公開されているクライアントを使ってみます。
2. 公開 API で websocket のインターフェイスを作って novaconsole という公開されているクライアントを利用して接続
novaconsole
https://github.com/larsks/novaconsole
↑のクライアントで接続
基本的に pip install で install できます。
けれど、依存性のある websocket client の関係で Python 2.7.9 以上でないと動作しません。
なので、予め python のバージョン確認をお願いします。
とりあえず、必要なライブラリをインストール
# yum install python-devel
# yum install libevent-devel
Installation にある通りにやってみる
# git clone http://github.com/larsks/novaconsole.git
# cd novaconsole
# python setup.py install
インストールできたら novaconsle コマンド実行
$ novaconsole --url wss://console.tyo1.conoha.io/?token=9ab9223c-727b-4620-872f-228c44e3c89
これで、VM への接続ができます。
次は公開APIを使わず、websocket 経由で VM へ接続する方法
3. websocket backend を tornado サーバで立てて、xterm.js から接続
利用するのは ConoHa で提供されている CentOS7.5です。
pip install で tornado と terminado インストール
# curl https://bootstrap.pypa.io/get-pip.py | python
# python get-pip.py
# pip install tornado
# pip install terminado
この terminado で websocket のバックエンドサーバを立てることができます。
firewall の 8765 ポートを開けておきます。
※ ちなみに、8765 ポートで VM へのソケット通信がグローバルで公開されてしまうので、自分の接続IPを確認して firewall でその IP のみ開けています。
# firewall-cmd --permanent --zone=public --add-rich-rule="rule family="ipv4" source address="{IP address}" port protocol="tcp" port="8765" accept"
# firewall-cmd --reload
websocket の backend は terminado というサーバして、フロントエンドの term.js へ接続します。
なので、term.js 接続関係のライブラリをインストール
# pip install tornado_xstatic
# pip install XStatic-term.js
terminado: https://github.com/jupyter/terminado
上記URL記載のサンプルコードを利用します。
import os.path
import tornado.web
import tornado.ioloop
# This demo requires tornado_xstatic and XStatic-term.js
import tornado_xstatic

import terminado
STATIC_DIR = os.path.join(os.path.dirname(terminado.__file__), "_static")

class TerminalPageHandler(tornado.web.RequestHandler):
    def get(self):
        return self.render("termpage.html", static=self.static_url,
                           xstatic=self.application.settings['xstatic_url'],
                           ws_url_path="/websocket")

if __name__ == '__main__':
    term_manager = terminado.SingleTermManager(shell_command=['bash'])
    handlers = [
                (r"/websocket", terminado.TermSocket,
                     {'term_manager': term_manager}),
                (r"/", TerminalPageHandler),
                (r"/xstatic/(.*)", tornado_xstatic.XStaticFileHandler,
                     {'allowed_modules': ['termjs']})
               ]
    app = tornado.web.Application(handlers, static_path=STATIC_DIR,
                      xstatic_url = tornado_xstatic.url_maker('/xstatic/'))
    # Serve at http://localhost:8765/ N.B. Leaving out 'localhost' here will
    # work, but it will listen on the public network interface as well.
    # Given what terminado does, that would be rather a security hole.
    app.listen(8765)
    try:
        tornado.ioloop.IOLoop.instance().start()
    finally:
        term_manager.shutdown()
app.listen(8765, localhost) を app.listen(8765)へ変更しています。
このファイルをconsole.py という名前で保存して、同じ場所にdemo用の template ファイルをダウンロードします。
以下2つのファイルを termpage.html, uimod.html で保存
https://raw.githubusercontent.com/jupyter/terminado/master/demos/templates/termpage.html
https://raw.githubusercontent.com/jupyter/terminado/master/demos/templates/uimod.html
そして、console.py を実行
# python console.py
Firewall で IP アクセス許可した場所から、console 用の websocket backend を許可したサーバで Http 経由で該当サーバへアクセスしてください。
http://{ip address}:8765
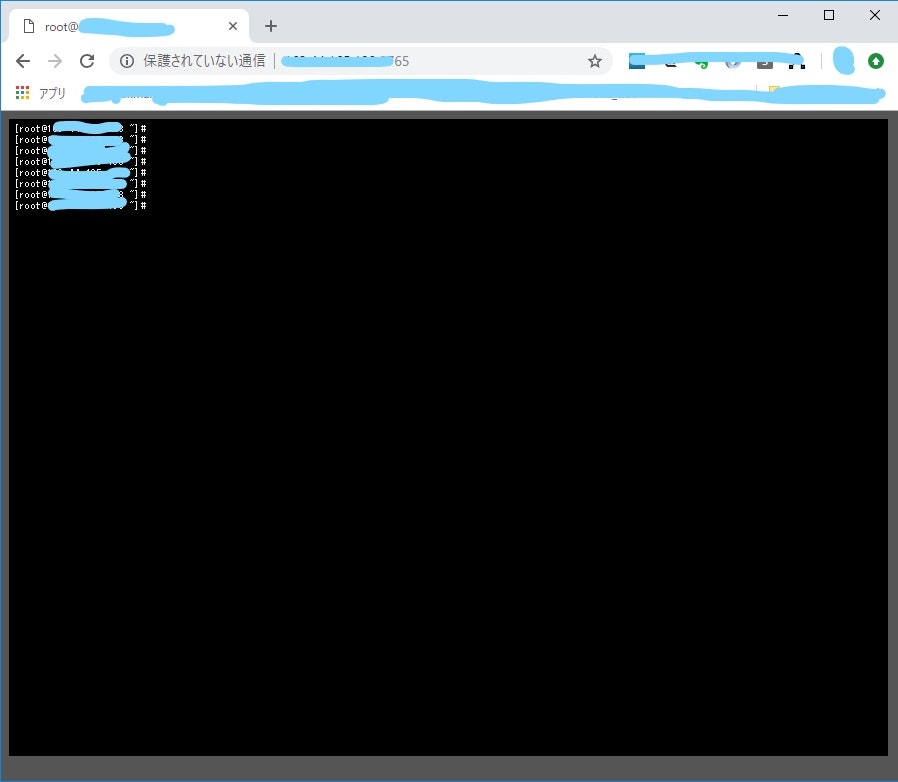
アクセスできました。
まとめ
最後の「3. websocket backend を tornado サーバで立てて、xterm.js から接続」はDEMOのコードを用いて簡単に接続しましたが、セキュリティのことを考えるとちょっと危険です。
firewall でのアクセスを絞ったり、認証の仕組みを作ったりしないといけないかも。
ConoHa では websocket 経由で安全にアクセスできる 公開 API が提供されているので、いろいろなことに活用できそうだなと感じました。