この投稿は、
DMM WEBCAMP Advent Calendar 2023
シリーズ2 投稿5日目のエントリーです。
4日目は @Fkinds さん で
初学者向けdocker基礎でした。
すごく簡素に纏められていて素敵な記事でした。
はじめに
DMM WEBCAMP でメンターをやらせていただいております。 @tomoaki-kimura です。
Rails7のリリースから随分経ちますが、Rails6の環境もまだまだあります。
今回は、simple_calendar 使う時に、app/javascript/側にCSS欲しいのに・・・という場面があったので書き残しておきます。
環境
- Ruby 3.1.2
- Rails 6.1.7
- yarn 1.22.18
作るもの
- simple_calendar
- css は
stylesheet_pack_tagで
プロジェクトの作成
まずはプロジェクトを作成します。 DBもSQLiteを使います。
(6.1.7 でバージョン指定していますが、6系であれば表記や動作の違い等の問題は起こらないと思われます。)
下記コマンドを実行して下さい。
$ gem install rails -v 6.1.7
$ rails _6.1.7_ new calendar
長いので略
├─ spdy-transport@3.0.0
├─ spdy@4.0.2
├─ strip-eof@1.0.0
├─ thunky@1.1.0
├─ toidentifier@1.0.1
├─ url-parse@1.5.10
├─ utils-merge@1.0.1
├─ uuid@3.4.0
├─ wbuf@1.7.3
├─ webpack-dev-middleware@3.7.3
├─ webpack-dev-server@3.11.3
├─ websocket-driver@0.7.4
├─ websocket-extensions@0.1.4
└─ ws@6.2.2
✨  Done in 5.30s.
Webpacker successfully installed 🎉 🍰
プロジェクトが作成後
$ cd calendar
でディレクトリを移動しておきましょう。
そして、stylesheet_link_tag は
<%= stylesheet_link_tag 'application', media: 'all', 'data-turbolinks-track': 'reload' %>
は、stylesheet_pack_tag にしておきましょう。
<%= stylesheet_pack_tag 'application', media: 'all', 'data-turbolinks-track': 'reload' %>
そして、忘れずに・・・babel対策。
$ yarn add @babel/plugin-proposal-private-methods @babel/plugin-proposal-private-property-in-object
を実行しておきましょう
simple_calendarの導入
Gemfile
Gemfileに以下のgemを追加して下さい。
gem 'simple_calendar'
続いて、
$ bundle install
を実行しましょう。
(略)
Using webpacker 5.4.4
Using web-console 4.2.1
Using actionmailer 6.1.7.6
Using actiontext 6.1.7.6
Using sassc-rails 2.1.2
Using rails 6.1.7.6
Using sass-rails 6.0.0
Using simple_calendar 3.0.2
Bundle complete! 18 Gemfile dependencies, 82 gems now installed.
Use `bundle info [gemname]` to see where a bundled gem is installed.
インストール出来ました。
CSSの読み込み
application.scssのインポートもやっておきましょう。
// This file is automatically compiled by Webpack, along with any other files
// present in this directory. You're encouraged to place your actual application logic in
// a relevant structure within app/javascript and only use these pack files to reference
// that code so it'll be compiled.

import Rails from "@rails/ujs"
import Turbolinks from "turbolinks"
import * as ActiveStorage from "@rails/activestorage"
import "channels"

Rails.start()
Turbolinks.start()
ActiveStorage.start()
こちらを、以下のように追記しましょう。
// This file is automatically compiled by Webpack, along with any other files
// present in this directory. You're encouraged to place your actual application logic in
// a relevant structure within app/javascript and only use these pack files to reference
// that code so it'll be compiled.

import Rails from "@rails/ujs"
import Turbolinks from "turbolinks"
import * as ActiveStorage from "@rails/activestorage"
import "channels"
import '../stylesheets/application'

Rails.start()
Turbolinks.start()
ActiveStorage.start()
application.scssの作成
cssをwebpasker側で管理しますので、上記の読み込み部分の
import '../stylesheets/application'
これの相手ファイルを作っておきます。
app/javascript/ 直下に stylesheets ディレクトリを作ります。
そして、以下のファイルを作成します。
@import "./simple_calendar.scss";
これにも該当するファイルがありませんので、コードをsimple_calendarのリポジトリに取りにいきましょう。
該当するファイルの導入は以下のパスとなります。
.simple-calendar {
  table {
    -webkit-border-horizontal-spacing: 0px;
    -webkit-border-vertical-spacing: 0px;
    background-color: rgba(0, 0, 0, 0);
    border: 1px solid rgb(221, 221, 221);
    border-collapse: collapse;
    box-sizing: border-box;
    max-width: 100%;
    width: 100%;
  }

  tr {
    border-collapse: collapse;
  }

  th {
    padding: 6px;
    border-bottom: 2px solid rgb(221, 221, 221);
    border-collapse: collapse;
    border-left: 1px solid rgb(221, 221, 221);
    border-right: 1px solid rgb(221, 221, 221);
    border-top: 0px none rgb(51, 51, 51);
    box-sizing: border-box;
    text-align: left;
  }

  td {
    padding: 6px;
    vertical-align: top;
    width: 14%;

    border: 1px solid #ddd;
    border-top-color: rgb(221, 221, 221);
    border-top-style: solid;
    border-top-width: 1px;
    border-right-color: rgb(221, 221, 221);
    border-right-style: solid;
    border-right-width: 1px;
    border-bottom-color: rgb(221, 221, 221);
    border-bottom-style: solid;
    border-bottom-width: 1px;
    border-left-color: rgb(221, 221, 221);
    border-left-style: solid;
    border-left-width: 1px;
  }

  .calendar-heading nav {
    display: inline-block;
  }

  .day {
    height: 80px;
  }

  .wday-0 {}
  .wday-1 {}
  .wday-2 {}
  .wday-3 {}
  .wday-4 {}
  .wday-5 {}
  .wday-6 {}

  .today {
    background: #FFFFC0
  }

  .past {}
  .future {}

  .start-date {}

  .prev-month {
    background: #DDD;
  }
  .next-month {
    background: #DDD;
  }
  .current-month {}

  .has-events {}
}
表示するページの作成
コントローラー
特に何もしないので、コマンドだけ。
$ rails g controller home top
ルーティング
トップページのみ作ります。
Rails.application.routes.draw do
  root 'home#top'
end
ビュー
home/top.html.erb を編集しましょう。
<h2>month</h2>

<%= month_calendar do |date| %>
  <%= date.day %>
<% end %>

<h2>week</h2>

<%= week_calendar(number_of_weeks: 1) do |date| %>
  <%= date.day %>
<% end %>
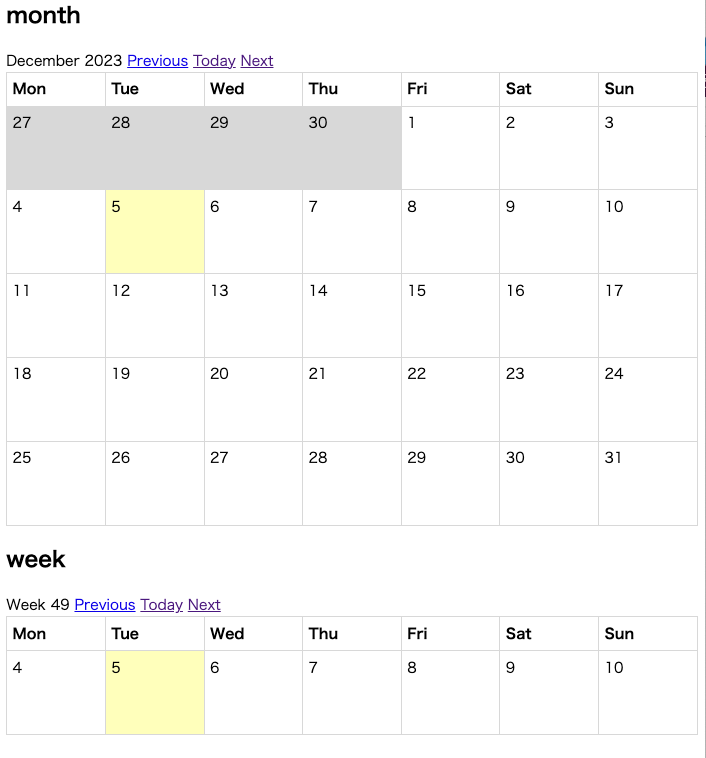
では、起動します。
$ rails s
枠の付いたカレンダーが表示されたらOKです。
予定を表示する場合
モデル
もしこの中に予定を表示をするなら、最低限 start_time というカラムが必要になります。
終了時間も必要であれば、 end_time を付けます。
今回は、最低限の title, start_time で Taskモデル を作ってみます。
$ rails g model Task title start_time:datetime
マイグレーションもしておきましょう。
$ rails db:migrate
モデルが出来たら、適当にデーターを作ってみます。
$ rails c
irb(main):001:0> 30.times{|i|Task.create(title: "test#{i}",start_time: Time.current.since(i*2.days))}
30件程流しました。
(略)
_at") VALUES (?, ?, ?, ?)  [["title", "test28"], ["start_time", "2024-01-30 03:35:37.825920"], ["created_at", "2023-12-05 03:35:37.825988"], ["updated_at", "2023-12-05 03:35:37.825988"]]
  TRANSACTION (0.3ms)  commit transaction
  TRANSACTION (0.0ms)  begin transaction
  Task Create (0.2ms)  INSERT INTO "tasks" ("title", "start_time", "created_at", "updated_at") VALUES (?, ?, ?, ?)  [["title", "test29"], ["start_time", "2024-02-01 03:35:37.826676"], ["created_at", "2023-12-05 03:35:37.826744"], ["updated_at", "2023-12-05 03:35:37.826744"]]
  TRANSACTION (0.3ms)  commit transaction
=> 30
データーの呼び出し
コントローラーに @tasks を用意します。
class HomeController < ApplicationController
  def top
    @tasks = Task.all
  end
end
ビューを変更
表示に合わせて、Viewも変更しておきましょう。
<h2>month</h2>

<%= month_calendar(events: @tasks) do |date, tasks| %>
  <%= date.day %><br>
  <% tasks.each do |task| %>
    <%= task.title %>
  <% end %>
<% end %>

<h2>week</h2>

<%= week_calendar(number_of_weeks: 1, events: @tasks) do |date, tasks| %>
  <%= date.day %><br>
  <% tasks.each do |task| %>
    <%= task.title %>
  <% end %>
<% end %>
起動します。
$ rails s
無事予定が入りました。
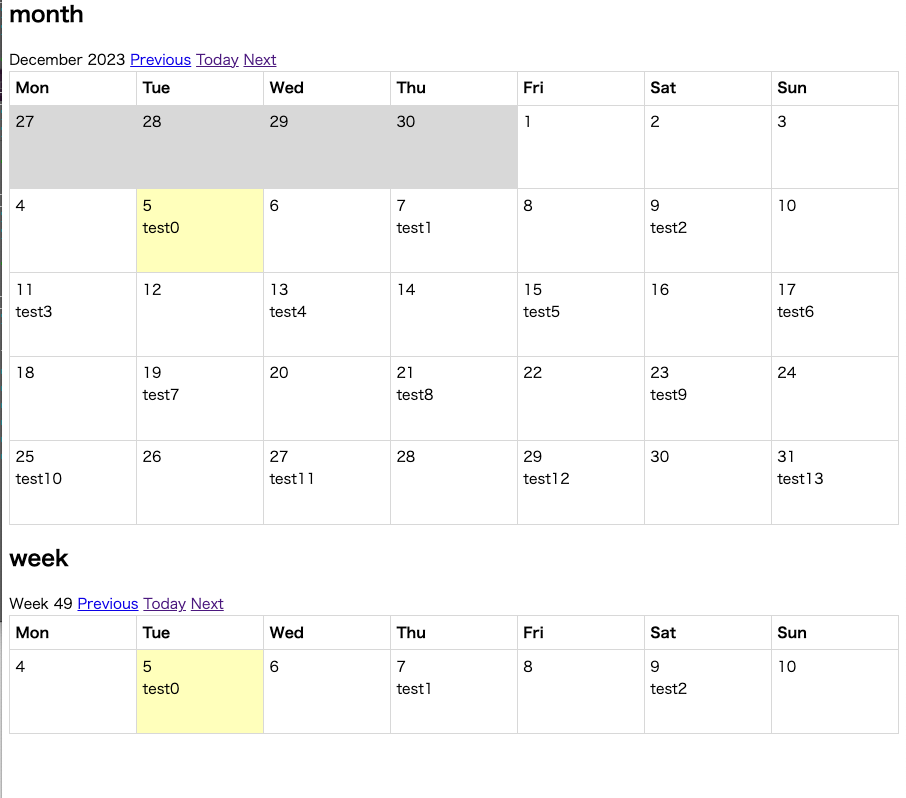
後は目的の場所にリンク貼るなりすれば良いかと思います。
これで完成です。お疲れ様でした。
おわりに
今回はRails6のwebpackerでsimple_calendarを使ってみました。
このパターンだとBootstrapをwebpackerで管理している場合でもCSSを分散させずに置くことが出来るので、ちょっといい感じですね。カスタムもし易いです。
引き続き DMM WEBCAMP Advent Calendar 2023 をよろしくお願いいたします。
次回 6日目の投稿は、@Hiron0120 さんで
僕が思う「実務経験のないエンジニアが最初の職場で心掛けるべきこと」
です。これはリアリティがあって面白そうです。
スレッドの購読やいいねも是非お願いします。
ここまで読んでいただきありがとうございます。