自己紹介
はじめまして。
株式会社シーエー・アドバンスに勤めている當銘塁と申します。
ピカピカ1年生のエンジニアです。
下記のインターンで、チームでアプリ開発を行いました。
- フロントエンドを自分は担当していて、認証機能部分を担当できなかった。
- Next.js Learnのアプリに新規登録機能と退会機能がない
などの理由からNex.js Learnのアプリにユーザー新規機能と退会機能を実装したので紹介していきたいと思います。
🚨Next.js初心者のため、お手柔らかにお願いします。🚨
🏃早速、ユーザー新規登録機能を実装していく!
- 新規登録フォームのコンポーネントを作成します。(元々用意されているログインフォームを使いまわす。)
- 新規ユーザーを追加するためのサーバーアクションの作成
- 新規登録フォームまで遷移するためのボタンを作成&配置
上記の手順で行なっていきます。
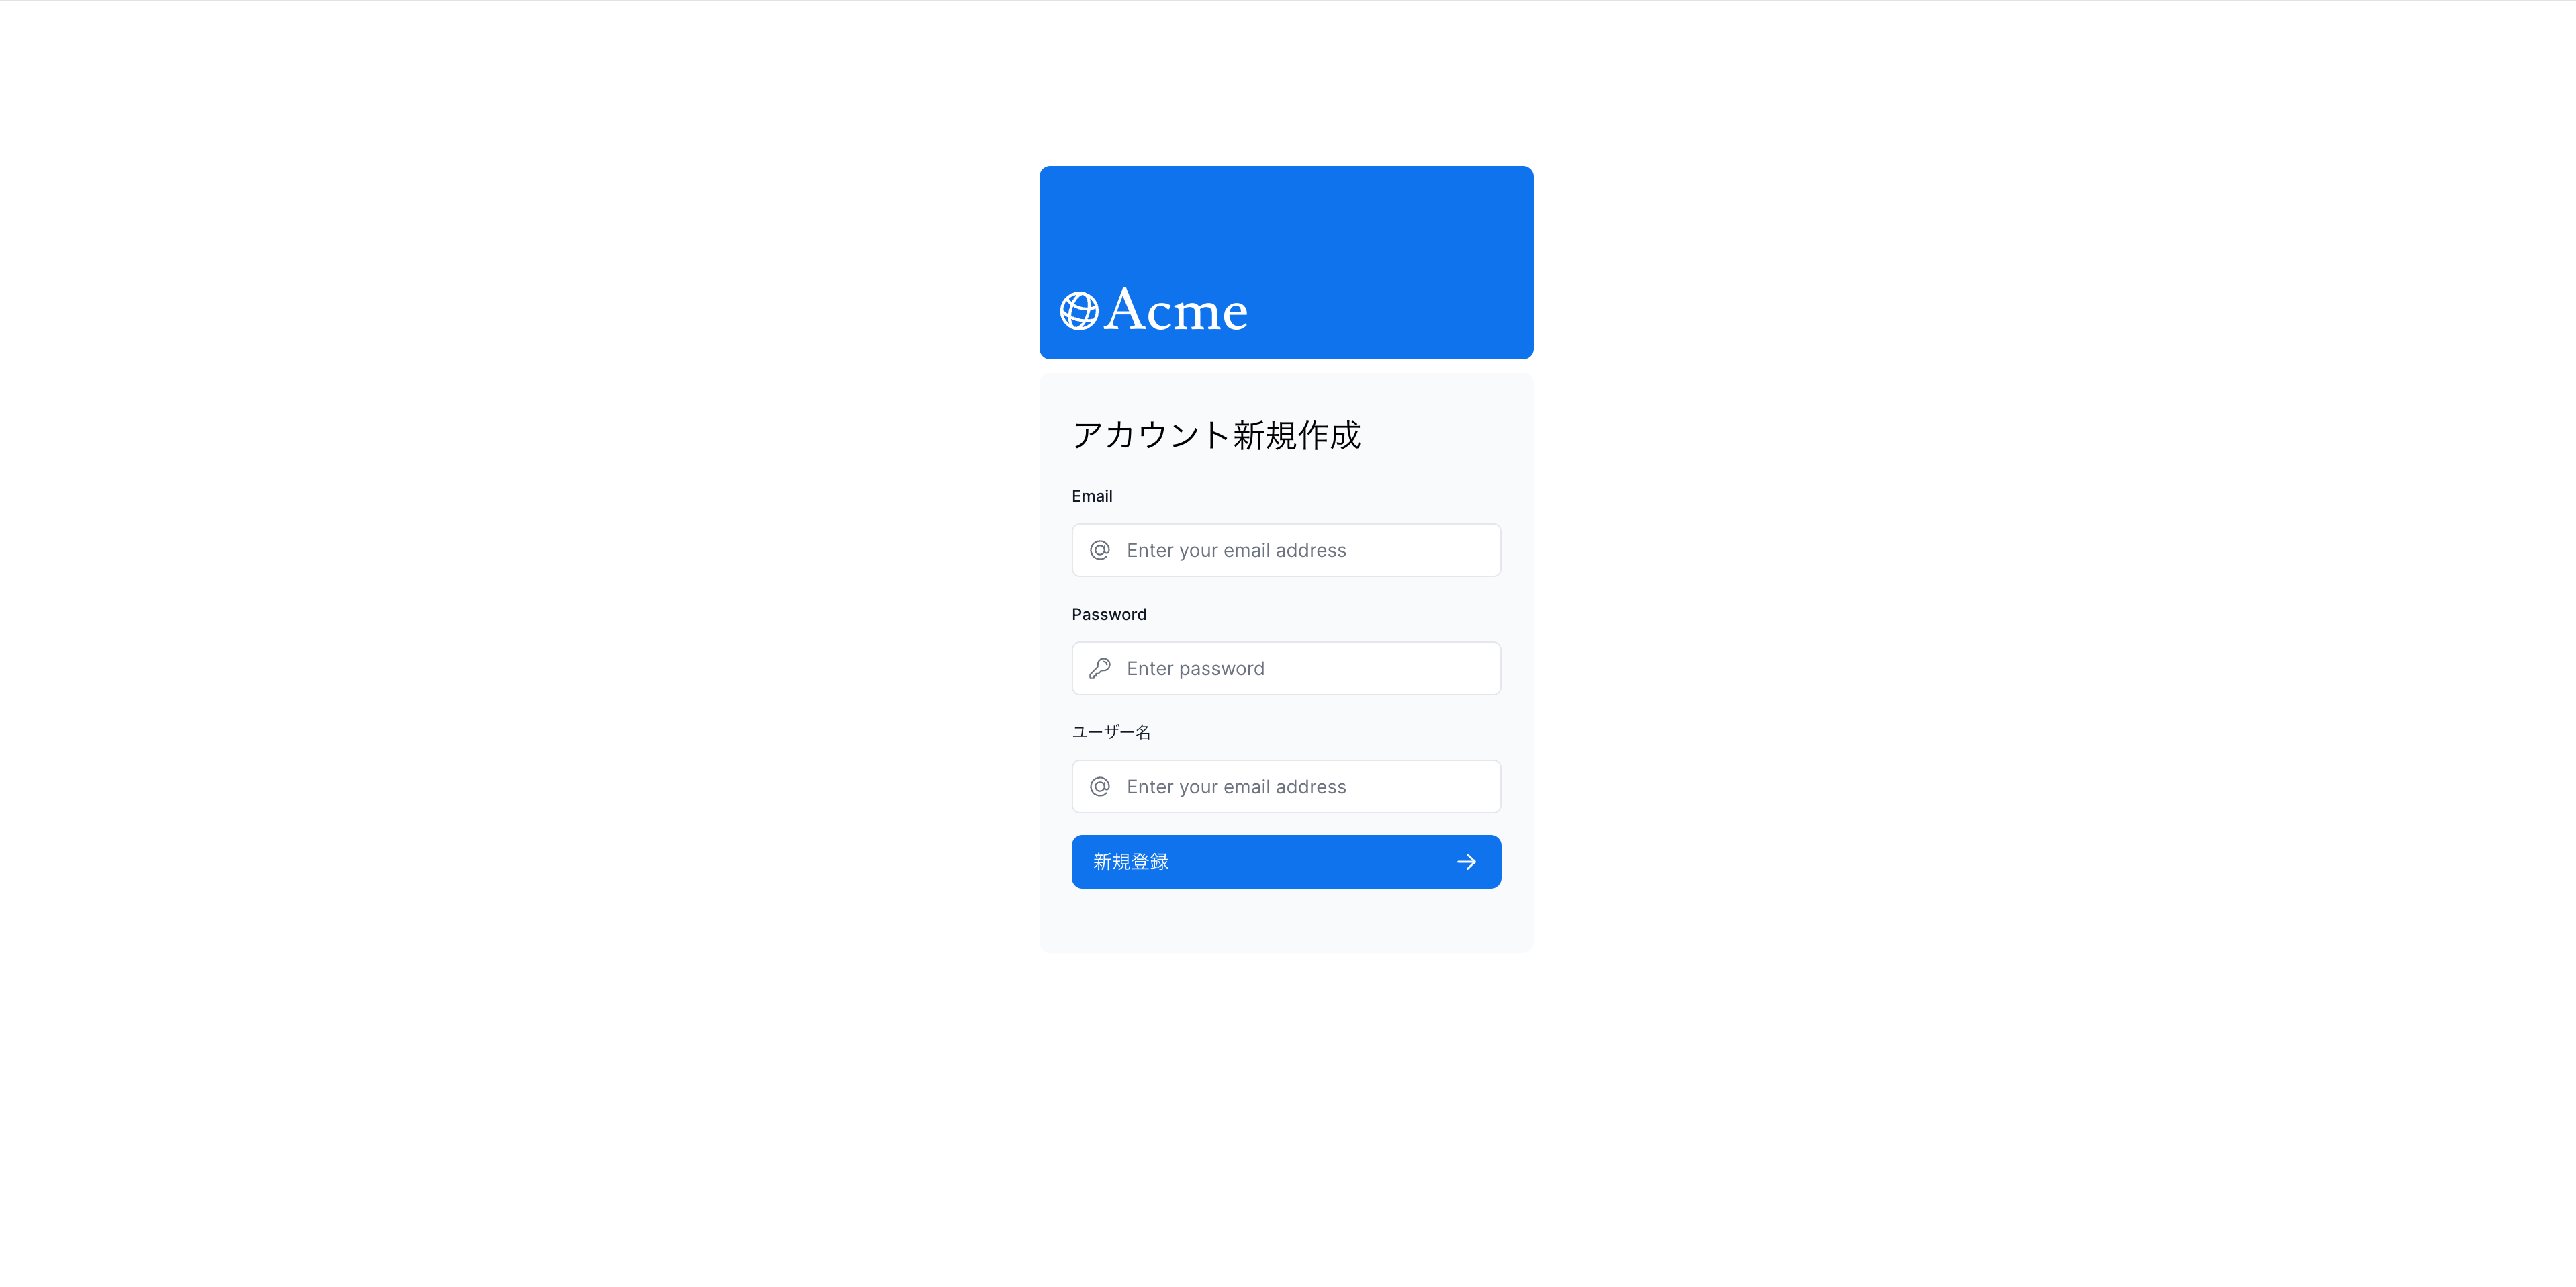
新規登録フォームコンポーネントの作成
/app/ui/sinup-form.tsx
'use client';

import { lusitana } from '@/app/ui/fonts';
import { AtSymbolIcon, KeyIcon } from '@heroicons/react/24/outline';
import { ArrowRightIcon } from '@heroicons/react/20/solid';
import { Button } from '@/app/ui/button';
import { useFormState, useFormStatus } from 'react-dom';
import { addUser } from '@/app/lib/actions';

export default function SignupForm() {
  const initialState = { message: null, errors: {} };
  const [errorMessage, dispatch] = useFormState(addUser, initialState);

  return (
    <form action={dispatch} className="space-y-3">
      <div className="flex-1 rounded-lg bg-gray-50 px-6 pb-4 pt-8">
        <h1 className={`${lusitana.className} mb-3 text-2xl`}>
          アカウント新規作成
        </h1>
        <div className="w-full">
          <div>
            <label
              className="mb-3 mt-5 block text-xs font-medium text-gray-900"
              htmlFor="email"
            >
              Email
            </label>
            <div className="relative">
              <input
                className="peer block w-full rounded-md border border-gray-200 py-[9px] pl-10 text-sm outline-2 placeholder:text-gray-500"
                id="email"
                type="email"
                name="email"
                placeholder="Enter your email address"
                required
              />
              <AtSymbolIcon className="pointer-events-none absolute left-3 top-1/2 h-[18px] w-[18px] -translate-y-1/2 text-gray-500 peer-focus:text-gray-900" />
            </div>
          </div>
          <div className="mt-4">
            <label
              className="mb-3 mt-5 block text-xs font-medium text-gray-900"
              htmlFor="password"
            >
              Password
            </label>
            <div className="relative">
              <input
                className="peer block w-full rounded-md border border-gray-200 py-[9px] pl-10 text-sm outline-2 placeholder:text-gray-500"
                id="password"
                type="password"
                name="password"
                placeholder="Enter password"
                required
                minLength={6}
              />
              <KeyIcon className="pointer-events-none absolute left-3 top-1/2 h-[18px] w-[18px] -translate-y-1/2 text-gray-500 peer-focus:text-gray-900" />
            </div>
            <label
              className="mb-3 mt-5 block text-xs font-medium text-gray-900"
              htmlFor="password"
            >
              ユーザー名
            </label>
            <div className="relative">
              <input
                className="peer block w-full rounded-md border border-gray-200 py-[9px] pl-10 text-sm outline-2 placeholder:text-gray-500"
                id="userName"
                type="userName"
                name="userName"
                placeholder="Enter your email address"
                required
              />
              <AtSymbolIcon className="pointer-events-none absolute left-3 top-1/2 h-[18px] w-[18px] -translate-y-1/2 text-gray-500 peer-focus:text-gray-900" />
            </div>
          </div>
        </div>
        <SignupButton />
        <div
          className="flex h-8 items-end space-x-1"
          aria-live="polite"
          aria-atomic="true"
        ></div>
      </div>
    </form>
  );
}

function SignupButton() {
  const { pending } = useFormStatus();

  return (
    <Button className="mt-4 w-full" aria-disabled={pending}>
      新規登録 <ArrowRightIcon className="ml-auto h-5 w-5 text-gray-50" />
    </Button>
  );
}
/app/signup/page.tsx
import AcmeLogo from '@/app/ui/acme-logo';

import { Metadata } from 'next';
import SignupForm from '../ui/sinup-form';

export const metadata: Metadata = {
  title: 'login | Acme Dashboard',
};
export default function Signup() {
  return (
    <main className="flex items-center justify-center md:h-screen">
      <div className="relative mx-auto flex w-full max-w-[400px] flex-col space-y-2.5 p-4 md:-mt-32">
        <div className="flex h-20 w-full items-end rounded-lg bg-blue-500 p-3 md:h-36">
          <div className="w-32 text-white md:w-36">
            <AcmeLogo />
          </div>
        </div>
        <SignupForm />
      </div>
    </main>
  );
}
learn Next.js 15章のログインフォームほぼ同じです!
新規ユーザーを追加するためのサーバーアクションの作成
/app/lib/actions.ts
const AddUserSchema = z.object({
  id: z.string(),
  userName: z.string(),
  email: z.string().email(),
  password: z.string().min(6),
});

export type userState = {
  errors?: {
    userName?: string[];
    email?: string[];
    pasword?: string[];
  };
  message?: string | null;
};

const CreateUser = AddUserSchema.omit({ id: true });


export async function addUser(prevState: userState, formData: FormData) {
  const validatedFields = CreateUser.safeParse({
    userName: formData.get('userName'),
    email: formData.get('email'),
    password: formData.get('password'),
  });

  if (!validatedFields.success) {
    return {
      errors: validatedFields.error.flatten().fieldErrors,
      message: 'Missing Fields. Failed to Add User.',
    };
  }

  const { userName, email, password } = validatedFields.data;
  const hashedPassword = await bcrypt.hash(password, 10);

  try {
    await sql`
        INSERT INTO users (name, email, password)
        VALUES (${userName}, ${email}, ${hashedPassword})
      `;
  } catch (error) {
    return {
      message: 'Database Error: Failed to Add User.',
    };
  }

  revalidatePath('/login');
  redirect('/login');
}
-
CreateUser.safeParseを使用して入力された値が適切なものかを確認します。 - 適切であれば、パスワードをハッシュ化します。
- ユーザーを追加する
SQLをデータベースに投げます。
パスワードのハッシュ化忘れがちなので、忘れずに!!!
新規登録フォームまで遷移するためのボタンを作成&配置
/app/ui/sinup-Link.tsx
import Link from 'next/link';
import { ArrowRightIcon } from '@heroicons/react/24/outline';
interface SignupLinkProps {
  text: string;
}

const SignupLink = ({ text }: SignupLinkProps) => (
  <Link
    href="/signup"
    className="flex items-center gap-5 self-start rounded-lg bg-blue-500 px-6 py-3 text-sm font-medium text-white transition-colors hover:bg-blue-400 md:text-base"
  >
    <span>{text}</span> <ArrowRightIcon className="w-5 md:w-6" />
  </Link>
);

export default SignupLink;
/app/page.tsx
import { ArrowRightIcon } from '@heroicons/react/24/outline';
import Image, { StaticImageData } from 'next/image';
import Link from 'next/link';
import AcmeLogo from '@/app/ui/acme-logo';
import { lusitana } from '@/app/ui/fonts';
export default function Page() {
return (
<main className="flex min-h-screen flex-col p-6">
<div className="flex h-20 shrink-0 items-end rounded-lg bg-blue-500 p-4 md:h-52">
<AcmeLogo />
</div>
<div className="mt-4 flex grow flex-col gap-4 md:flex-row">
<div className="flex flex-col justify-center gap-6 rounded-lg bg-gray-50 px-6 py-10 md:w-2/5 md:px-20">
<p
className={`${lusitana.className} text-xl text-gray-800 md:text-3xl md:leading-normal`}
>
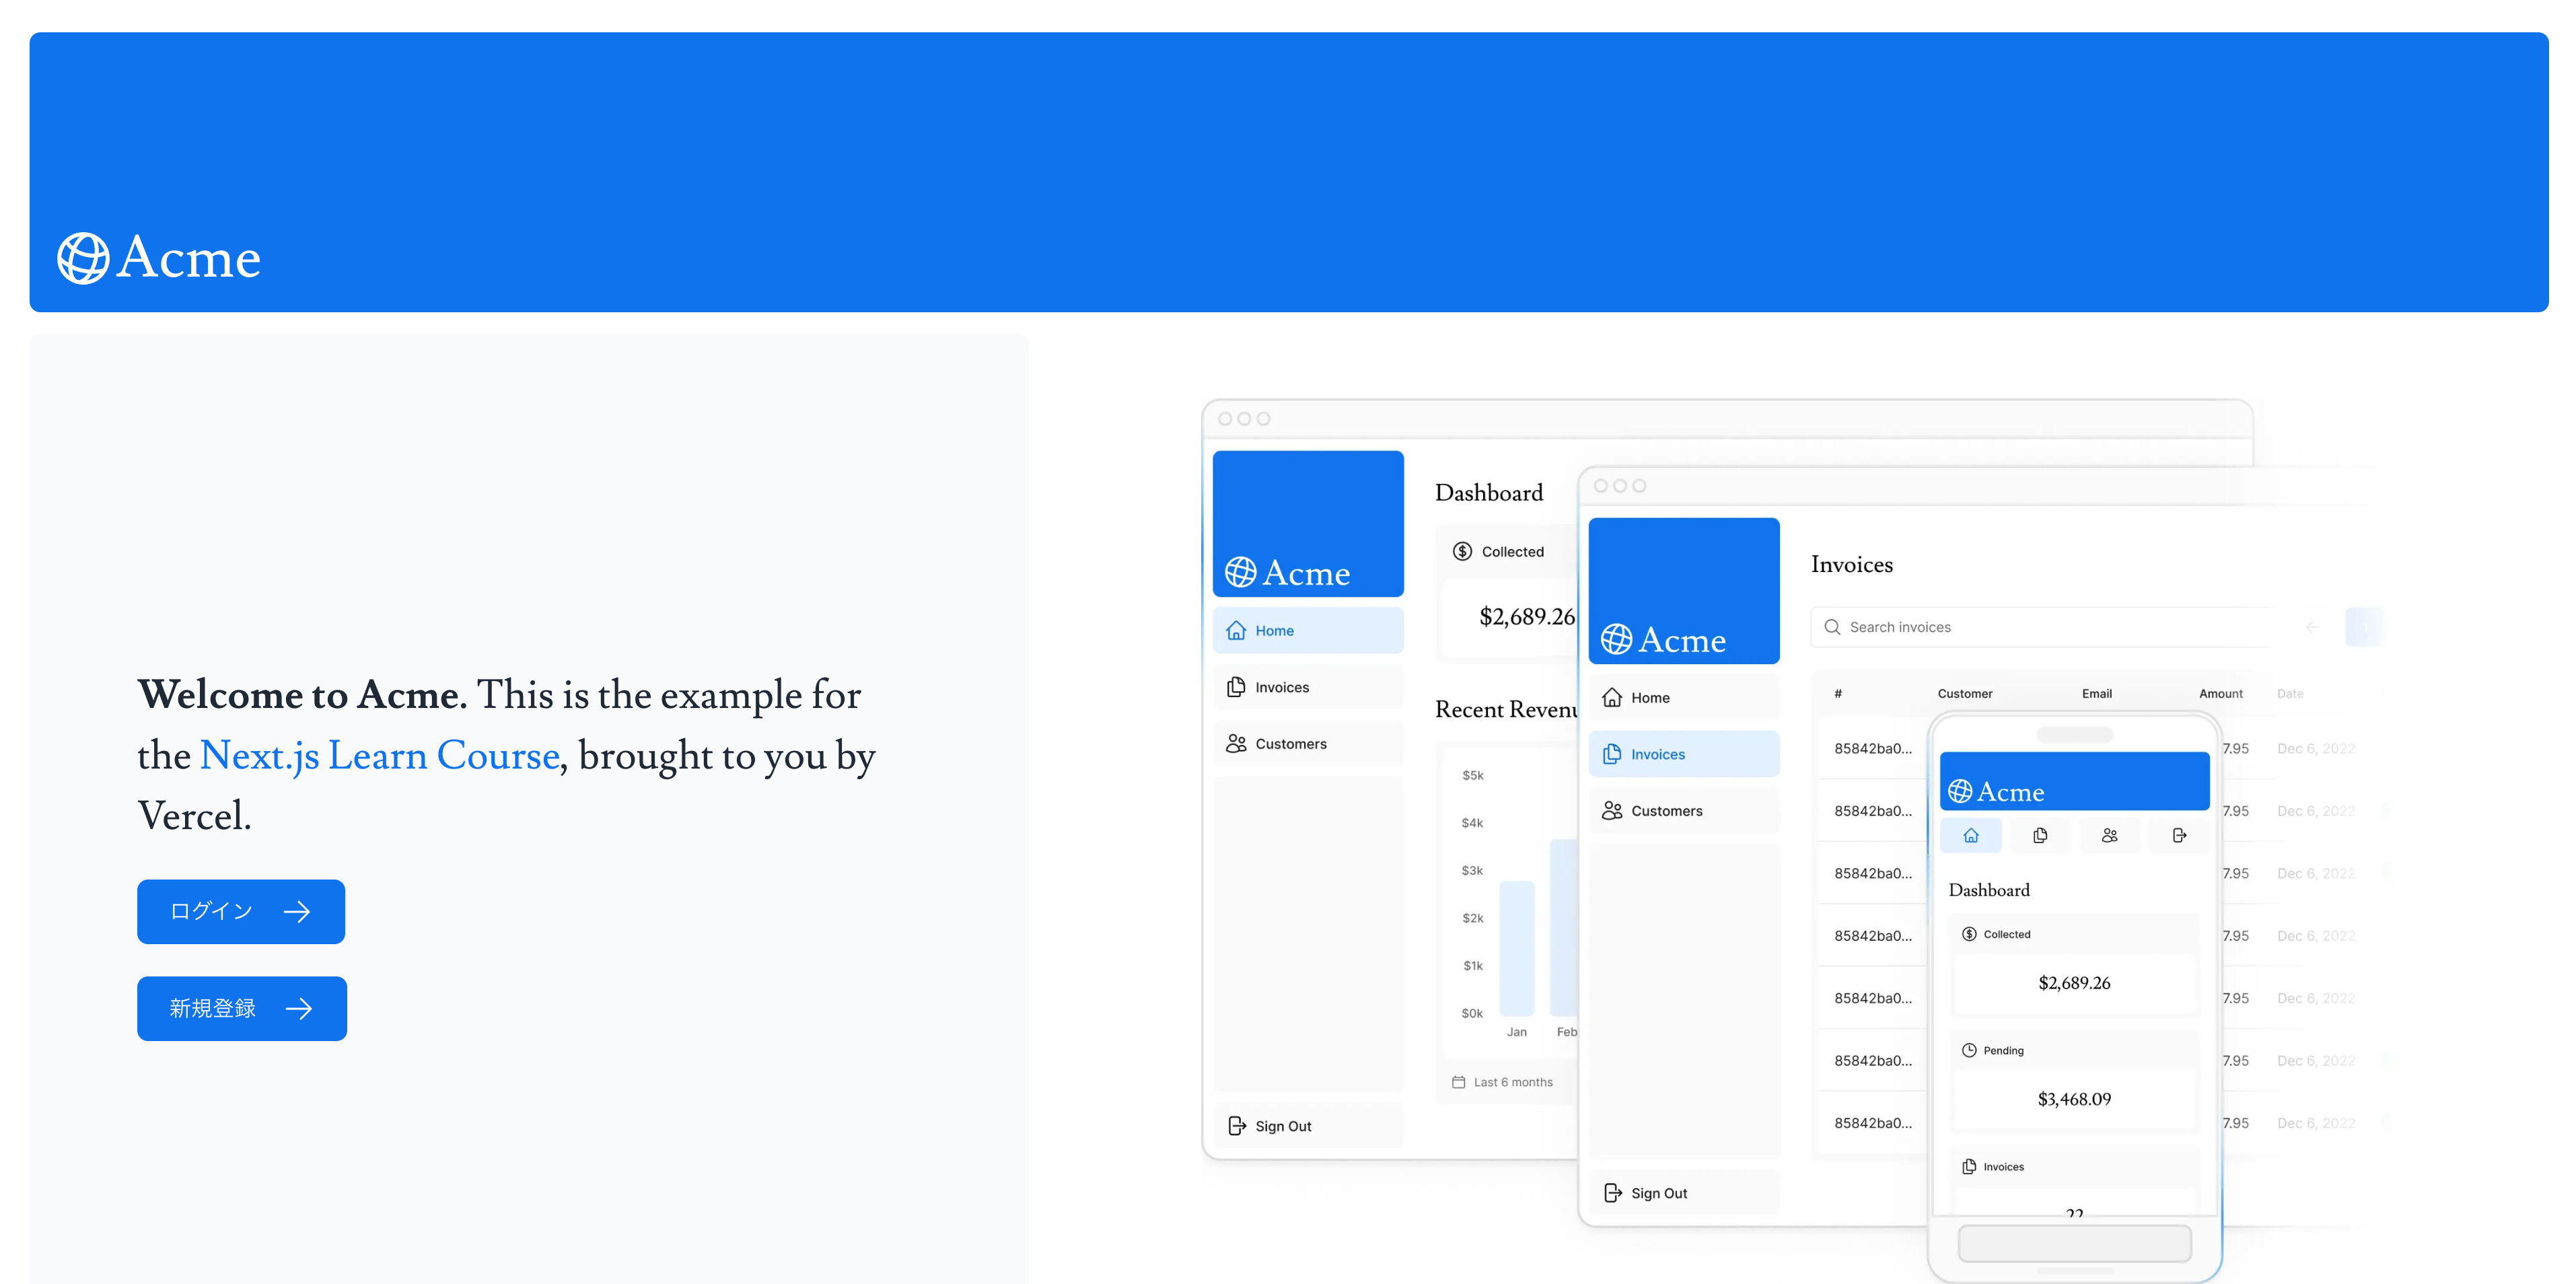
<strong>Welcome to Acme.</strong> This is the example for the{' '}
<a href="https://nextjs.org/learn/" className="text-blue-500">
Next.js Learn Course
</a>
, brought to you by Vercel.
</p>
<Link
href="/login"
className="flex items-center gap-5 self-start rounded-lg bg-blue-500 px-6 py-3 text-sm font-medium text-white transition-colors hover:bg-blue-400 md:text-base"
>
<span>ログイン</span> <ArrowRightIcon className="w-5 md:w-6" />
</Link>
<SignupLink text="新規登録" />
</div>
<div className="flex items-center justify-center p-6 md:w-3/5 md:px-28 md:py-12">
{/* Add Hero Images Here */}
<Image
src="/hero-desktop.png"
width={1000}
height={760}
className="hidden md:block"
alt="Screenshots of the dashboard project showing desktop version"
/>
<Image
src="/hero-mobile.png"
width={560}
height={620}
className="block md:hidden"
alt="Screenshot of the dashboard project showing mobile version"
/>
</div>
</div>
</main>
);
}
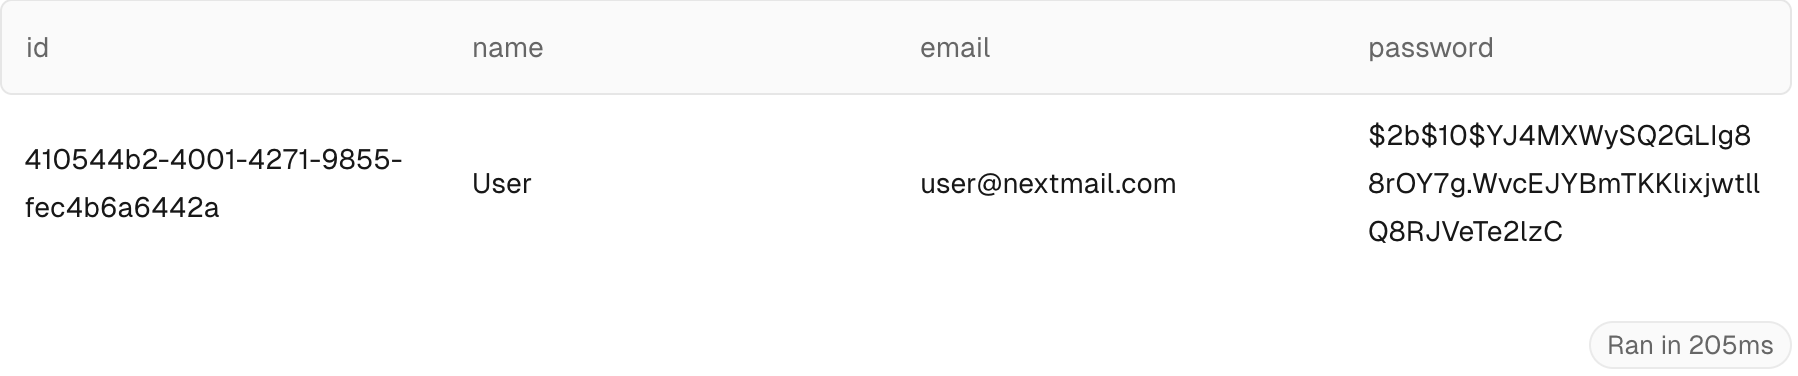
💻動作確認
ユーザー名: dummyUser
メールアドレス: dummyUser@example.com
パスワード: dummyPassword123
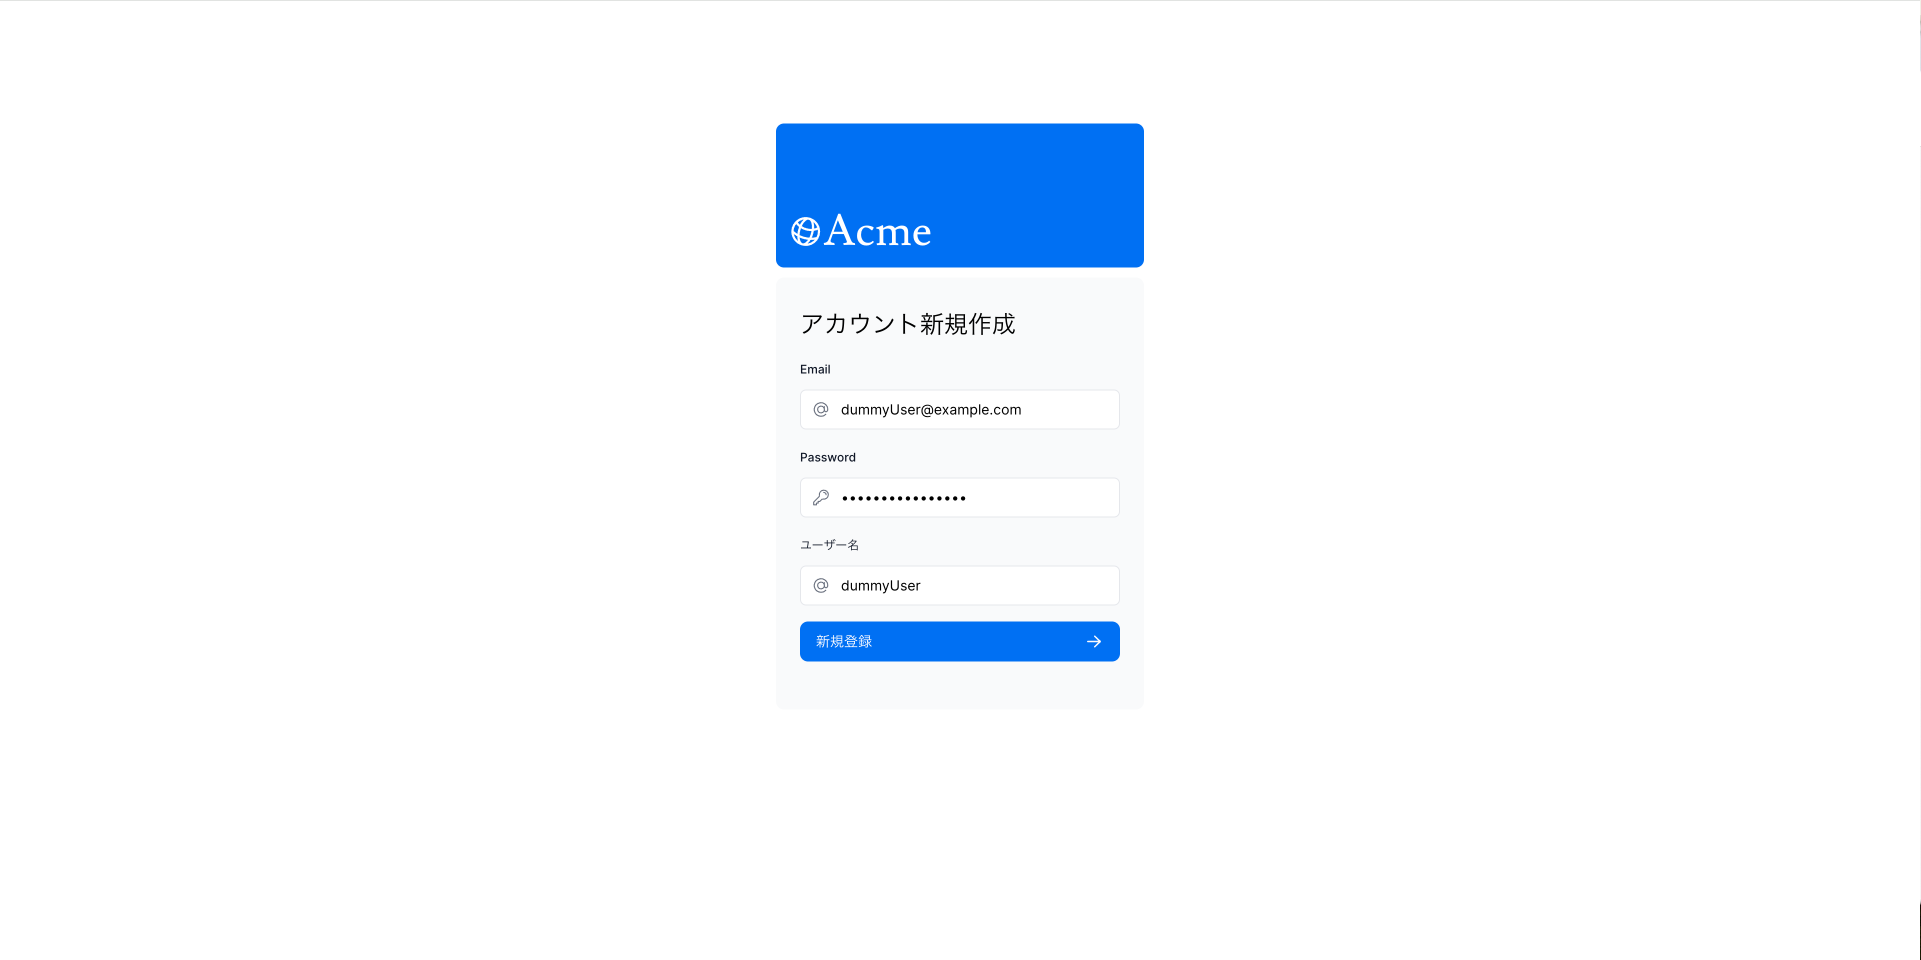
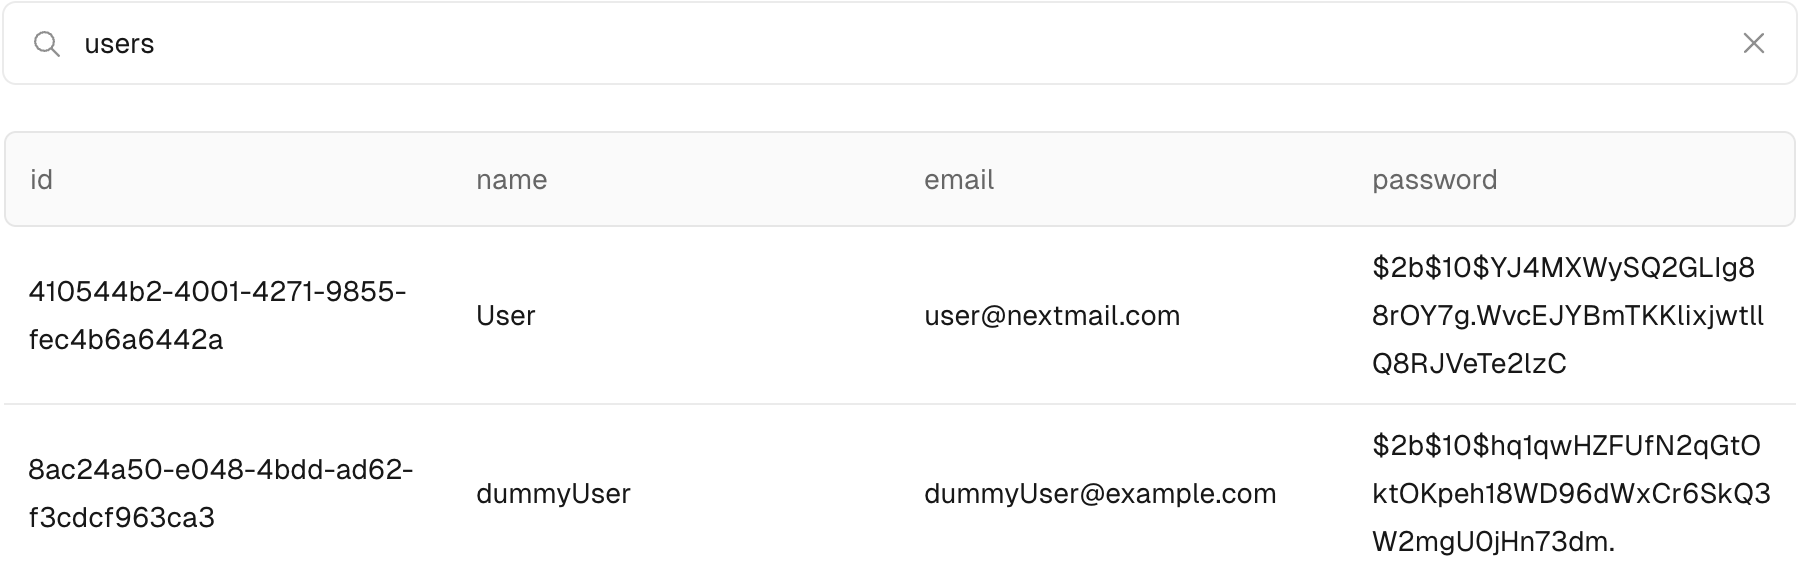
データベースに追加されました

ログインもできました
 次に退会機能も追加していきます
- 退会フォームのコンポーネントを作成します。(退会フォームも元々用意されているフォームを使いまわします。)
- ユーザーを削除するためのサーバーアクションの作成
- 退会フォームまで遷移するためのボタンを作成&配置
新規登録機能と手順はほぼ同じです![]()
退会フォームのコンポーネントを作成
/app/ui/delete-account-form.tsx
'use client';

import { lusitana } from '@/app/ui/fonts';
import {
  AtSymbolIcon,
  KeyIcon,
  ExclamationCircleIcon,
} from '@heroicons/react/24/outline';
import { ArrowRightIcon } from '@heroicons/react/20/solid';
import { Button } from '@/app/ui/button';
import { useFormState, useFormStatus } from 'react-dom';
import { deleteUser } from '@/app/lib/actions';

export default function DeleteAccountForm() {
  const initialState = { message: null, errors: {} };
  const [errorMessage, dispatch] = useFormState(deleteUser, initialState);

  return (
    <form action={dispatch} className="space-y-3">
      <div className="flex-1 rounded-lg bg-gray-50 px-6 pb-4 pt-8">
        <h1 className={`${lusitana.className} mb-3 text-2xl`}>
          アカウント削除
        </h1>
        <div className="w-full">
          <div>
            <label
              className="mb-3 mt-5 block text-xs font-medium text-gray-900"
              htmlFor="email"
            >
              Email
            </label>
            <div className="relative">
              <input
                className="peer block w-full rounded-md border border-gray-200 py-[9px] pl-10 text-sm outline-2 placeholder:text-gray-500"
                id="email"
                type="email"
                name="email"
                placeholder="Enter your email address"
                required
              />
              <AtSymbolIcon className="pointer-events-none absolute left-3 top-1/2 h-[18px] w-[18px] -translate-y-1/2 text-gray-500 peer-focus:text-gray-900" />
            </div>
          </div>
          <div className="mt-4">
            <label
              className="mb-3 mt-5 block text-xs font-medium text-gray-900"
              htmlFor="password"
            >
              Password
            </label>
            <div className="relative">
              <input
                className="peer block w-full rounded-md border border-gray-200 py-[9px] pl-10 text-sm outline-2 placeholder:text-gray-500"
                id="password"
                type="password"
                name="password"
                placeholder="Enter password"
                required
                minLength={6}
              />
              <KeyIcon className="pointer-events-none absolute left-3 top-1/2 h-[18px] w-[18px] -translate-y-1/2 text-gray-500 peer-focus:text-gray-900" />
            </div>
            <label
              className="mb-3 mt-5 block text-xs font-medium text-gray-900"
              htmlFor="password"
            >
              ユーザー名
            </label>
            <div className="relative">
              <input
                className="peer block w-full rounded-md border border-gray-200 py-[9px] pl-10 text-sm outline-2 placeholder:text-gray-500"
                id="userName"
                type="userName"
                name="userName"
                placeholder="Enter your email address"
                required
              />
              <AtSymbolIcon className="pointer-events-none absolute left-3 top-1/2 h-[18px] w-[18px] -translate-y-1/2 text-gray-500 peer-focus:text-gray-900" />
            </div>
          </div>
        </div>
        <DeleteAccountButton />
        <div
          className="flex h-8 items-end space-x-1"
          aria-live="polite"
          aria-atomic="true"
        ></div>
      </div>
    </form>
  );
}

function DeleteAccountButton() {
  const { pending } = useFormStatus();

  return (
    <Button className="mt-4 w-full" aria-disabled={pending}>
      退会 <ArrowRightIcon className="ml-auto h-5 w-5 text-gray-50" />
    </Button>
  );
}
/app/dashboard/delete-account/page.tsx
import AcmeLogo from '@/app/ui/acme-logo';

import { Metadata } from 'next';
import DeleteAccountForm from '../../ui/delete-account-form';

export const metadata: Metadata = {
  title: 'deleteAccount | Acme Dashboard',
};
export default function DeleteAccount() {
  return (
    <main className="flex items-center justify-center md:h-screen">
      <div className="relative mx-auto flex w-full max-w-[400px] flex-col space-y-2.5 p-4 md:-mt-32">
        <div className="flex h-20 w-full items-end rounded-lg bg-blue-500 p-3 md:h-36">
          <div className="w-32 text-white md:w-36">
            <AcmeLogo />
          </div>
        </div>
        <DeleteAccountForm />
      </div>
    </main>
  );
}
ログインフォームと新規登録フォームとほぼ同じです!
ユーザーを削除するためのサーバーアクションの作成
/app/lib/actions.ts
const DeleteUserSchema = z.object({
  id: z.string(),
  userName: z.string(),
  email: z.string().email(),
  password: z.string().min(6),
});

const DeleteUser = DeleteUserSchema.omit({ id: true });

export async function deleteUser(prevState: userState, formData: FormData) {
  const validatedFields = DeleteUser.safeParse({
    userName: formData.get('userName'),
    email: formData.get('email'),
    password: formData.get('password'),
  });

  if (!validatedFields.success) {
    return {
      errors: validatedFields.error.flatten().fieldErrors,
      message: 'Missing Fields. Failed to Add User.',
    };
  }

  const { userName, email, password } = validatedFields.data;

  const user = await getUser(email);
  if (!user) {
    return {
      message: 'User not found.',
      errors: {},
    };
  }
  const passwordsMatch = await bcrypt.compare(password, user.password);
  const userNameMatch = userName === user.name;

  if (passwordsMatch && userNameMatch) {
    try {
      await sql`DELETE FROM users WHERE id = ${user.id}`;
    } catch (error) {
      return {
        message: 'Database error: Failed to delete user.',
        errors: {},
      };
    }
    await signOut();
    revalidatePath('/login');
    redirect('/login');
  }

  return {
    message: 'Failed to delete user. Passwords or usernames do not match.',
    errors: {},
  };
}
-
DeleteUser.safeParseを使用して入力された値が適切なものかを確認します。 -
emailが一致するuserをデータベースから取得します。 - 入力された
userNameとpasswordが一致するか確認します。 - 一致したらユーザーを削除する
SQLをデータベースに投げます。
退会フォームまで遷移するためのボタンを作成&配置
/app/ui/dashboard/sidenav.tsx
import Link from 'next/link';
import NavLinks from '@/app/ui/dashboard/nav-links';
import AcmeLogo from '@/app/ui/acme-logo';
import { PowerIcon } from '@heroicons/react/24/outline';
import { signOut } from '@/auth';

export default function SideNav() {
  return (
    <div className="flex h-full flex-col px-3 py-4 md:px-2">
      <Link
        className="mb-2 flex h-20 items-end justify-start rounded-md bg-blue-600 p-4 md:h-40"
        href="/"
      >
        <div className="w-32 text-white md:w-40">
          <AcmeLogo />
        </div>
      </Link>
      <div className="flex grow flex-row justify-between space-x-2 md:flex-col md:space-x-0 md:space-y-2">
        <NavLinks />
        <div className="hidden h-auto w-full grow rounded-md bg-gray-50 md:block"></div>
        <form
          action={async () => {
            'use server';
            await signOut();
          }}
        >
          <button className="flex h-[48px] w-full grow items-center justify-center gap-2 rounded-md bg-gray-50 p-3 text-sm font-medium hover:bg-sky-100 hover:text-blue-600 md:flex-none md:justify-start md:p-2 md:px-3">
            <PowerIcon className="w-6" />
            <div className="hidden md:block">ログアウト</div>
          </button>
        </form>
        <Link href="/dashboard/delete-account">
          <button className="flex h-[48px] w-full grow items-center justify-center gap-2 rounded-md bg-gray-50 p-3 text-sm font-medium hover:bg-sky-100 hover:text-blue-600 md:flex-none md:justify-start md:p-2 md:px-3">
            <PowerIcon className="w-6" />
            <div className="hidden md:block">退会</div>
          </button>
        </Link>
      </div>
    </div>
  );
}
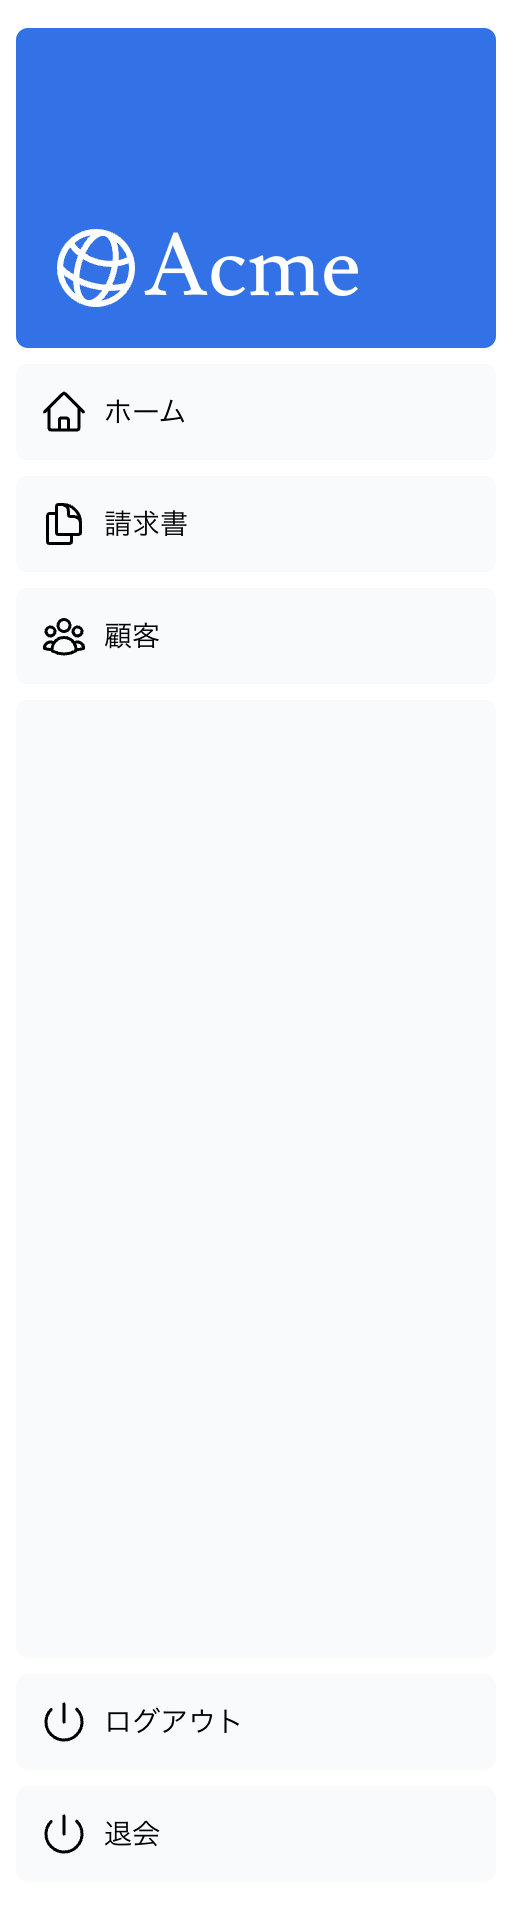
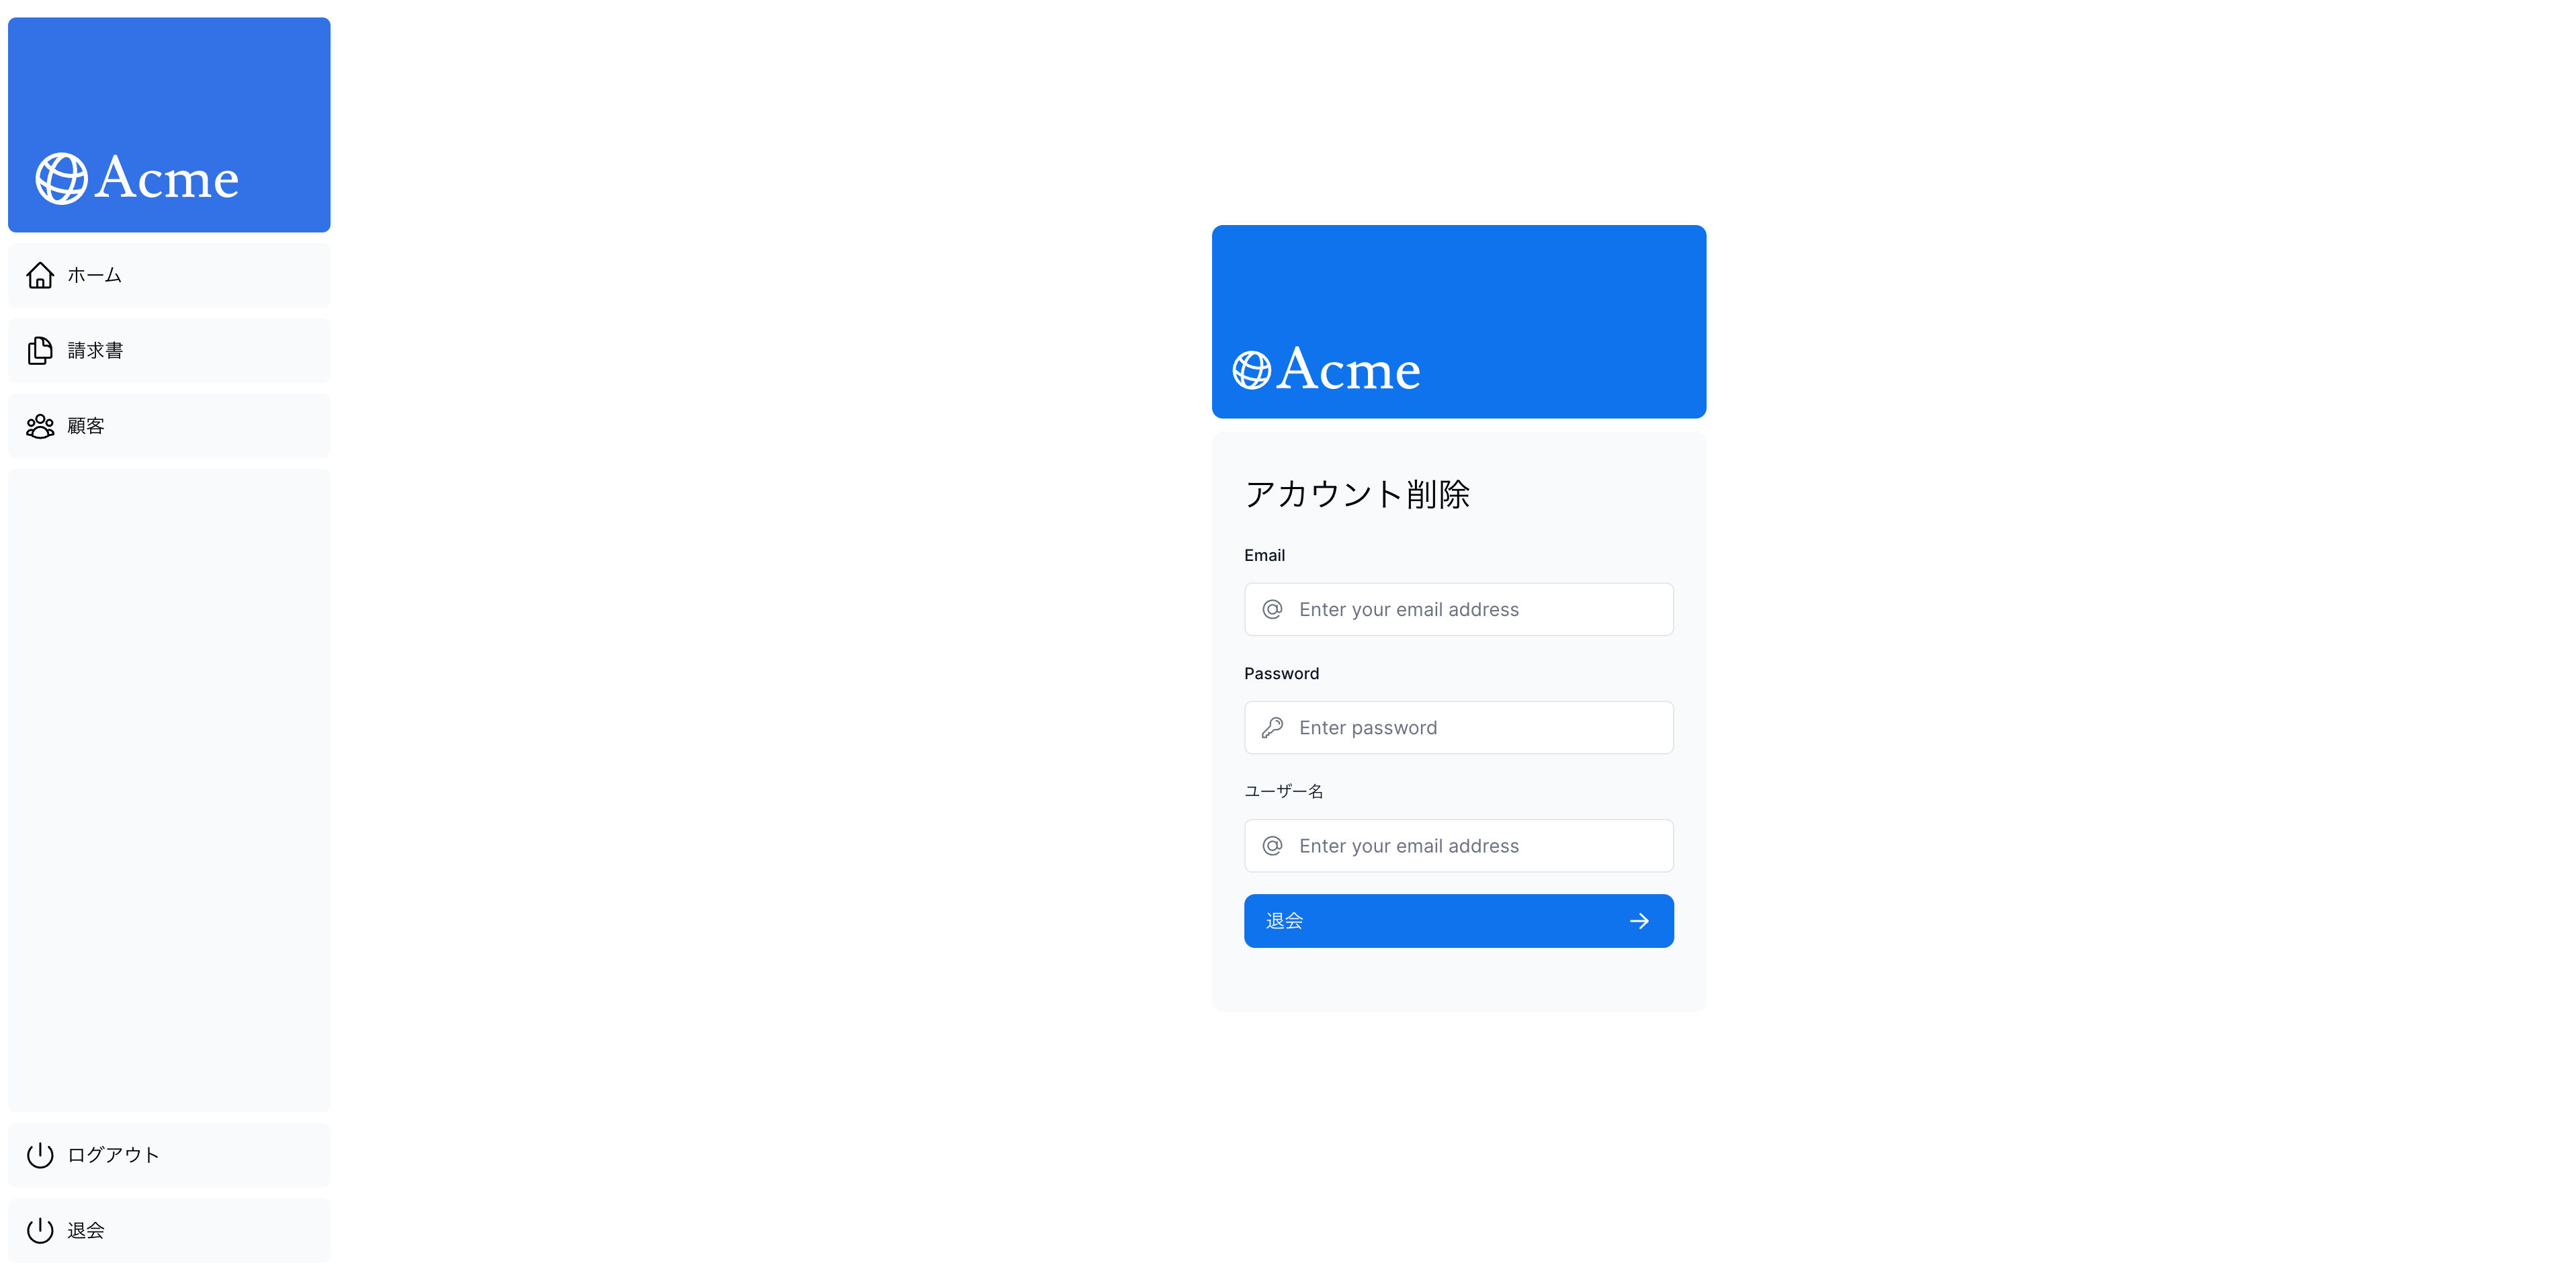
 ダッシュボードのナビゲーションに退会ボタンを追加
動作確認💻
先ほど登録したユーザーを削除していきます。
ユーザー名: dummyUser
メールアドレス: dummyUser@example.com
パスワード: dummyPassword123
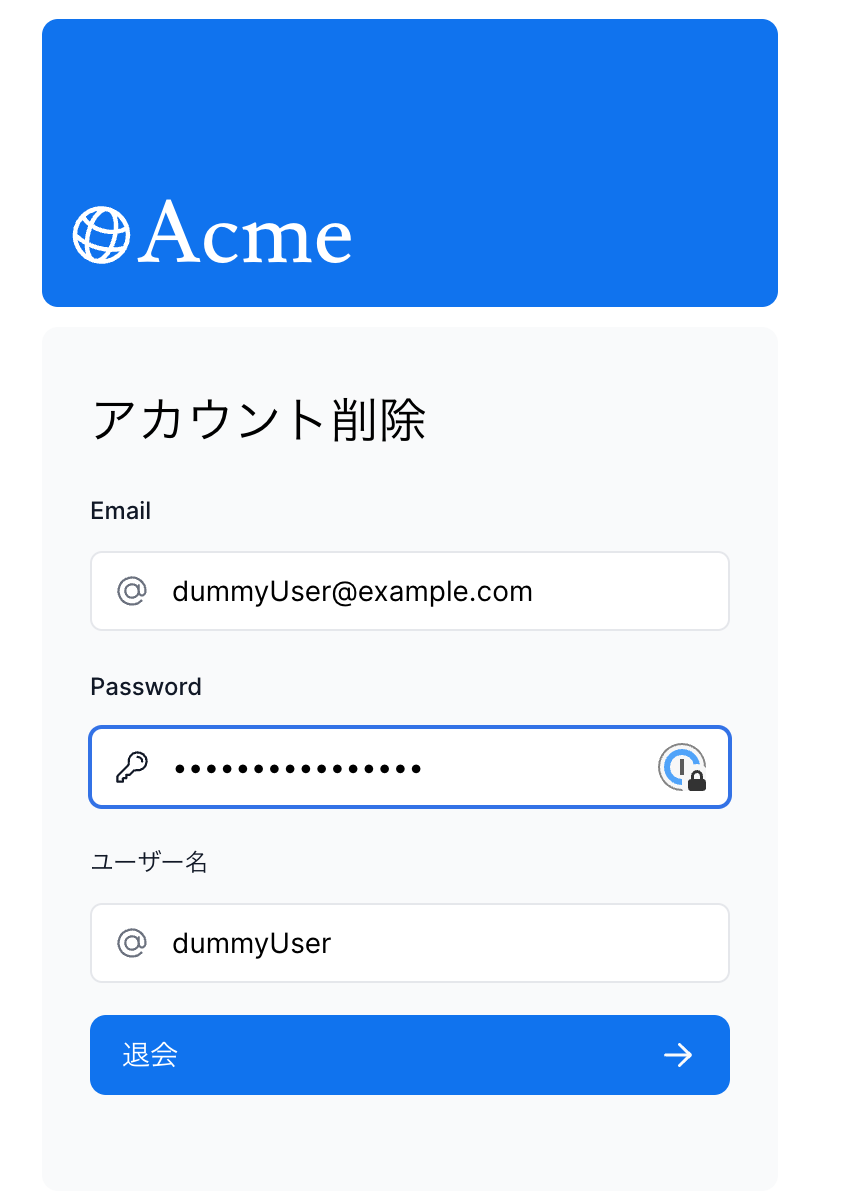
退会ボタンポチッ!🔘
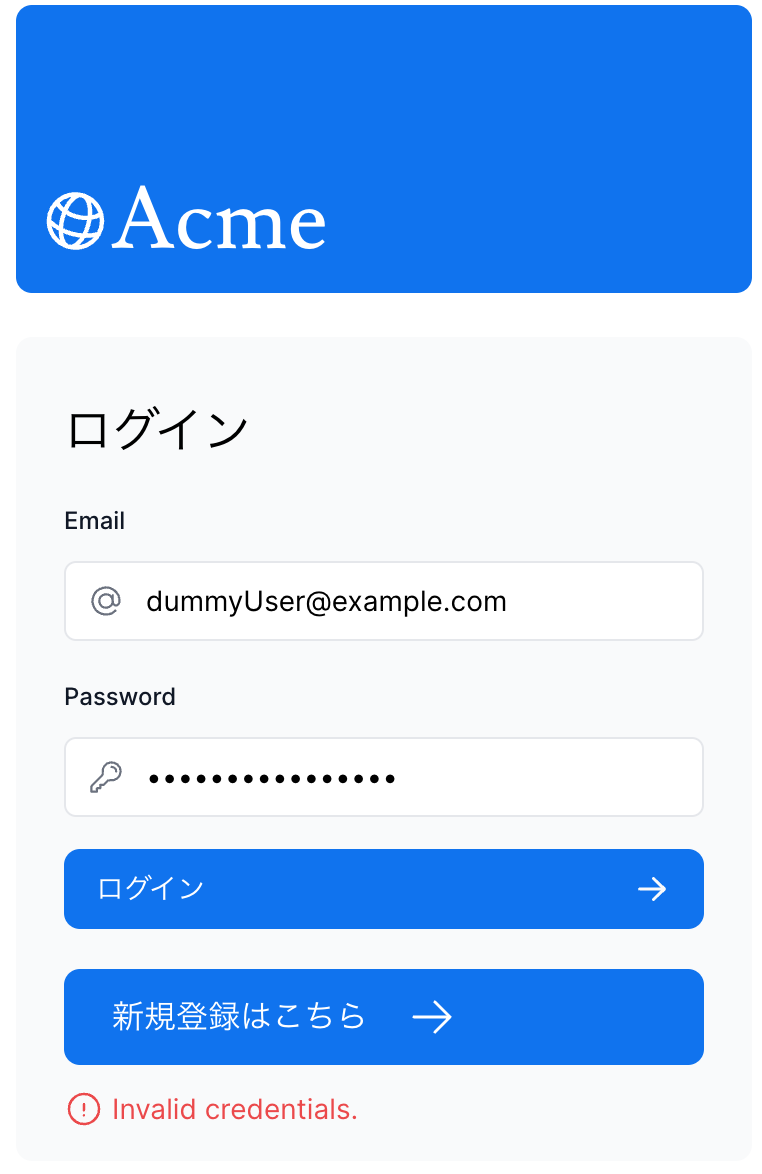
正常通りログインができなくなりました!
データベースからも消えています👏
苦戦したところ
今回退会機能の実装手順として
- 退会フォームのコンポーネントを作成します。(退会フォームも元々用意されているフォームを使いまわします。)
- ユーザーを削除するためのサーバーアクションの作成
- 退会フォームまで遷移するためのボタンを作成&配置
上記の手順で実装しました。
ですが本来は、
- Next.auth.jsからセッション情報を取得
- 取得したセッション情報から、ユーザーを削除するためのサーバーアクションの作成
- 退会フォームまで遷移するためのボタンを作成&配置
のように実装しようとしてました。
後者の実装方法では、Next.auth.jsのuseSession関数かgetSession関数でセッション情報取得しようと考えていました。ですが、
Unhandled Runtime Error Error: (0 , next_auth_react__WEBPACK_IMPORTED_MODULE_8__.getSession) is not a function

Source app/lib/actions.ts (191:34) @ getSession

189 | 190 | export async function deleteUser() {

191 | const session = await getSession(); | ^ 192 | 193 | if (session) { 194 | try { Call Stack deleteUser app/ui/dashboard/sidenav.tsx (37:28) Show collapsed frame
上記のエラーでうまくいかず,,,
"next-auth": "^5.0.0-beta.16"はベータ版であり、最新の安定版ではないのでうまく動作しないという可能性とバージョンアップしたら何かとハマりそうだったので、前者の実装方法に変更しました。
終わりに
Next.auth.jsからセッション情報を取得する方法で実装できなかったが悔しいです。これからもNext.jsを使っていくので都度Next.jsとNext.auth.jsの理解を深めていこうと思います。また、vercelで容易にデプロイできることや1種類の言語でフロントエンドからバックエンドまで書けてとても便利なので、おすすめです。
参考