前書き
初めての投稿ですので、わかりにくい箇所があるかもしれません。改善案などございましたら、教えてください。
nginxとphpのインストール
自分はMacを使っているので、今回はHomebrewを利用してインストールしていきます。
brew install php@(バージョンは各自指定してください)
brew install nginx
php-fpmはbrewでphpをインストールすると同時にインストールされます。
インストールできたか確認
php -v
nginx -v
nginxとはなにか
nginxとはフリーでオープンなウェブサーバーで、主に静的なコンテンツを高速に配信するように設計されている
php-fpmとは
php-fpmとは、phpのFastCGI 実装のひとつで、主に高負荷のサイトで用意されている機能です。
そもそも、CGIとはwebサーバーで、PHPなどのプログラムを動かすための仕組みです。
なぜnginxを使う時にphp-fpmが必要か?
上記にも書いた通り、nginxは静的ファイル(html/css/js)処理できません。なのでphp-fpmを利用します。
nginxを起動する
nginx (起動)
nginx -s stop (停止)
nginx -s reload (再読み込み)
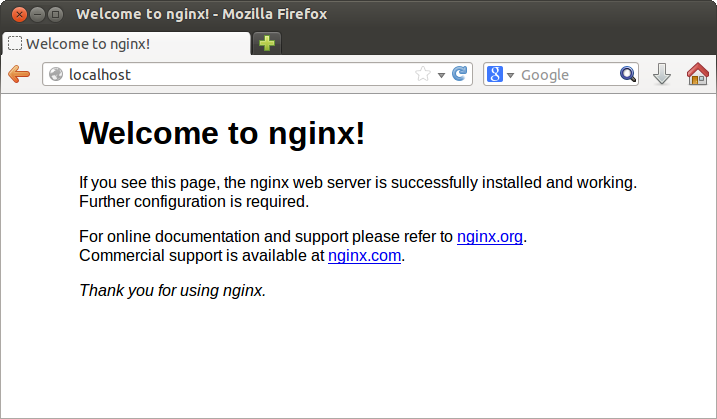
https://localhost:8080
にアクセスしてみて
nginxの設定
nginxの編集は基本的にnginx.confに記述していきます。
nginx.confはどこにあるのか、/usr/local/etc/nginxにあリます。
nginx.confを開いて
location / {
            root   html;
            index  index.html index.htm;
        }


 #location ~ \.php$ {
        #    root           html;
        #    fastcgi_pass   127.0.0.1:9000;
        #    fastcgi_index  index.php;
        #    fastcgi_param  SCRIPT_FILENAME  /scripts$fastcgi_script_name;
        #    include        fastcgi_params;
        #}
主にlocationというところを編集していきます。
自分の場合はDesktopに新たにindexディレクトリを作成し、その中にindex.phpを作成し、それを表示させました。
nginx -t
このコマンドで、編集したnginx.confのシンタックスチェックしてみてください。
nginx.confの中身を編集した場合は、必ずnginxを再起動してください。
location / {
            root   /Users/username/Desktop/index/;
            index  index.php index.html index.htm;
        }

location ~ \.php$ {
           root          /Users/username/Desktop/index/;
           fastcgi_pass   127.0.0.1:9000;
           fastcgi_index  index.php;
           fastcgi_param  SCRIPT_FILENAME /Users/username/Desktop/index/index.php$fastcgi_script_name;
           include        fastcgi_params;
        }
こんな感じで編集しました。
困ったことはnginxとDesktopの管理者権限が異なり、中々表示できませんでした。
$chown
このコマンドでnginxのerror.logとaccess.logの実行者を変更しました。
php-fpmの編集
$brew info php@(自分のバージョン)
これで、brewでインストールした、phpの情報が分かります。
php-fpmの編集ファイルはwww.confなので、その中身を
user = nginx
group = nginx
このように編集しました。
$brew services start php
このコマンドも忘れずに実行してください。
ちなみにDesktopのindexディレクトリのindex.phpの中身は
<?php phpinfo(); ?>
としておきました。
Laravelを表示するには
nginx.confのrootを編集するだけです。
Laravelの処理の起点となるのは、publicディレクトリです。
Laravelで扱うWebページのルート部分はpublic/ディレクトリになります。このことを理解していれば簡単です。
root /Users/username/Desktop/projectname/public/;
この画面が出れば完了です。


