概要
レンズフレアは太陽,ライトなど強い発光を表現するのに非常に有効な手法です.
今回はUnityのUniversal Render Pipelineを使って簡易的なレンズフレアの実装を行います.
環境
- Windows 10 64bit
- Unity 2020.3.8f1
- Universal RP 10.5.0
コード
今回実装するシェーダのコードは以下のgistのものです.
https://gist.github.com/togucchi/549f984f4d7cf2e558783bbc9d216798
実装
今回は以下のような挙動を目指してシェーダを実装します.
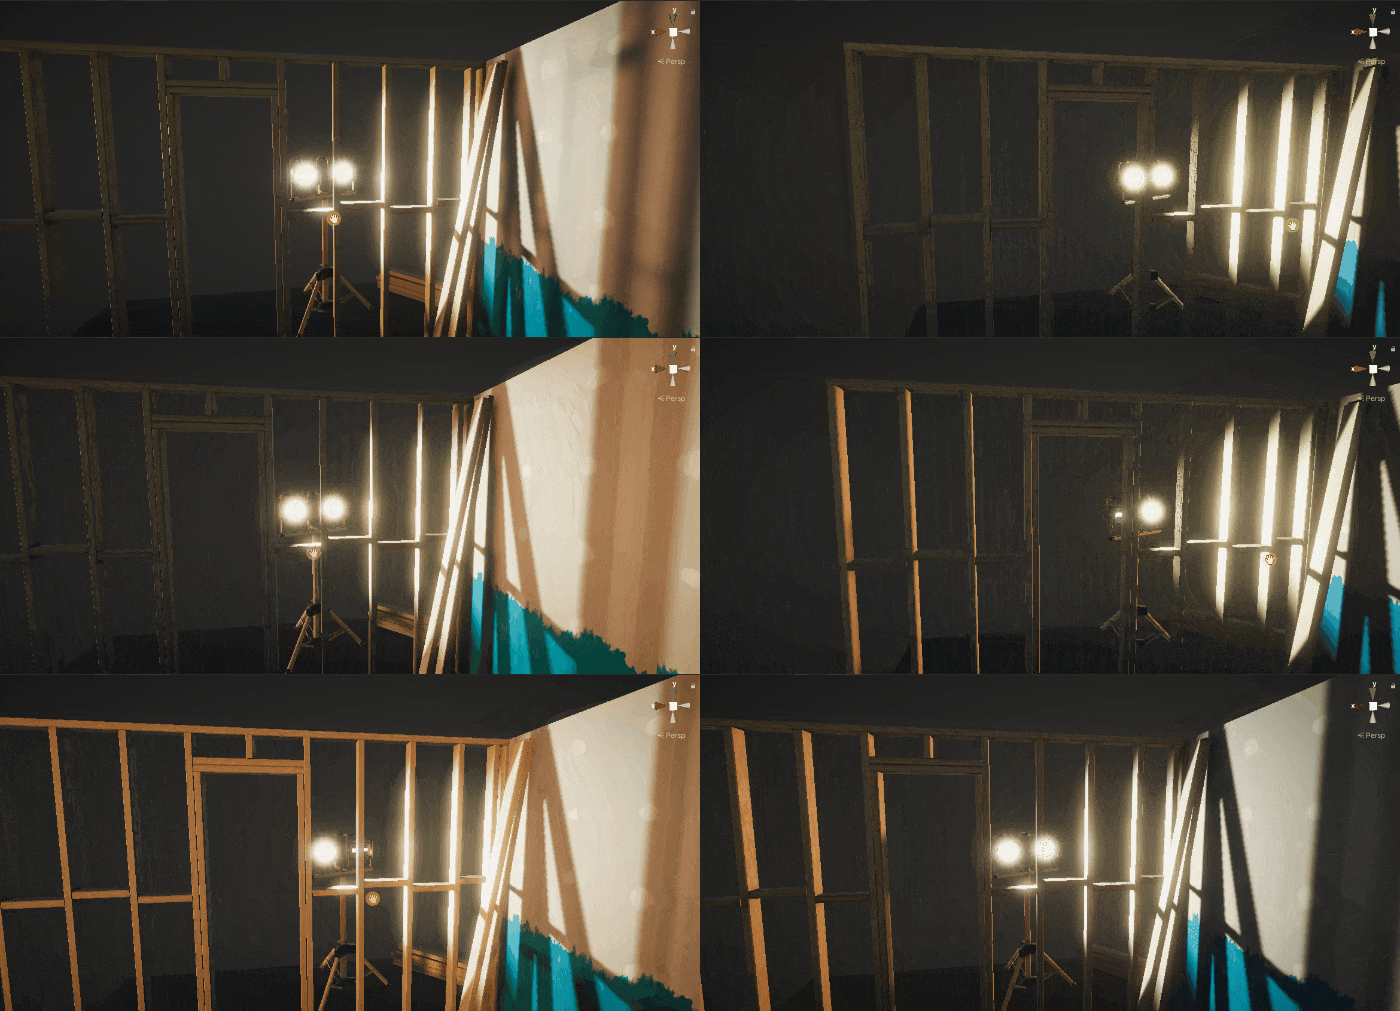
- どの方向から見てもフレアの角度は変化しない(ビルボード)
- フレアの原点が遮蔽されているときのみ非表示にする
ビルボード処理
まず,頂点シェーダにカメラに対してのビルボード処理の実装を行います.
一般的なシェーダでのビルボード処理なので詳しい解説は行いません.
// 原点の座標変換
VertexPositionInputs pivotInput = GetVertexPositionInputs(float3(0, 0, 0));

// ビルボード処理
// スケール・回転のみをワールド座標変換
float3 billboardWS = mul((float3x3)UNITY_MATRIX_M, input.vertex.xyz);
// ビュー座標にスケール・回転を加算
float3 billboardVS = pivotInput.positionVS + float3(billboardWS.xy, -billboardWS.z);

o.vertex = mul(UNITY_MATRIX_P, float4(billboardVS, 1.0));
ビルボードの実装に関してはこちらの記事で詳しく解説してくださっています.
https://gam0022.net/blog/2019/07/23/unity-y-axis-billboard-shader/
この実装により,フレアがカメラに対して必ず正面を向いてくれるようになりました.
原点での遮蔽
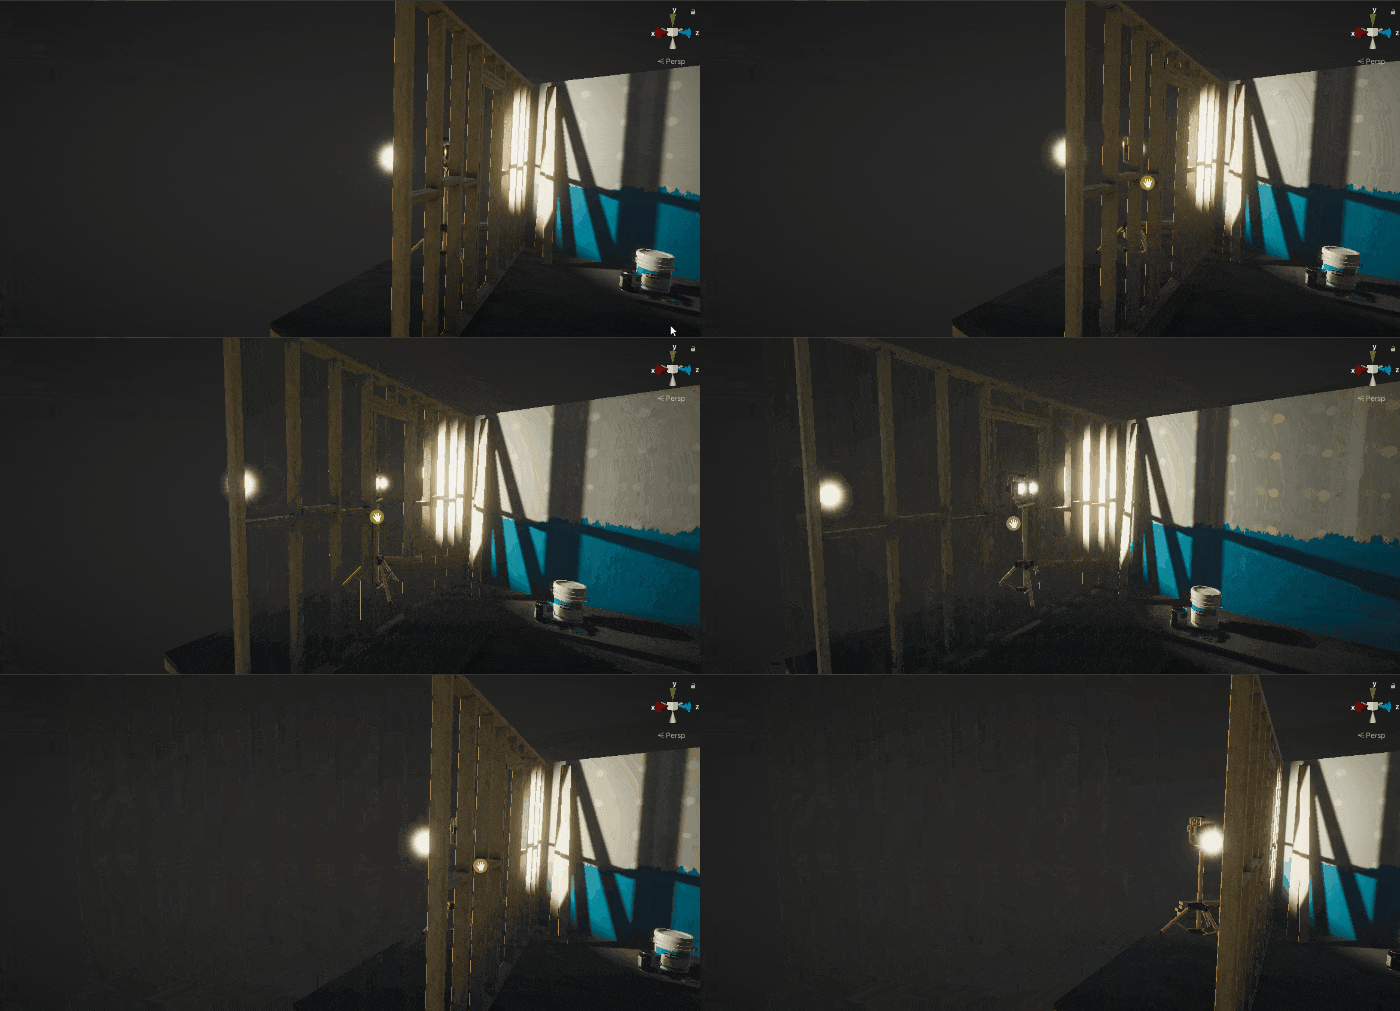
上のgif画像のように木の柱がフレアをそのまま遮蔽してしまうと,光芒としては違和感があります.
そこで,手前のオブジェクトが原点を遮蔽したときのみフレアを非表示にする実装を行います.
ZTestの設定
まず,現状のZTestでの遮蔽を無効にするため,シェーダのZTestをAlwaysに変更します.
    SubShader
    {
        Tags
        {
            "Queue" = "Transparent"
            "RenderType"="Transparent"
            "IgnoreProjector" = "True"
            "RenderPipeline" = "UniversalPipeline"
        }

        LOD 100
        Blend SrcAlpha One
        ZTest Always
...
これにより,ZTestに常に合格するようになり,フレアが常に画面手前に描画されるようになります.
深度テクスチャでの遮蔽判定
次に,深度テクスチャを使って原点に対しての遮蔽判定を行います.
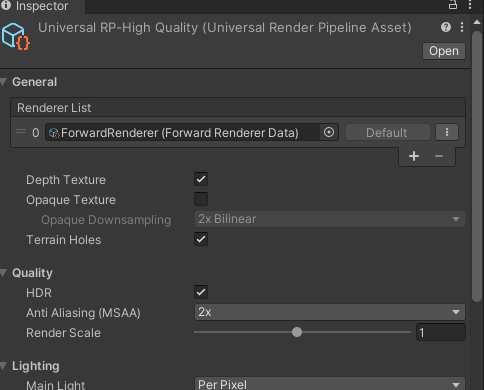
深度テクスチャを使用するため,UniversalRenderPipelineAssetのDepthTextureのフラグをTrueにしておきます.
シェーダ実装は以下のようになっています.
TEXTURE2D(_CameraDepthTexture);
SAMPLER(sampler_CameraDepthTexture);

...

Varyings Vert (Attributes input)
{
    Varyings o;

    // 原点の座標変換
    VertexPositionInputs pivotInput = GetVertexPositionInputs(float3(0, 0, 0));

    // 原点でDepth判定
    // フレアの原点のプロジェクション座標
    float4 projection = pivotInput.positionNDC;

    // フレアの原点の地点に書き込まれているDepth
    float sceneZ = LinearEyeDepth(SAMPLE_TEXTURE2D_X_LOD(_CameraDepthTexture, sampler_CameraDepthTexture, projection.xy / projection.w, 0).r, _ZBufferParams);
    // フレアの原点のDepth
    float thisZ = LinearEyeDepth(projection.z / projection.w, _ZBufferParams);
    // フレアの原点が遮蔽されていたら0になる
    float fade = step(thisZ, sceneZ);

...

    // 遮蔽されていたらすべての頂点座標を同一にして計算する
    o.vertex = lerp(pivotInput.positionCS, o.vertex, fade);
まず,ビルボード同様にフレアの原点に対して各種座標変換を行います.
    // 原点の座標変換
    VertexPositionInputs pivotInput = GetVertexPositionInputs(float3(0, 0, 0));
原点のプロジェクション座標を元に,すでに書き込まれているDepthとフレアの原点のDepthの比較を行います.
比較にはstep関数を用いており,遮蔽の有無に応じて1, 0の値を取得できます.
    // 原点でDepth判定
    // フレアの原点のプロジェクション座標
    float4 projection = pivotInput.positionNDC;

    // フレアの原点の地点に書き込まれているDepth
    float sceneZ = LinearEyeDepth(SAMPLE_TEXTURE2D_X_LOD(_CameraDepthTexture, sampler_CameraDepthTexture, projection.xy / projection.w, 0).r, _ZBufferParams);
    // フレアの原点のDepth
    float thisZ = LinearEyeDepth(projection.z / projection.w, _ZBufferParams);
    // フレアの原点が遮蔽されていたら0になる
    float fade = step(thisZ, sceneZ);
最後に,遮蔽の有無に応じてフレアの表示/非表示を切り替えます.
遮蔽されている場合は頂点座標をすべて同じ座標(今回は原点のクリップ座標)で返すことでラスタライズの際に1ピクセルも割り当てられなくなるため,ピクセルシェーダの処理をスキップできます.
    // 遮蔽されていたらすべての頂点座標を同一にして計算する
    o.vertex = lerp(pivotInput.positionCS, o.vertex, fade);
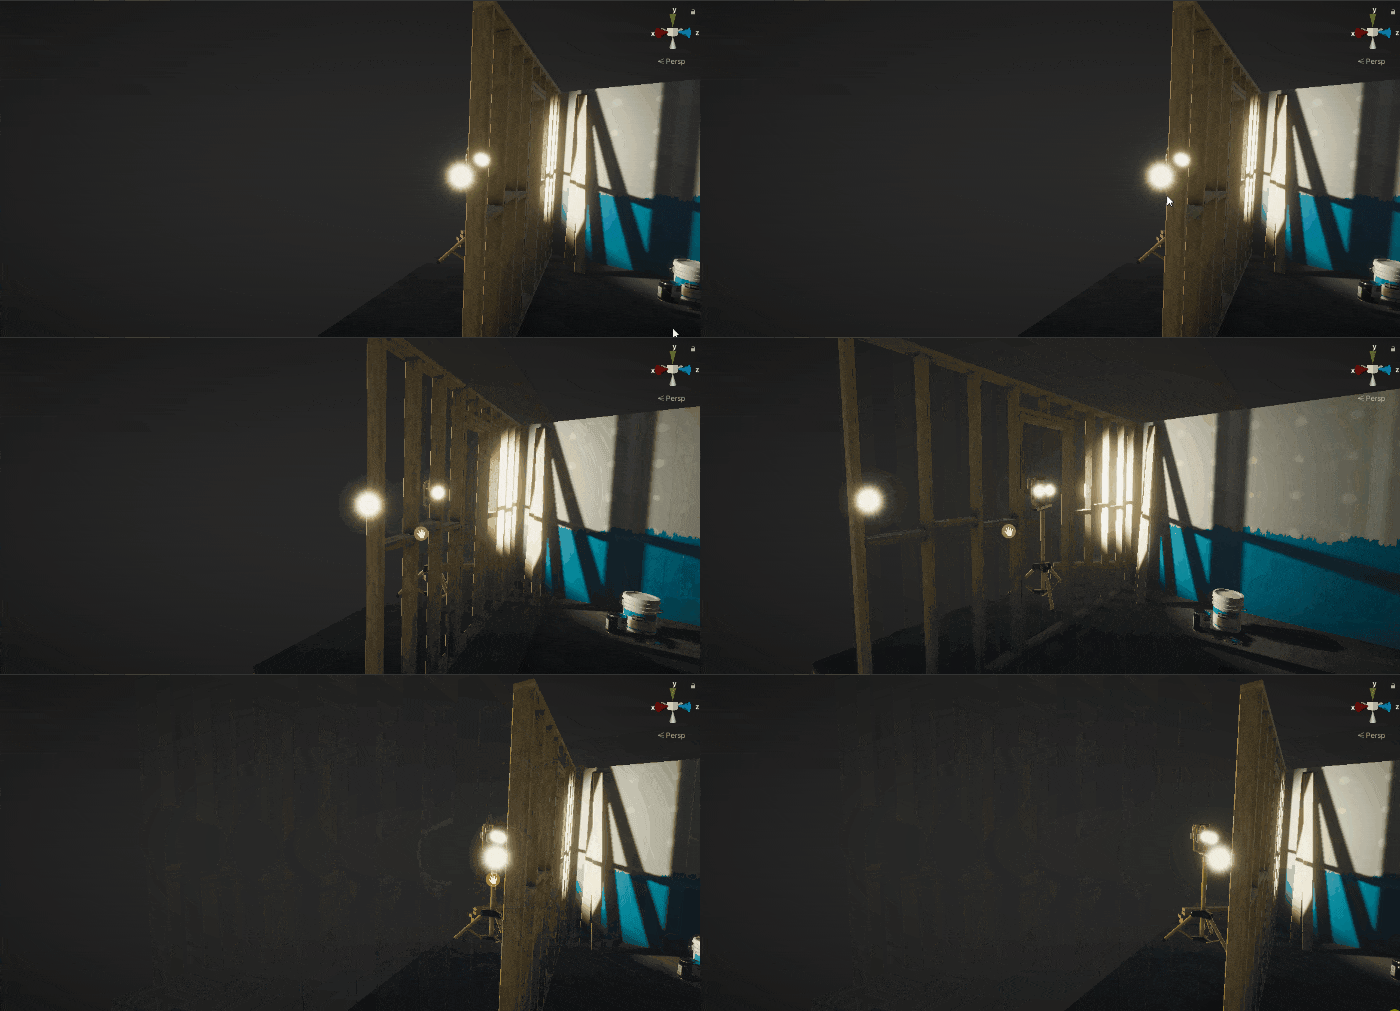
こうして,要件通りのレンズフレアを作ることが出来ました.
今回作ったレンズフレアは深度テクスチャさえ用意できればかなり軽量なものだと思います.
ぜひ参考にしていただけると幸いです.


