こんにちは、Yuiです。
今回はfirebaseの練習がてら掲示板アプリを作ってみたので、その作り方を簡単にまとめます。
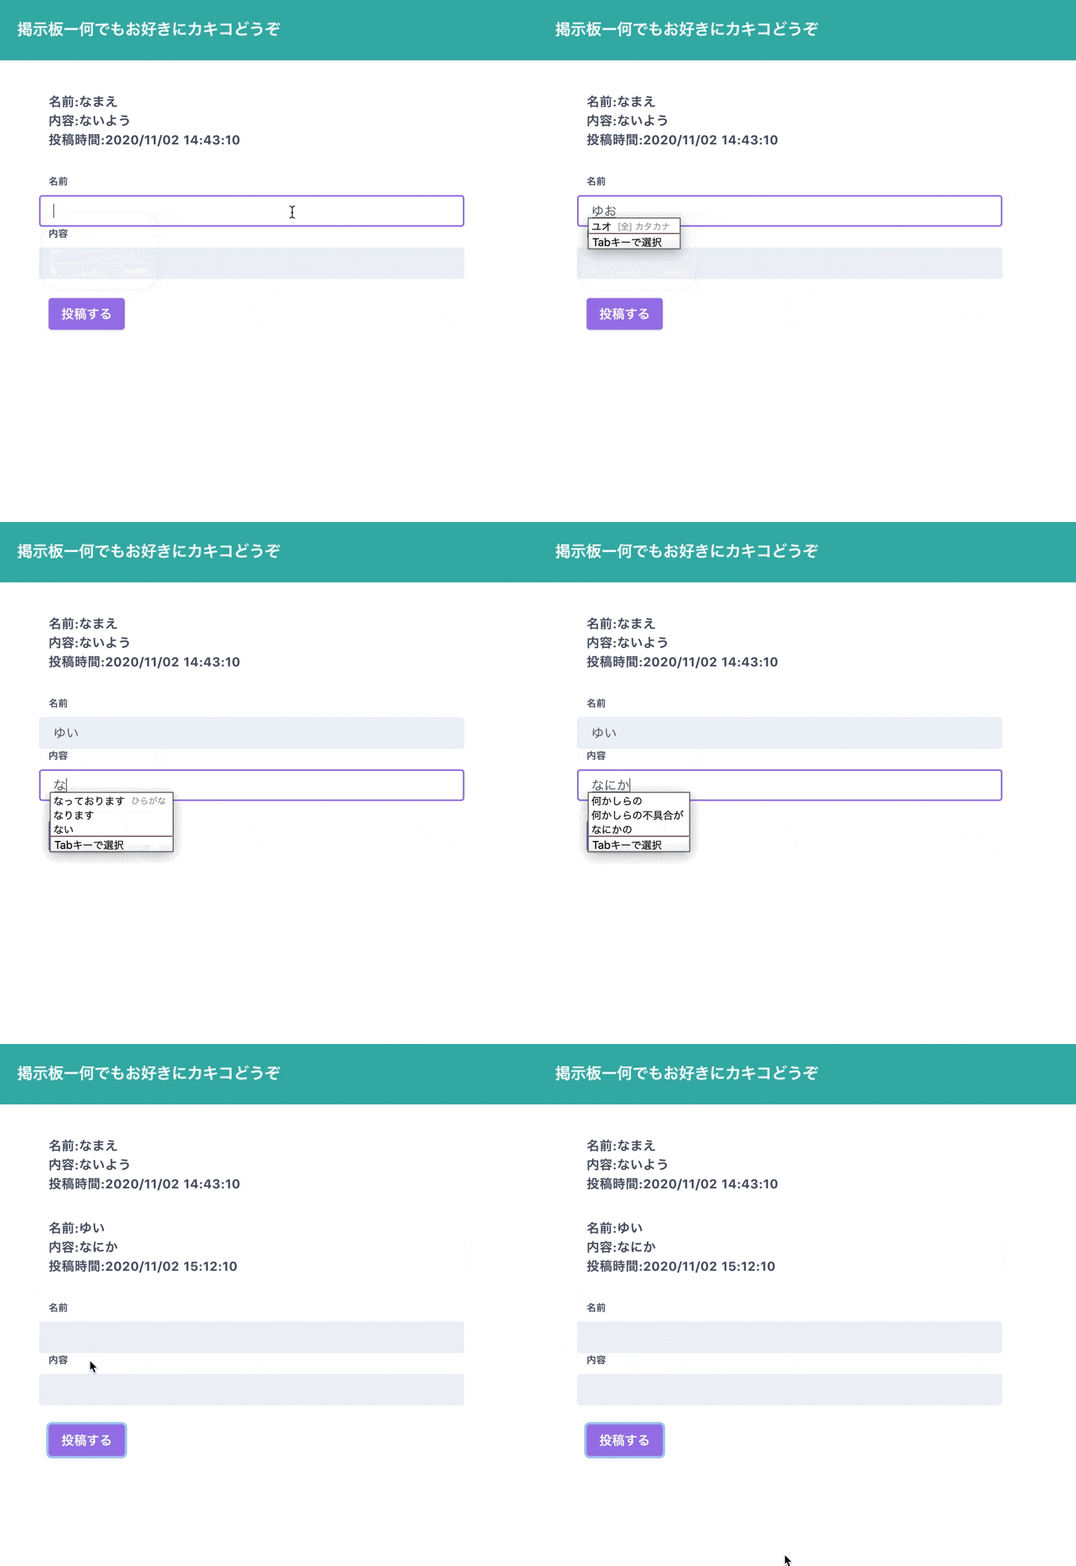
完成物はこちらです。(練習用なのでクオリティの低さは差し置き)
まずアプリの雛形を作る
今回はNuxt.jsで作ったので、以下のコマンドで雛形を一斉に作りました。
$ npx create-nuxt-app <app name>
使うcssフレームワークなど、諸々質問されますが、そのへんは好みで設定してください。
npm run devでhttp://localhost:3000/ にアクセス、雛形ができているのを確認したら次はfirebaseとアプリをつなげます。
必要なパッケージのインストール
firebaseとvuexfireのパッケージをインストールします。
vuexfireを使うことで、firebaseのデータベース部分:Cloud Firestoreを簡単に使うことができます。
$ npm install --save firebase@7.19.1
$ npm install --save vuexfire@3.0.1
※バージョンは必要に応じて随時変更してください。
package.jsonを開いて、上記が正しくインストールできていることを確認してください。
  "dependencies": {
    "core-js": "^3.6.5",
    "firebase": "^7.19.1",
    "moment": "^2.24.0",
    "nuxt": "^2.14.6",
    "vuexfire": "^3.0.1"
  },
これで終わり。それではつなげていきます。
firebaseとアプリをつなげる
firebaseに登録をして、プロジェクトIDを確認します。
場合によってはAPIキーが必要になることもあるとは思いますが、今回はIDだけでOK。
それを.envに登録します。
というわけで、@nuxtjs/dotenvをインストールします。
npm install @nuxtjs/dotenv
package.jsonを開いて"@nuxtjs/dotenv": "^1.3.0"があるのを確認。
  "dependencies": {
    "@nuxtjs/dotenv": "^1.3.0",
    "core-js": "^3.6.5",
    "firebase": "^7.19.1",
    "moment": "^2.24.0",
    "nuxt": "^2.14.6",
    "vuexfire": "^3.0.1"
  },
そしてnuxt.config.jsに以下の文言を追加します。
  modules: [
    '@nuxtjs/dotenv'
  ],
ここまでできたら、.envファイルをアプリのディレクトリ直下に作成して、以下のように記載。
FIREBASE_PROJECT_ID = 'project-id'
これでproject IDをprocess.env.FIREBASE_PROJECT_IDで呼び出せるようになりました。
firebaseと結びつけるためのjsファイルをfirebase.jsとして作ることにします。
pluginsフォルダ内にfirebase.jsを作成。(もちろんこれは名前は何でもOK)
import firebase from 'firebase'

//firebaseの初期化に必要なデータをconfigで用意する
//必要に応じてパラメーターをここで定義
const config = {
  projectId: process.env.FIREBASE_PROJECT_ID
}
//二重に初期化が行われないために!firebase.app.lengthで確認をする
if (firebase.apps.length === 0) {
  firebase.initializeApp(config)
}

export default firebase
そしてvuexfireのmutationsの機能を使いたいので、storeファイルにindex.jsを作成。
//vuexfireのmutationsを利用するためにまずはインストールする
import { vuexfireMutations } from 'vuexfire'

//使うためにmutationsを定義して、その中でvuexfireMutationsを読み込んでexpost→これで呼び出せるようになる
export const mutations = {
  ...vuexfireMutations
}

//このvuexfiremutationsはindex.jsにしか記載してはいけない。エラーになる。
先程のfirebase.jsは名前は何でも良かったんですが、こちらに関してはindex.js以外だとエラーになってしまうので注意してください。(公式に記載あります。)
これでmutationsも使えるようになりました。
firestoreのルールの設定を行う
今回はユーザーは自由に投稿できるようにしたいので以下のように記載。
認証も今回は行わないので、そのへんの記載も特になし。
rules_version = '2';
service cloud.firestore {
  match /databases/{database}/documents {
    match /{document=**} {
      allow read, write: if true;
    }
  }
}
もしここでユーザー認証が必要な場合で、もう少しルールを厳しく書くなら、以下のように書きます。
rules_version = '2';
service cloud.firestore {
  match /databases/{database}/documents {
    match /users/{userId}/comments/{commentId} {
      allow read, write: if request.auth.uid == userId;
    }
  }
}
ともかく、これでfirestoreのルールに関しても記載が終わりました。
アプリ内で使うDB部分を作成する
それでは今度はアプリ内で使うDBを設定していきます。
storeフォルダ内にcomments.jsファイルを作成。
//firebaseの初期化の部分のインストール
import firebase from '../plugins/firebase'
//firestoreのアクション部分のパッケージをインストールする
import { firestoreAction } from 'vuexfire'

//firebaseのDBを定義する
const db = firebase.firestore()
const commentsRef = db.collection('comments')

//ここでstateを定義する。今回使うdbであるcommentsを配列で格納する
export const state = () => ({
  comments: []
})

export const actions = {
  //initは初期化
  //ここでどのデータをバインド(=関連付けするか)を書く
  init: firestoreAction(({ bindFirestoreRef }) => {
    bindFirestoreRef('comments', commentsRef)
  }),
  add: firestoreAction((context, {index, name}) => {
    //ここでindexが空白でないことを確認している。
    if (index.trim()) {
      commentsRef.add({
        name: name,
        index: index,
        //ここでサーバーから時刻を取得する。ローカルからだとユーザーが時刻を変更できてしまうので、サーバーから取得する
        created: firebase.firestore.FieldValue.serverTimestamp()
      })
    }
  })
}

//以下の部分はlodashをインポートすることにより使っています。(詳細は後述)
export const getters = {
  orderdComments: state => {
    return _.sortBy(state.comments, 'created')
  }
}
この記載により、アプリ上でcommentsというDBが使えるようになります。そこにnameとindexとcreated(作成日時)をカラムとして入れています。
ここで注意というほどでも無いのですが、Vuexでは第3引数を取ることができません。
つまり、firestoreAction部分でfirestoreAction((context, index, name) =>のように書くことができないので、indexとnameはオブジェクト形式でデータを渡しています。
また、登録したデータを投稿時間順に並べたいので、以下の部分を書いています。
export const getters = {
  orderdComments: state => {
    return _.sortBy(state.comments, 'created')
  }
}
この部分に関してもう少し詳しく書くと、今回投稿日順に簡単に並べることができるように、lodashというライブラリを使っています。
インストール方法はnuxt.config.jsのbuildの部分に下記を記載することでlodashが使えるようになります。
  build: {
    plugins: [
      new webpack.ProvidePlugin({
        '_': 'lodash'
      })
    ]
  }
こうして、lodashをインポートして、上述のgettersを記載することで、投稿順で並び替えて表示ができるようになります。
この記載がない場合、投稿はfirestore上で自動生成されるランダムな文字列に沿って並べられるので投稿順になりません。
表示部分を記載する
さて、諸々の記載が完了したので、ついに表示部分を書きます。
今回は特にこだわりがないのでpagesフォルダのindex.vueファイルを編集しますが、お好みでComments.vueなど独自ファイルを作って、vue-routerでルーティングを制御するなりしてください。
script部分を以下のように記載します。
<script>
import moment from 'moment'
export default {
  data: function() {
    return {
      name: '',
      index: '',
      done: false
    }
  },
  created: function() {
    this.$store.dispatch('comments/init')
  },
  methods: {
    add() {
      this.$store.dispatch('comments/add', {index: this.index, name: this.name})
      this.name = ''
      this.index = ''
    }
  },
//この部分で上述のcomments.js内のgettersのcomments/orderdCommentsを呼び出して投稿順に整形しています。
  computed: {
    comments() {
      return this.$store.getters['comments/orderdComments']
    }
  },
  filters: {
    dateFilter: function(date) {
      return moment(date).format('YYYY/MM/DD HH:mm:ss')
    }
  }
}
</script>
momentをインポートしているのは、投稿時刻を表示する際に、YYYY/MM/DD HH:mm:ssの形式に簡単に変更するためです。
momentをインポートするためのコマンドは下記。
$ npm install --save moment@2.24.0
firestoreに登録しているデータは以下のように書くことで表示できます。
<div v-for="comment in comments" :key="comment.id">
  <span v-if="comment.created">
    <span>
      名前:{{ comment.name }}<br>
      内容:{{ comment.index}}<br>
      投稿時間:{{ comment.created.toDate() | dateFilter}}
    </span>
  </span>
</div>
dateFilterで上述したmomentで投稿時間を整形しています。
input部分はこんな感じで書きます。
<form @submit.prevent="add">
  <div>
    <div>
      <label>
        名前
      </label>
    </div>
    <input v-model="name">
    <div>
      <label>
        内容
      </label>
    </div>
    <input v-model="index">
  </div>
  <button>投稿する</button>
</form>
実際のコードでは今回はtailwind cssを利用しているのでクラス名をデザインに応じてつけています。
これで機能としては完成です。
感想
今回、firestoreを理解するぞということで、簡単なアプリを作ってみました。
特にルールの記載部分は難しく、まだ理解できないところも多々あるんですが、使ってみて便利だなと思ったので引き続き勉強していきます。
