某MMOゲームでハウスを購入して約3年。
ログインせずにアカウントを放置していると毎月ハウス自動撤去の通知メールが来て、その都度ログインし直しハウスに入るという行動を取らなくてはいけないのですが、普段からあまりメールを見ないため気づかずハウスを撤去されそうになったので、Discordサーバーに通知するBOTを作成しました。
同じような境遇に遭われている方のお力になれれば嬉しいです。
費用は一切かかりません。
Gmailにメールがきた瞬間にDiscordへ通知がくるようには実装してません。
一定時間ごとにGASを実行して特定のメールがあればDiscordへ通知する仕組みです。
必要になるもの
- Discord
- Googleアカウント
手順
Discord側でやること
1. 自信に管理権限のあるサーバーを用意
2. サーバー設定 > 連携サービス > ウェブフックから新しいウェブフックを選択して作成
3. ウェブフックが作成できたら、投稿するチャンネルを指定してください。(名前やアイコン画像は任意)

ウェウブフックURLをコピーしてください。
GoogleスプレットシートとこのBOTを紐付ける際に使用します。
Google側でやること
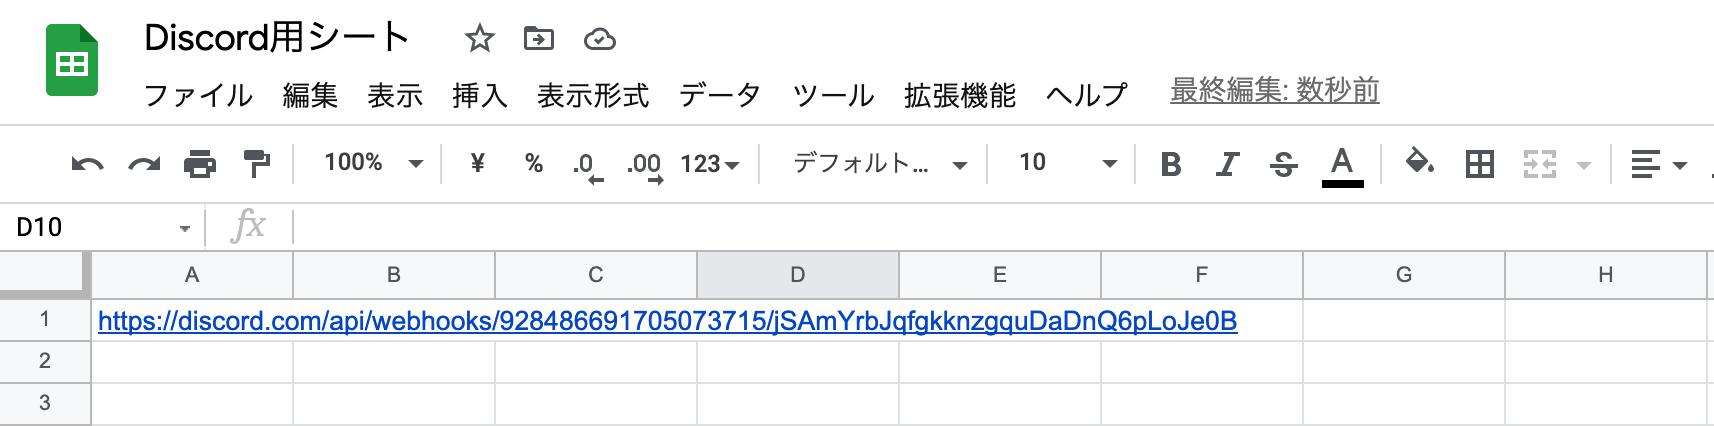
1. 適当なスプレットシートを作成
2. A:1に先ほどコピーしたウェブフックURLをペースト
3. データ > App Script から 実行する関数を作成
取得するメールの内容によってここは変化します。
まず全体像を貼っておきます。
function hook() {
 var query = "subject:*****ハウス自動撤去のお知らせ is:unread"; //
 const threads = GmailApp.search(query);  // 未読のスレッドを取得

 if (threads.length == 0) {
   return
 }

 threads.forEach(function (thread) {
   const messages = thread.getMessages();

   const payloads = messages.map(function (message) {
     message.markRead();  // メールを既読に設定する

     const from = message.getFrom();
     var subject = message.getSubject();
     const plainBody = message.getPlainBody();
     const matchText = plainBody.match(/撤去日時:(.*)/);
     const webhook = getWebhookUrl();

     Logger.log(subject);
     const payload = {
       content: subject,
       embeds: [{
         title: subject,
         author: {
           name: from,
         },
         description: matchText[0],
       }],
     }
     return {
       url: webhook,
       contentType: 'application/json',
       payload: JSON.stringify(payload),
     }
   })

   Logger.log(payloads);
   UrlFetchApp.fetchAll(payloads);
 })
}

function getWebhookUrl() {
 const spreadsheet = SpreadsheetApp.getActiveSpreadsheet();
 const sheet = spreadsheet.getActiveSheet();

 return sheet.getRange(1, 1).getValue();  // セルA1を取得
}
この部分はどんなBOTを作成しても固定なので変更しなくて大丈夫です。
function getWebhookUrl() {
 const spreadsheet = SpreadsheetApp.getActiveSpreadsheet();
 const sheet = spreadsheet.getActiveSheet();

 return sheet.getRange(1, 1).getValue();  // セルA1を取得
}
メールの取得部分はここです。
 var query = "subject:*****ハウス自動撤去のお知らせ is:unread"; //
 const threads = GmailApp.search(query);  // 未読のスレッドを取得

 if (threads.length == 0) {
   return
 }
query に入れる内容によって取得するメールを変更できます。
上記の場合、メールのタイトルが〇〇かつ未読のものを取得しています。
こちらを参考に変更しても良いと思います。
https://blog.8basetech.com/google-apps-script/gmailapp_search/
Discordに送信するメッセージはここで記述してます。
取得したメールによって異なると思うので、ログデバックして整えてください。
 threads.forEach(function (thread) {
   const messages = thread.getMessages();

   const payloads = messages.map(function (message) {
     message.markRead();  // メールを既読に設定する

     const from = message.getFrom();
     var subject = message.getSubject();
     const plainBody = message.getPlainBody();
     const matchText = plainBody.match(/撤去日時:(.*)/);
     const webhook = getWebhookUrl();

     Logger.log(subject);
     const payload = {
       content: subject,
       embeds: [{
         title: subject,
         author: {
           name: from,
         },
         description: matchText[0],
       }],
     }
     return {
       url: webhook,
       contentType: 'application/json',
       payload: JSON.stringify(payload),
     }
   })

   Logger.log(payloads);
   UrlFetchApp.fetchAll(payloads);
 })
作成したら保存して1度実行してください。
Gmailへのアクセス権限の認証が必要になるので承認してください。
4. 一定期間ごとにこのコードを実行する必要があるのでトリガーを設定
毎日、20:00に実行したい場合はこんな感じです。

トリガーが走るタイミングでDiscordのサーバーに通知があれば実装は完了です。