GetWild Advent Calendar 2016の2日目です。
ノリで参加したGetWild Advent Calendar 2016、ネタがない…何書けばええんや…と明日におびえていたのですが、最近面白いものを買ったことを思い出しました。
光るメガネ(以下Chemion)です。
Bluetooth LEでスマホと連動し、アプリで好きなパターンを作って表示できる優れもの! これでGet Wildすることにします。I have PPAP, I have glasses...
— tnayuki (@tnayuki) 2016年11月25日
PPAP glasses!! #chemion pic.twitter.com/2fYMLfvKS6
Get WildするにはまずプログラムからChemionを制御できなければなりません。というわけで制御プロトコルを解析することにします。
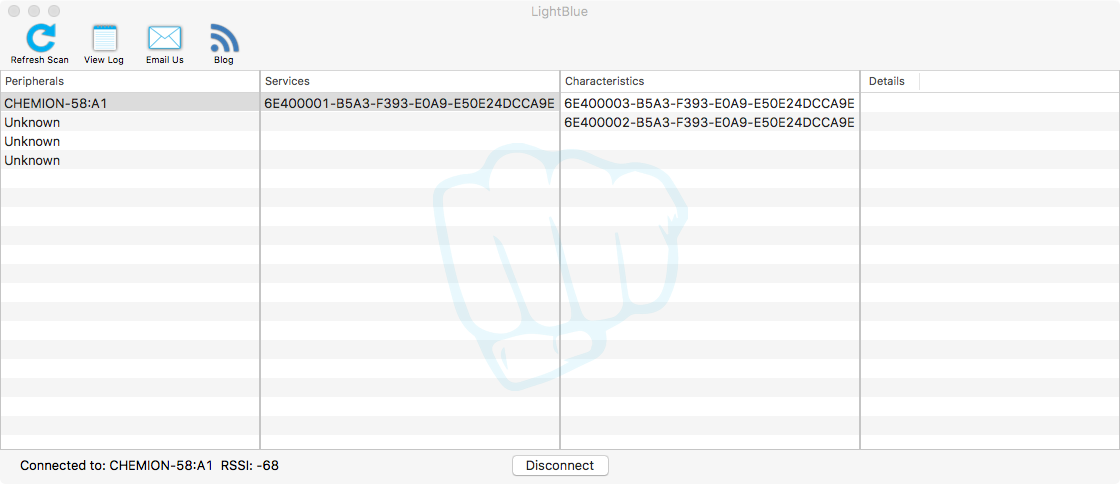
こういう時はLightBlueを使います。起動すると、はいこの通り、Chemionが公開しているサービスとキャラクタリスティクスのUUIDがわかります。キャラクタリスティクスが2つしかないので楽ですね。このうち書き込みができるキャラクタリスティクスは6E400003-B5A3-F393-E0A9E50E24DCCA9Eなので、こいつに何かを書き込んでやればよさそうなことがわかります。
しかしLightBlueで適当に値を書き込んだものの、Chemionはうんともすんともいいません。こういう時はダミーのペリフェラルを作ります。
CoreBluetooth直書きするの面倒くせぇなぁ、と思っていたら、Node.jsで素晴らしいライブラリがありました。blenoです。こういう時いろんな言語できると助かりますね、便利そうなライブラリがある言語使えばいいので。
そしてこんなプログラムを作りました。
var bleno = require('bleno');

bleno.on('stateChange', function (state) {
    if (state === 'poweredOn') {
        var name = 'CHEMION-FF:FF';
        var serviceUuids = ['6E400001B5A3F393E0A9E50E24DCCA9E'];

        bleno.startAdvertising(name, serviceUuids);
    }
});

bleno.on('advertisingStart', function (error) {
    console.log("advertisingStart");
    var characteristic1 = new bleno.Characteristic({
        uuid: '6E400003B5A3F393E0A9E50E24DCCA9E',
        properties: [ 'notify' ],
        value: null,
        descriptors: [
        ],
        onReadRequest: null,
        onWriteRequest: function(data, offset, withoutResponse, callback) {
            console.log(data);
            callback(bleno.Characteristic.RESULT_SUCCESS);
        },
        onSubscribe: function(maxValueSize, updateValueCallback) {
            console.log(maxValueSize);
        },
        onUnsubscribe: null,
        onNotify: function() {
            console.log("onNotify");
        },
        onIndicate: null
    });

    var characteristic2 = new bleno.Characteristic({
        uuid: '6E400002B5A3F393E0A9E50E24DCCA9E',
        properties: [ 'write', 'writeWithoutResponse' ],
        value: null,
        descriptors: [
        ],
        onReadRequest: null,
        onWriteRequest: function(data, offset, withoutResponse, callback) {
            console.log(data);
            callback(bleno.Characteristic.RESULT_SUCCESS);
        },
        onSubscribe: null,
        onUnsubscribe: null,
        onNotify: null,
        onIndicate: null
    });

    var primaryService = new bleno.PrimaryService({
        uuid: '6E400001B5A3F393E0A9E50E24DCCA9E',
        characteristics: [
            characteristic1,
            characteristic2
        ]
    });

    bleno.setServices([primaryService]);
});

bleno.on('accept', function (clientAddress) {
    console.log("accept: " + clientAddress);
});
これでChemionのフリをして接続を受け付け、書き込まれたデータをダンプすることができるはずです。さっそく専用アプリから接続してみます。
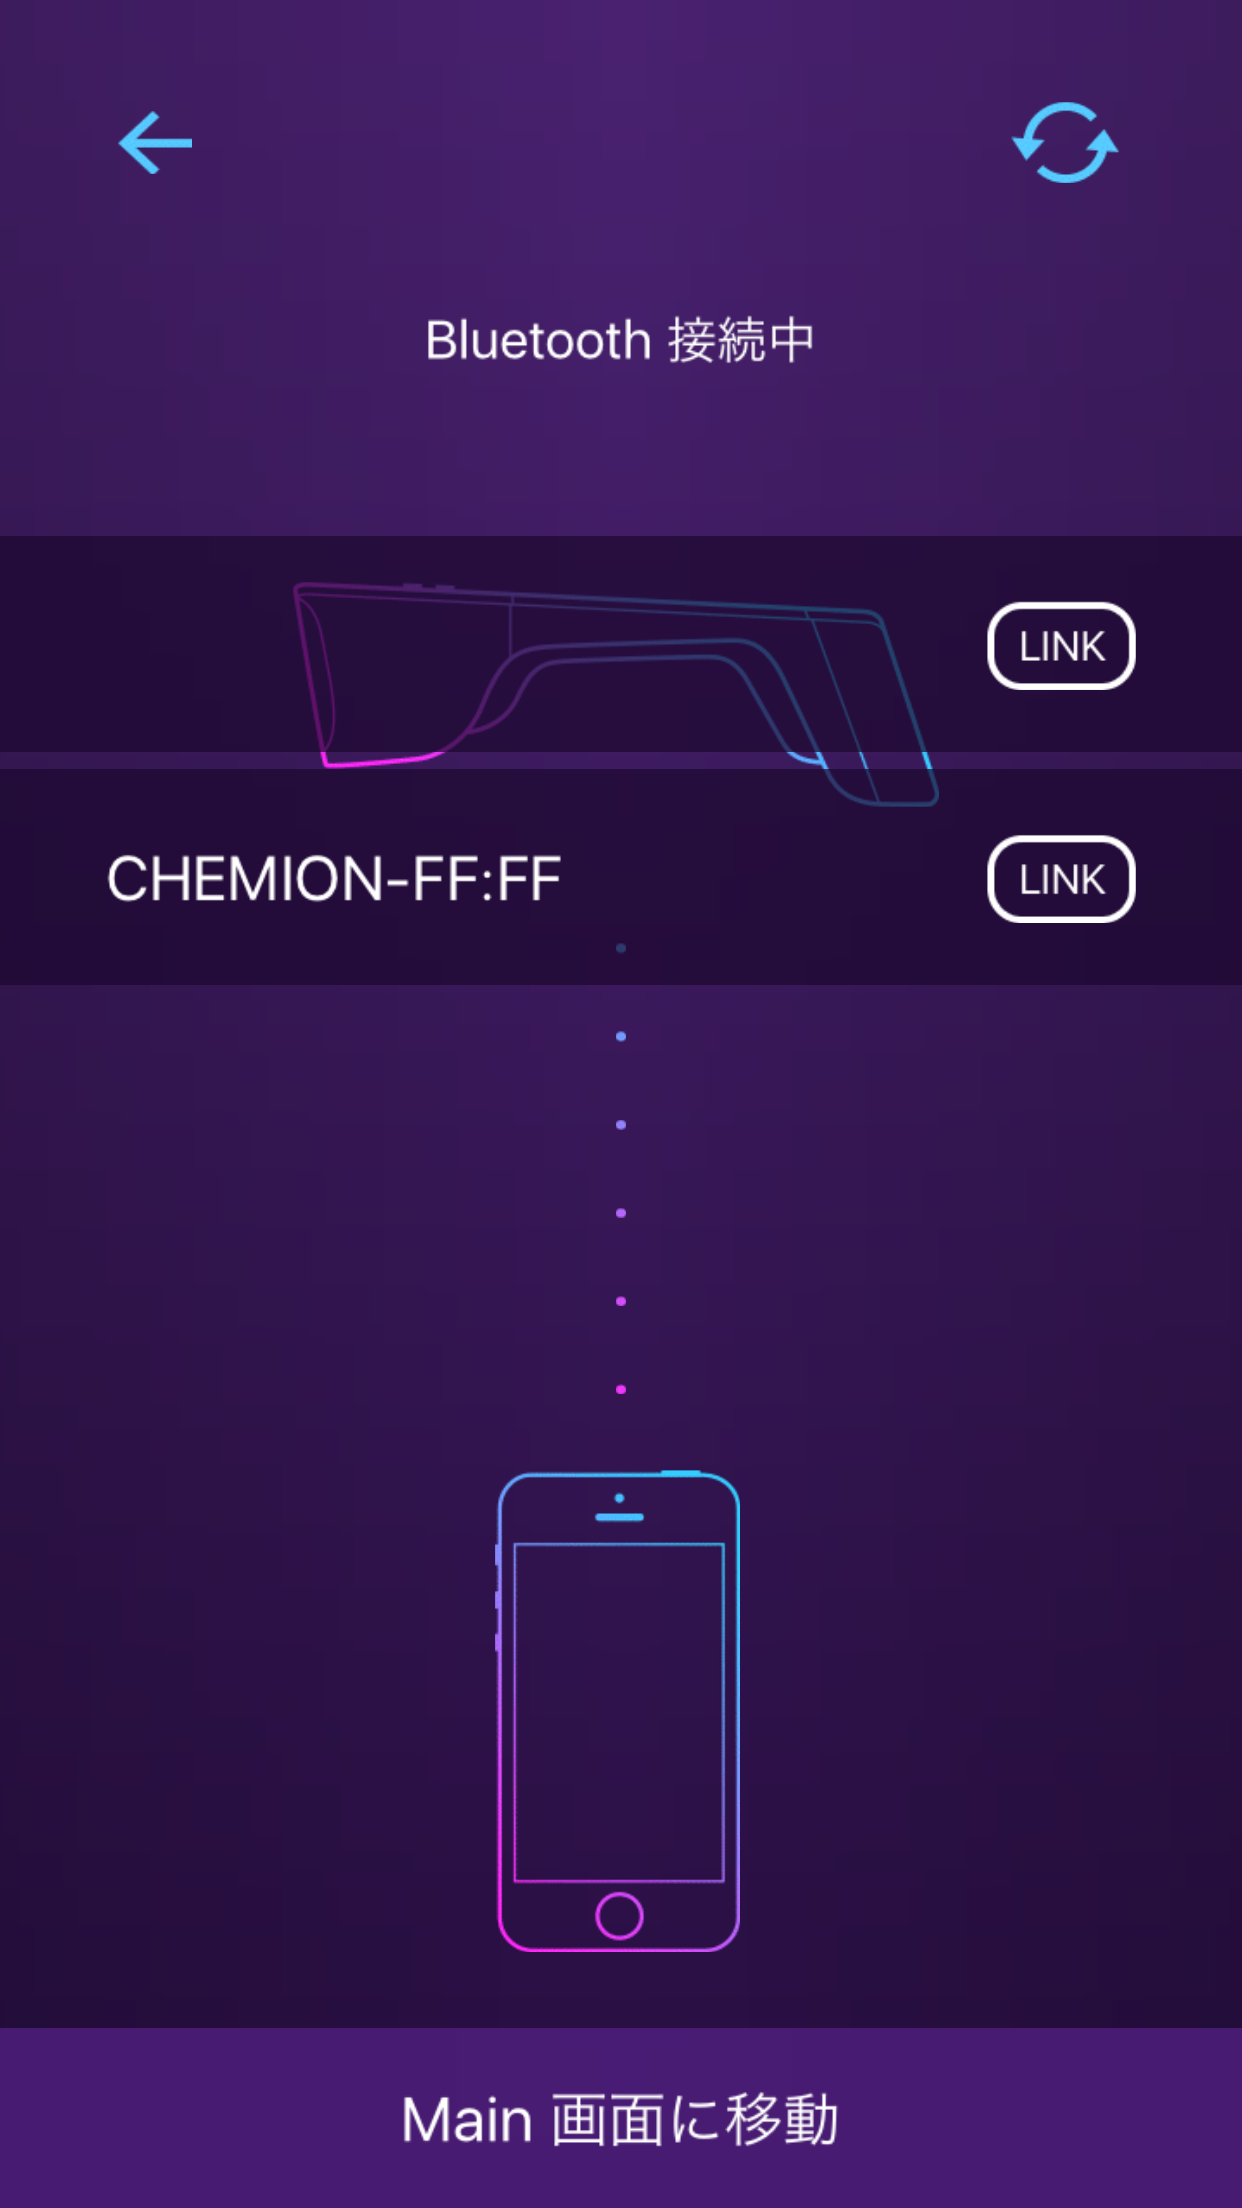
ちゃんとデバイス一覧にも上がってきます。なぜかふたつ出てきますが細かいことは(解析できれば)いいのです。

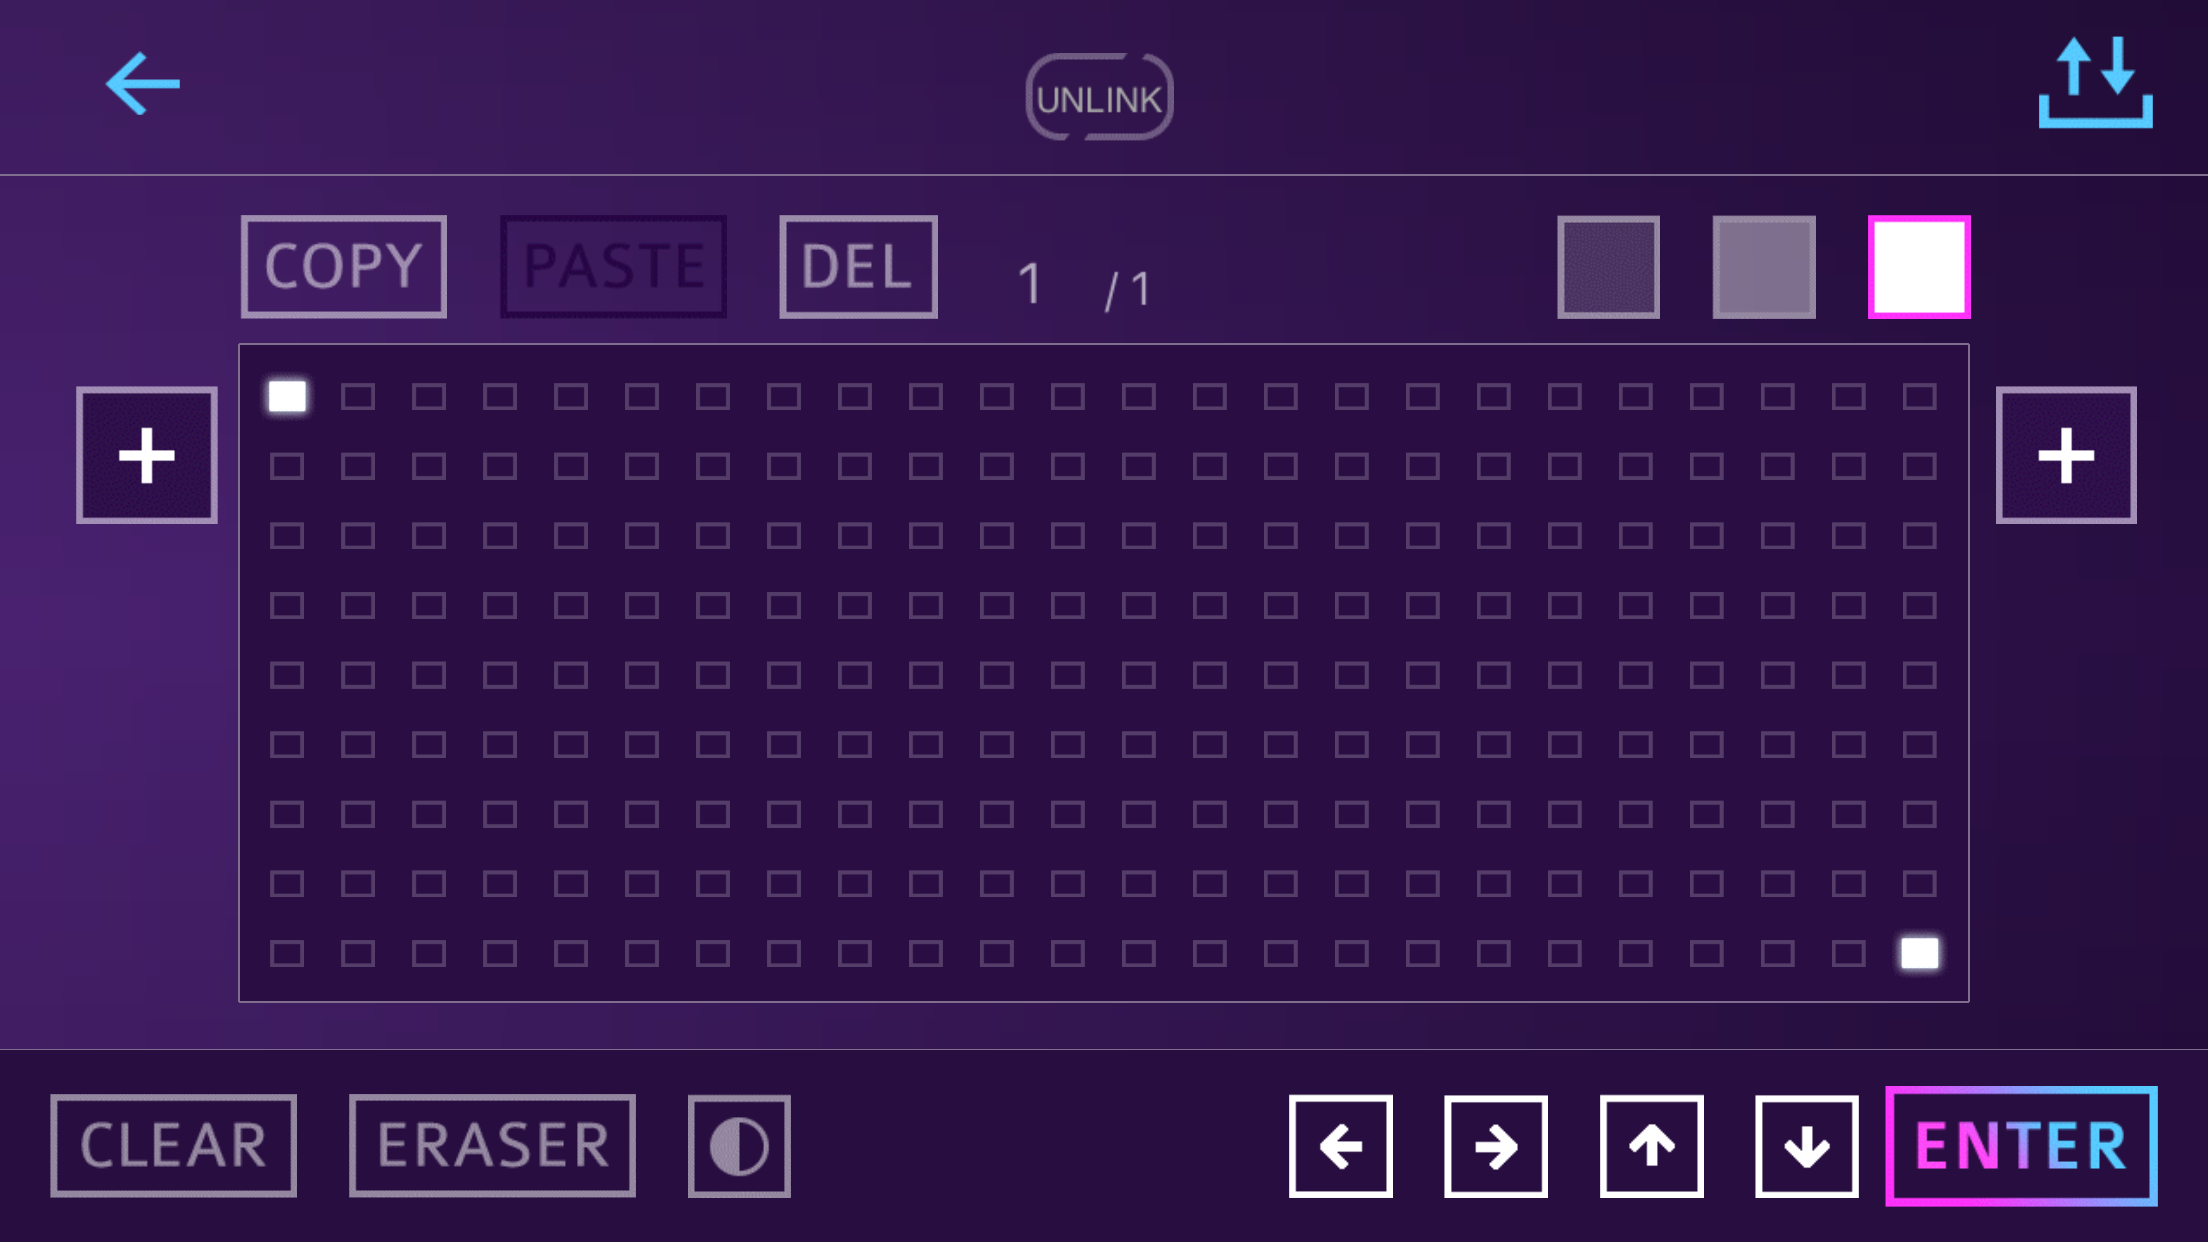
接続もできました。ククク…ダミーとも知らずに…。パターン作成画面で適当に書いてみます。
なんか送られてきました。
<Buffer fa 03 00 39 01 00 06 c0 00 00 00 00 00 00 00 00 00 00 00 00>
<Buffer 00 00 00 00 00 00 00 00 00 00 00 00 00 00 00 00 00 00 00 00>
<Buffer 00 00 00 00 00 00 00 00 00 00 00 00 00 00 00 00 00 00 00 00>
<Buffer 00 c7 55 a9>
<Buffer fa 03 00 39 01 00 06 c0 00 00 00 00 00 00 00 00 00 00 00 00>
<Buffer 00 00 00 00 00 00 00 00 00 00 00 00 00 00 00 00 00 00 00 00>
<Buffer 00 00 00 00 00 00 00 00 00 00 00 00 00 00 00 00 00 00 00 00>
<Buffer 00 c7 55 a9>
<Buffer fa 03 00 39 01 00 06 c0 00 00 00 00 00 00 00 00 00 00 00 00>
<Buffer 00 00 00 00 00 00 00 00 00 00 00 00 00 00 00 00 00 00 00 00>
<Buffer 00 00 00 00 00 00 00 00 00 00 00 00 00 00 00 00 00 00 00 00>
<Buffer 03 c4 55 a9>
<Buffer fa 03 00 39 01 00 06 c0 00 00 00 00 00 00 00 00 00 00 00 00>
<Buffer 00 00 00 00 00 00 00 00 00 00 00 00 00 00 00 00 00 00 00 00>
<Buffer 00 00 00 00 00 00 00 00 00 00 00 00 00 00 00 00 00 00 00 00>
<Buffer 03 c4 55 a9>
このダンプから書き込みは16回行われており、4回が1まとまりであること、かつ同じまとまりが2回続けて送られてきていることがわかります。
最初と最後に制御コードっぽいのがあって、左上と右下にドットを打ったので、前後で変わっている部分から実データの範囲が8バイト目から61バイト目までだとある程度推測できます。Chemionの表示部分は横24ドット×縦9ドット、1ドット4階調表示できるので、24×9×2ビットで54バイトとなり計算も合います。
ということはこの範囲に適当な数値を入れれば表示が変わるはず!…はい、結論から言うとそれだけではダメで、こっそり変わっていた62バイト目がキモでした。何度かドットを打ったり消したりして、XORのチェックサムであることがわかりました。
ここまで分かればあとは簡単です。
今度は逆にnoble-deviceを使って制御を行うクラスを作成し、
var NobleDevice = require('noble-device');

var Chemion = function(peripheral) {
    NobleDevice.call(this, peripheral);
};

Chemion.SCAN_UUIDS = ['6e400001b5a3f393e0a9e50e24dcca9e'];

var CHEMION_SERVICE_UUID = '6e400001b5a3f393e0a9e50e24dcca9e';
var CHEMION_WRITE_CHAR = '6e400002b5a3f393e0a9e50e24dcca9e';

Chemion.prototype.display = function(bitmap, done) {
    var checksum = 7;
    bitmap.forEach(function (b) { checksum = checksum ^ b & 0xff; } );

    var buffers =[
        new Buffer([ 250, 3, 0, 57, 1, 0, 6 ].concat(bitmap.slice(0, 13))),
        new Buffer(bitmap.slice(13, 33)),
        new Buffer(bitmap.slice(33, 53)),
        new Buffer([ bitmap[53], checksum, 85, 169 ])
    ];

    this.writeDisplayCharacteristicWithoutResponse(buffers[0], function () {
        this.writeDisplayCharacteristicWithoutResponse(buffers[1], function () {
            this.writeDisplayCharacteristicWithoutResponse(buffers[2], function () {
                this.writeDisplayCharacteristicWithoutResponse(buffers[3], done);
            }.bind(this));
        }.bind(this));
    }.bind(this));
};

Chemion.prototype.writeDisplayCharacteristicWithoutResponse = function(data, callback) {
    var characteristic = this._characteristics[CHEMION_SERVICE_UUID][CHEMION_WRITE_CHAR];

    characteristic.write(data, true, function(error) {
        if (typeof callback === 'function') {
            callback(error);
        }
    });
};

NobleDevice.Util.inherits(Chemion, NobleDevice);

module.exports = Chemion;
そのクラスを使ってGet Wildするだけ!
Get WildのパターンはビットマップフォントのBDFファイルから読み込んで生成しています。
ビットマップフォントといえば恵梨沙フォントでしたが今は美咲フォントなんていうのがあるんだね。
var BDF = require('bdf');
var Chemion = require('./chemion');

var font = new BDF();
font.load("misaki_4x8_iso8859.bdf", function() {
    Chemion.discover(function(device) {
        device.on('disconnect', function() {
            process.exit(0);
        });

        device.connectAndSetUp(function(callback) {
            var getWildAndTough = [ 'GET', 'WILD', 'AND', 'TOUGH' ];

            var i = 0;
            setInterval(function () {
                device.display(_textToChemionBitmap(getWildAndTough[i]), function () {
                });

                i = (i + 1) % getWildAndTough.length;
            }, 250);

        });
    });
});

function _textToChemionBitmap(text) {
    var textBitmap = font.writeText(text);

    var offset = (24 - textBitmap.width) / 2 | 0;
    offset = offset > 0 ? offset : 0;

    var bitmap = new Array(54);
    bitmap.fill(0);

    for (var y = 0; y < 9 && y < textBitmap.height; y++) {
        for (var x = 0; x < 24 && x < textBitmap.width; x++) {
            if (textBitmap[y][x]) {
                bitmap[y * 6 + ((x + offset) >> 2)] |= 3 << ((3 - ((x + offset) % 4)) * 2);
            }
        }
    }

    return bitmap;
}
— tnayuki (@tnayuki) 2016年12月2日
できました!これでひとりでも傷ついた夢を取り戻せます!
今後はGet Wildのイントロを音声認識して表示するか、Twitterで#GetWildハッシュタグのつぶやきを監視してメガネに流すようにしてみたいと思います。
Get wild and tough...

