前回の記事では、IFTTTと連携しGPSでポケモン情報をLINEにpushしました。
IFTTT有料化(無料にきつい制限化)に伴い、これを無料でできるよう自作したビーコンに近づいたらポケモンとエンカウントしてみようと思います。
今回はobnizをビーコンにし、LINE Beaconを利用しました。
開発環境
- obniz Board
- Node.js v14.5.0
- express v4.17.1
- line/bot-sdk v7.0.0
- axios v0.19.2
ポケモンのAPIとしてこちらを利用しました。
利用したときはv2でした。
手順概要、目次
- LINE BOTなどの作成は前回の記事まで進んでいるとします
3. LINE BeaconのハードウェアID発行
4. ソースコード - obniz
3. バージョンアップ
4. ソースコード - obnizにスマートフォンを持って近づく
LINE BOTの作成
前回同様、こちらの通りに作りました!
「1時間でLINE BOTを作るハンズオン (資料+レポート) in Node学園祭2017 #nodefest」
https://qiita.com/n0bisuke/items/ceaa09ef8898bee8369d
今回は前回の記事のBOTを引き続いて編集していきました
LINE Beaconの設定
こちらの記事を参考に
ここから、連携したいBOTを選んで、
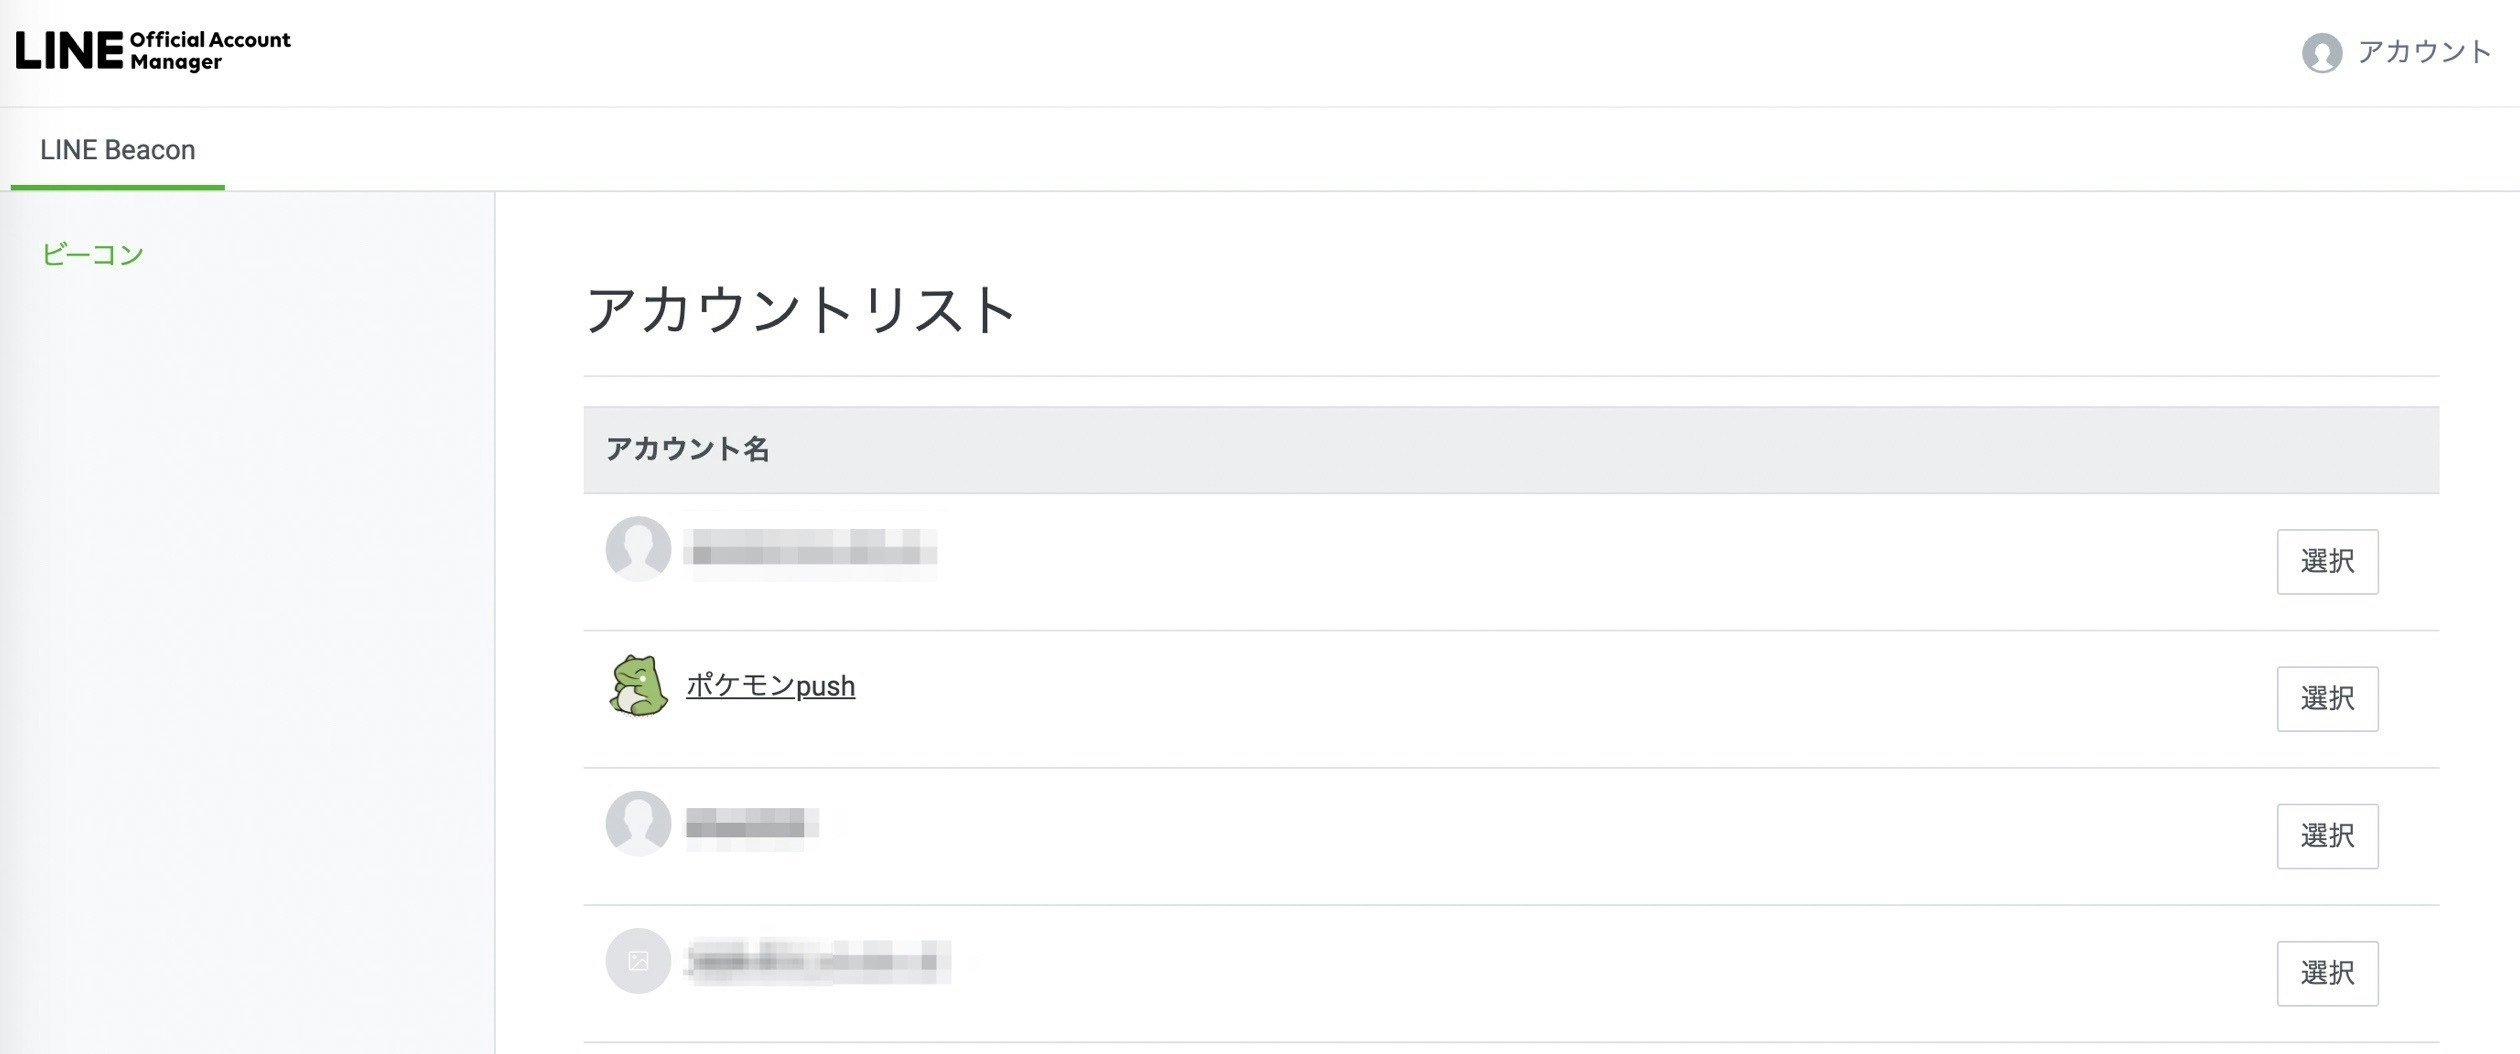
ハードウェアIDを発行

BOT側ソースコード
'use strict';

const express = require('express');
const line = require('@line/bot-sdk');
const PORT = process.env.PORT || 3000;
const axios = require('axios');

const config = {
  channelSecret: 'チャンネルシークレット',
  channelAccessToken:'アクセストークン',
};

const app = express();

const client = new line.Client(config);

async function getRandomPoke() {
  const res = await axios.get(
    'https://pokeapi.co/api/v2/pokemon/' + Math.floor(Math.random() * 807)
  );
  // 日本語情報をデータに入れ込む
  const species = await axios.get(res.data.species.url);
  species.data.names.forEach((e) => {
    if (e.language.name == 'ja') species.data.ja_name = e.name;
  });
  species.data.flavor_text_entries.forEach((e) => {
    if (e.language.name == 'ja') species.data.ja_flavor_text = e.flavor_text;
  });
  res.data.species = species.data;

  return res.data;
}

app.get('/', (req, res) => res.send('Hello LINE BOT!(GET)')); //ブラウザ確認用(無くても問題ない)
app.post('/ifttt', async (req, res) => {
  // 今回はここは省略
  // IFTTTでGPS連携の場合は https://qiita.com/drafts/bdfee3416792737fd48d こちらを参考に
});

// 以下replay message用
app.post('/webhook', line.middleware(config), (req, res) => {
  console.log(req.body.events);

  if (
    req.body.events[0].replyToken === '00000000000000000000000000000000' &&
    req.body.events[1].replyToken === 'ffffffffffffffffffffffffffffffff'
  ) {
    res.send('Hello LINE BOT!(POST)');
    console.log('疎通確認用');
    return;
  }

  Promise.all(req.body.events.map(handleEvent)).then((result) =>
    res.json(result)
  );
});
async function handleEvent(event) {
  if (event.type === 'message' && event.message.type === 'text') { // オウムがえし用
    const echo = { type: 'text', text: event.message.text };
    console.log(echo);
    return client.replyMessage(event.replyToken, echo);
  } else if (event.type === 'beacon' && event.beacon) { // beacon用
    console.log(`beacon device(${event.beacon.hwid})から${event.beacon.dm}が届いたよ`)
    const poke = await getRandomPoke();
    const toUri = 'https://yakkun.com/swsh/zukan/n' + poke.id;
    return client.replyMessage(event.replyToken, {
      type: 'template',
      altText: 'This is a buttons template',
      template: {
        type: 'buttons',
        thumbnailImageUrl: poke.sprites.front_default,
        imageAspectRatio: 'rectangle',
        imageSize: 'cover',
        imageBackgroundColor: '#FFFFFF',
        title: poke.species.ja_name + ' ' + poke.name,
        text: poke.species.ja_flavor_text,
        actions: [
          {
            type: 'uri',
            label: '捕まえる',
            uri: toUri,
          },
        ],
      },
    });
  }
  return Promise.resolve(null);
}

app.listen(PORT);
console.log(`Server running at ${PORT}`);
これを自分は、ngrokでトンネリングさせ、LINE BOTとして動作させておきました
obnizについて
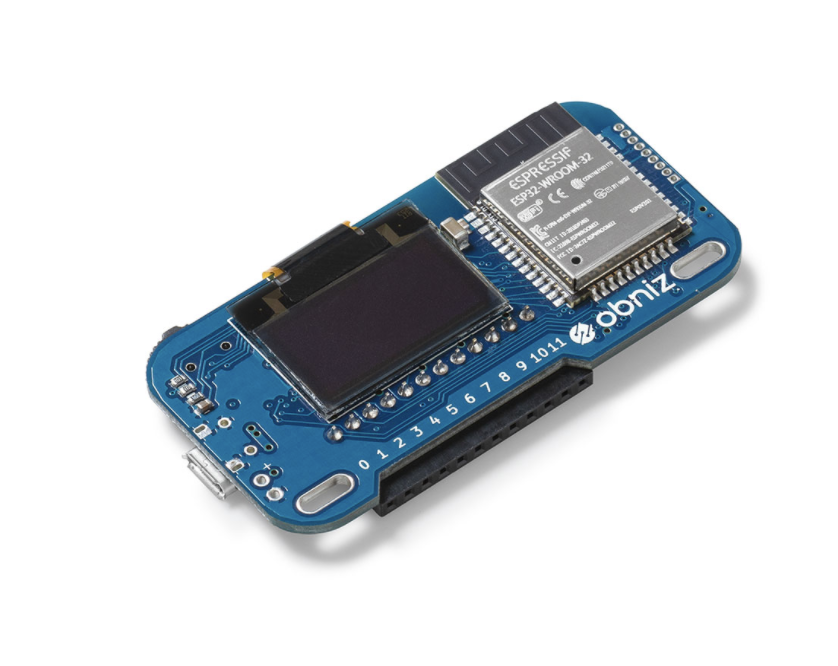
こちらから購入できます。
ライセンスだけ買って、ESP系のマイコンにosインストールすることもできます!すごい。
本来ならBluetoothとバッティングするWi-Fiを常時使用するobnizではないもののほうがいいと思うのですが、何か作ろうとしたときに腰が軽くできるobnizはやはり素晴らしいと改めて思いました。
obnizのバージョンアップ
Bluetoothを使う場合はobnizのOSが古いとできませんでしたので、バージョンアップします
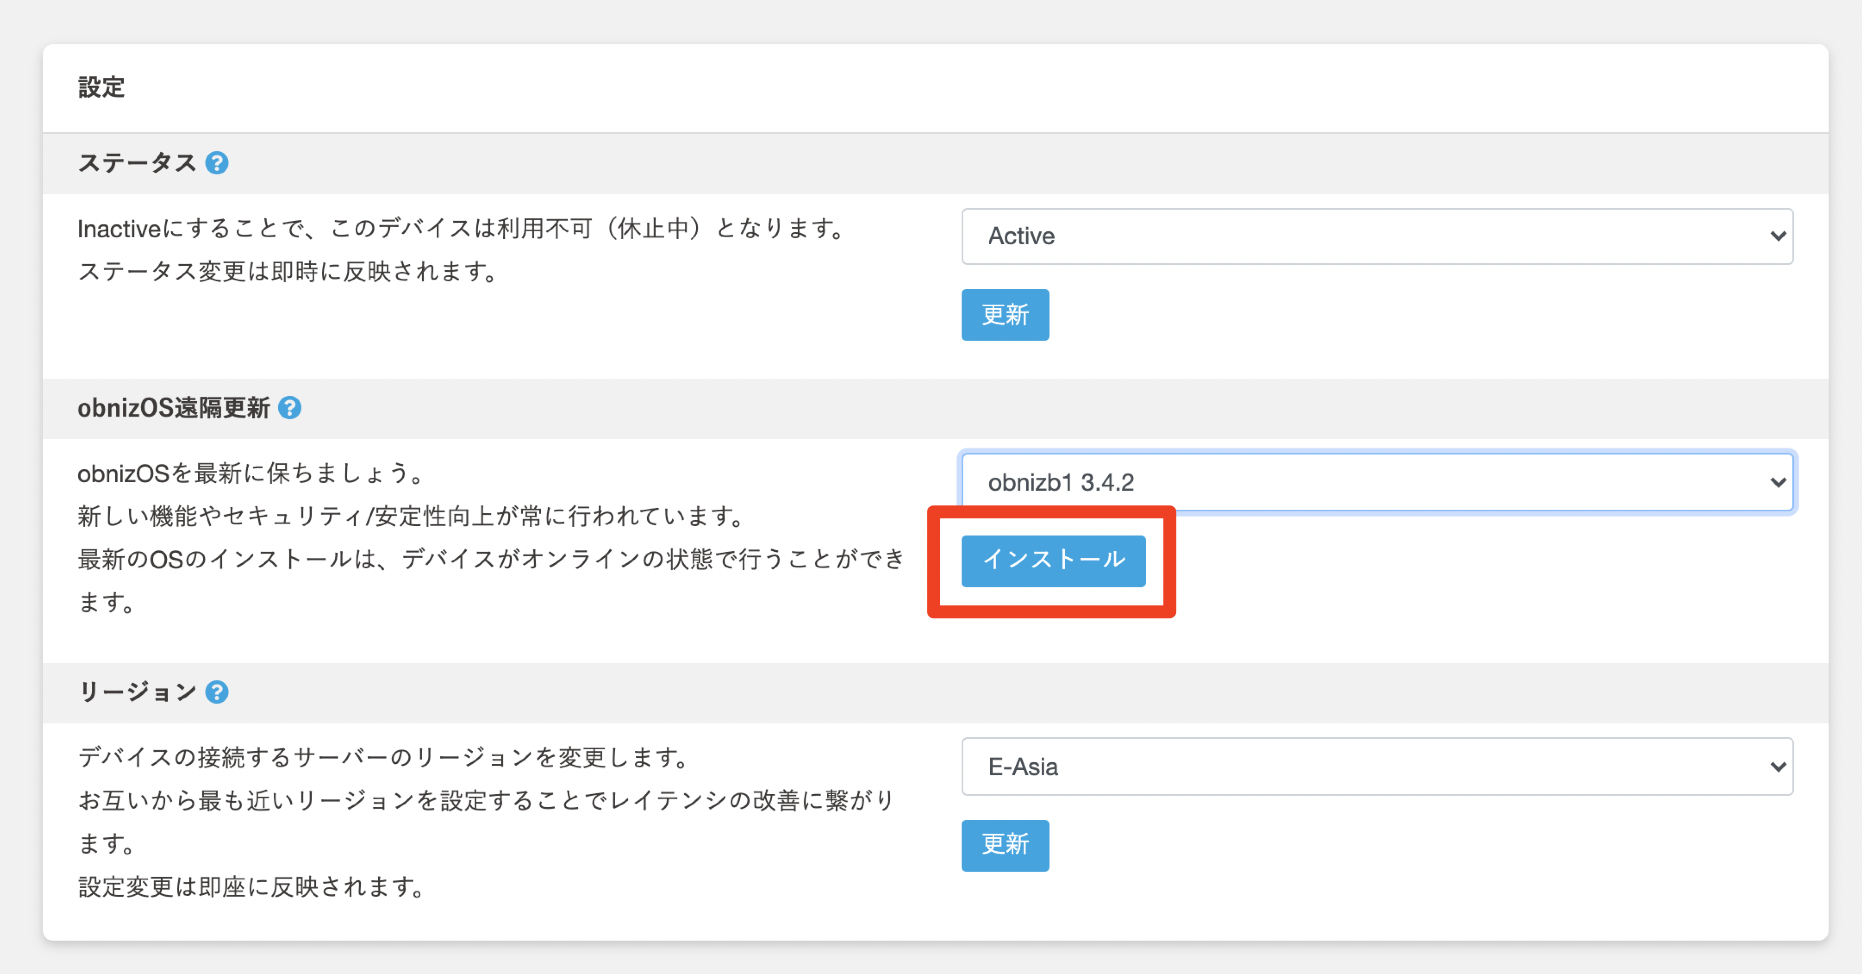
こちらのデバイス一覧から
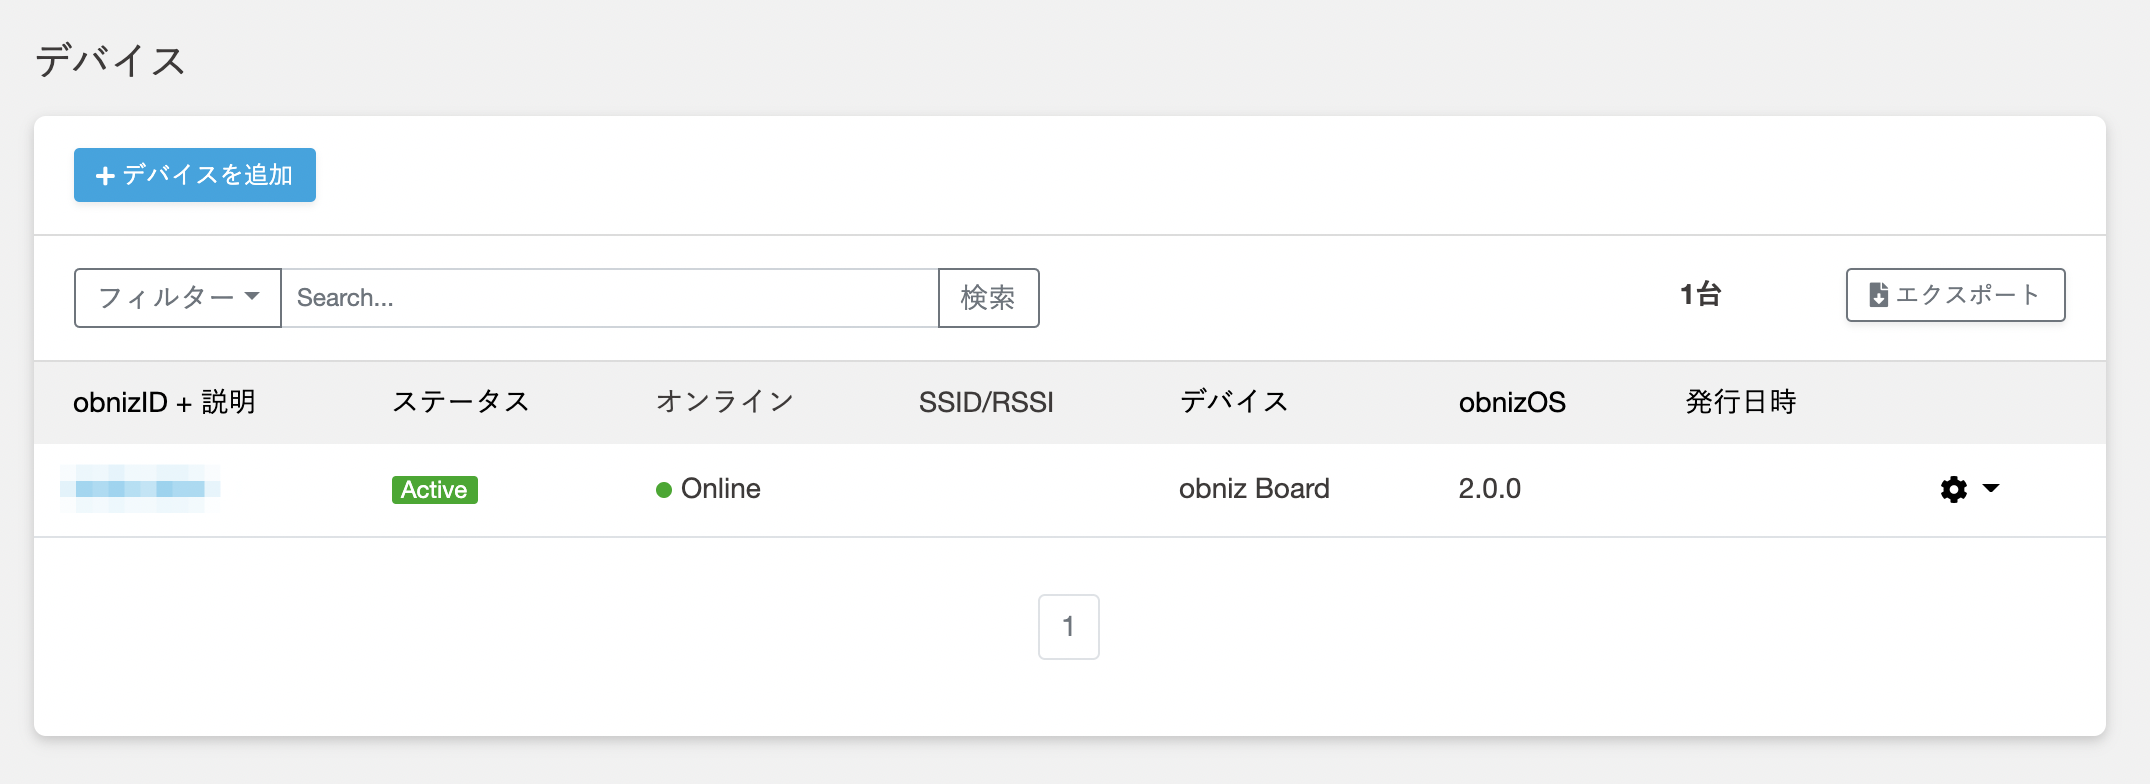
最新を選んでインストールします
ビーコン側ソースコード
こちらの記事からコードをもらいつつ、Node.js用に書き換えました
const Obniz = require("obniz");
const obniz = new Obniz("XXXX-XXXX");
obniz.onconnect = async function () {

  let adv = [];
  const UUID_FOR_LINECORP = [0x6F, 0xFE];
  const deviceMessage = [01, 02, 10];  //サーバーに送るメッセージ 1~13byte
  const hardwareId = [0x01, 0x43, 0x6f, 0xb5, 0x48]; //払い出されたID

  // flag
  adv = adv.concat([0x02, 0x01, 0x06]);  //LE General Discoverable Mode & BR/EDR Not Supported

  //16bit uuid
  adv = adv.concat([0x03, 0x03]);
  adv = adv.concat(UUID_FOR_LINECORP);

  //simple beacon
  adv = adv.concat([1 + 9 + deviceMessage.length, 0x16]);
  adv = adv.concat(UUID_FOR_LINECORP);
  adv = adv.concat([0x02]);
  adv = adv.concat(hardwareId);
  adv = adv.concat([0x7F]);
  adv = adv.concat(deviceMessage);


  await obniz.ble.initWait()
  obniz.ble.advertisement.setAdvDataRaw(adv);
  obniz.ble.advertisement.start();
}
obnizにスマートフォンを持って近づく
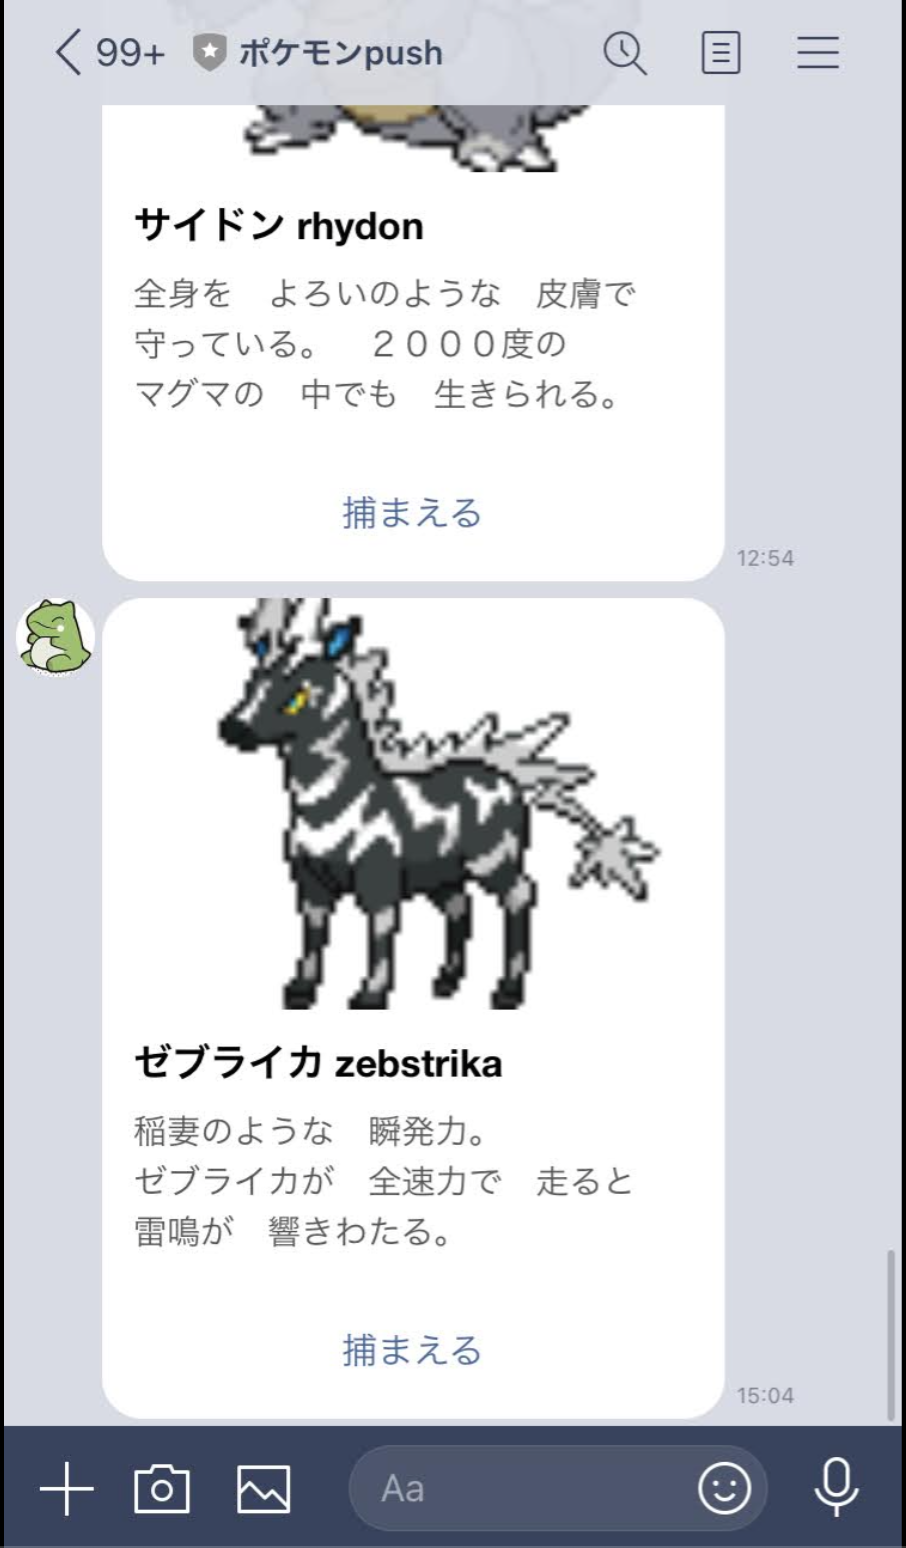
見た目同じ!でもできた!!
このobnizや他のビーコンデバイスを草むらなどに仕掛けておくと楽しそう!!!!
今回はやってないですが、ビーコンからのデバイスIDの情報や、その他センサー値をもらってBOT側で全部ランダムにしているところを偏らせたりできたらもっと楽しいと思った。
ただ、LINEのほうで、ハードは10個までの登録らしいです…
151個のハードとかは無理だよねぇ…