PJLinkはプロジェクターやディスプレイをメーカーを問わず操作・管理するための統一規格です。
https://pjlink.jbmia.or.jp/
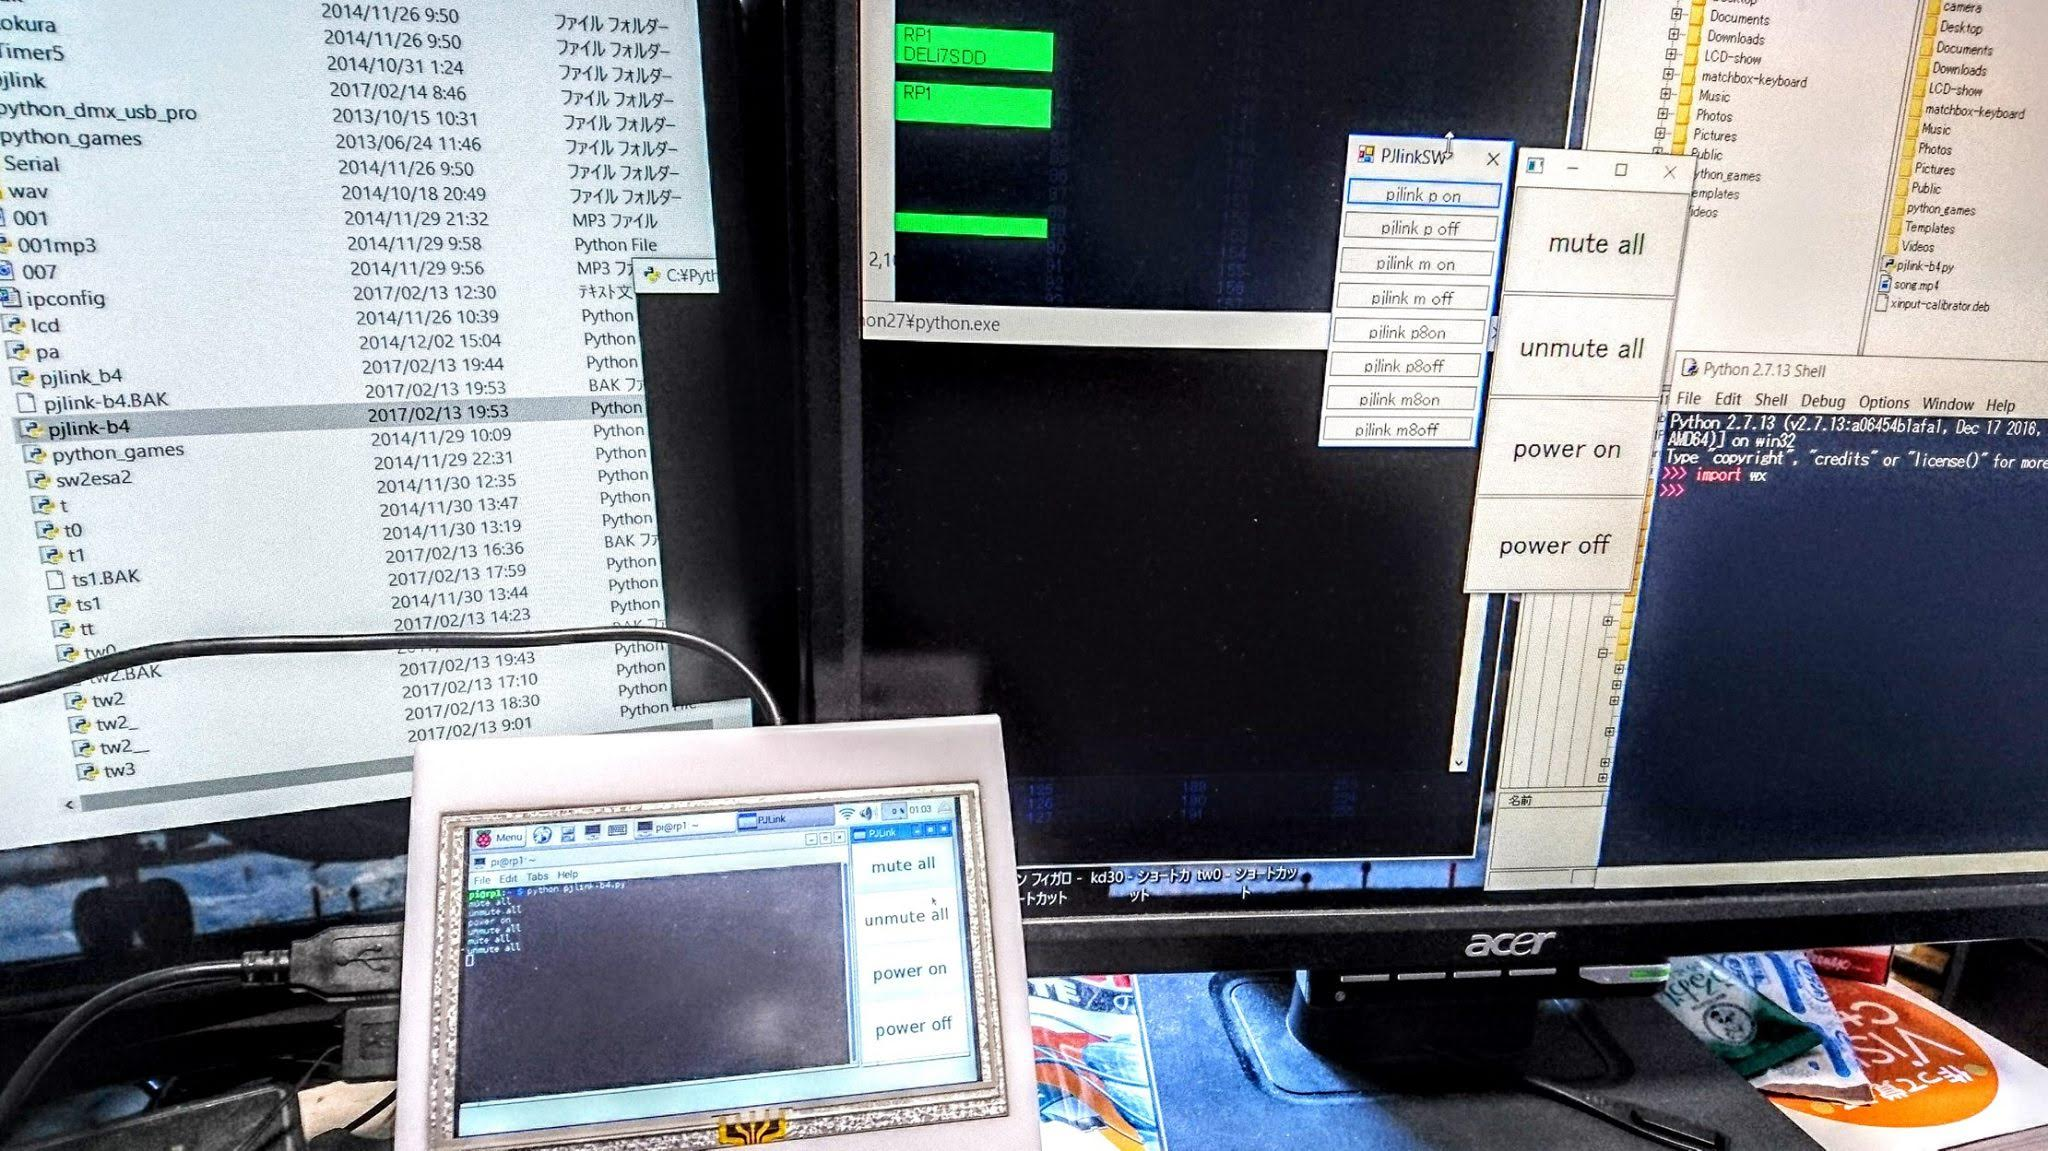
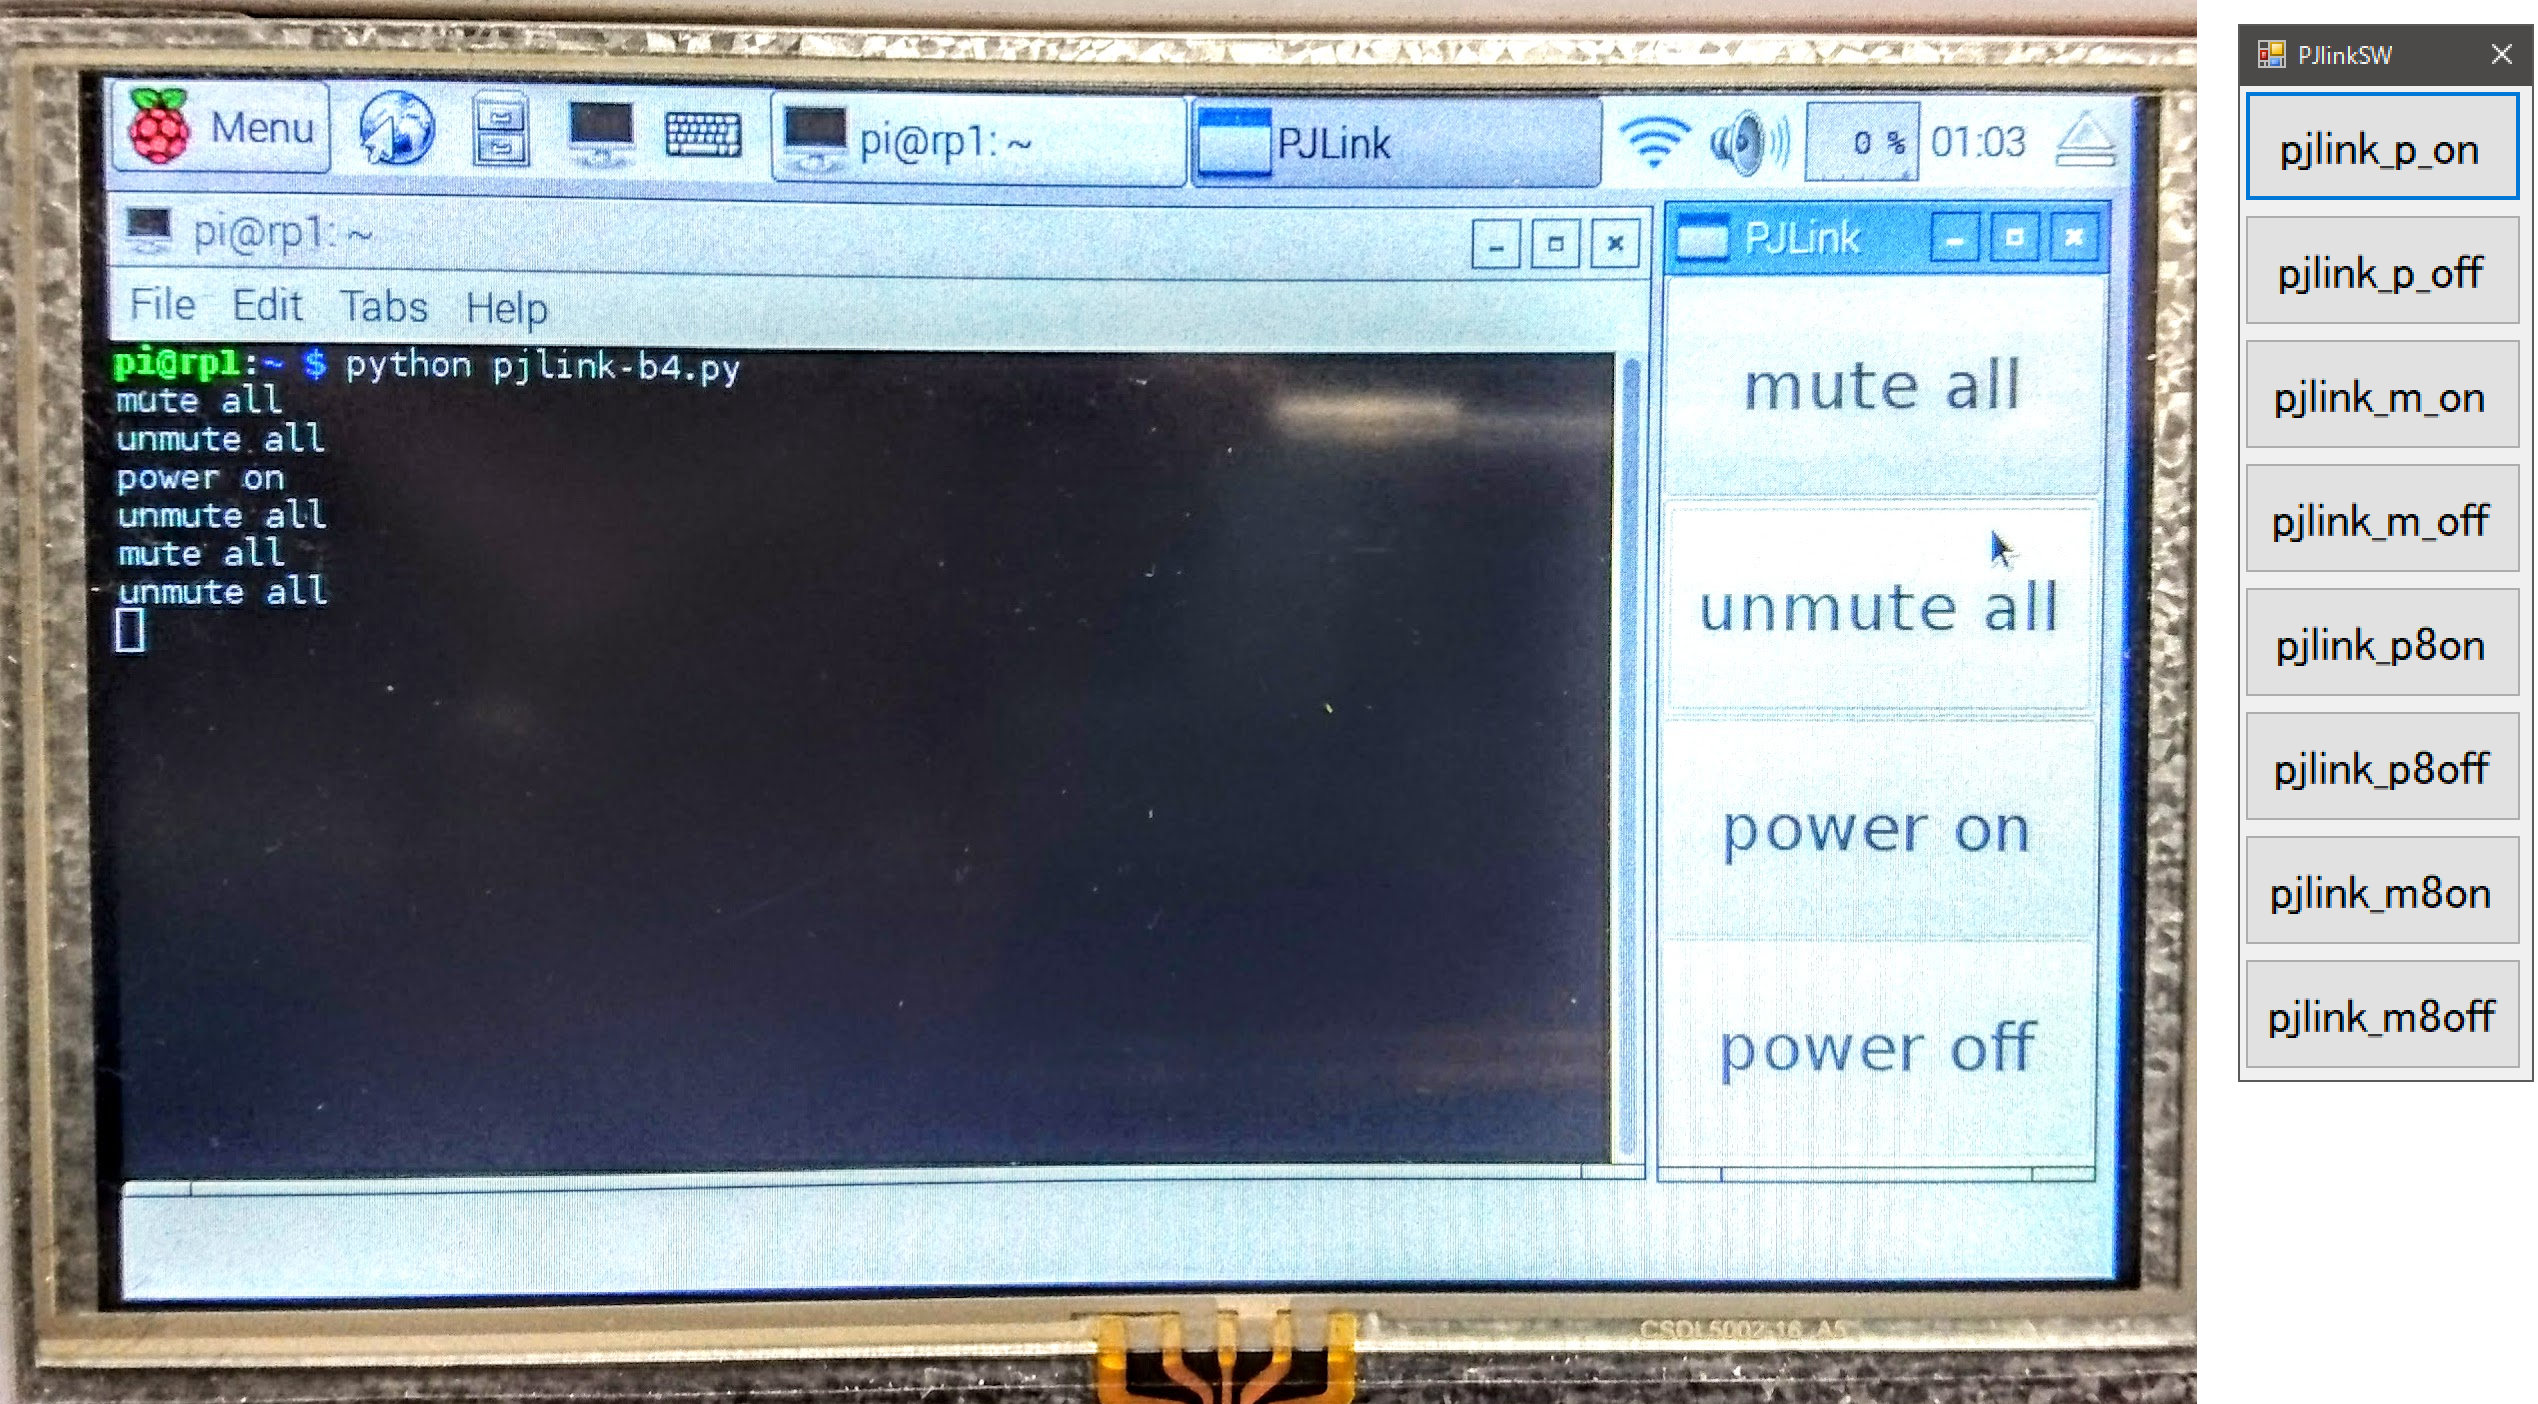
2018年に試験した画面です。Raspberry-Pyは同様な制御をGUIもPythonで書いています。


Windowsでは GUIはC#パッチファイルを呼び出しpjlink制御しています。
https://libraries.io/pypi/pypjlink
https://blog.flowblok.id.au/2012-11/controlling-projectors-with-pjlink.html
$ pip install pjlink
例1 pjlink_p_on.bat
pjlink -p 192.168.0.8 power on
例2 pjlink_m_on.bat
pjlink -p 192.168.0.8 mute all
Visual Studio Projects\csharp\PJlinkSW
using System;
using System.Collections.Generic;
using System.ComponentModel;
using System.Data;
using System.Drawing;
using System.Linq;
using System.Text;
using System.Threading.Tasks;
using System.Windows.Forms;

namespace Lesson4
{
    public partial class Form1 : Form
    {
        public Form1()
        {
            InitializeComponent();
        }
        private void Form1_Load(object sender, EventArgs e)
        {
            button1.Text = "pjlink_p_on";
            button2.Text = "pjlink_p_off";
            button3.Text = "pjlink_m_on";
            button4.Text = "pjlink_m_off";
            button5.Text = "pjlink_p8on";
            button6.Text = "pjlink_p8off";
            button7.Text = "pjlink_m8on";
            button8.Text = "pjlink_m8off";
        }

        private void button1_Click(object sender, EventArgs e)
        {
            System.Diagnostics.Process p =
            System.Diagnostics.Process.Start(button1.Text + ".bat");
        }

        private void button2_Click(object sender, EventArgs e)
        {
            System.Diagnostics.Process p =
            System.Diagnostics.Process.Start(button2.Text + ".bat");
        }
        private void button3_Click(object sender, EventArgs e)
        {
            System.Diagnostics.Process p =
            System.Diagnostics.Process.Start(button3.Text + ".bat");
        }
        private void button4_Click(object sender, EventArgs e)
        {
            System.Diagnostics.Process p =
            System.Diagnostics.Process.Start(button4.Text + ".bat");
        }
        private void button5_Click(object sender, EventArgs e)
        {
            System.Diagnostics.Process p =
            System.Diagnostics.Process.Start(button5.Text+".bat");
            p.WaitForExit();              // プロセスの終了を待つ
            int iExitCode = p.ExitCode;   // 終了コード
        }
        private void button6_Click(object sender, EventArgs e)
        {
            System.Diagnostics.Process p =
            System.Diagnostics.Process.Start(button6.Text + ".bat");
        }
        private void button7_Click(object sender, EventArgs e)
        {
            System.Diagnostics.Process p =
            System.Diagnostics.Process.Start(button7.Text + ".bat");
        }
        private void button8_Click(object sender, EventArgs e)
        {
            System.Diagnostics.Process p =
            System.Diagnostics.Process.Start(button8.Text + ".bat");
        }
        private void button9_Click(object sender, EventArgs e)
        {
            System.Diagnostics.Process p =
            System.Diagnostics.Process.Start(button9.Text + ".bat");
        }
        private void button10_Click(object sender, EventArgs e)
        {
            System.Diagnostics.Process p =
            System.Diagnostics.Process.Start(button10.Text + ".bat");
        }
    }
}
Raspberry-Py のソースです こちらは Pythonだけです。
import wx
import os

str_0  = 'pjlink -p 192.168.0.25 '
b0_str = 'mute all'
b1_str = 'unmute all'
b2_str = 'power on'
b3_str = 'power off'

def onButton0(event):
    print b0_str
    os.system(str_0+b0_str)
def onButton1(event):
    print b1_str
    os.system(str_0+b1_str)
def onButton2(event):
    print b2_str
    os.system(str_0+b2_str)
def onButton3(event):
    print b3_str
    os.system(str_0+b3_str)

app = wx.App()
frame = wx.Frame(None, -1, 'PJLink')
frame.SetDimensions(0,0,180,400)
font = wx.Font(20, wx.FONTFAMILY_DEFAULT, wx.FONTSTYLE_NORMAL, wx.FONTWEIGHT_NORMAL)

panel = wx.Panel(frame, wx.ID_ANY)
button0 = wx.Button(panel, wx.ID_ANY, b0_str)
button1 = wx.Button(panel, wx.ID_ANY, b1_str)
button2 = wx.Button(panel, wx.ID_ANY, b2_str)
button3 = wx.Button(panel, wx.ID_ANY, b3_str)
button0.SetFont(font)
button1.SetFont(font)
button2.SetFont(font)
button3.SetFont(font)

layout = wx.GridSizer(4, 1)
layout.Add(button0, 0, wx.GROW)
layout.Add(button1, 0, wx.GROW)
layout.Add(button2, 0, wx.GROW)
layout.Add(button3, 0, wx.GROW)
panel.SetSizer(layout)

button0.Bind(wx.EVT_BUTTON, onButton0)
button1.Bind(wx.EVT_BUTTON, onButton1)
button2.Bind(wx.EVT_BUTTON, onButton2)
button3.Bind(wx.EVT_BUTTON, onButton3)

frame.Show()
frame.Centre()
app.MainLoop()
参考リンク:
JBMIA PJLinkとは
http://pjlink.jbmia.or.jp/
https://ameblo.jp/holycater/entry-12467347403.html