携わっているプロジェクトで使用することになったのでメモがてら
Cordova Pluginの作成
ディレクトリ作成
プラグイン開発は以下のフォルダ構成で行います。
./custom_plugins
└── cordova-plugin-helloworld ・・・プラグイン名
    ├── package.json
    ├── plugin.xml
    ├── src
    │   ├── android
    │   │   └── HelloWorld.java ・・・ AndroidのNativeコード
    │   └── ios
    │       └── HelloWorld.swift ・・・ iOSのNativeコード
    └── www
        └── helloworld.js ・・・ Web側実行コード
package.jsonの作成
package.jsonの内容は以下の通りです。
{
  "name": "cordova-plugin-helloworld",
  "version": "1.0.0",
  "cordova": {
    "id": "cordova-plugin-helloworld",
    "platforms": [
      "android",
      "ios"
    ]
  }
}
plugin.xmlの作成
<?xml version="1.0" encoding="UTF-8"?>
<!-- id: プラグインの識別子、version: プラグインのバージョン -->
<plugin xmlns="http://apache.org/cordova/ns/plugins/1.0"
  xmlns:android="http://schemas.android.com/apk/res/android"
  id="cordova-plugin-helloworld"
  version="1.0.0">

  <!-- プラグイン名 -->
  <name>HelloWorld</name>
  <!-- プラグインの説明 -->
  <description>HelloWorld!!!</description>
  <!-- ライセンス -->
  <license>HogeLicense</license>
  <!-- プラグインがサポートするCordovaのバージョン -->
  <engines>
    <engine name="cordova-android" version=">5.0.0"/>
  </engines>
  <!-- JSの場所指定。name: モジュール名 -->
  <js-module src="www/helloworld.js" name="HelloWorld">
    <clobbers target="HelloWorld"/>
  </js-module>

  <!-- iOS用の設定 -->
  <platform name="ios">
    <config-file target="config.xml" parent="/*">
      <!-- Swift Class名 -->
      <feature name="HelloWorld">
        <!-- Valueが@objc(HelloWorld) -->
        <param name="ios-package" value="HelloWorld" onload="true" />
      </feature>
    </config-file>
    <!-- Swiftを使用する -->
    <source-file src="src/ios/HelloWorld.swift" />
  </platform>

  <!-- Android用の設定 -->
  <platform name="android">
    <!-- Androidのconfig.xmlはここ→project/platform/android/res/xml/config.xmlにあるのでそこに反映するように -->
    <config-file target="res/xml/config.xml" parent="/*">
      <!-- Cordovaはfeatureタグをみて、どのプラグインが有効か見る。以下の情報が上記のファイルに追加される。 -->
      <feature name="helloworld">
        <param name="android-package" value="plugin.helloworld.HelloWorld"/>
      </feature>
    </config-file>
    <!-- Javaのソースファイル。 target-dir: ファイルがコンパイルされるべき場所 -->
    <!-- 以下だとproject/platform/android/src/plugin/helloworld/以下になる -->
    <source-file src="src/android/HelloWorld.java" target-dir="src/plugin/helloworld/"/>
  </platform>
</plugin>
helloworld.jsの作成
var exec = require("cordova/exec");

module.exports = {
  echo: function (name, successCallback, errorCallback) {
    // 第1引数: 成功時に呼び出す関数
    // 第2引数: エラー時に呼び出す関数
    // 第3引数: プラグインの名前(plugin.xmlのfeatureのnameに設定したもの)
    // 第4引数: HelloWorld.javaの第1引数に渡る名前
    // 第5引数: HelloWorld.javaの第2引数に渡る値
    exec(successCallback, errorCallback, "helloworld", "echo", [name]);
  },
};
HelloWorld.javaの作成(Android Native)
// plguin.xml -> feature -> param -> value で指定した物
package plugin.helloworld;

import org.apache.cordova.*;
import org.json.JSONArray;
import org.json.JSONException;

public class HelloWorld extends CordovaPlugin {

    @Override
    public boolean execute(String action, JSONArray data, CallbackContext callbackContext) throws JSONException {

        if (action.equals("echo")) {
            String name = data.getString(0);
            String message = "Hello, World !!! " + "Hello, " + name;
            callbackContext.success(message);
            return true;
        } else {
            return false;
        }
    }
}
HelloWorld.swiftの作成(iOS Native)
import Foundation
import UIKit

@objc(HelloWorld) class HelloWorld: CDVPlugin {
    // JavaScriptに公開する関数名を記述
    @objc(echo:)
    func echo(command: CDVInvokedUrlCommand) {

        let name = command.arguments.first as! String
        let message = "Hello, World !!! " + "Hello, " + name;

        // 返却するレスポンスを作成
        let result = CDVPluginResult(status: CDVCommandStatus_OK, messageAs: message)

        // コールバック形式でレスポンスを返却
        self.commandDelegate!.send(result, callbackId: command.callbackId)

    }
}
一旦作成したPluginを使ってみる
空のIonicプロジェクトを作成し、上記で作成たプラグインをaddする。
$ ionic start plugin-test blank
$ cd plugin-test
今回は以下のようにプロジェクト内にカスタムプラグインのファイルを配置する。
prugin-test
└── custom_plugins
│    └── cordova-plugin-helloworld ・・・今回作成したプラグイン
└── node_modules
└── src
・
・
・
プラグインの追加
$ ionic cordova plugin add ./custom_plugins/cordova-plugin-helloworld
アプリ側にプラグインの実行処理を実装
import { Component } from "@angular/core";
import { Platform } from "@ionic/angular"; ・・・ 追加

declare var HelloWorld: any; ・・・ 追加 Ionic Nativeに対応していない場合はこの定義が必要

@Component({
  selector: "app-home",
  templateUrl: "home.page.html",
  styleUrls: ["home.page.scss"],
})
export class HomePage {
・・・以下全て追加
  constructor(public platform: Platform) {
    this.platform.ready().then(() => {
      HelloWorld.echo("MyName", this.successCallback, this.errorCallback);
    });
  }
  // 成功時の処理
  successCallback(message) {
    alert(message);
  }
  // エラー時の処理
  errorCallback() {
    alert("hello error");
  }
}
Platformの追加と実装
Platformの追加
$ ionic cordova platform add android
$ ionic cordova platform add ios
実行
$ ionic cordova run android
$ ionic cordova run ios
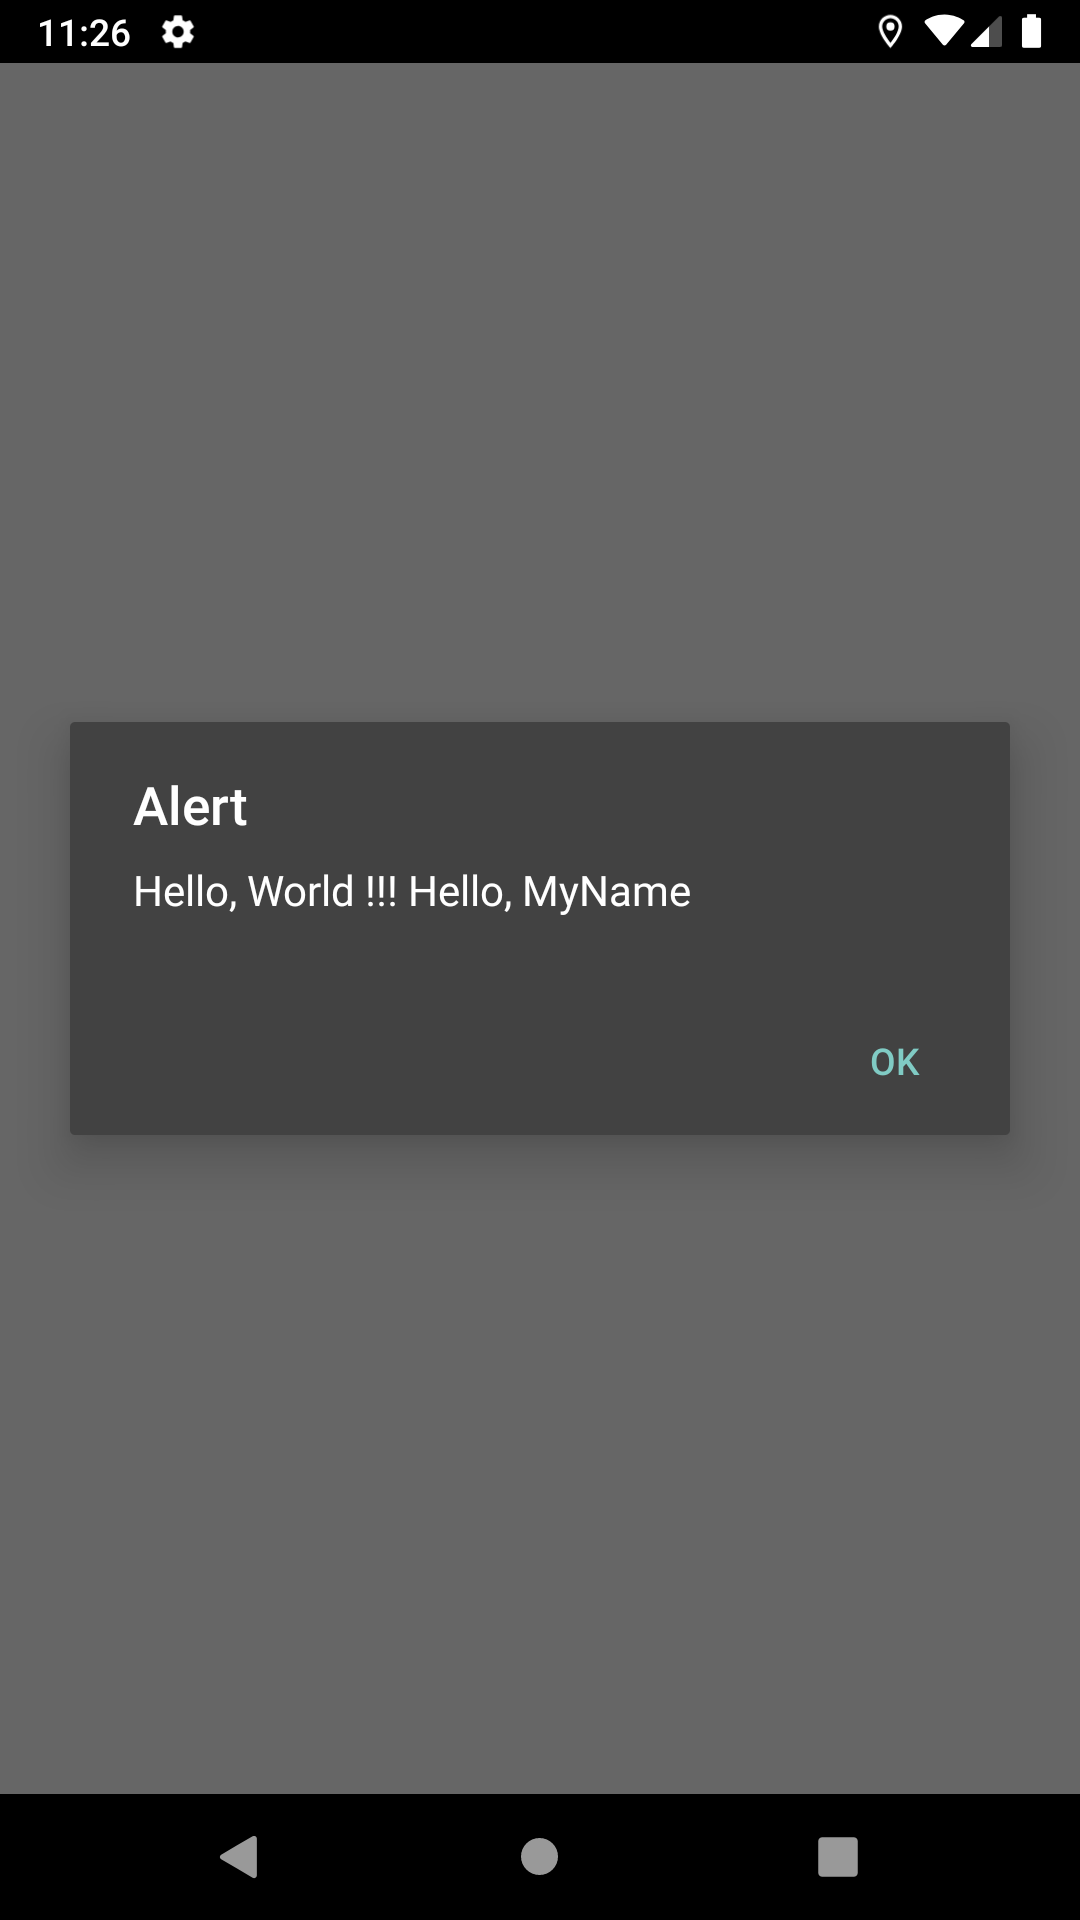
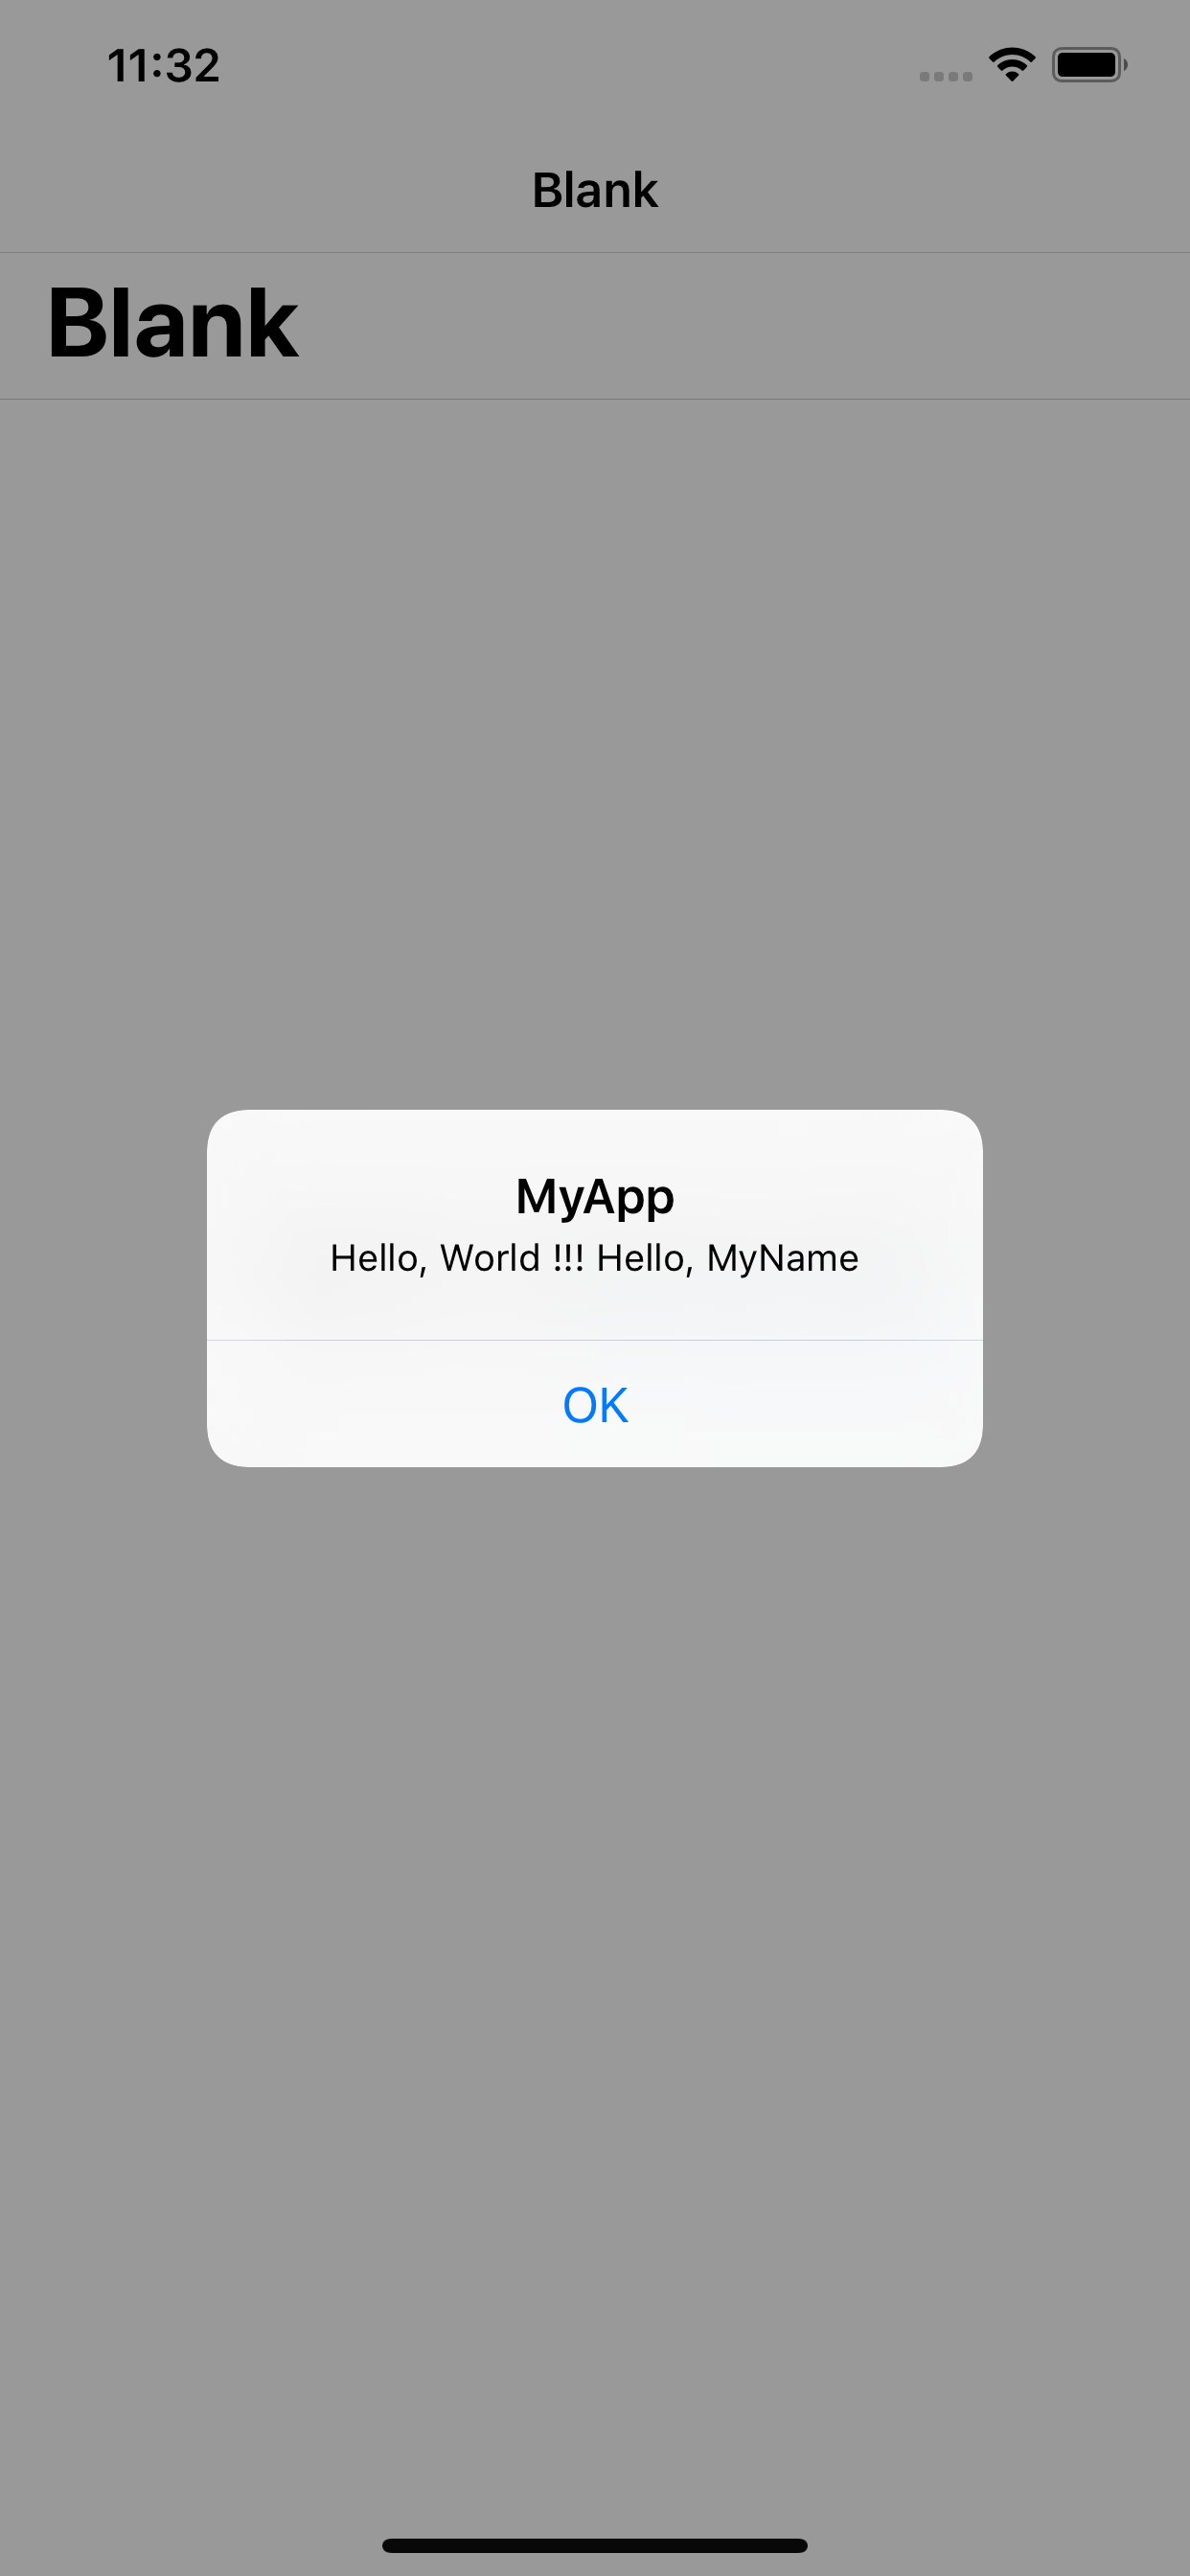
結果
Android

iOS

Ionic native pluginの作成
準備
先ほど作成したCordova pluginをIonic native pluginとして使えるようにします。まず、最初にnative pluginに必要なコードをhttps://github.com/ionic-team/ionic-nativeからクローンします。ディレクトリはどこでも良いのすが、
$ cd todo
$ git clone https://github.com/ionic-team/ionic-native.git
ionic-native/src/@ionic-native/pluginsの下には既存のIonic native pluginのソースコードが置いてあります。ビルドするときに邪魔になるので一旦pluginsの下を全て削除します。
$ rm -rf ionic-native/src/@ionic-native/plugins/*
Native Plugin用のファイルの生成
$ cd ionic-native
$ npm install
$ gulp plugin:create -n HelloWorldPlugin
gulpが未インストールの場合はインストール
npm install -g gulp
正常に終了すると以下のファイルが生成されます。
src/@ionic-native/plugins/hello-world-plugin/index.ts
プラグインの定義部分を以下のように変更します。
@Plugin({
  pluginName: 'HelloWorldPlugin',
  plugin: 'cordova-plugin-helloworld', // npm package name, example: cordova-plugin-camera
  pluginRef: 'HelloWorldPlugin', // the variable reference to call the plugin, example: navigator.geolocation
  repo: '', // the github repository URL for the plugin
  install: '', // OPTIONAL install command, in case the plugin requires variables
  installVariables: [], // OPTIONAL the plugin requires variables
  platforms: ['Android', 'iOS'], // Array of platforms supported, example: ['Android', 'iOS']
})
/**
  ・pluginName:コマンド実行時に自動で追加されます。今回作成するパッケージ名になります。実際には、wewi-cordova-pluginで読み出します。
  ・plugin:前回作成したcordova pluginのidです。
  ・pluginRef:cordova pluginの呼び出し名です。
  ・platforms:利用するplatformを配列で指定。
*/
次にクラス内にメソッドを追加します。今回作成したメソッドは、helloだけなので下記の様になります。複数ある場合は、同じ様に追加して行きます。
@Injectable()
export class HelloWorldPlugin extends IonicNativePlugin {
  /**
   * This function does something
   * @param arg1 {string} Some param to configure something
   * @param arg2 {number} Another param to configure something
   * @return {Promise<any>} Returns a promise that resolves when something happens
   */
  @Cordova()
  echo(arg1: string): Promise<any> {
    return; // We add return; here to avoid any IDE / Compiler errors
  }
}
最後にlintでエラーが発生するので、不要なimportは削除する。今回のimport文は、下記の通りとになります。
import { Injectable } from '@angular/core';
import { Plugin, Cordova, IonicNativePlugin } from '@ionic-native/core';
Native Pluginのビルド
index.tsの編集が完了したら、次にbuildしてnpmでインストール出来る形にします。
$ npm run build
コマンドが正常終了すると、下記のディレクトリが出来ているはずです。
dist/@ionic-native/wewi-cordova-plugin
├── index.d.ts
├── index.js
├── index.js.map
├── index.metadata.json
└── package.json
Native Pluginのインストール
作成したNative Pluginをインストールします。単純にプロジェクトのnode_modules/@ionic-nativeの下にコピーしても使えますが、アプリのビルドなどをしていると消えることがあるので、インストールした方が良いようです。インストールはプロジェクトのトップで以下のコマンドを実行します。
※私の環境では、上記でpackage.jsonが作成されなかったので、コピーして使用しました。
$ npm install --save 任意のフォルダ/ionic-native/dist/\@ionic-native/hello-world-plugin
呼び出しコードを修正
import { NgModule } from "@angular/core";
import { CommonModule } from "@angular/common";
import { IonicModule } from "@ionic/angular";
import { FormsModule } from "@angular/forms";
import { HomePage } from "./home.page";
import { HelloWorldPlugin } from "@ionic-native/hello-world-plugin/ngx"; ・・・追加
import { HomePageRoutingModule } from "./home-routing.module";

@NgModule({
  imports: [CommonModule, FormsModule, IonicModule, HomePageRoutingModule],
  declarations: [HomePage],
  providers: [HelloWorldPlugin], ・・・追加
})
export class HomePageModule {}
import { Component } from "@angular/core";
import { Platform } from "@ionic/angular";
import { HelloWorldPlugin } from "@ionic-native/hello-world-plugin/ngx"; ・・・追加
// declare var HelloWorld: any; ・・・削除
@Component({
  selector: "app-home",
  templateUrl: "home.page.html",
  styleUrls: ["home.page.scss"],
})
export class HomePage {
変更・・・
  constructor(public platform: Platform, public helloworld: HelloWorldPlugin) {
    this.platform.ready().then(() => {
      this.helloworld.echo("ACN").then((message) => {
        this.successCallback(message);
      });
    });
  }
・・・
  //成功時の処理
  successCallback(message) {
    alert(message);
  }
  //エラー時の処理
  errorCallback() {
    alert("hello error");
  }
}