2018/12/04(Wed) 時点の情報に基づいています
ng add を使った超簡単な方法
Ignite UI for Angular は v7.0.2 で ng add に対応したので、初期セットアップがとても楽になりました。
https://github.com/IgniteUI/igniteui-angular/releases/tag/7.0.2
新規プロジェクトから始める
これから初めてアプリケーションを作ろうという人はこちら。
ng new my-app --style=scss
cd my-app
ng add igniteui-angular
たった3行で完了です!
既存プロジェクトから始める
既に作った、あるいは、作りかけのアプリケーションがある人はこちら。
cd existing-app
ng add igniteui-angular
たった2行で完了です!
エラーが出る場合
Windows 環境で確認している事象ですが、以下のエラーメッセージが表示されることがあります。
The package that you are trying to add does not support schematics. You can try using a different version of the package or contact the package author to add ng-add support.
その場合、明示的に最新バージョンを指定することで解消できます。
ng add igniteui-angular@latest
or
ng add igniteui-angular@7.0.2
プロジェクトに追加した際の注意点
nd add を行なった場合、以下のファイルに変更が入りますが、
- package.json
- angular.json
- src/index.html
- src/app/app.module.ts
特にangular.jsonの変更に注意が必要です。
  "scripts": [
    "./node_modules/hammerjs/hammer.min.js"
  ]
HammerJS を scripts オプションに追加していますが、これが問題となることがあります。
例えば、Angular Material など、HammerJS への依存があるパッケージを使用している場合、main.ts や pollyfill.ts などで既に import している場合があると思います。それだと二重でバンドルされてしまうことになるので import を削除するか、あるいは scripts の方を削除してください。
igx-grid を表示してみよう
セットアップが爆速で完了したので、何か表示してみたいと思います。 Ignite UI for Angular の目玉のグリッドコンポーネントである igx-grid でやってみます。
- src/app/app.module.ts
- src/app/app.component.ts
- src/app/app.component.html
に手をいれます。
import { BrowserModule } from '@angular/platform-browser';
import { NgModule } from '@angular/core';


import { AppComponent } from './app.component';
import { BrowserAnimationsModule } from '@angular/platform-browser/animations';

// igx-grid を使うためにモジュールを import
import { IgxGridModule } from 'igniteui-angular';

@NgModule({
  declarations: [
    AppComponent
  ],
  imports: [
    BrowserModule,
    BrowserAnimationsModule,
    // ココ
    IgxGridModule
  ],
  providers: [],
  bootstrap: [AppComponent]
})
export class AppModule {}
import { Component } from '@angular/core';

@Component({
  selector: 'app-root',
  templateUrl: './app.component.html',
  styleUrls: ['./app.component.css']
})
export class AppComponent {
  // データを用意
  data = Array.from({ length: 1000 }).map((_, i) => {
    const item = { id: i + 1 };
    Array.from({ length: 99 }).forEach((__, j) => {
      item[`column${j + 1}`] = j + 1;
    });
    return item;
  });
}
<div style="width: 100vw; height: 100vh; padding: 16px;">
<!-- データのバインド -->
<!-- 列定義はデータから自動生成 -->
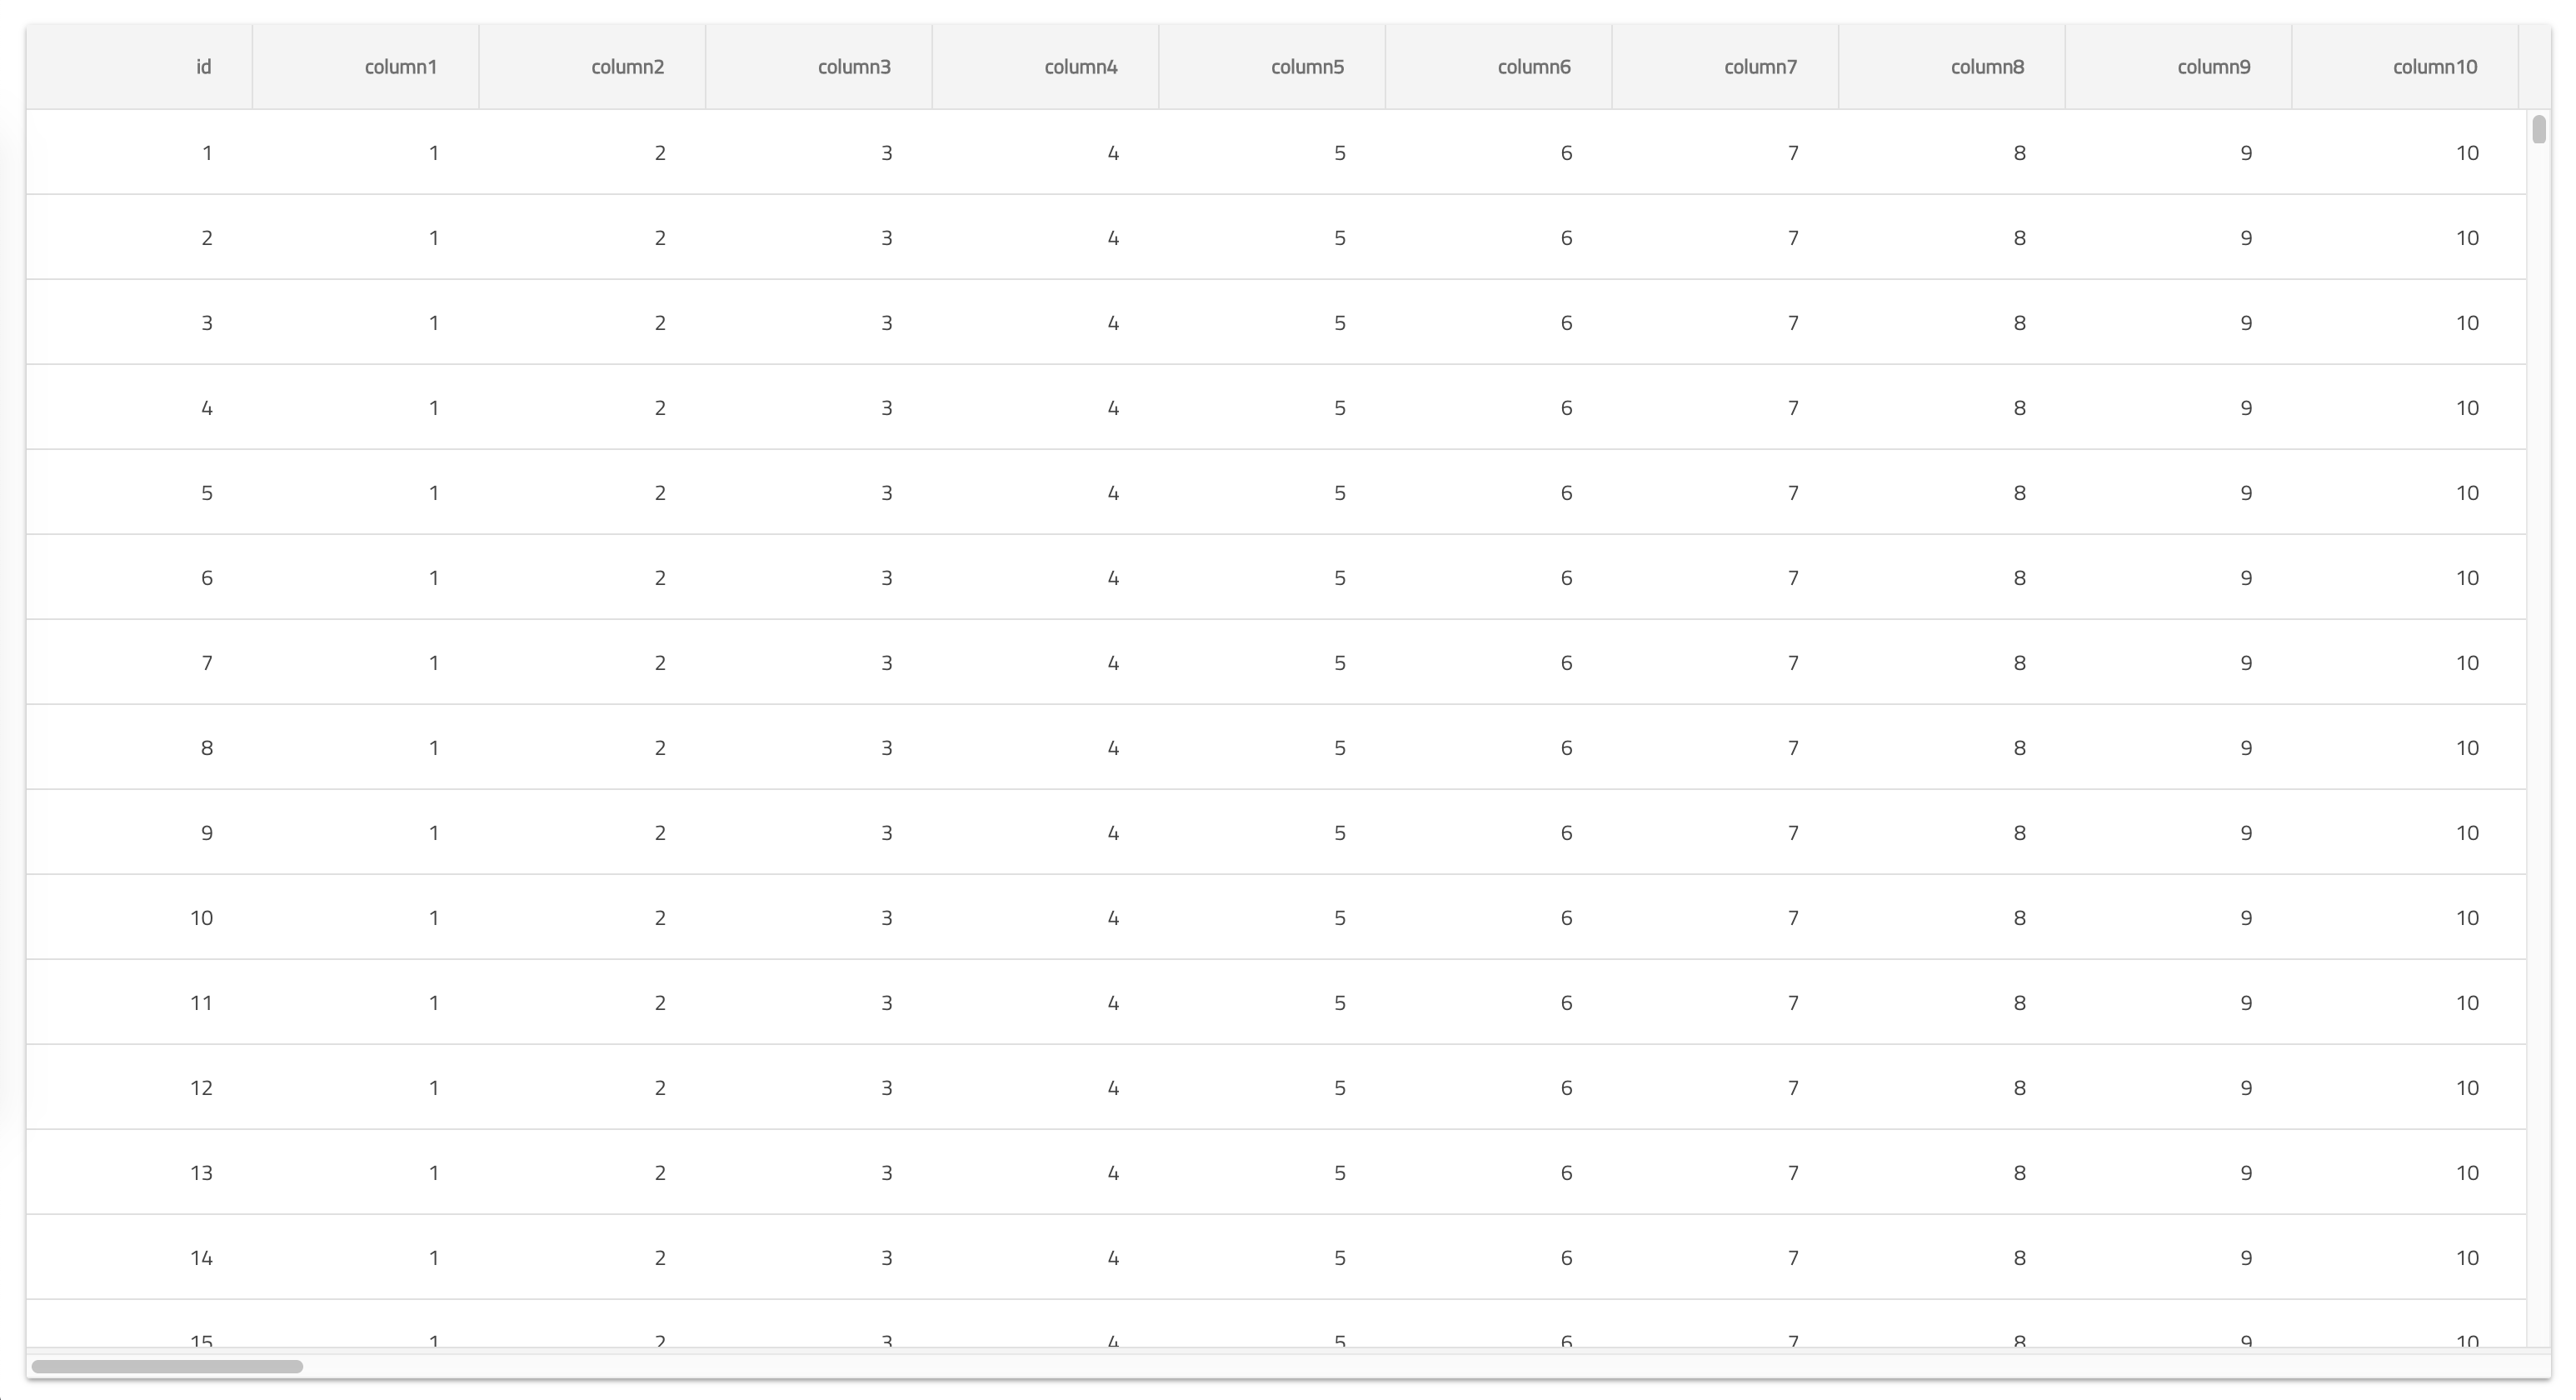
<igx-grid [data]="data" [autoGenerate]="true"></igx-grid>
</div>
はい、出来上がりです!本当に簡単です!
Ignite UI for Angular が気になった方はこちら
デモサイトで様々なサンプルを試すことができますので色々試してみてください!
https://jp.infragistics.com/products/ignite-ui-angular/angular/components/grid_virtualization.html