Lobeは、マイクロソフトが公開した機械学習のmodelが簡単に構築できるツールです。
下記の記事ではその使い方を説明しました。
マイクロソフトが公開した機械学習モデルの訓練を容易にできる「Lobe」を試してみた。
本記事では、Lobeで学習したmodelをエクスポートしてPythonから利用するまでの手順を書いていきたいと思います。
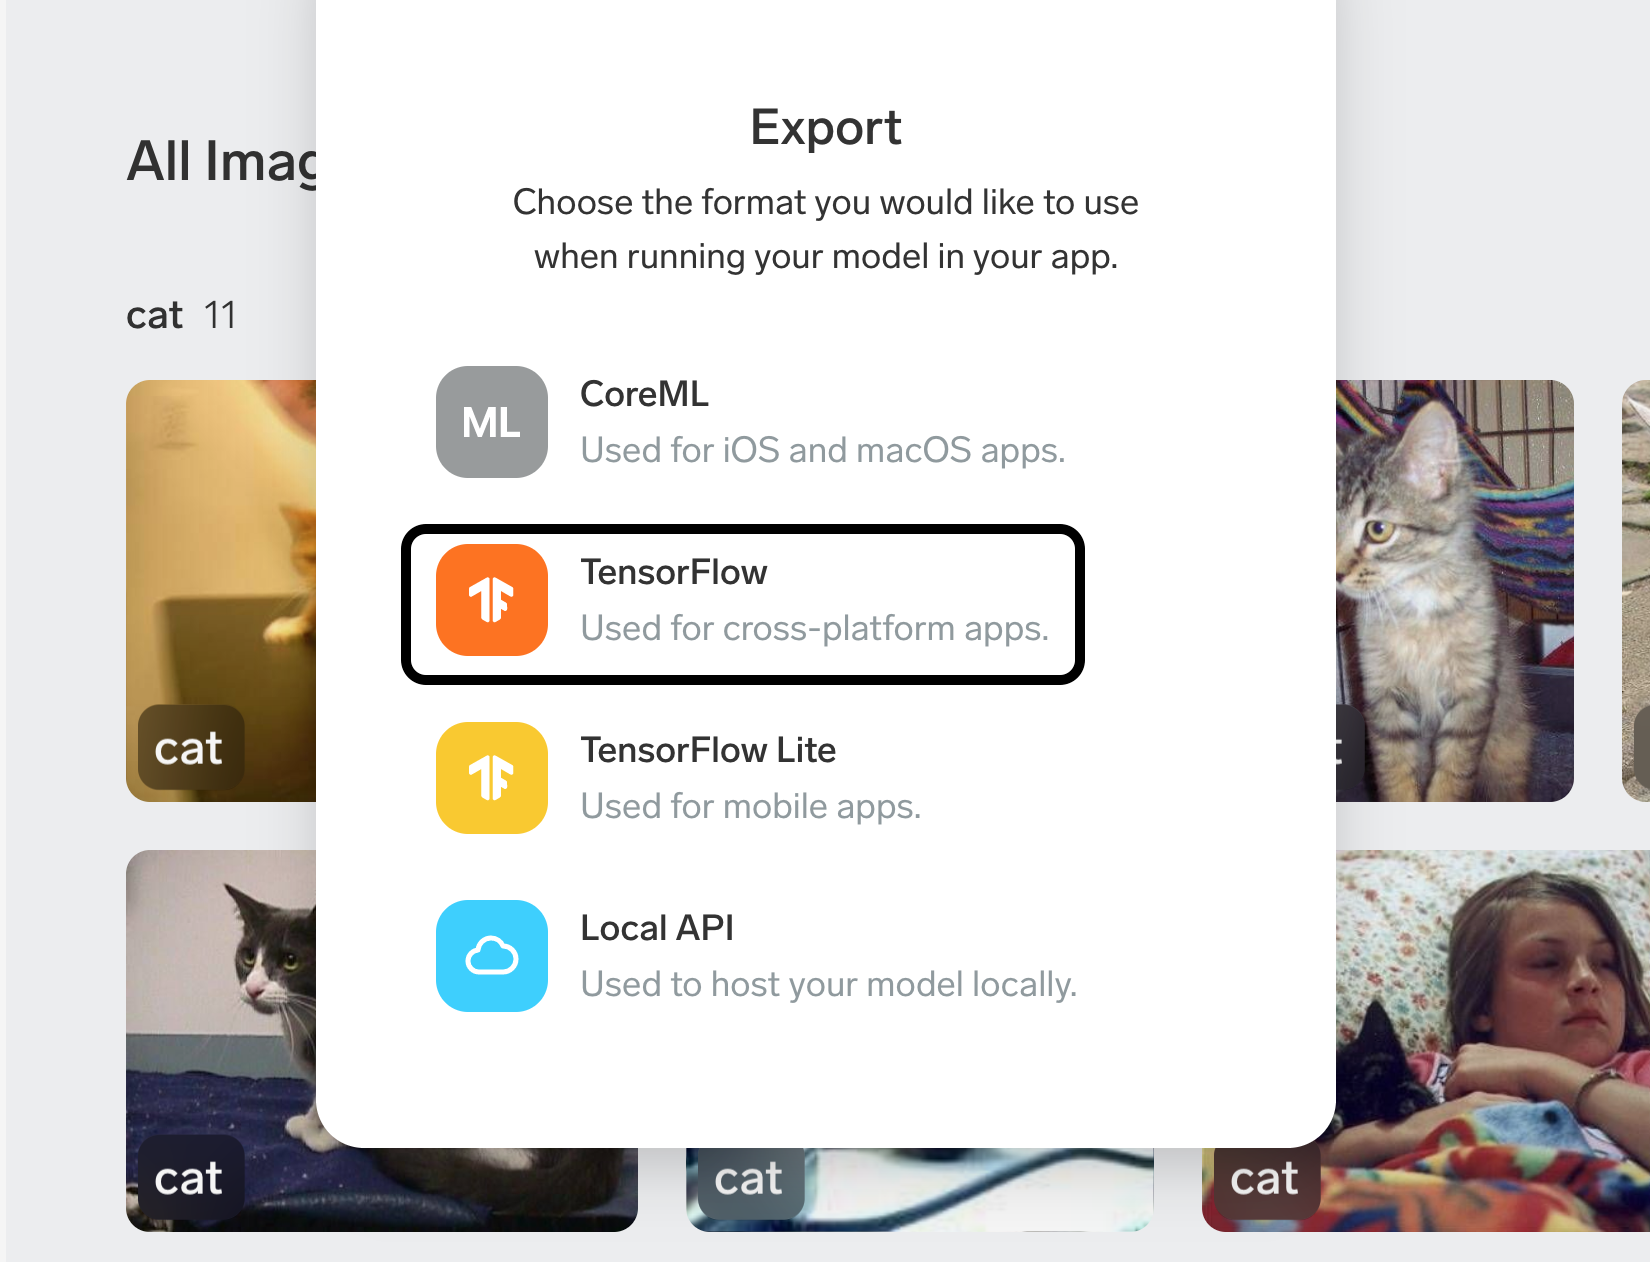
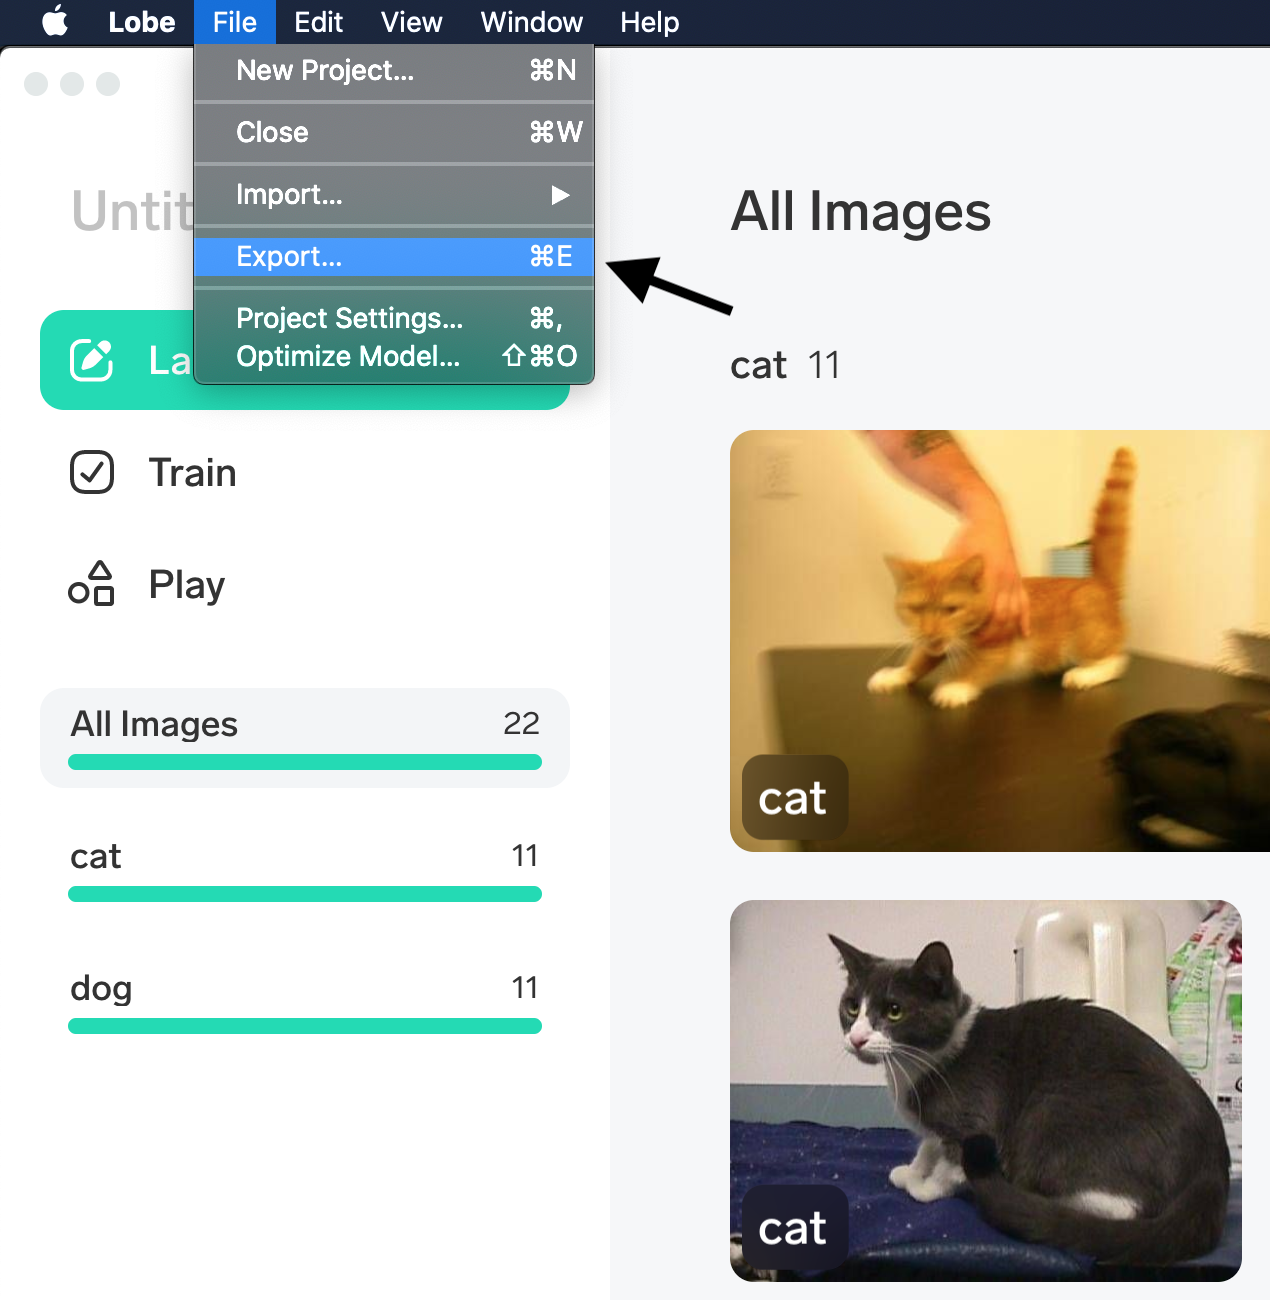
学習したmodelをエクスポートする
今回はTensorFlowを使用するのでそちらを選択し保存先を指定します。

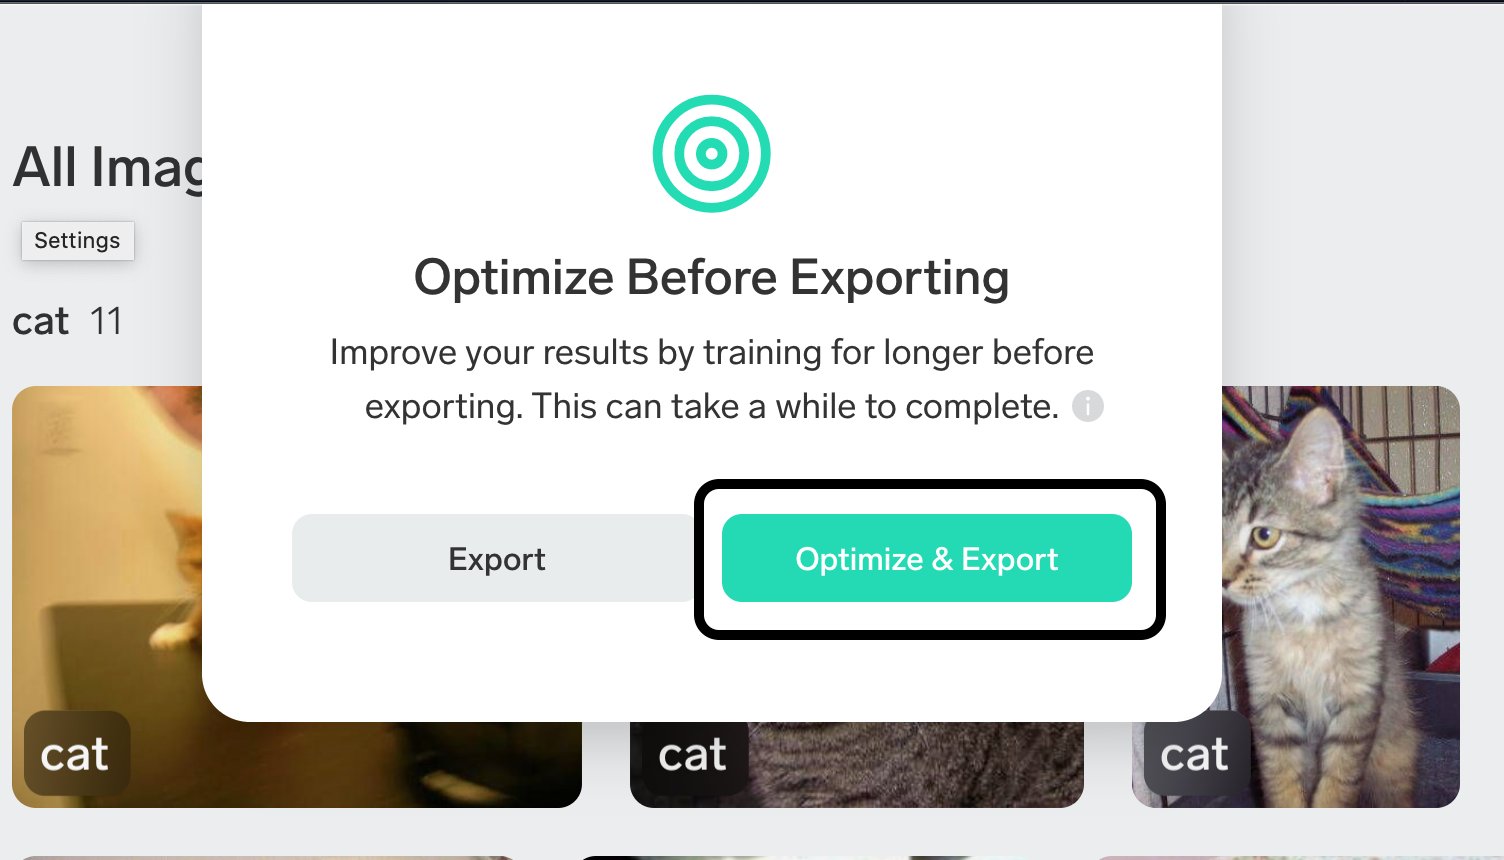
Optimize&Optimizingを選択するとmodelを最適化した上で保存することができます。

ここまでの手順で学習したmodelをエクスポートすることができます。
学習済みmodelをPythonで利用する
エクスポートしたmodelの保存先にexampleというフォルダがあります。
その中にTensorFlowから利用するためのサンプルコード(tf_example.py)が入っています。
コマンドライン利用する場合:
# python example/tf_example.py '画像パス'
以下、サンプルコードから最低限必要な箇所だけを記載します。
必要なライブラリのimport
import json

import numpy as np
import tensorflow as tf
from PIL import Image
Signatureから出入力情報を読み込む
with open("modelを保存したパス/signature.json", "r") as f:
    signature = json.load(f)

inputs = signature.get('inputs')
outputs = signature.get('outputs')
modelを読み込む
# TensorFlow1系の場合
session = tf.compat.v1.Session(graph=tf.Graph())
tf.compat.v1.saved_model.loader.load(sess=session, tags=signature.get("tags"), export_dir='modelを保存したパス')

# TensorFlow2系の場合
model = tf.saved_model.load('modelを保存したパス')
infer = model.signatures["serving_default"]
予測する画像を用意する
# inputのサイズを取得
input_width, input_height = inputs["Image"]["shape"][1:3]

# TensorFlow1系の場合
image = Image.open('画像のパス')
image = image.resize((input_width, input_height))
image = np.asarray(image) / 255.0
feed_dict = {inputs["Image"]["name"]: [image]}
fetches = [(key, output["name"]) for key, output in outputs.items()]

# TensorFlow2系の場合
image = Image.open('画像のパス')
image = image.resize((input_width, input_height))
image = np.asarray(image, dtype=np.float32) / 255.0
image = np.expand_dims(image, axis=0)
予測を実行する
# TensorFlow1系の場合
output = session.run(fetches=[name for _, name in fetches], feed_dict=feed_dict)
print(output[0][0].decode())

# TensorFlow2系の場合
predict = infer(tf.constant(image))['Prediction'][0]
print(predict.numpy().decode())
上記のようにLobeで学習したmodelはとても簡単にPythonから利用することができます。
サンプルコードをgitにアップしました。
lobe_py
TensorFlow Servingと組み合わせてREST APIを作ってみました。
Lobeで学習したモデルとTensorFlow Servingを使ってREST APIを作る。
FastAPIと組み合わせてREST APIを作ってみました。
Lobeは10/31現在はBeta版となっています。
作成することができるmodelも画像分類のみですが、今後物体検出やデータ分類なども追加されて行くようです。
