5
9

Delete article

Deleted articles cannot be recovered.

Draft of this article would be also deleted.

Are you sure you want to delete this article?

More than 5 years have passed since last update.

BitnamiのMattermost on 無料枠のGCE

Last updated at Posted at 2017-12-15

GitLabは無料枠では不可能なので,Bitnamiのmattermostを簡単に無料枠のGoogle Compute Engine (GCE)で動かしてみたので備忘録として記事にしました.
#BitnamiのMattermostの起動

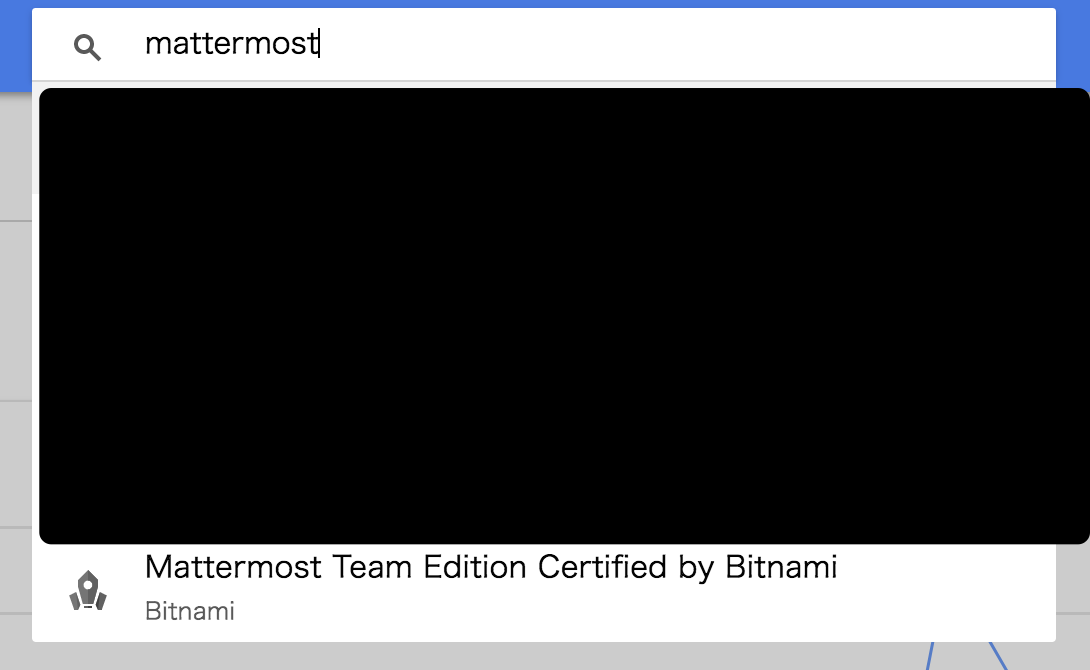
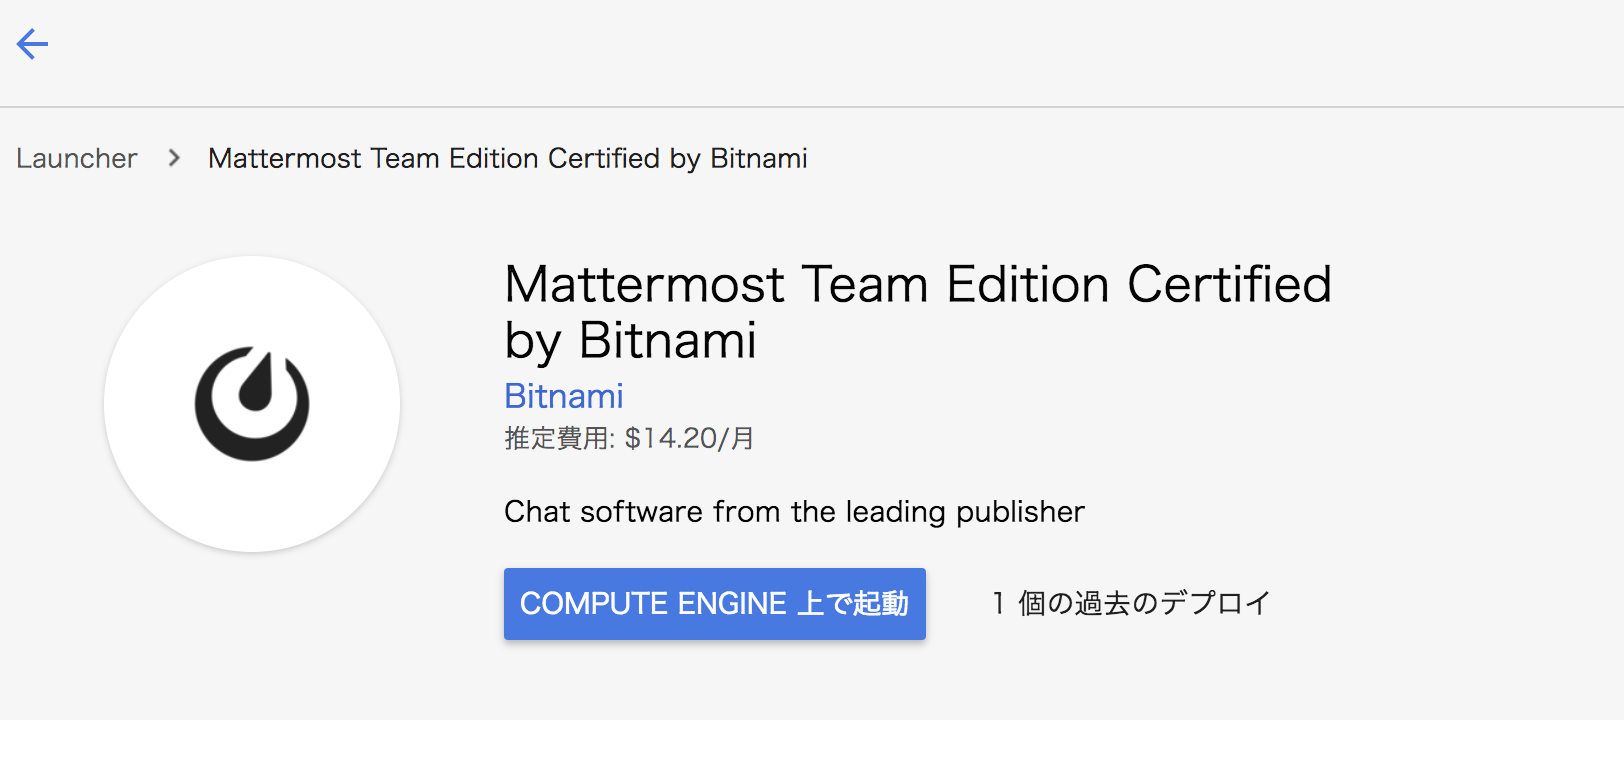
  1. GCEの検索窓からmattermostと検索すると,Mattermost Team Edition Certified by Bitnamiがサジェストされるのでそれをクリックします.
    image.png

2.Compute Engine上で起動をクリック.
スクリーンショット 2017-12-15 15.14.51.png

  1. Zoneをus...,Machine typeをmicro,Boot disk type in GBを30,Allow HTTP traficとAllow HTTPS traficにチェックを入れるという以下のような設定でデプロイをクリックします.
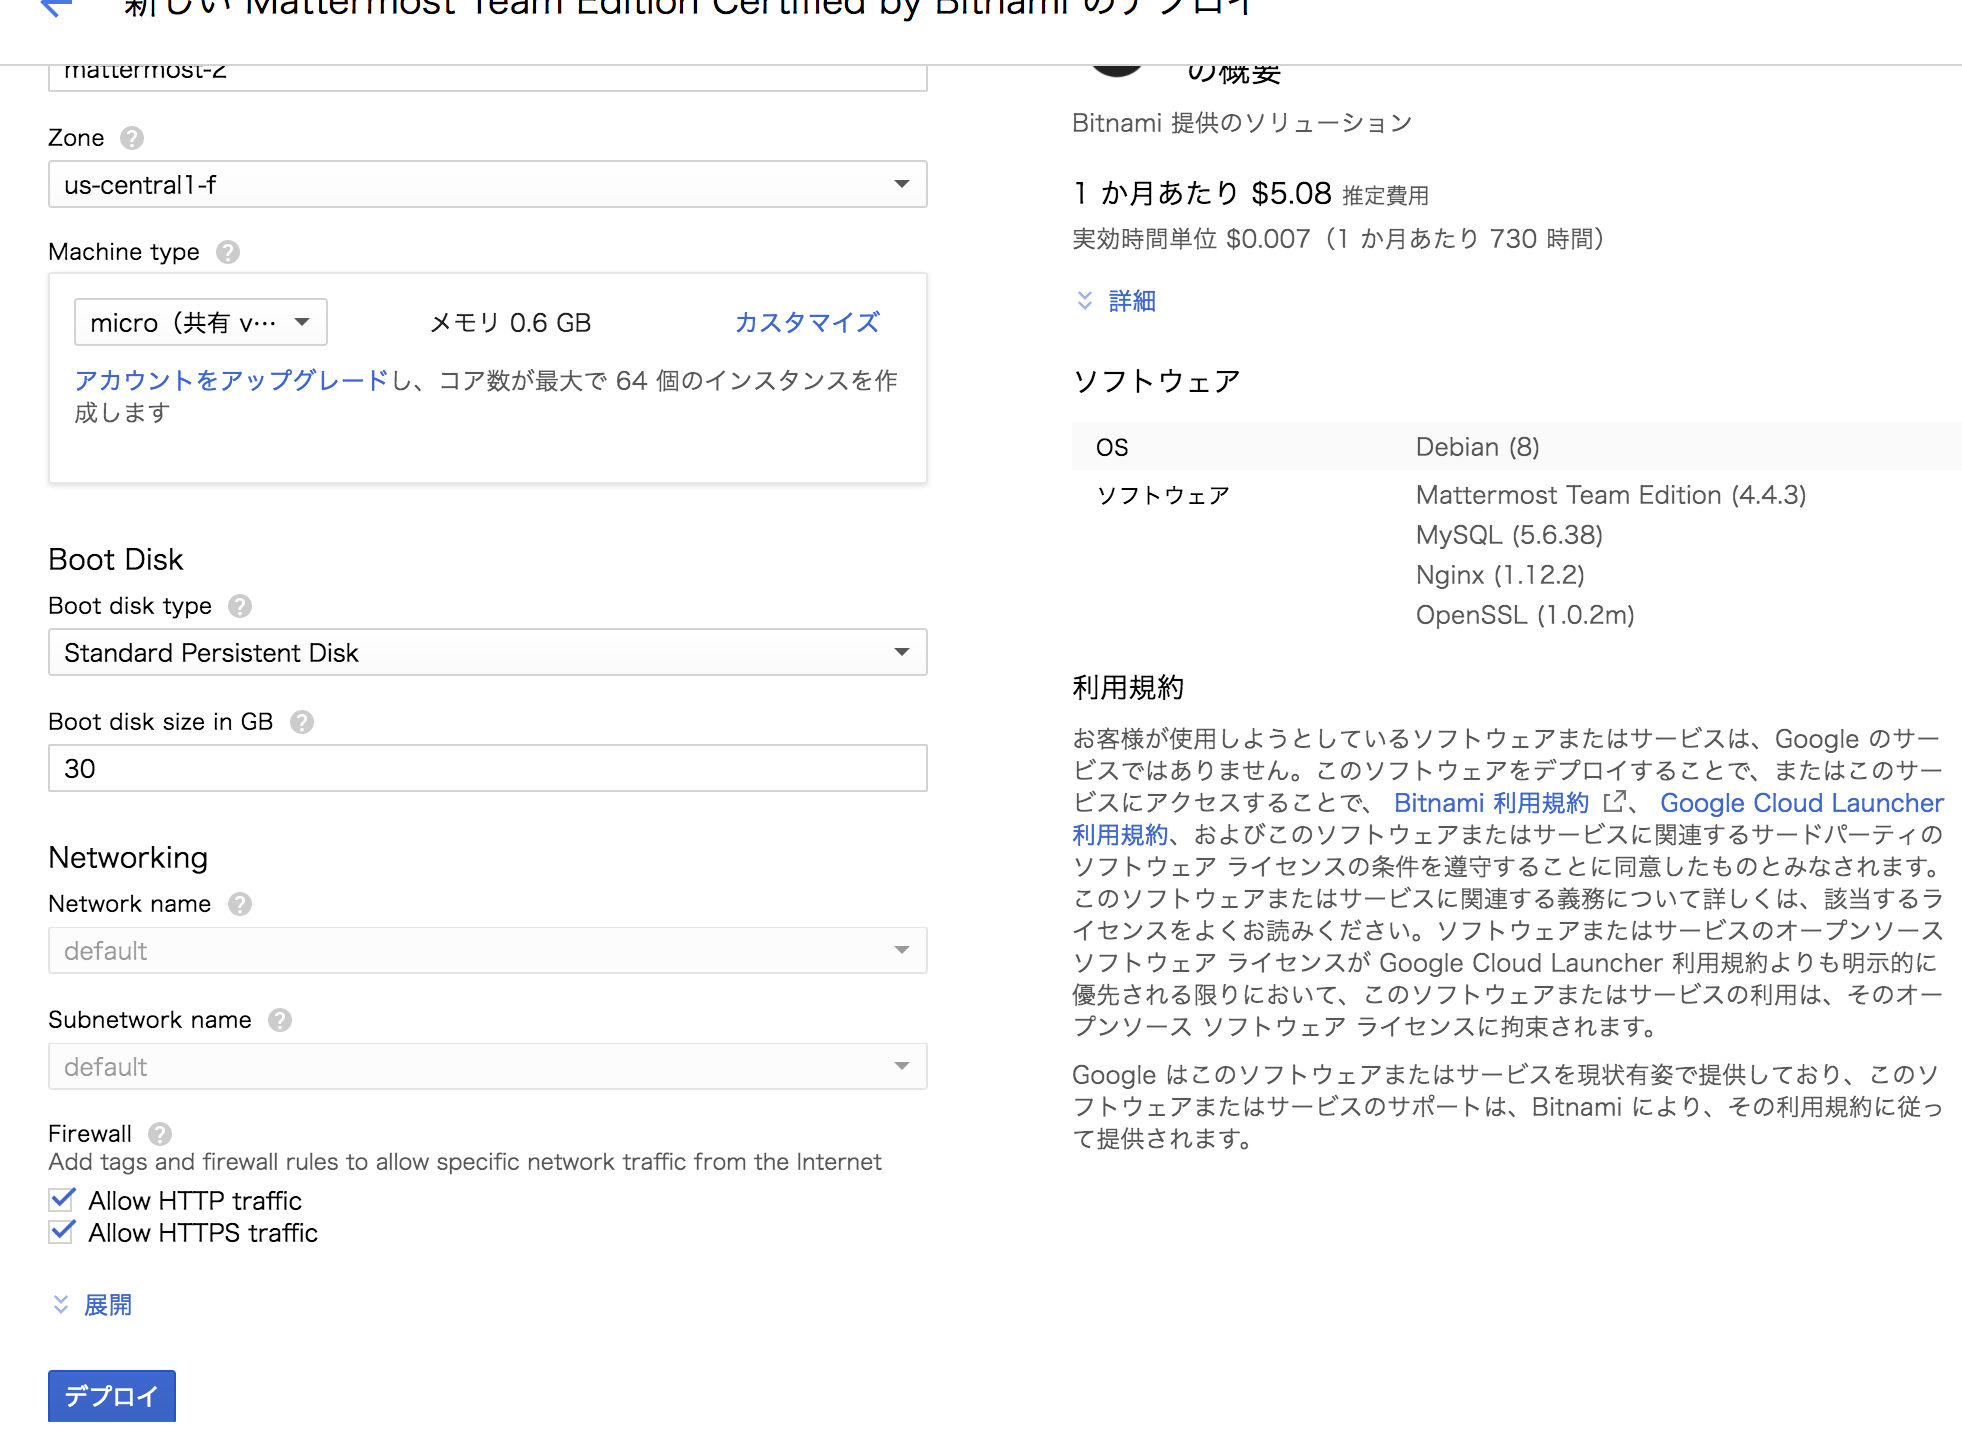
    image.png

#外部IPの設定
1. GCEのVMインスタンスのページから先程作成したmattermost-2-mvをクリック.
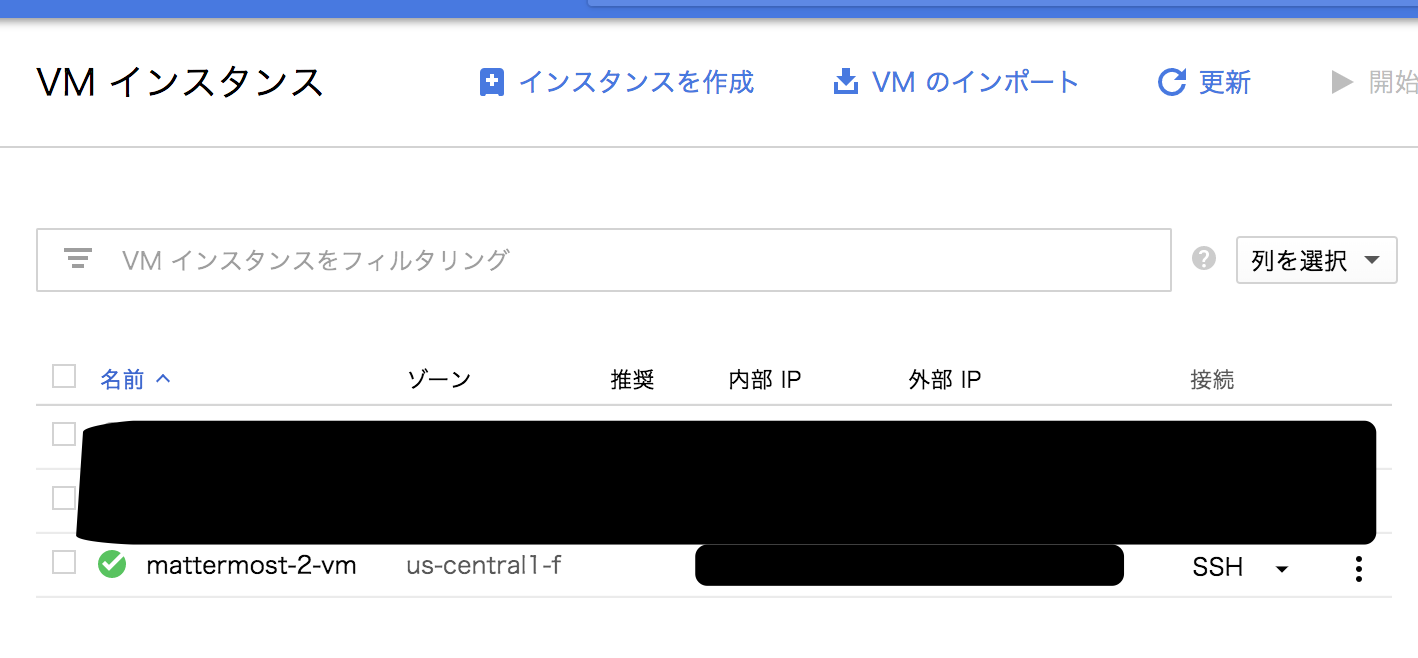
image.png

2. 編集をクリックする.
image.png

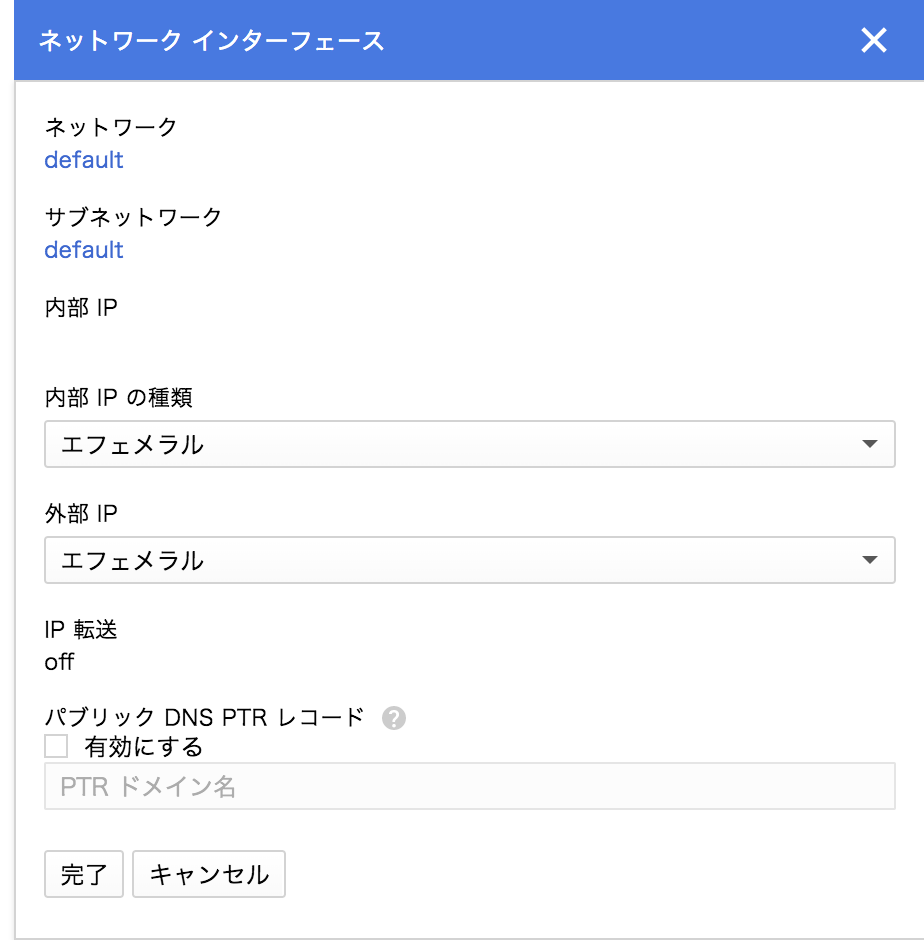
3. ネットワークインターフェースのペンマーククリック.
image.png

4. 外部IPをクリックし, 固定のIPアドレスを作成し,設定します.
image.png
5. Freenomでドメインを取得する.IPアドレスはGCEで取得した外部IPアドレスに設定します.

これによって,mattermostをhttps://(5で取得したドメイン)でmattermostにアクセスできます.
管理者名とそのパスワードはGCPのDevelop managerに書いてあります.

#メールの設定
 メールは普通のポート(25,465,587)は閉じられていますので,SendGridを用いた手法を用い,Mattermostのシステムコンソールからsmtpサーバ等を同様に設定すればよい.

#letsencryptによるSSL通信
ここのようにcertbotをインストールし,証明書を発行する.Nginxの設定ファイル/opt/bitnami/nginx/vhosts/mattermost.confの ssl_certificateを/etc/letsencrypt/live/(取得したドメイン名)/fullchain.pemに
ssl_certificate_keyを/etc/letsencrypt/live/(取得したドメイン名)/privkey.pemに書き換えて,sudo /opt/bitnami/ctlscript.sh restartを実行すればよい.
5
9
0

Register as a new user and use Qiita more conveniently

  1. You get articles that match your needs
  2. You can efficiently read back useful information
  3. You can use dark theme
What you can do with signing up
5
9

Delete article

Deleted articles cannot be recovered.

Draft of this article would be also deleted.

Are you sure you want to delete this article?