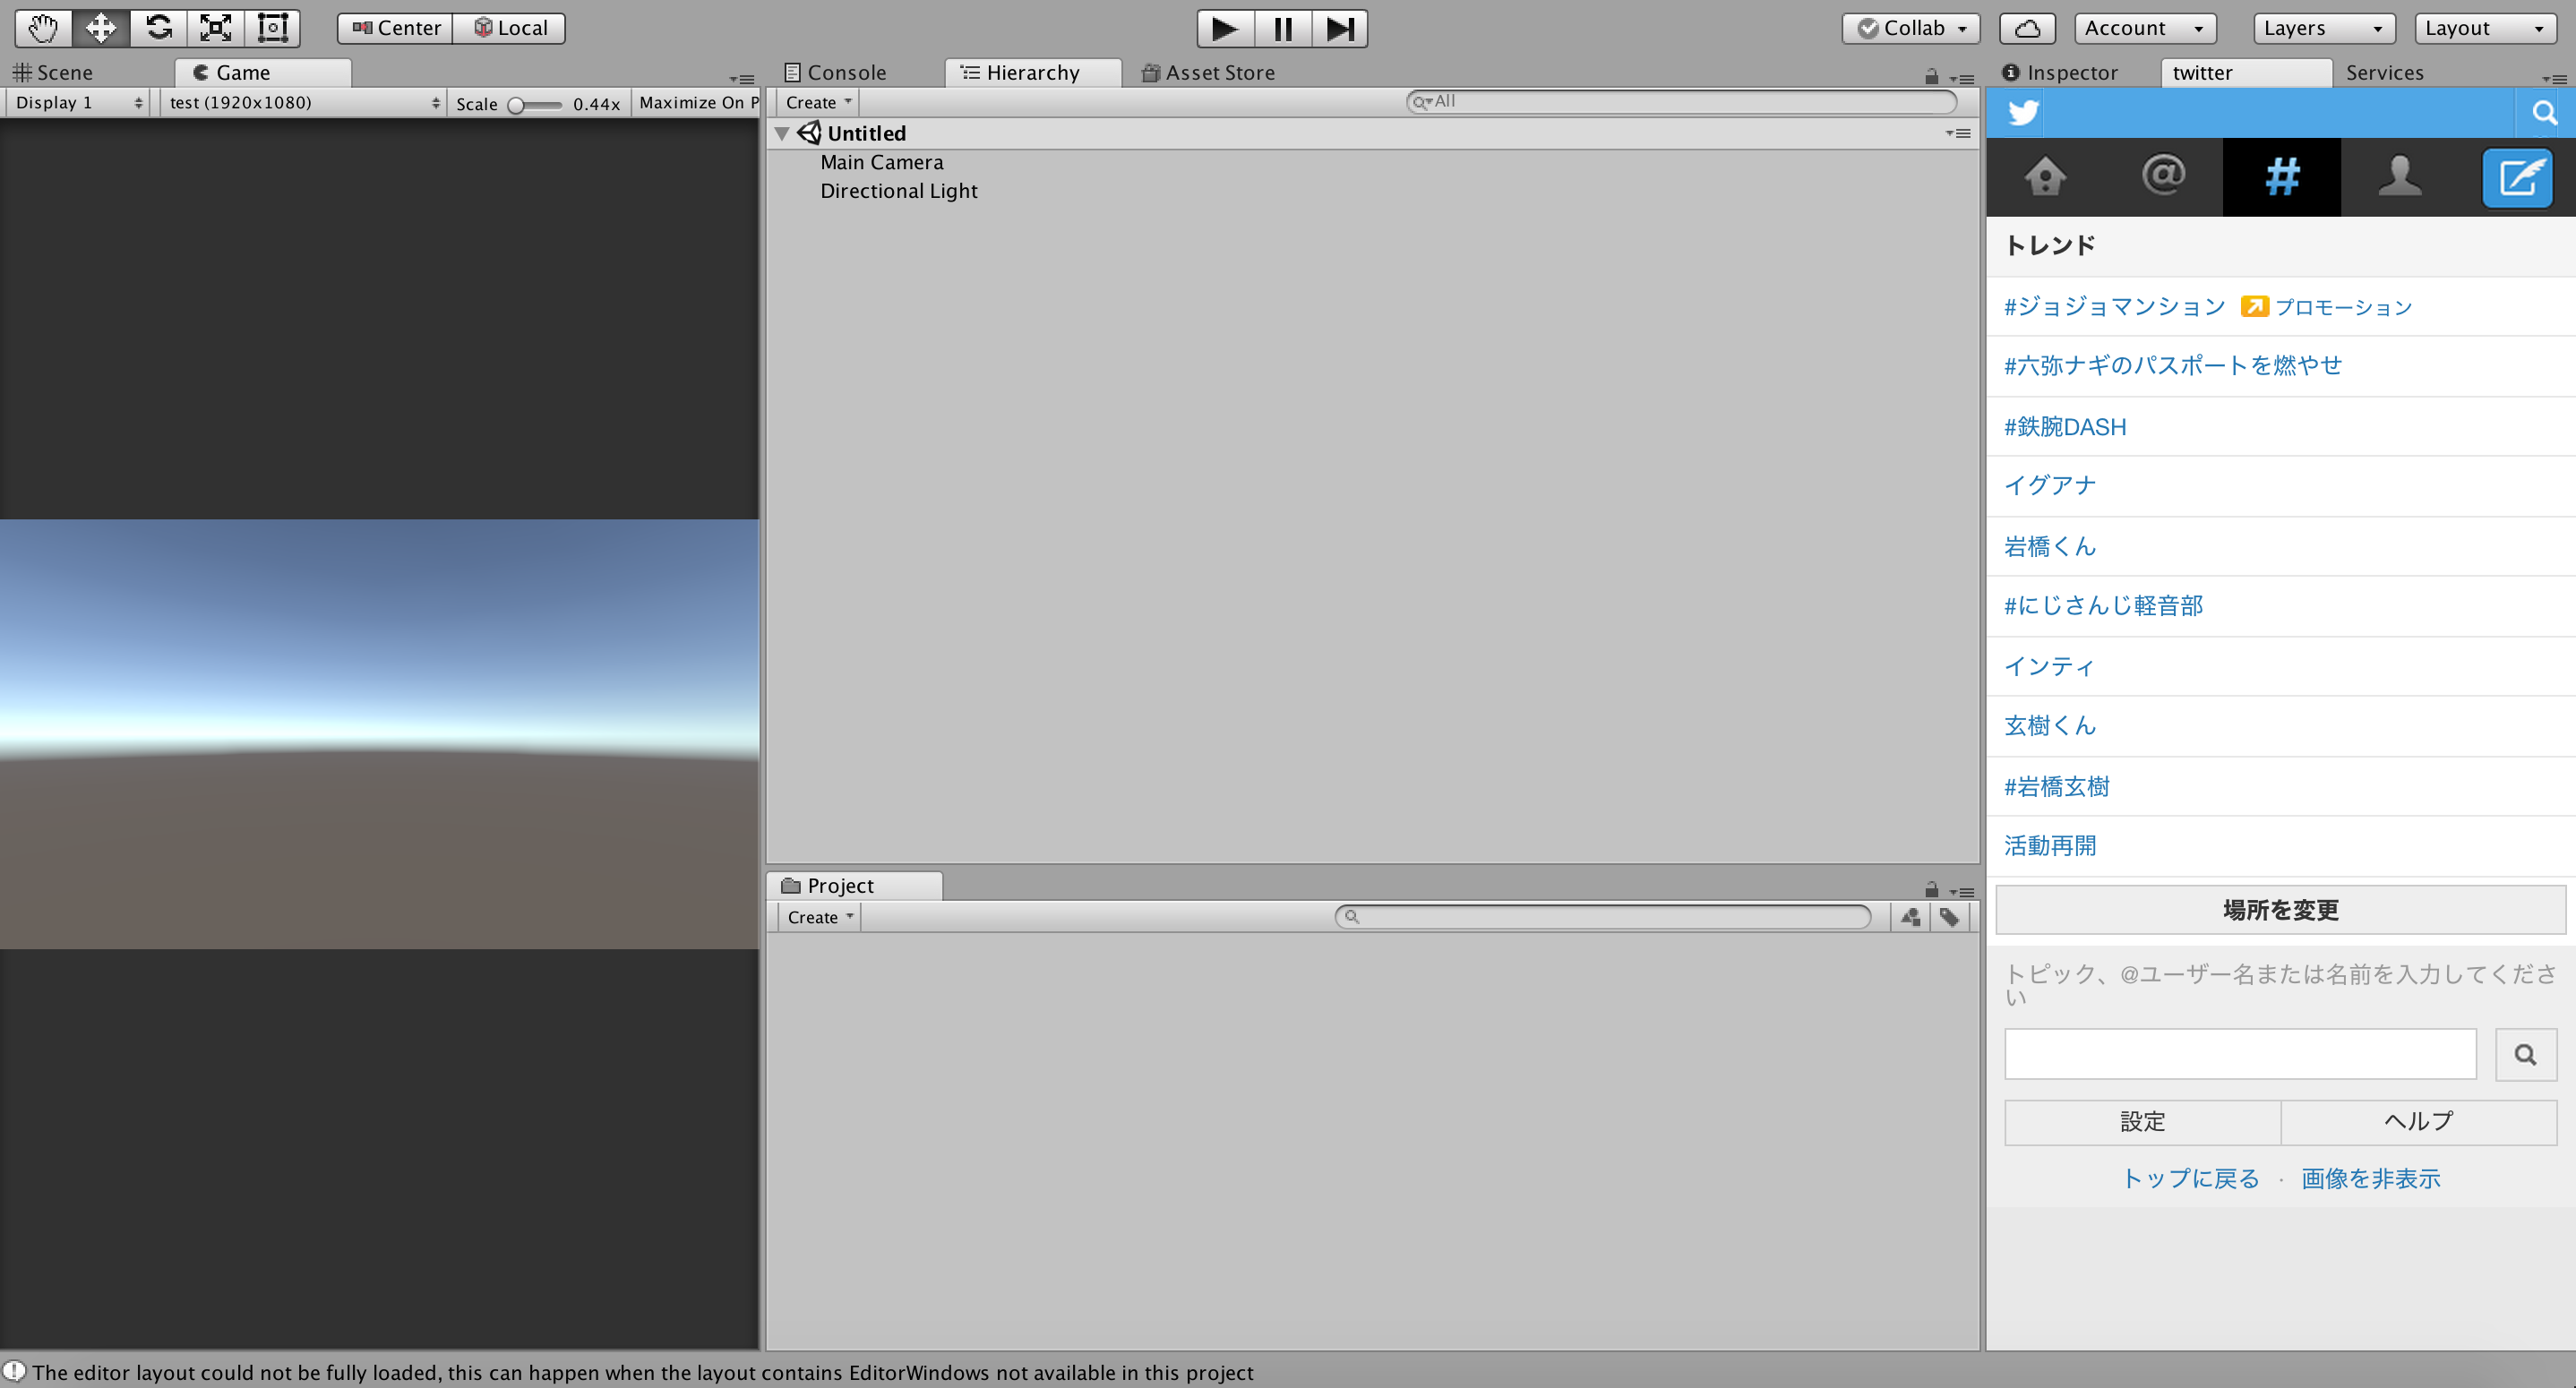
ずいぶん前だけど、誰かのRTで
Unityからピザの注文を行うために
Unity上にブラウザ画面を表示したっていうのをみたのでそれをやってみる
今回はツイッターを表示する
1.Visual Studio でプロジェクト作成
新しいプロジェクト..を選択し
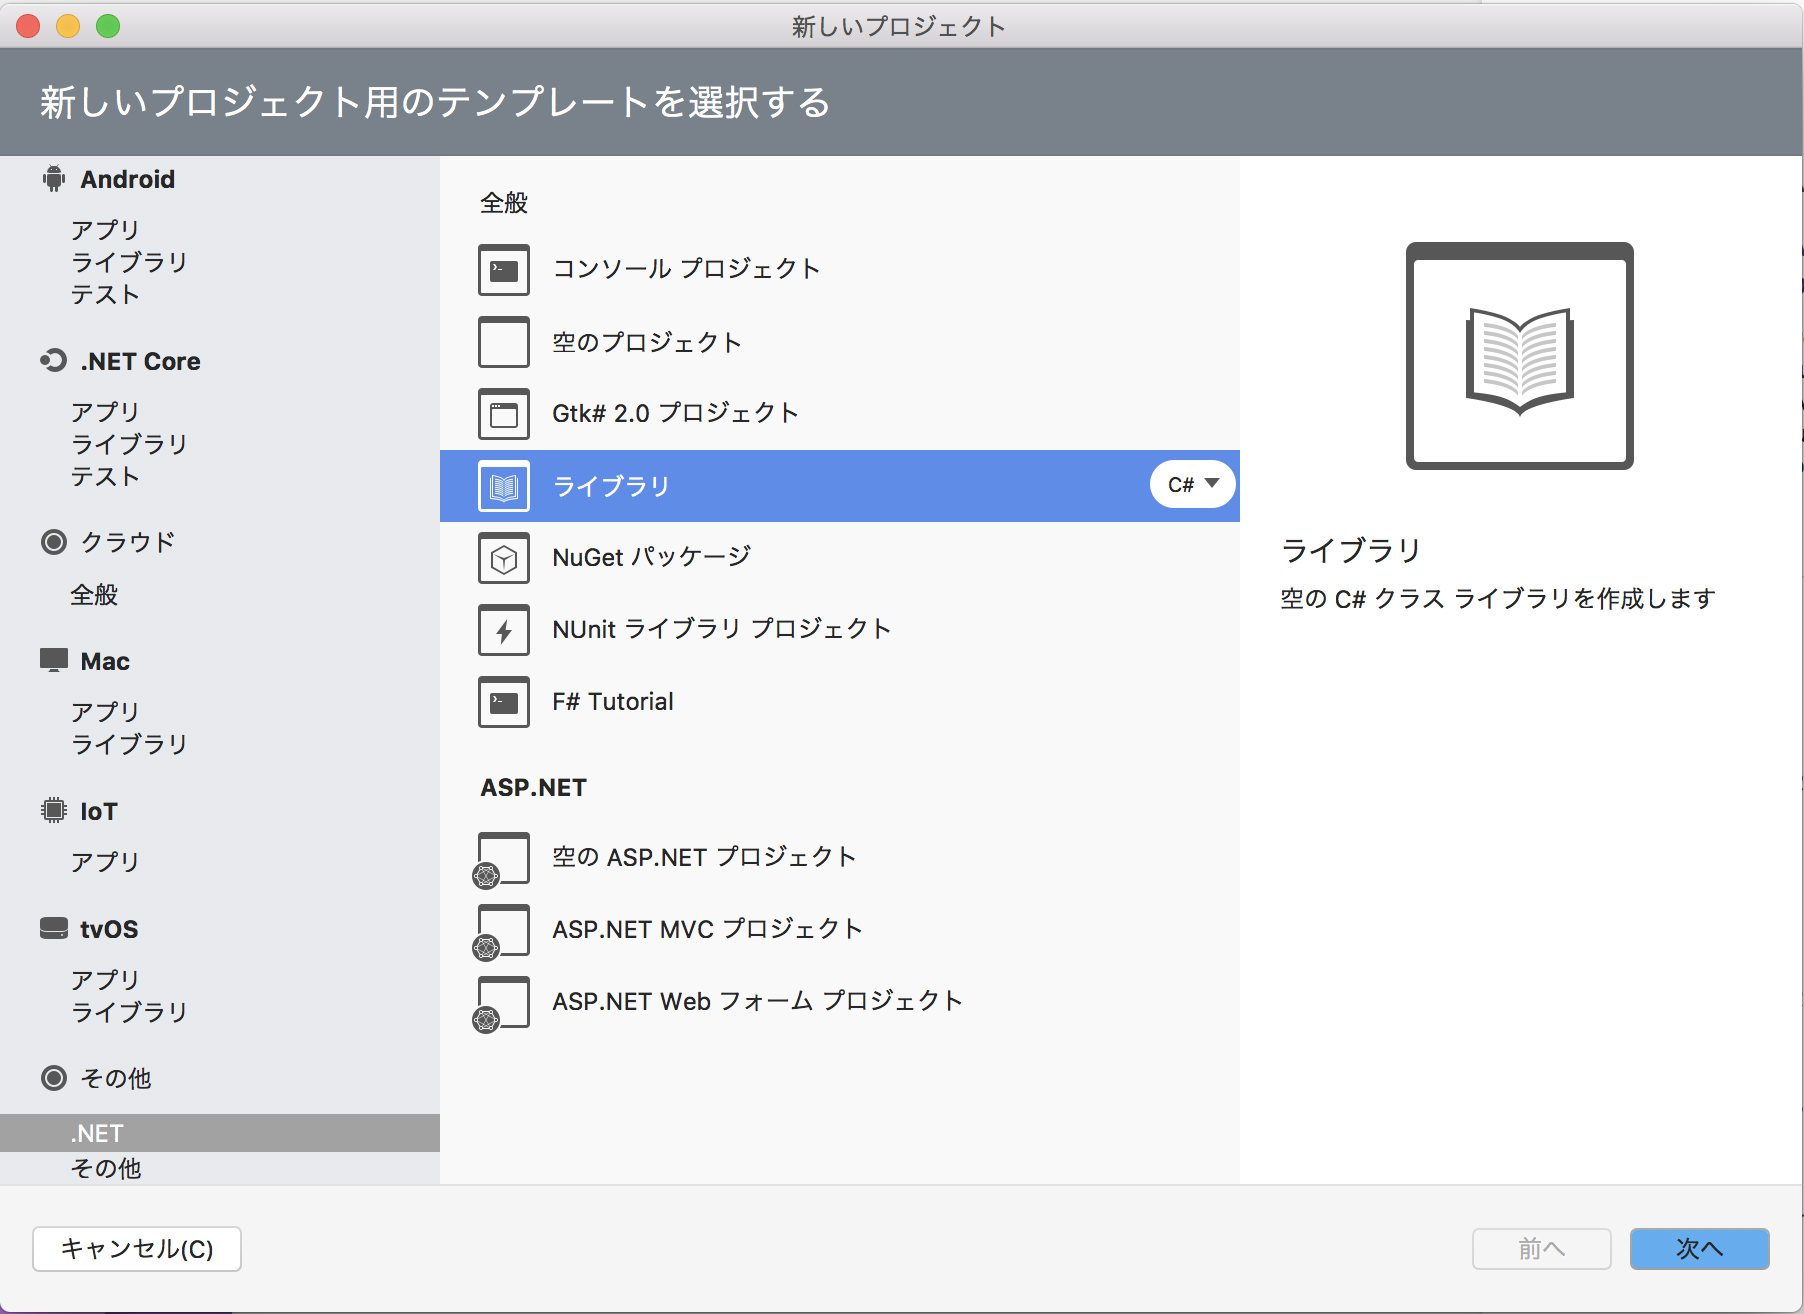
●その他の.Net ライブラリを選択して作成。
2.プロジェクトの設定を行う
コードを記述する前にプロジェクトの設定を行なっていく
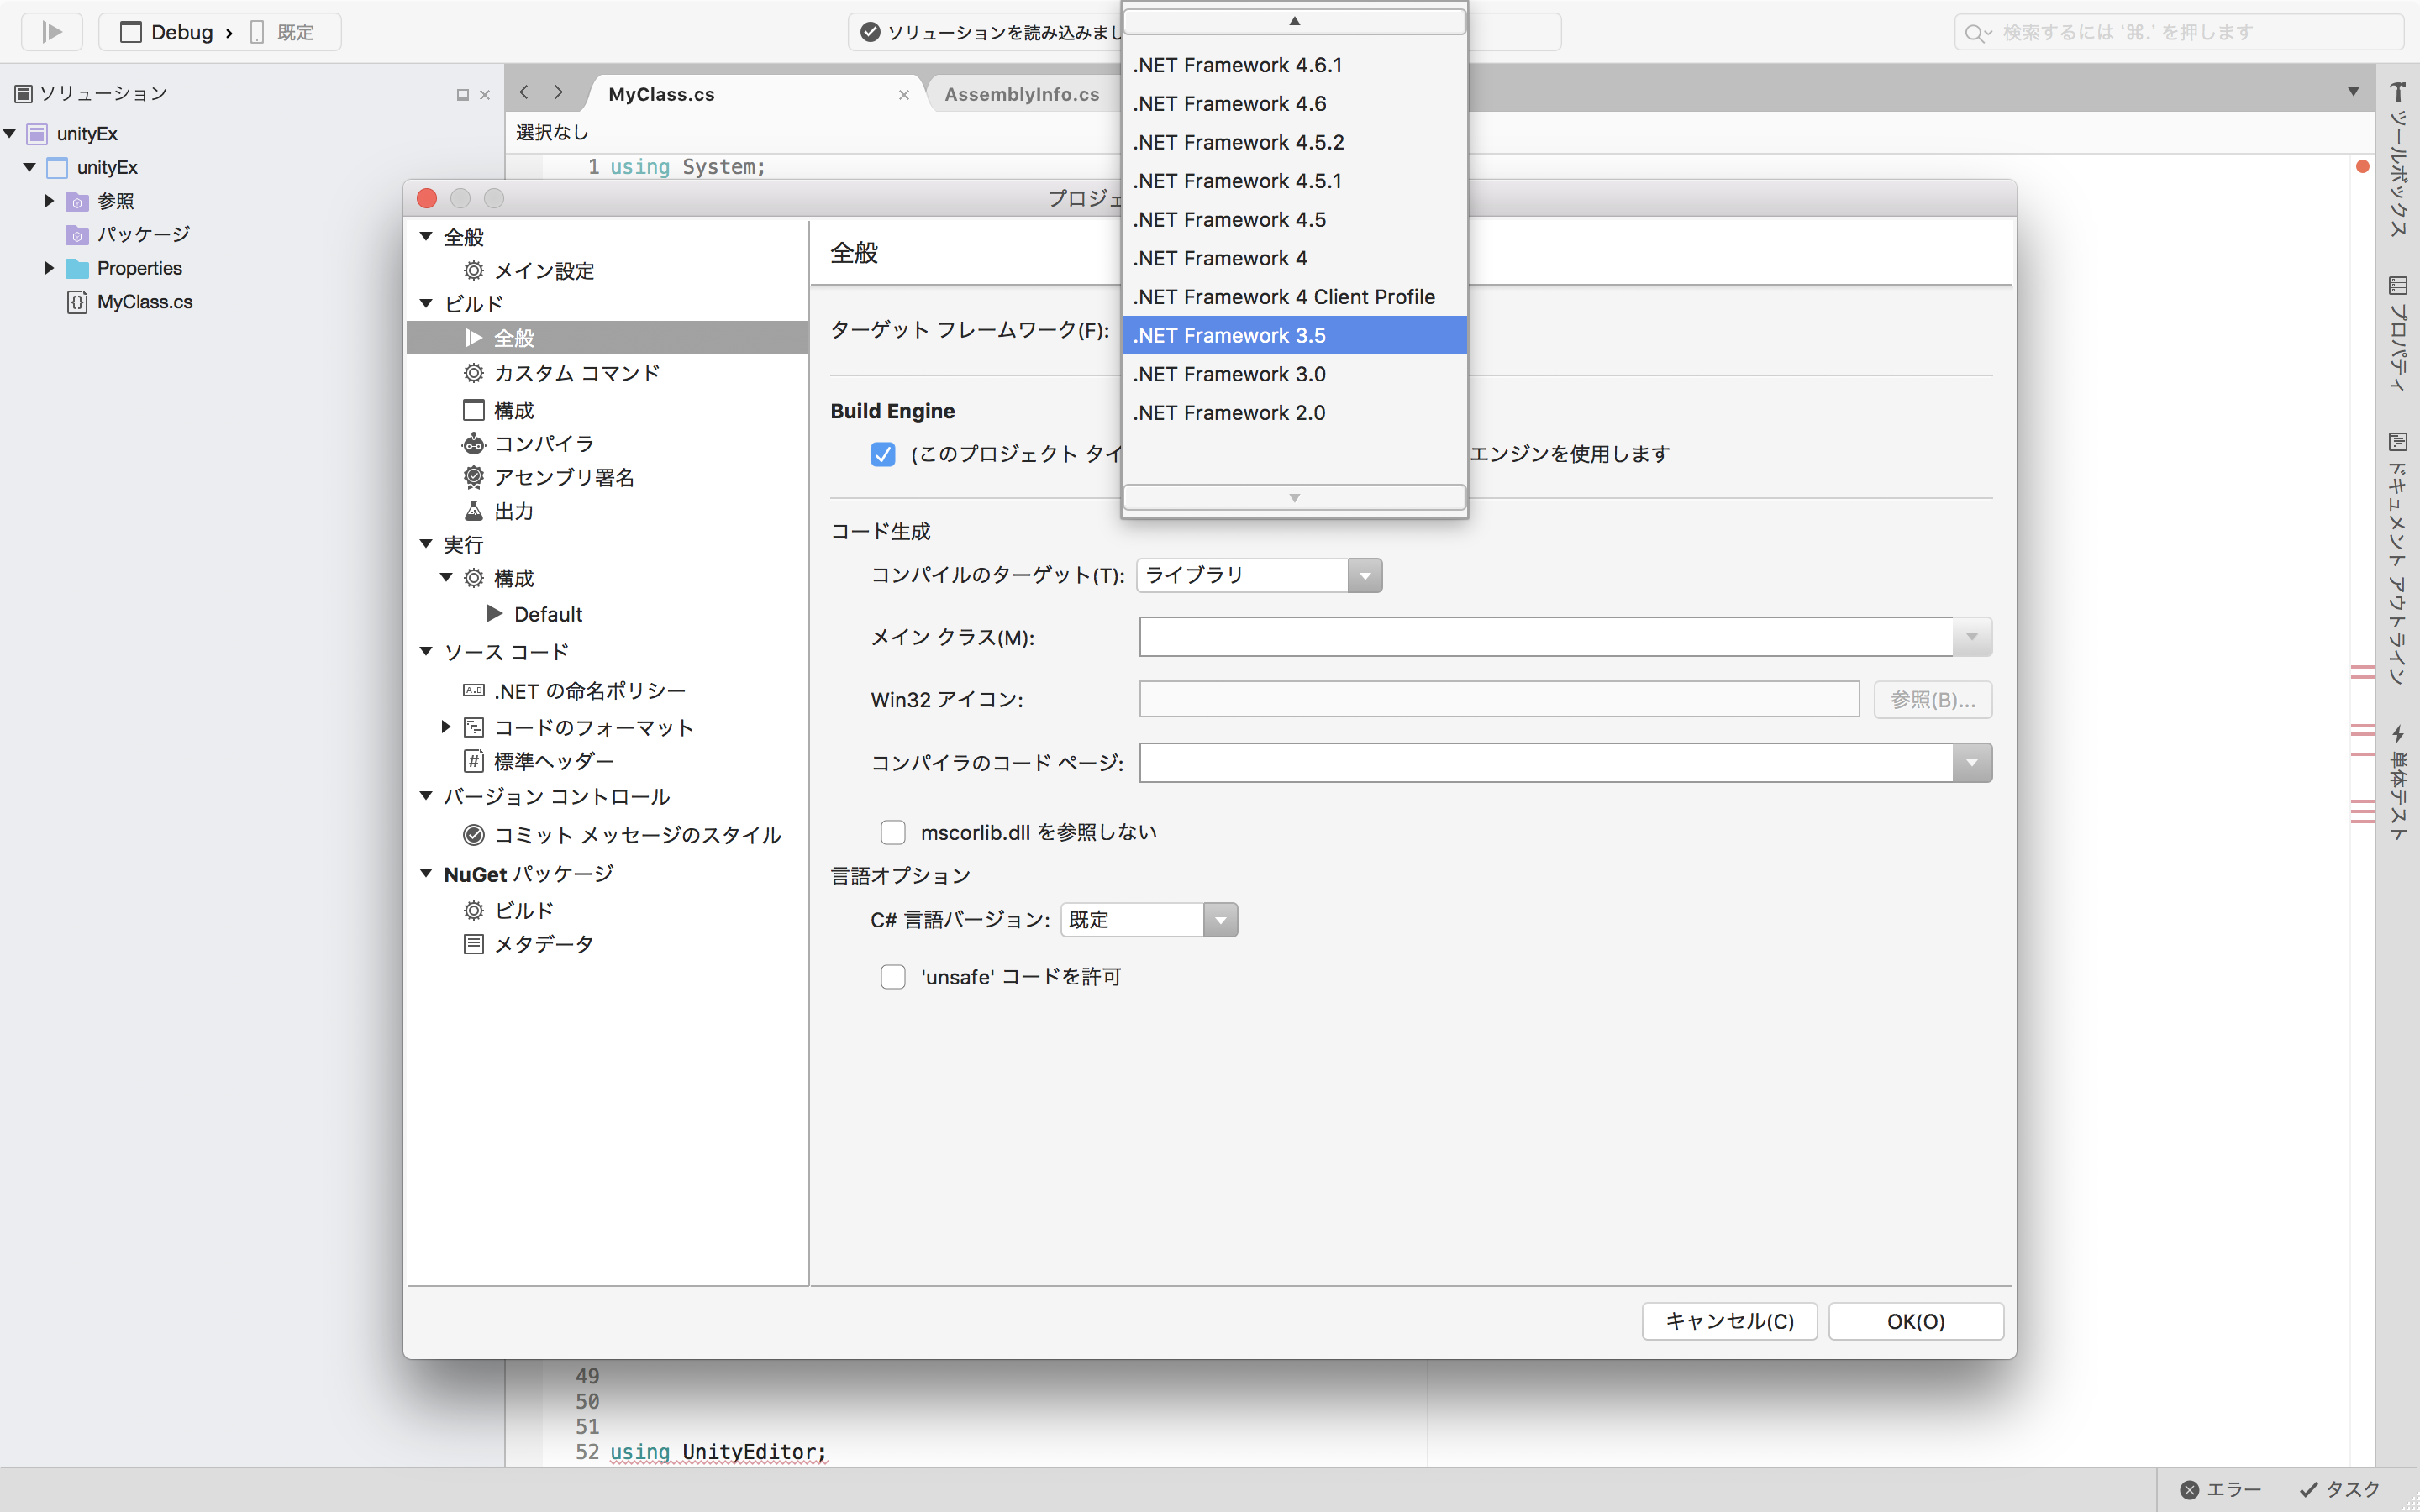
まず.Net FrameWorkのバージョンを変更する。
プロジェクトオプションの全般からFrameWorkを3.5に変更する。
次に参照の編集の
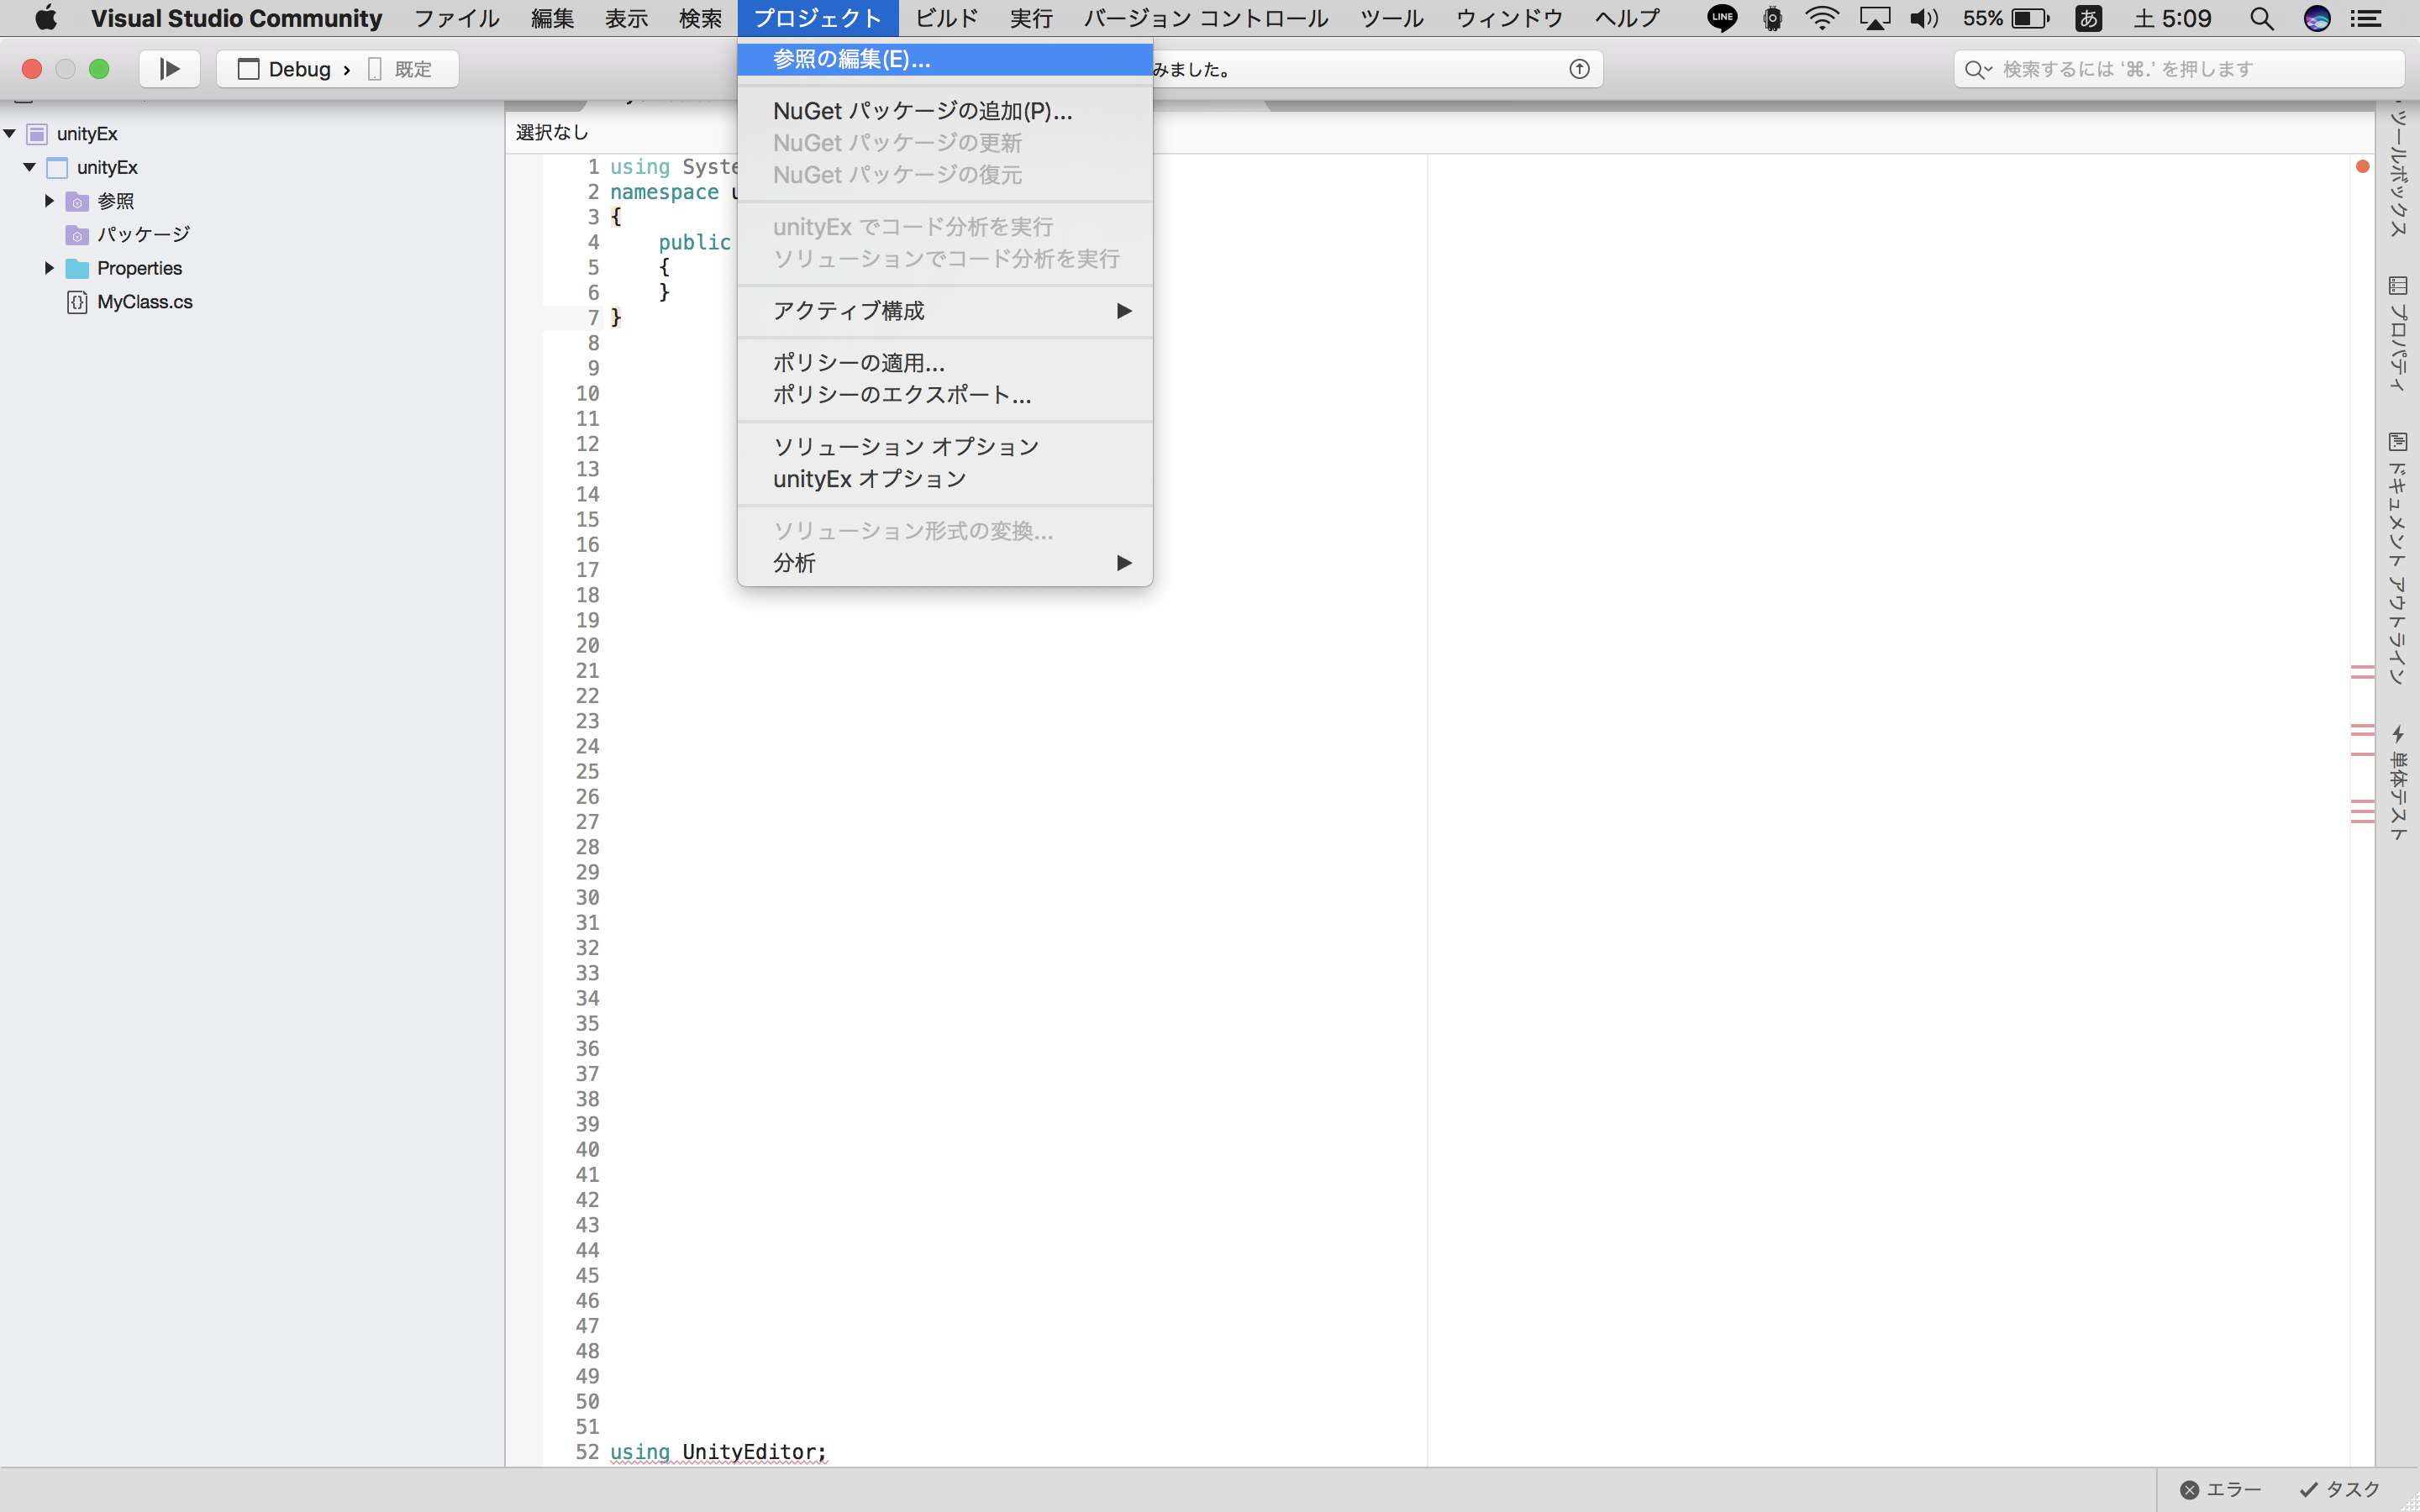
.Netアセンブリの参照ボタンからUnityEngine.dllとUnityEditor.dllを追加する
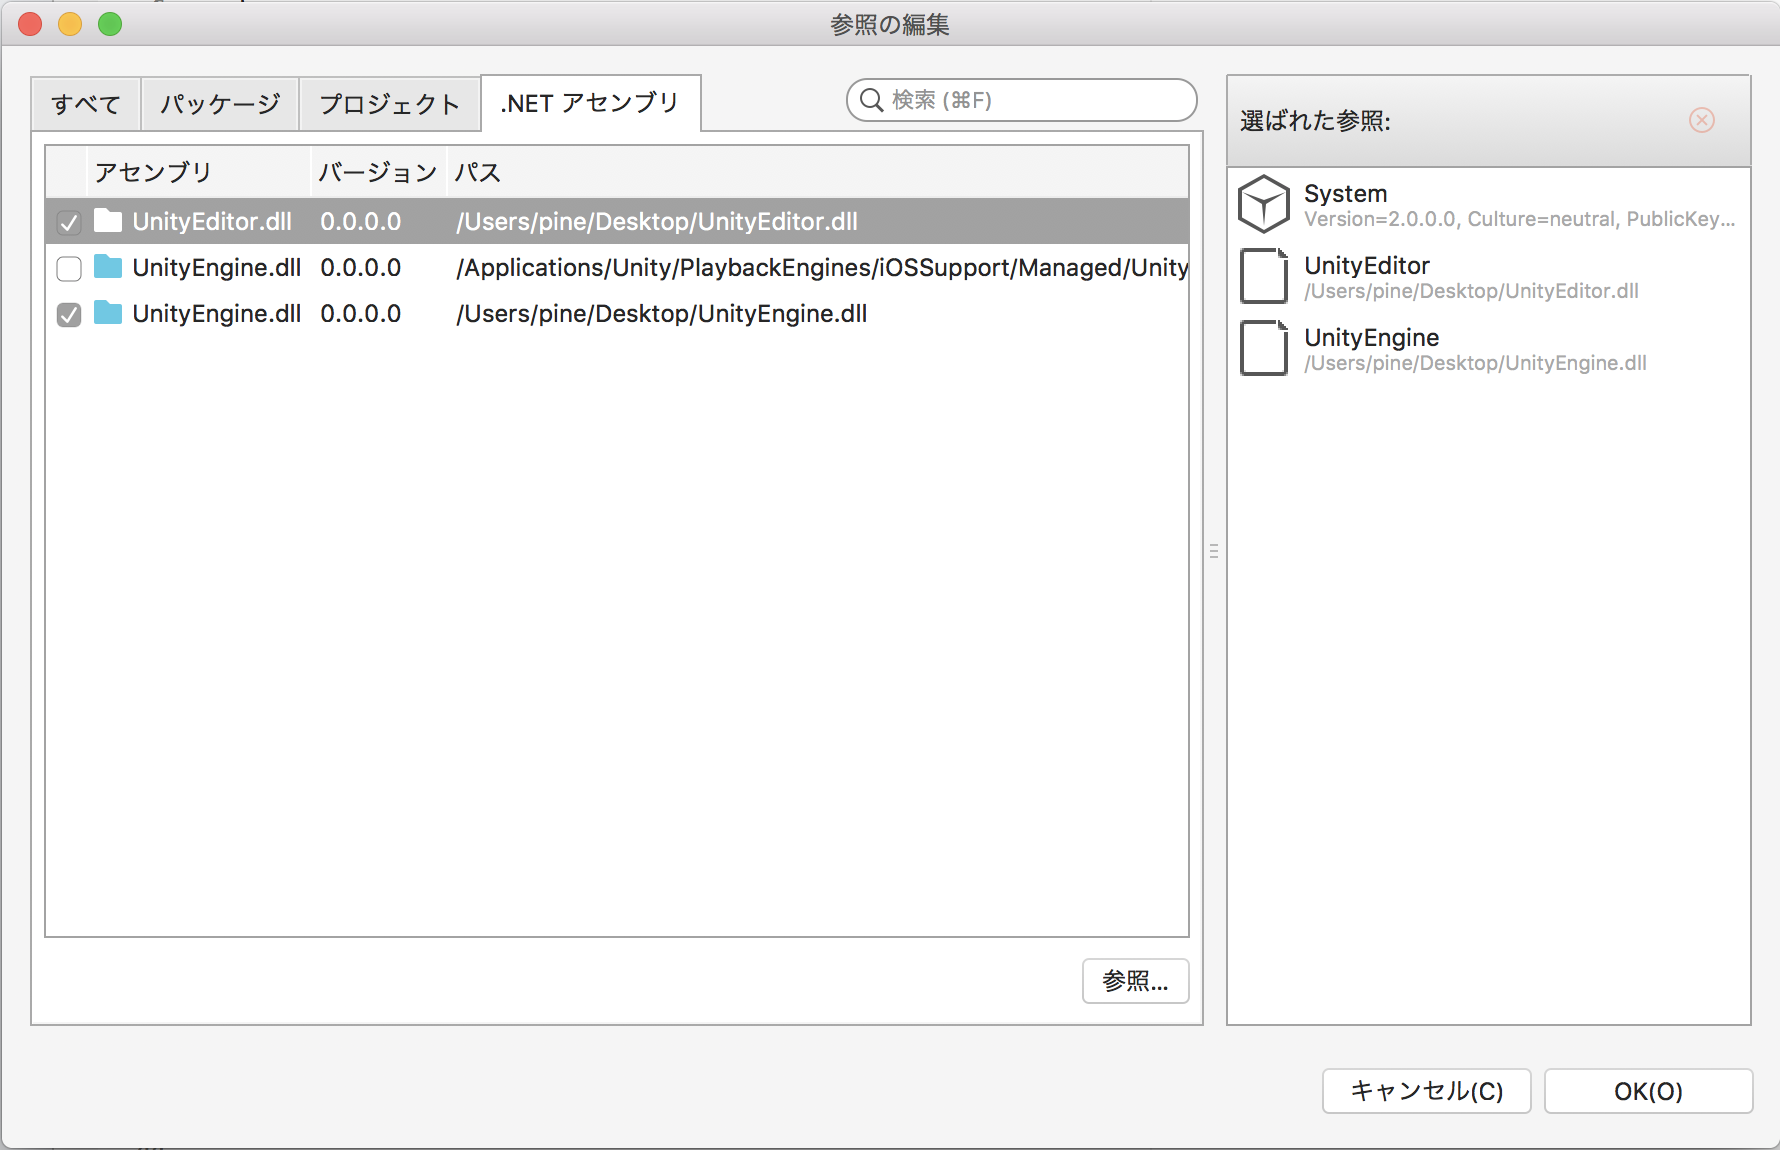
この2つのファイルの所在地はUnity.appの中身なのだが.....
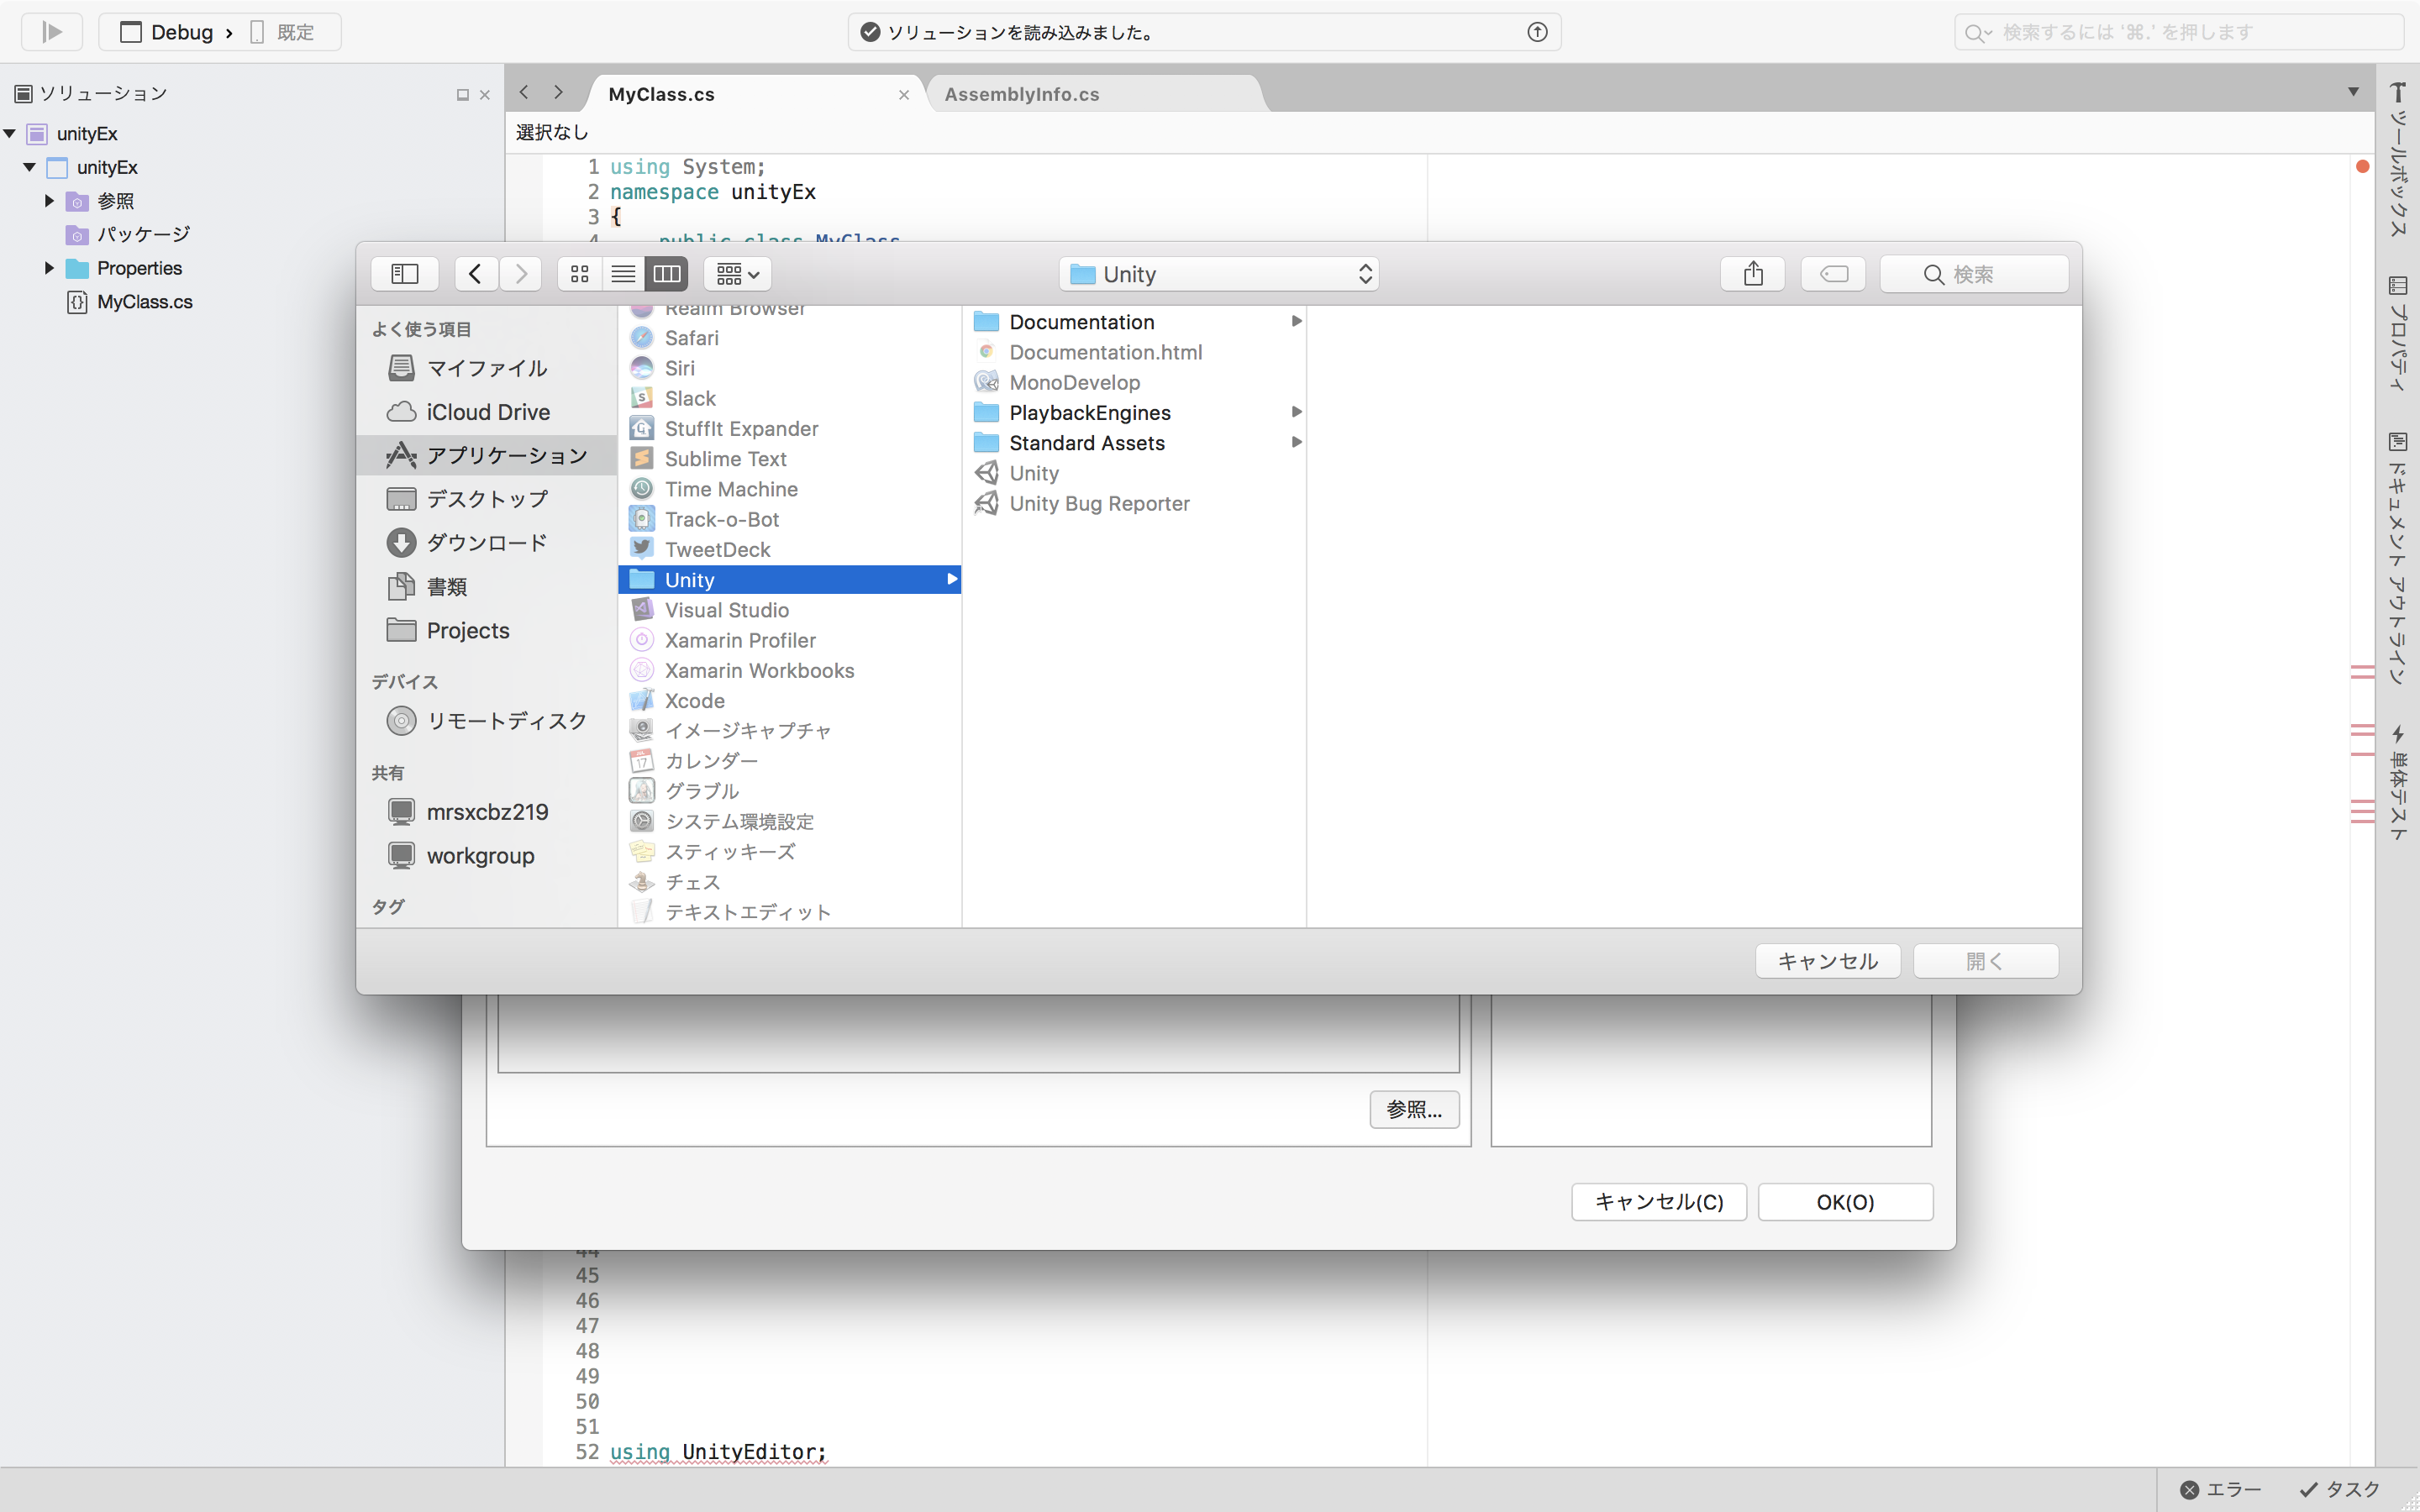
.appの中身が見れない。。
なので一旦Finderからdllファイルを 参照できる位置にコピー してあげる。
.appの中身はコンテキストメニューの「パッケージの内容を表示」から見れるので
Unity.app以下のContents/Managed配下から取ってくる。
Unityマニュアル
これで設定面は完了。
3.コードの記述
参照の追加が成功していればUnityのスクリプトが使用可能になっているはずなので
AssemblyInfo.csに追記。
using System.Reflection;
using System.Runtime.CompilerServices;
using UnityEngine  // 追加

// Information about this assembly is defined by the following attributes.
// Change them to the values specific to your project.

[assembly: AssemblyTitle("unityEx")]
[assembly: AssemblyDescription("")]
[assembly: AssemblyConfiguration("")]
[assembly: AssemblyCompany("")]
[assembly: AssemblyProduct("")]
[assembly: AssemblyCopyright("${AuthorCopyright}")]
[assembly: AssemblyTrademark("")]
[assembly: AssemblyCulture("")]
[assembly: AssemblyIsEditorAssembly]    // 追加

// The assembly version has the format "{Major}.{Minor}.{Build}.{Revision}".
// The form "{Major}.{Minor}.*" will automatically update the build and revision,
// and "{Major}.{Minor}.{Build}.*" will update just the revision.

[assembly: AssemblyVersion("1.0.*")]

// The following attributes are used to specify the signing key for the assembly,
// if desired. See the Mono documentation for more information about signing.

//[assembly: AssemblyDelaySign(false)]
//[assembly: AssemblyKeyFile("")]
クラスファイルを作成していく
using System;
using UnityEditor;
using System.Reflection;
namespace unityEx
{
    public class MyClass
    {
        // Unityツールバーのタブ名
        [MenuItem("Ex/twitter")]
        private static void Show()
        {
            Type type = typeof(Editor).Assembly.GetType("UnityEditor.Web.WebViewEditorWindowTabs");

            BindingFlags attr =
                BindingFlags.Public |
                BindingFlags.Static |
                BindingFlags.FlattenHierarchy;

            MethodInfo methodInfo = type.GetMethod("Create", attr).MakeGenericMethod(type);

            methodInfo.Invoke(null, new object[]
            {
                "twitter", // 表示ウィンドウのタブ名
                "https://twitter.com/", // URL
                300, // 最小幅
                300, // 最小高
                1000,// 最大幅
                1000 // 最大高
            });
        }
    }
}
実行すると/ProjectName/bin/Debug配下にxxxxx.dllが作成される
4.ファイルの配置
モジュール管理用の設定ファイルを作成する
<?xml version="1.0" encoding="utf-8"?>
<ivy-module version="2.0">
  <info version="1.0.0" organisation="pine" module = "gbr" e:packageType="UnityExtension" e:unityVersion="2017.2.0f3" xmlns:e="http://ant.apache.org/ivy/extra" />
  <publications xmlns:e="http://ant.apache.org/ivy/extra">
    <artifact name="Editor/gbr" type="dll" ext="dll" />
  </publications>
</ivy-module>
作成が完了したらUnity.app/Contents/UnityExtensions/配下にtwitterフォルダを作成し
gbrフォルダの中にivy.xmlを配置。 同階層にEditorフォルダを作成
さらにEditorの配下にxxxxx.dllを配置すれば
Unityに任意のブラウザを表示できるタブが追加される

