はじめに
UI部分をC#で、ロジック部分をC++/WinRTコンポーネントを用いて作成する方法を例示する。
実際にはUIもロジックも作りこまない。ただC#とC++を繋いだだけのものを作成する。
具体的には「C++側でGreetingというクラスを作成し、DLLを経由してC#側でそのインスタンスを利用する」ところまで。
つまりは、ただDLLを呼ぶだけでも、説明のないエラーなどがたくさん出てきて、たくさん時間を消費したので、他の人にはそういうところで詰まらないようにしてもらいたいと思ってウンタラカンタラ。
環境
- Windows 10
- VisualStudio Community 2022
- Windows App Runtime 1.7
- Windows App SDK 1.7.25xxx
参考
読んでおけば何か得られるかもしれない公式ドキュメント
はじめよう
C#プロジェクトを用意する
新しいプロジェクトを作成する。
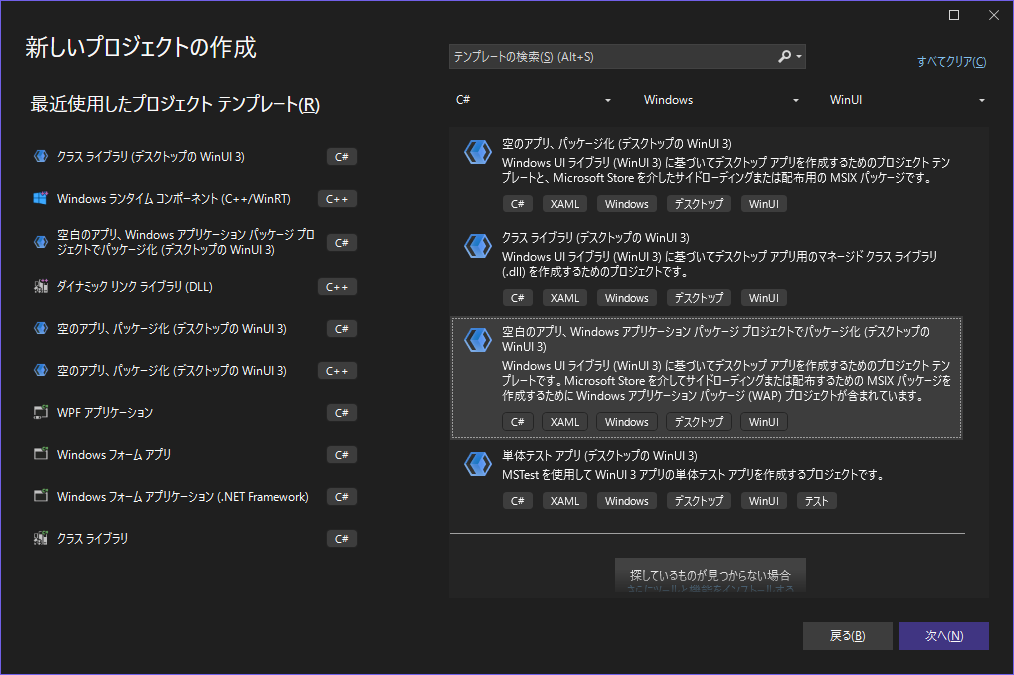
必要なのは「空白のアプリ、Windows アプリケーション パッケージプロジェクトでパッケージ化(デスクトップのWinUI3)」
適当に名前をつけて進む。
ターゲットプラットフォームのバージョンを尋ねられるので自由に指定する。ただし、このソリューションが含むすべてのプロジェクトで統一する必要がある。ここでは上を「10.0.26100」下を「10.0.17763」とした。
作成を実行すると、「無印版」と「(Package)版」の2つが作成される。前者はユーザが編集するプロジェクトで、後者は「Wap(Windows Application Packaging)Project」と言われる実行用のプロジェクトだ。後者は基本的に触らない。ただしRunするのはこのプロジェクト。
C++/WinRTコンポーネントプロジェクトを追加する
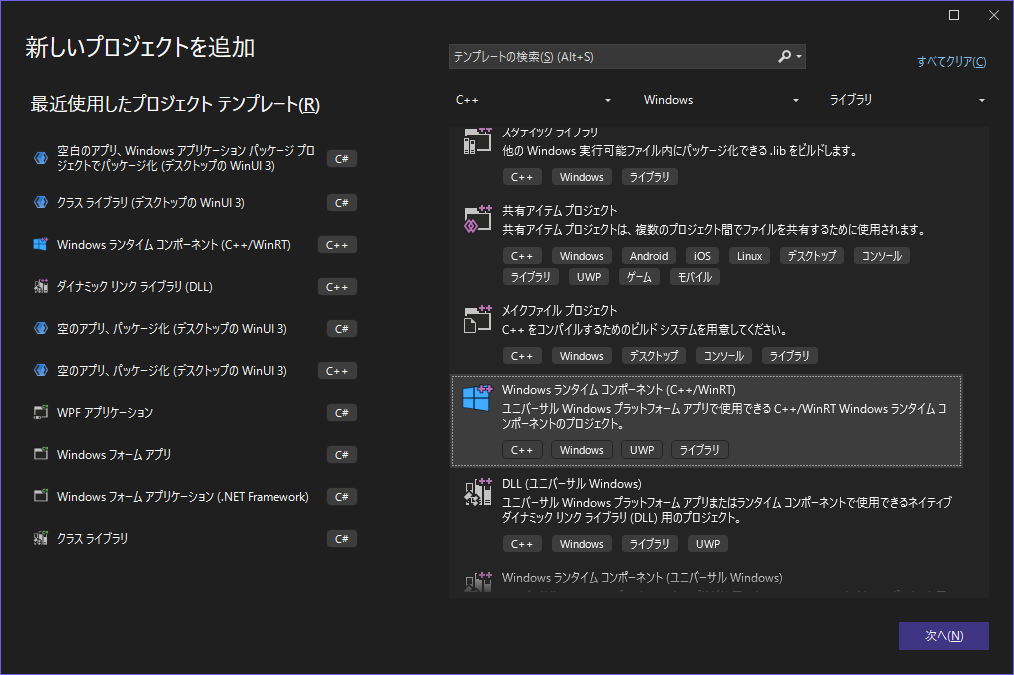
ソリューションに新しいプロジェクトを追加する。
「Windows ランタイム コンポーネント(C++/WinRT)」を選んで適当な名前でプロジェクトを作成する。
C++/WinRTコンポーネントプロジェクトの修正
まずプロジェクトの「プロパティ」からターゲットプラットフォームバージョンを確認し、C#プロジェクトと合わせる。

ソリューションエクスプローラーからClass.idlを選択し、公開したい任意のクラス名[yourClassName]に変更する。私はGreetingとした。
Class.idlの名前が変更されると、Class.hおよびClass.cppの名前も変更される。
それぞれのファイルの中のClassと書かれている部分を手あたり次第 [yourClassName] に置き換える。ClassTも[yourClassName]Tに置き換える。
ちなみにこの操作は、公式ドキュメントでは「プロジェクトをビルドするとGeneratedFilesというフォルダができて、その中にClass部分が書き換わったファイルが生成されるから、その中身をコピーしてね」という風に説明されている。
ついでなので「"Hello!"」と返すSayHello()メソッドを追加しておこう。
MyPropertyアクセサは必要ないが残しておく。
namespace MyComponent
{
    [default_interface]
-   runtimeclass Class
+   runtimeclass Greeting
    {
-       Class();
+       Greeting();
        Int32 MyProperty;
+       String SayHello();
    }
}
idlファイルでは戻り値はWinRT型で書く。
#pragma once

- #include "Class.g.h"
+ #include "Greeting.g.h"

namespace winrt::MyComponent::implementation
{
-   struct Class : ClassT<Class>
+   struct Greeting : GreetingT<Greeting>
    {
-       Class() = default;
+       Greeting() = default;

        int32_t MyProperty();
        void MyProperty(int32_t value);

+       winrt::hstring SayHello();
    };
}

namespace winrt::MyComponent::factory_implementation
{
-   struct Class : ClassT<Class, implementation::Class>
+   struct Greeting : GreetingT<Greeting, implementation::Greeting>
    {
    };
}
#include "pch.h"
- #include "Class.h"
- #include "Class.g.cpp"
+ #include "Greeting.h"
+ #include "Greeting.g.cpp"

namespace winrt::MyComponent::implementation
{
-   int32_t Class::MyProperty()
+   int32_t Greeting::MyProperty()
    {
        throw hresult_not_implemented();
    }

-   void Class::MyProperty(int32_t /* value */)
+   void Greeting::MyProperty(int32_t /* value */)
    {
        throw hresult_not_implemented();
    }

+   winrt::hstring Greeting::SayHello()
+   {
+       return L"Hello!";
+   }
}
ここまできたらビルドしてみる。エラーが沢山出てるように見えるかもしれないがビルドは通るはず。
C#プロジェクトを修正する。
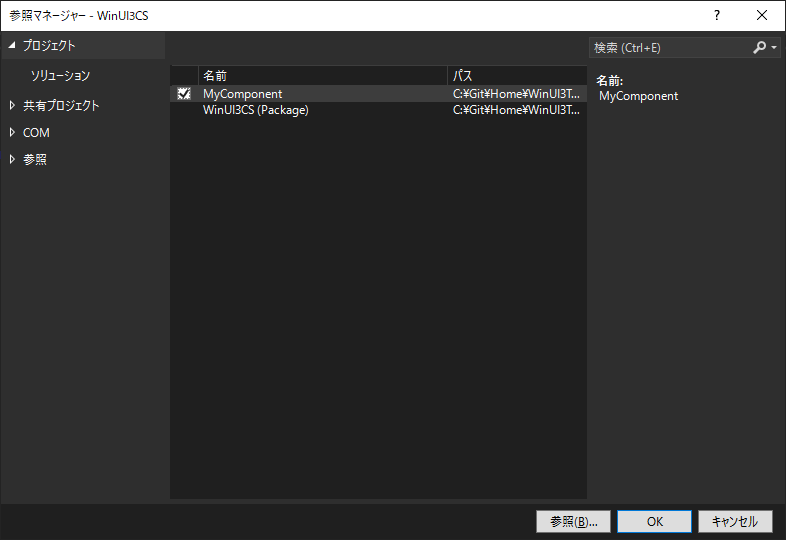
(Package)とついていない方のプロジェクトを右クリックして「追加」「プロジェクト参照」を選択、C++/WinRTプロジェクトを追加する。
この状態でビルドすると次のエラーが出る。

検索されやすいように文字でも残しておく。
NETSDK1130 MyComponent.winmd 参照できません。.NET 5 以上のターゲットを設定する場合、Windows Metadata コンポーネントを直接参照することはできません。詳細については、 「https://aka.ms/netsdk1130」をご参照ください。
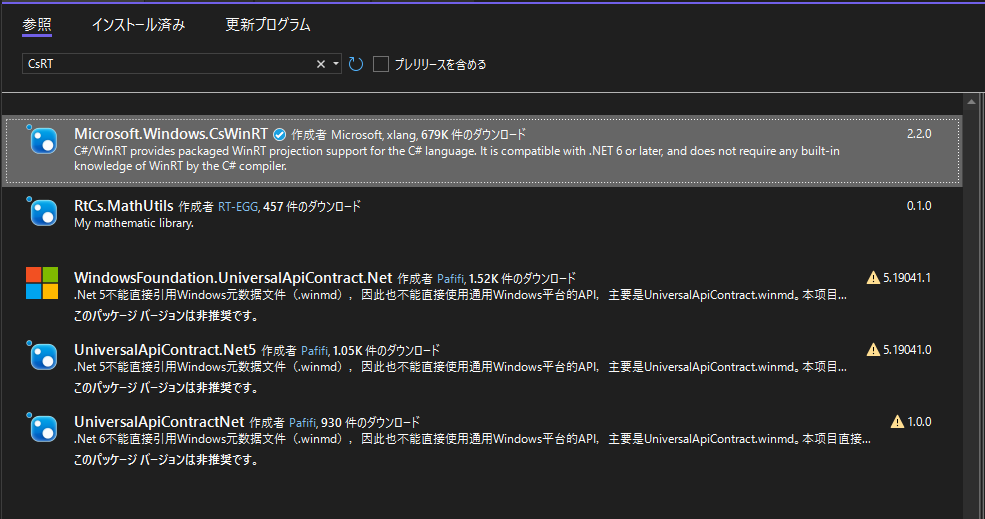
解決するために、プロジェクトを右クリックして「Nugetパッケージの管理」を選択し、「Microsoft.Windows.CsWinRT」をインストールする。
これでビルドは通るようになるが、まだC++/WinRTで定義した型を見つけることはできない。
さらにプロジェクトを右クリックして「プロジェクトファイルの編集」を選び、プロジェクトファイルに以下を追記する。ここで「MyComponent」は作成したC++/WinRTコンポーネントプロジェクトのネームスペース。
<Project Sdk="Microsoft.NET.Sdk">
  <PropertyGroup>
    <OutputType>WinExe</OutputType>
    <TargetFramework>net8.0-windows10.0.26100.0</TargetFramework>
    <TargetPlatformMinVersion>10.0.17763.0</TargetPlatformMinVersion>
    <RootNamespace>WinUI3CS</RootNamespace>
    <ApplicationManifest>app.manifest</ApplicationManifest>
    <Platforms>x86;x64;ARM64</Platforms>
    <RuntimeIdentifiers>win-x86;win-x64;win-arm64</RuntimeIdentifiers>
    <UseWinUI>true</UseWinUI>
    <Nullable>enable</Nullable>
+   <CsWinRTIncludes>MyComponent</CsWinRTIncludes>
+   <CsWinRTGeneratedFilesDir>$(OutDir)</CsWinRTGeneratedFilesDir>
  </PropertyGroup>

  <ItemGroup>
    <Manifest Include="$(ApplicationManifest)" />
  </ItemGroup>

  <ItemGroup>
    <PackageReference Include="Microsoft.Windows.CsWinRT" Version="2.2.0" />
    <PackageReference Include="Microsoft.Windows.SDK.BuildTools" Version="10.0.26100.1742" />
    <PackageReference Include="Microsoft.WindowsAppSDK" Version="1.7.250401001" />
  </ItemGroup>

  <ItemGroup>
    <ProjectReference Include="..\..\MyComponent\MyComponent.vcxproj" />
  </ItemGroup>

    <!-- Publish Properties -->
  <PropertyGroup>
    <PublishReadyToRun Condition="'$(Configuration)' == 'Debug'">False</PublishReadyToRun>
    <PublishReadyToRun Condition="'$(Configuration)' != 'Debug'">True</PublishReadyToRun>
    <PublishTrimmed Condition="'$(Configuration)' == 'Debug'">False</PublishTrimmed>
    <PublishTrimmed Condition="'$(Configuration)' != 'Debug'">True</PublishTrimmed>
  </PropertyGroup>
</Project>
これでようやく型が見えるようになる。ChatGPT曰く、プロパティ設定画面などからこの設定を追加することは今のところできないらしい。知らなければ解決できないという話。
C#プロジェクトのMainWindow.xaml.csを開いて、適当なところにコードを書いてみる。
おあつらえ向きにButton_Clickなるイベントがあるのでそれを書き換える。
using System;
using System.Collections.Generic;
using System.IO;
using System.Linq;
using System.Runtime.InteropServices.WindowsRuntime;
using Microsoft.UI.Xaml;
using Microsoft.UI.Xaml.Controls;
using Microsoft.UI.Xaml.Controls.Primitives;
using Microsoft.UI.Xaml.Data;
using Microsoft.UI.Xaml.Input;
using Microsoft.UI.Xaml.Media;
using Microsoft.UI.Xaml.Navigation;
using Windows.Foundation;
using Windows.Foundation.Collections;
+ using MyComponent;

// To learn more about WinUI, the WinUI project structure,
// and more about our project templates, see: http://aka.ms/winui-project-info.

namespace WinUI3CS
{
    /// <summary>
    /// An empty window that can be used on its own or navigated to within a Frame.
    /// </summary>
    public sealed partial class MainWindow : Window
    {
        public MainWindow()
        {
            this.InitializeComponent();
        }

        private void myButton_Click(object sender, RoutedEventArgs e)
        {
-           myButton.Content = "Clicked";
+           myButton.Content = new Greeting().SayHello();
        }
    }
}
本来ボタンをクリックするとボタンの内容が"Clicked"になるところが"Hello!"になる。
(Package)つきのプロジェクトをスタートアッププロジェクトに設定し実行する。
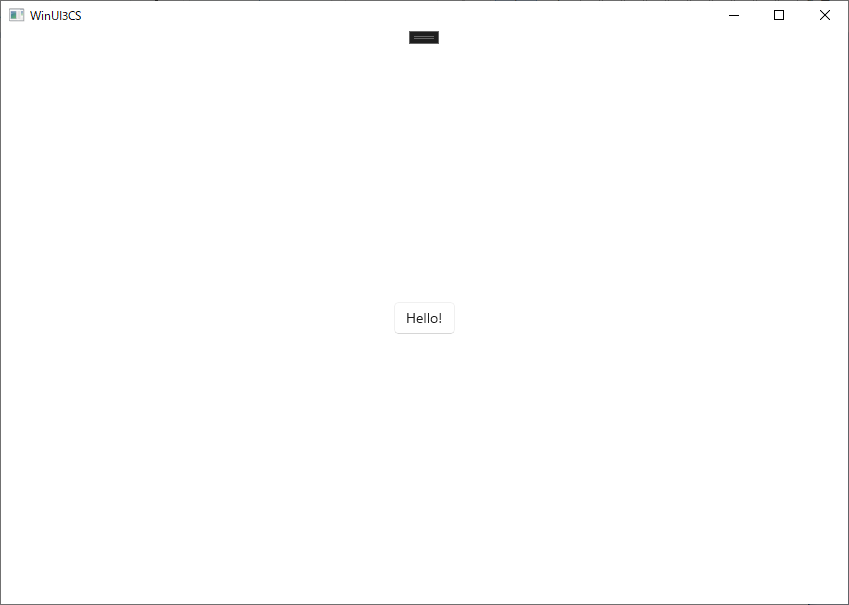
イゴイタ!!
おしまい。