概要
Django3.0を立ち上げる際のメモを記載しておく。
pipenvの設定
pipenvを構築(今回はpython3.7を指定)
$ pipenv --python 3.7
$ pipenv install

# Djnagoをインストール
$ pipenv install django==3.0.5

# mysql接続用にインストールしておく
pipenv install mysqlclient
以下の内容でPipfileができる
[[source]]
name = "pypi"
url = "https://pypi.org/simple"
verify_ssl = true

[dev-packages]

[packages]
django = "==3.0.5"
mysqlclient = "*"

[requires]
python_version = "3.7"
初期化
Djangoプロジェクト立ち上げ
# pipenvの環境を起動
$ pipenv shell

# djangoプロジェクトを作成する
$ django-admin startproject config .

# アプリケーション作成
python manage.py startapp myapp
configの部分がプロジェクト名だが、設定ファイル系が中に置かれるため、configとしておくのがベター
settingsを環境毎に作成して、カスタマイズ
- settingsディレクトリをconfig直下に作成
- setting.pyをコピーして、base.pyを作成(本番とローカルの共通ファイルとなる)
- development.pyとproduction.pyを作成
- dvelopment.pyにlogとbase.pyを読み込むように設定
- base.pyに作成したアプリケーションの設定と日本語化を設定
- manage.pyでdevelopment.pyを読み込むように修正
config/settings/development.py
from .base import * # baseの設定不ファイルを読み込む

# SECURITY WARNING: don't run with debug turned on in production!
DEBUG = True

ALLOWED_HOSTS = []

# ロギング設定
LOGGING = {
    'version': 1,  # 1固定
    'disable_existing_loggers': False,

    # ロガーの設定
    'loggers': {
        'django': {
            'handlers': ['console'],
            'level': 'INFO',
        },
        'myapp': {
            'handlers': ['console'],
            'level': 'DEBUG',
        },
    },

    # ハンドラの設定
    'handlers': {
        'console': {
            'level': 'DEBUG',
            'class': 'logging.StreamHandler',
            'formatter': 'dev'
        },
    },

    # フォーマッタの設定
    'formatters': {
        'dev': {
            'format': '\t'.join([
                '%(asctime)s',
                '[%(levelname)s]',
                '%(pathname)s(Line:%(lineno)d)',
                '%(message)s'
            ])
        },
    }
}
config/settings/common.py
INSTALLED_APPS = [
    'django.contrib.admin',
    'django.contrib.auth',
    'django.contrib.contenttypes',
    'django.contrib.sessions',
    'django.contrib.messages',
    'django.contrib.staticfiles',
    'myapp', # <= 追記
]
# :
# :
LANGUAGE_CODE = 'ja' # 日本仕様に修正

TIME_ZONE = 'Asia/Tokyo' # 日本仕様に修正
manage.pu
os.environ.setdefault('DJANGO_SETTINGS_MODULE', 'config.settings.development')
MySQLの設定
config/settings/common.py
DATABASES = {
    'default': {
        'ENGINE': 'django.db.backends.mysql',
        'NAME': 'myapp_db', # ローカルに予め作成したDB
        'USER': 'root',
        'HOST': '127.0.0.1',
        'PORT': '3306',
    }
}
※mysqlサーバーはbrewなどでインストールしておく
migrateが通れば、DBの接続はOK
# 設定ファイルの指定が必要なので注意
$ python manage.py migrate --settings=config.settings.development
ディレクトリを整理
model,views,forms,templatesディレクトリを作ってクラスを分離できるようにする
親クラスのbase.pyも必要に応じて作っておく
.
├── Pipfile
├── Pipfile.lock
├── README.md
├── config
│   ├── __init__.py
│   ├── asgi.py
│   ├── settings
│   │   ├── __init__.py
│   │   ├── base.py
│   │   ├── development.py
│   │   └── production.py
│   ├── urls.py
│   └── wsgi.py
├── myapp
│   ├── __init__.py
│   ├── admin.py
│   ├── apps.py
│   ├── forms
│   │   └── __init__.py
│   ├── migrations
│   │   └── __init__.py
│   ├── models
│   │   ├── __init__.py
│   │   └── base.html
│   ├── templates
│   │   ├── __init__.py
│   │   └── base.html
│   ├── tests.py
│   ├── urls.py
│   └── views
│       └── __init__.py
├── manage.py
└── static
起動してみる
python manage.py runserver
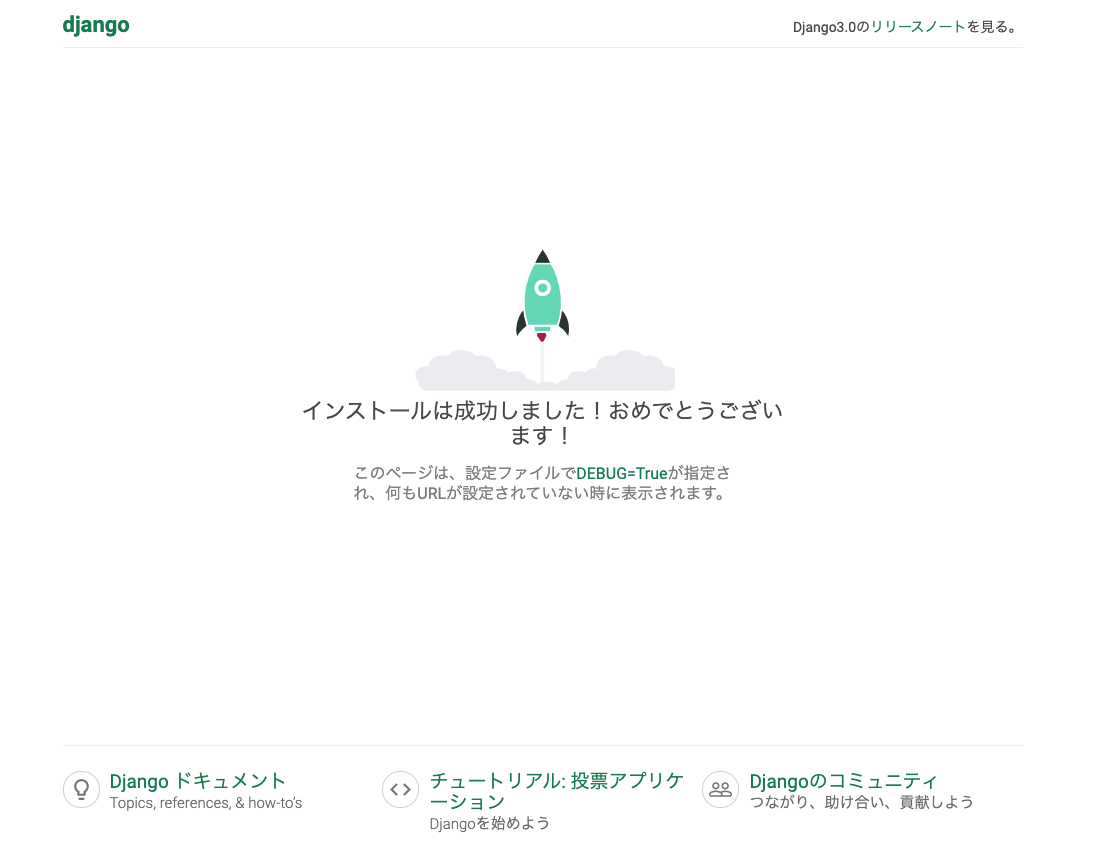
http://127.0.0.1:8000/にアクセスしてみれ、以下の画面がでればOK
urls.pyを分離する
最後にurlsをアプリケーション毎に分けれるように修正する
config/urls.py
from django.contrib import admin
from django.urls import path, include # includeを追加

urlpatterns = [
    path('admin/', admin.site.urls),
    path('myapp/', include('myapp.urls')), # 追記
]
myapp用のurls.py作成する
myapp/urls.py
from django.urls import path

app_name='myapp'
urlpatterns = [
  # myapp用のURL設定を記載していく
]
