概要
podman 4.7 系から公式にサブコマンドとして compose がサポートされたので検証した。
以下のことを確認する
- nginx を起動して画面を見るというシンプルな確認をする。
- podman compose で macOS で編集したものを表示してみる。
結論
- サブコマンドと言いつつ Compose は
docker-composeを呼び出してるのが実態でした。 - サブコマンド化されてるので、操作ドキュメントの説明では楽になり、紹介しやすいと思う。
検証した環境
❯ sw_vers
ProductName:            macOS
ProductVersion:         13.6
BuildVersion:           22G120

❯ podman version
Client:       Podman Engine
Version:      4.7.0
API Version:  4.7.0
Go Version:   go1.21.1
Git Commit:   073183fe1723d7bda826b574437891976a958c65
Built:        Thu Sep 28 00:35:55 2023
OS/Arch:      darwin/arm64

Server:       Podman Engine
Version:      4.6.2
API Version:  4.6.2
Go Version:   go1.20.7
Built:        Wed Sep 13 05:07:26 2023
OS/Arch:      linux/arm64
podman / podman-desktop の導入
❯ brew install podman
※ podmanのインストールの依存関係で QEMU も同時にインストールされる

❯ brew install podman-desktop
※ mac の Launchpad をみると追加されてるのが確認できる
podman のバージョン確認
❯ podman --version
podman version 4.7.0
podman の依存関係パッケージの確認
❯ brew deps --1 podman
qemu

❯ brew deps --1 podman-desktop
podman
podman-mac-helper 導入で compose でいい感じにディレクトリをマウントできる様になる。
❯ sudo /opt/homebrew/opt/podman/bin/podman-mac-helper install
docker-compose も事前に入れておく
podman compose と言いつつ実態は external compose provider の指定によるものなので相変わらず docker-compose が必要。
しかし、ここは将来的に他の compose provider を指定できる様になるのかもしれない(期待)
brew でインストールできる docker-compose は 2系になってるのでそれを使う。
❯ docker-compose -v
Docker Compose version 2.22.0

❯ type docker-compose
docker-compose is /opt/homebrew/bin/docker-compose
podman machine にて QEMU インスタンスをセットアップ
-
podman machine initコマンドを使用して初期セットアップを行う。 - 実行すると Fedora CoreOS の仮想マシンイメージ(qcow2)がダウンロードされる。
-
--cpusや--memory--disk-sizeは任意のサイズを割り当て可能。 -
-v /Users:/Usersで Mac のディレクトリを Bind Mount しやすくなる。 -
podman machine set --rootfulで特権 port を利用することができる。 -
podman machine ssh rpm-ostree -y install buildahで buildah をインストールできる。
❯ podman machine init \
  --cpus 2 \
  --memory 8192 \
  -v /Users:/Users && \
  podman machine set --rootful && \
  podman machine start && \
  podman machine ssh rpm-ostree -y install buildah && \
  podman machine stop && \
  podman machine start
検証用ディレクトリの構成
※ ファイルについては後述する。
$ tree $(pwd)
/path/to/macOS
├── compose.yaml
└── html
    └── index.html

1 directory, 3 files
compose サブコマンドで container を起動する
compose の設定ファイルを用意する
- nginx のコンテンツが編集できることを確認するので、volume をバインドマウントする。
- rootful なので hostPort[80] を LISTEN させて、転送先の containerPort[80] を指定する。
❯ cat <<'EOF'> compose.yaml
services:
  web:
    image: nginx:latest
    ports:
      - 80:80
    volumes:
      - type: bind
        source: ./html
        target: /usr/share/nginx/html
EOF
podman compose でコンテナを起動する
Executing external compose provider が呼び出されて compose が起動される。
❯ podman compose up -d
>>>> Executing external compose provider "/opt/homebrew/bin/docker-compose". Please refer to the documentation for details. <<<<

[+] Running 9/8
 ✔ web 8 layers [⣿⣿⣿⣿⣿⣿⣿⣿]      0B/0B      Pulled                                                                                                       9.4s
   ✔ e4cad15ac3f6 Download complete                                                                                                                     0.0s
   ✔ 9a9138853e32 Download complete                                                                                                                     6.1s
   ✔ 598a42ec6587 Download complete                                                                                                                     0.0s
   ✔ 82e490cc2043 Download complete                                                                                                                     0.0s
   ✔ 096332b242c2 Download complete                                                                                                                     0.0s
   ✔ 948128637a91 Download complete                                                                                                                     0.0s
   ✔ e886f0f47ef5 Download complete                                                                                                                     4.5s
   ✔ 2a4fbb36e966 Download complete                                                                                                                     0.0s
[+] Running 1/1
 ✔ Container podman-web-1  Started                                                                                                          0.0s
hostPort で指定した Port が LISTEN 状態になっていることが確認できる。
❯ lsof -n -P -iTCP -sTCP:LISTEN|grep :80
gvproxy   38702 tigerroll   18u  IPv6 0xc53edb258d18342d      0t0  TCP *:80 (LISTEN)
以上で compose の起動は完了
nginx で読み込む index.html を準備する
cat <<'EOF'> html/index.html
<h1>Hello Podman bind mount contents !</h1>
EOF
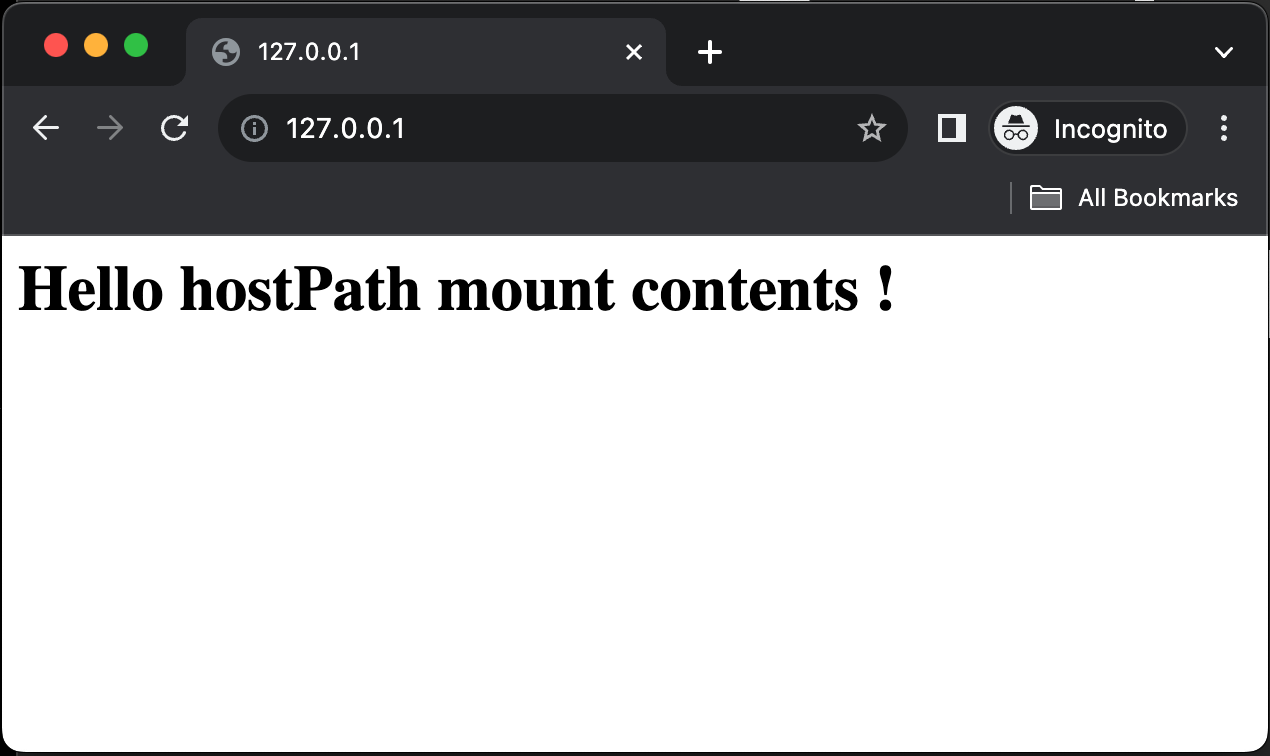
nginx にブラウザで接続してみる
上手く表示させることができた! ![]()
podman compose をしてみた感想
- 実態が docker-compose なのは驚きました。

- Compose が external compose provider となってるので拡張性に期待します。

- docker compose を違和感なく podman compose に置き換えれるのは good !!

- しかし、Compose に拘らず podman 流の開発手法に切り替えるのも良いかもしれない。
