はじめに
Infratopという会社でプログラミングスクールでメンターをしていますした。
最近、GoogleMapで地図出したいんだけど上手く出ないという質問がありまして、
この際、まとめ記事を書いてしまおうと思った次第です。
環境
- ruby 2.5.1
- rails 5.2.1
すること
- Google MapのAPI Keyを取得
- 地名から緯度経度情報を取得
- 経度緯度情報から地図を表示
それじゃあLet's GO.
API Keyを取得
予めGoogleアカウントは作っておきましょう。
Google Map Platformにアクセスしてください。
画像に従ってプロジェクトを生成します。


次に請求情報を登録します。2通りに分けて、簡単に説明しますが、
請求アカウントを登録しないと、Google Mapが表示されないので注意してください。
過去にGoogleアカウントの請求情報を登録している場合
過去にGoogle APIを使用し、請求情報を登録していると次のようになり、API Keyを取得できます。


新しくGoogleアカウントの請求情報を登録する場合
こちらの記事に詳細が載っています。
この記事はとても丁寧に記述していらっしゃるので、従えば登録できるはずです。
【2018年7月16日版】Google Maps の APIキー を取得する
余力があったら本記事で同様の内容をいずれ追記しようと思います。
Maps JavaScript APIの有効化と制限
発行したAPI Keyに対してGoogle MapのAPIを有効化します。
また、セキュリティの関係で、APIを使えるURLを設定します。
ここでは、開発用にlocalhostで使えるようにします。
図に従って、設定をしてください。


とにかくlocalhostでアクセス可にすればOKです。
APIで地図を表示
適当なアプリケーションを作成し、そこでテストします。
rails new gmap-test //rails アプリケーションを作成
rails g controller maps index //mapsコントローラ(とindexアクション)を作成
とりあえずルーティング設定
Rails.application.routes.draw do
  root to: 'maps#index'
  resources :maps, only: [:index]
end
scriptの記述
<h2>gmap</h2>
<div id='map'></div>

<style>
# map{
  height: 400px;
}
</style>

<script>
function initMap(){
  let map = new google.maps.Map(document.getElementById('map'), {
  center: {lat: -34.397, lng: 150.644},
  zoom: 8
  });
}
</script>
<script src="https://maps.googleapis.com/maps/api/js?key=YOUR_API_KEY&callback=initMap" async defer></script>
簡略のため、html内にstyleとscriptを記述しています。
YOUR_API_KEYのところを取得したAPIキーに差し替えてください。
rails sで実行し、確認すると、次のような画面になります。

地名でmapを移動する
Google Map APIは経度緯度情報で移動できるので、
地名や住所を入力したら経度緯度を取得できるようにしましょう。
そういう機能をGeocoding(ジオコーディング)といいます。
ここでは、二つの方法を示します。どちらかでGeocodingしましょう。
- GoogleのGeocoding APIを利用する。
- gemのgeocoderを利用する。
GoogleのAPIを使用するときは、クライアント側で経度緯度情報を取得します。
一方、gemのgeocoderを使用する場合は、サーバ側で経度緯度情報を取得します。
作成するアプリケーションによって、どちらが適しているか判断してください。
方法1:Google Geocoding APIを利用する。
まずはGeocoding APIを有効化します。
Maps JavaScript APIを有効化したときと同様に行えばOKです。
簡単に遷移を示しておきます。
Google Cloud Platformをクリック > APIの概要に移動 > +APIとサービスの有効化 > geocodingで検索

htmlとscriptを以下のように変更します。
<h2>gmap</h2>

<!-- 地名入力用のinputを追加 -->
<input id="address" type="textbox" value="Sydney, NSW">

<!-- buttonをクリックしたらcodeAddressを実行 -->
<input type="button" value="Encode" onclick="codeAddress()">
<div id='map'>
</div>

<style>
# map{
  height: 400px;
}
</style>

<script>
/*
mapを関数の外で定義(codeAddressでも使うため)
geocoderを用意
*/

let map
let geocoder

function initMap(){
  // geocoderを初期化
  geocoder = new google.maps.Geocoder()

  map = new google.maps.Map(document.getElementById('map'), {
  center: {lat: -34.397, lng: 150.644},
  zoom: 8
  });
}

function codeAddress(){
  // 入力を取得
  let inputAddress = document.getElementById('address').value;

  // geocodingしたあとmapを移動
  geocoder.geocode( { 'address': inputAddress}, function(results, status) {
    if (status == 'OK') {
            // map.setCenterで地図が移動
      map.setCenter(results[0].geometry.location);

            // google.maps.MarkerでGoogleMap上の指定位置にマーカが立つ
      var marker = new google.maps.Marker({
          map: map,
          position: results[0].geometry.location
      });
    } else {
      alert('Geocode was not successful for the following reason: ' + status);
    }
  });
}
</script>
<script src="https://maps.googleapis.com/maps/api/js?key=YOUR_API_KEY&callback=initMap" async defer></script>
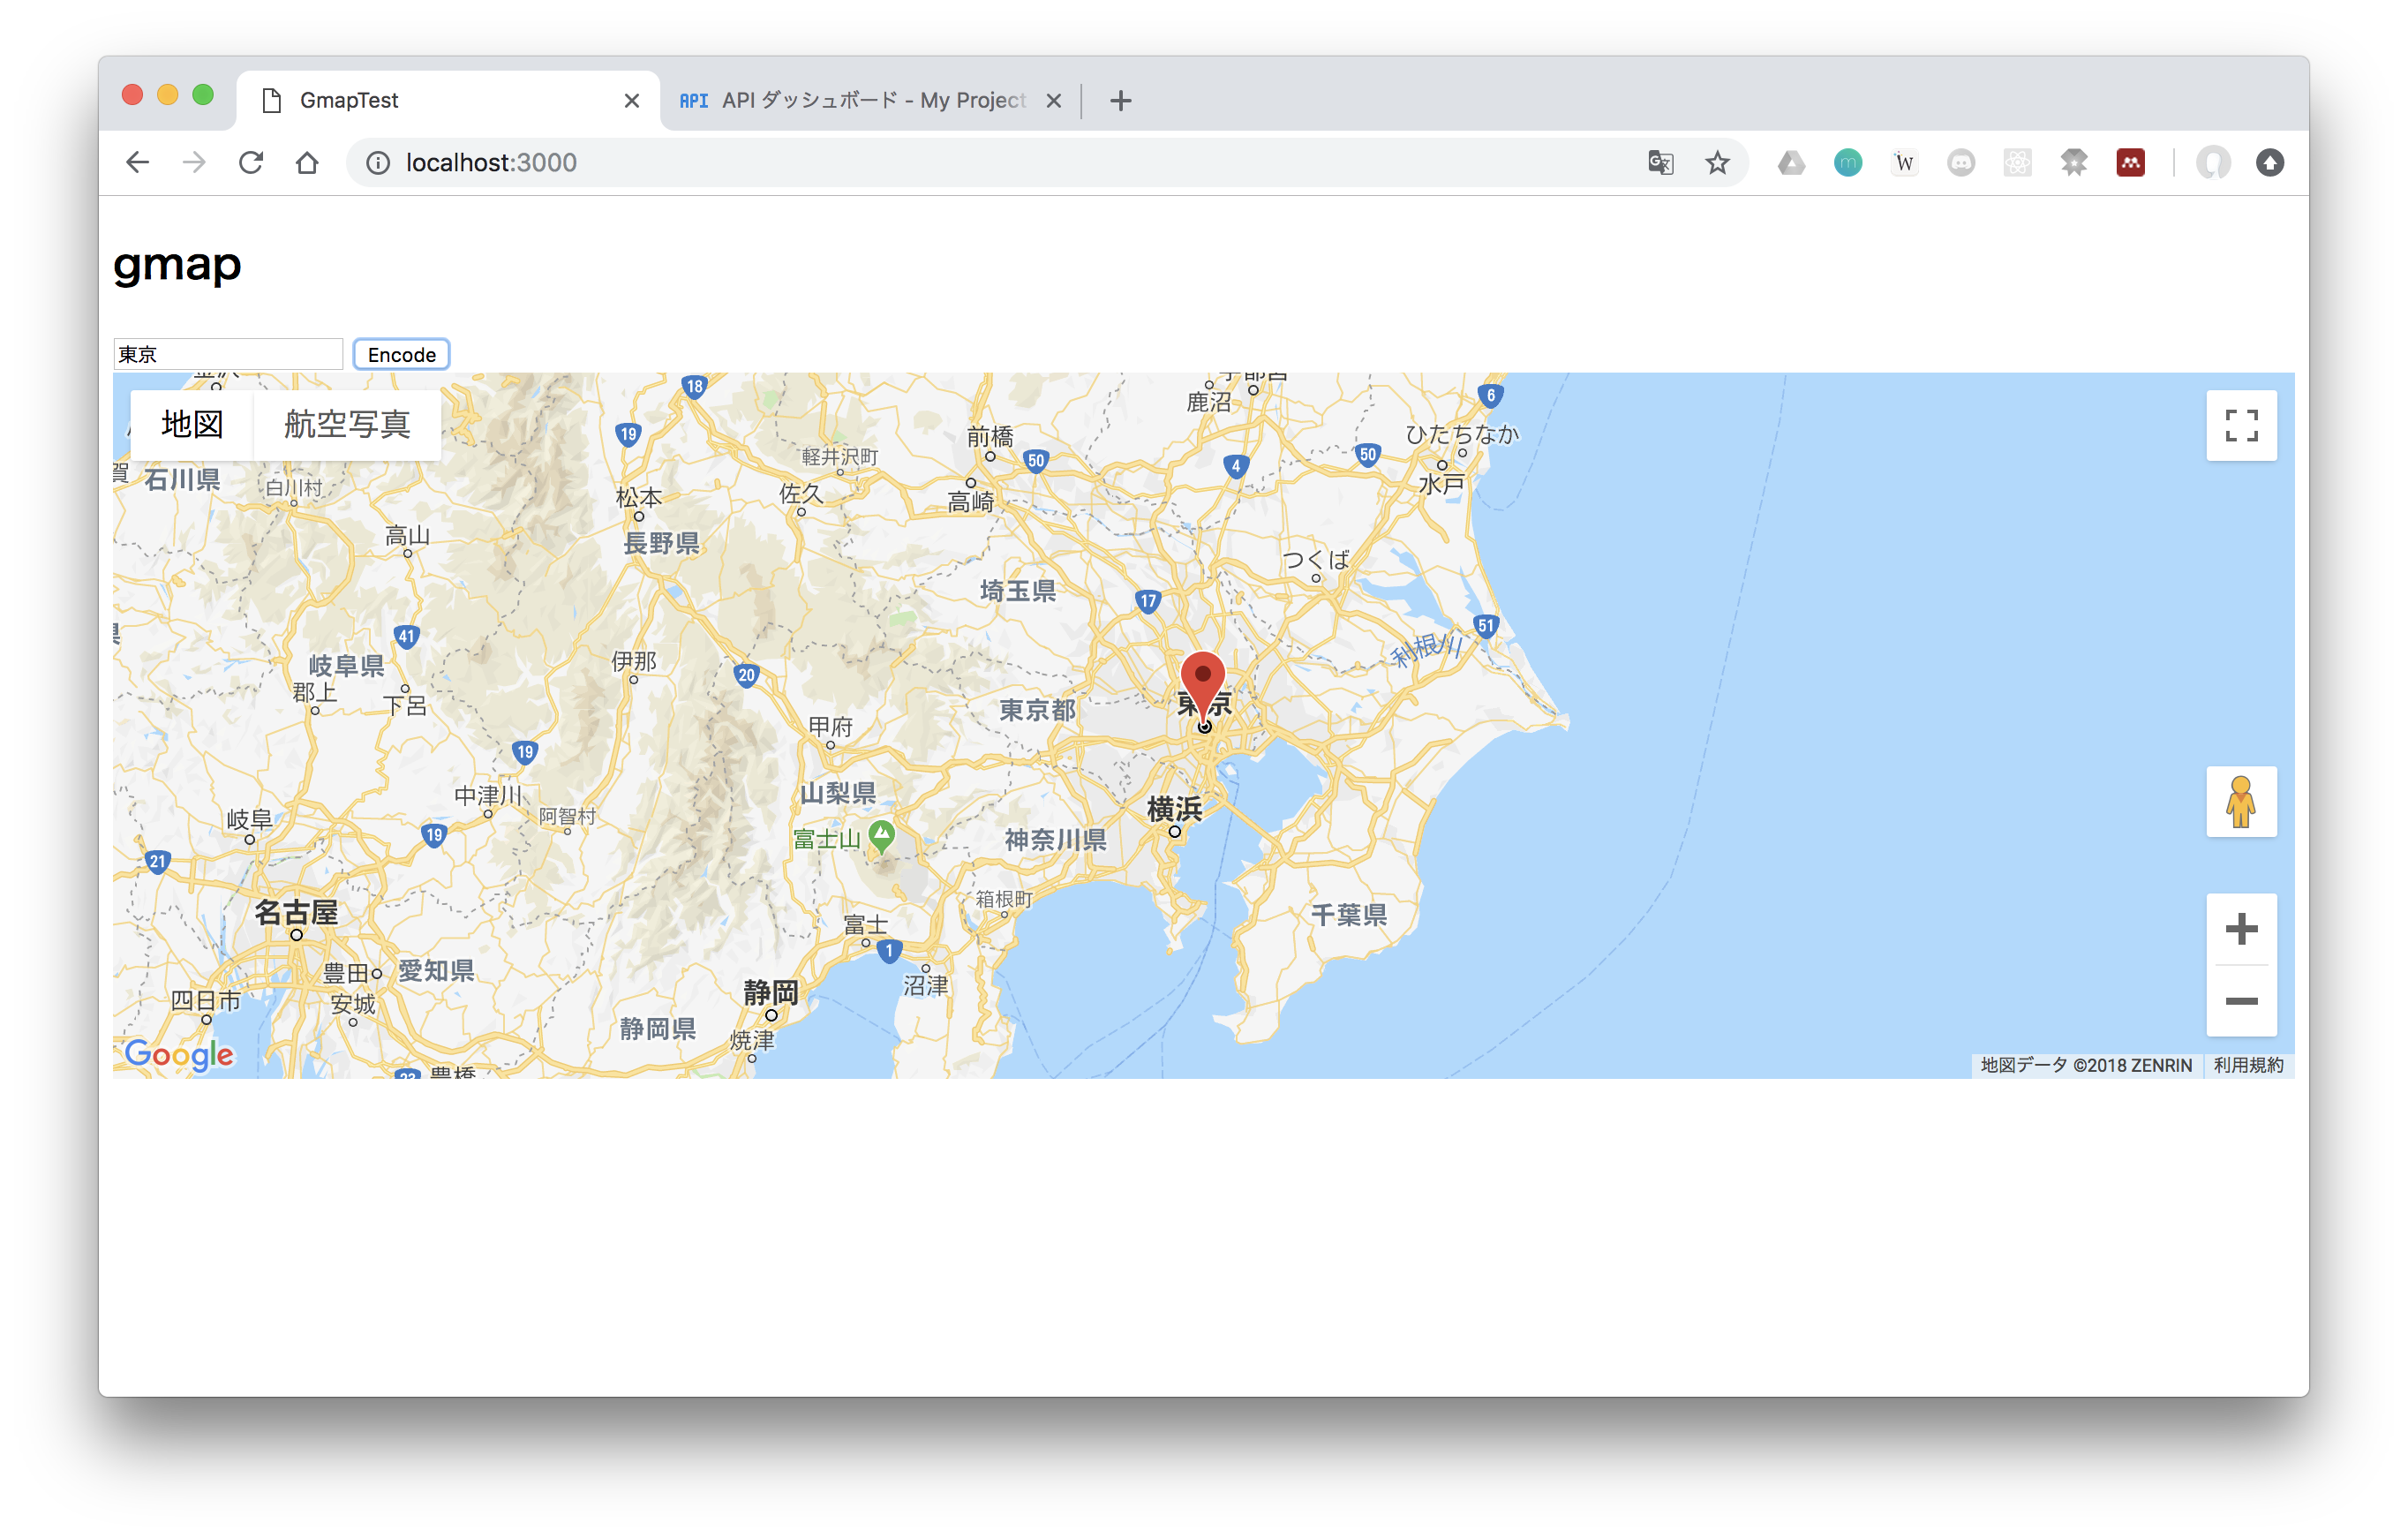
これで完了です。
適当に東京と入力して、ボタンを押せば地図が切り替わります。
方法2:gemのgeocoderを利用する
方法1と同様にinputに入力したら地図が変わるようにしたいので、
Ajaxを用いて非同期に対応させます。(formをremote: trueで送るだけです)
Ajaxについてはこちらの、「RailsでAjax基本形(Scaffoldで学ぶ)」がわかりやすいです。
まずはGemfileにgeocoderを記述して、bundle installをします。
また、Mapsコントローラにmapアクションを追加し、それに対応したルーティングを設定します。
gem 'geocoder'
def index
end
:
:
def map
  # respond_to以下の記述によって、
  # remote: trueのアクセスに対して、
  # map.js.erbが変えるようになります。
  respond_to do |format|
    format.js
  end
end
:
get '/map_request', to: 'maps#map', as: 'map_request'
:
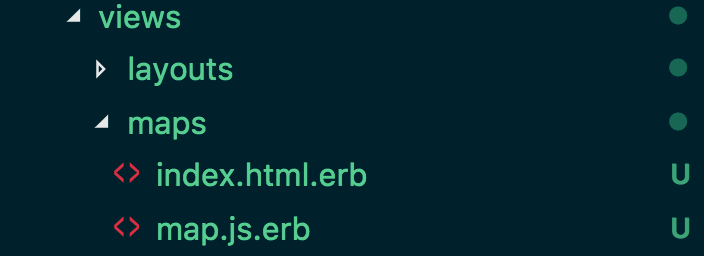
次にviews/mapsの下に、map.js.erbを作成します。
画像のようにindex.html.erbと並列になっていればOKです。
とりあえず、map.js.erbにconsole.logでも書いておきましょう
console.log('hoge')
次にformを作成します。
同時にgoogleの初期化も記述してしまいましょう。
<h2>gmap</h2>
<!-- form_withはデフォルトでremote: trueの挙動になります -->
<%= form_with url: map_request_path, method: :get do |f|%>
  <%= f.text_field :address %>
  <%= f.submit '地図表示' %>
<% end %>

<div id="map">
</div>

<style>
# map{
  height: 400px;
}
</style>

<script>
  let mapInstance //この変数はmap.js.erbでも使うのでタイプミスに注意

  function initMap(){
    mapInstance = new google.maps.Map(document.getElementById('map'), {
    center: {lat: -34.397, lng: 150.644},
    zoom: 8
    });
  }
</script>
<script src="https://maps.googleapis.com/maps/api&/js?key=YOUR_API_KEY&callback=initMap" async defer></script>
ここまで記述して、ボタンを押せば、
consoleに'hoge'と出るはずです。

それではgeocoderで経度緯度情報を取得します。
def map
  results = Geocoder.search(params[:address])
  @latlng = results.first.coordinates
  # これでmap.js.erbで、経度緯度情報が入った@latlngを使える。

  respond_to do |format|
    format.js
  end
end
map.js.erbで地図の移動とマーカの記述をします。
/*
index.html.erbのscript内に
google mapのインスタンス変数である、
mapという変数があることに留意
*/

(function(){
  // 位置情報をもつ変数を用意
  let pos = new google.maps.LatLng(
   <%= @latlng[0] %>, //latitude
   <%= @latlng[1] %>  //longitude
  );

  mapInstance.setCenter(pos)
  let marker = new google.maps.Marker({
    map: mapInstance,
    position: pos
  });
})()
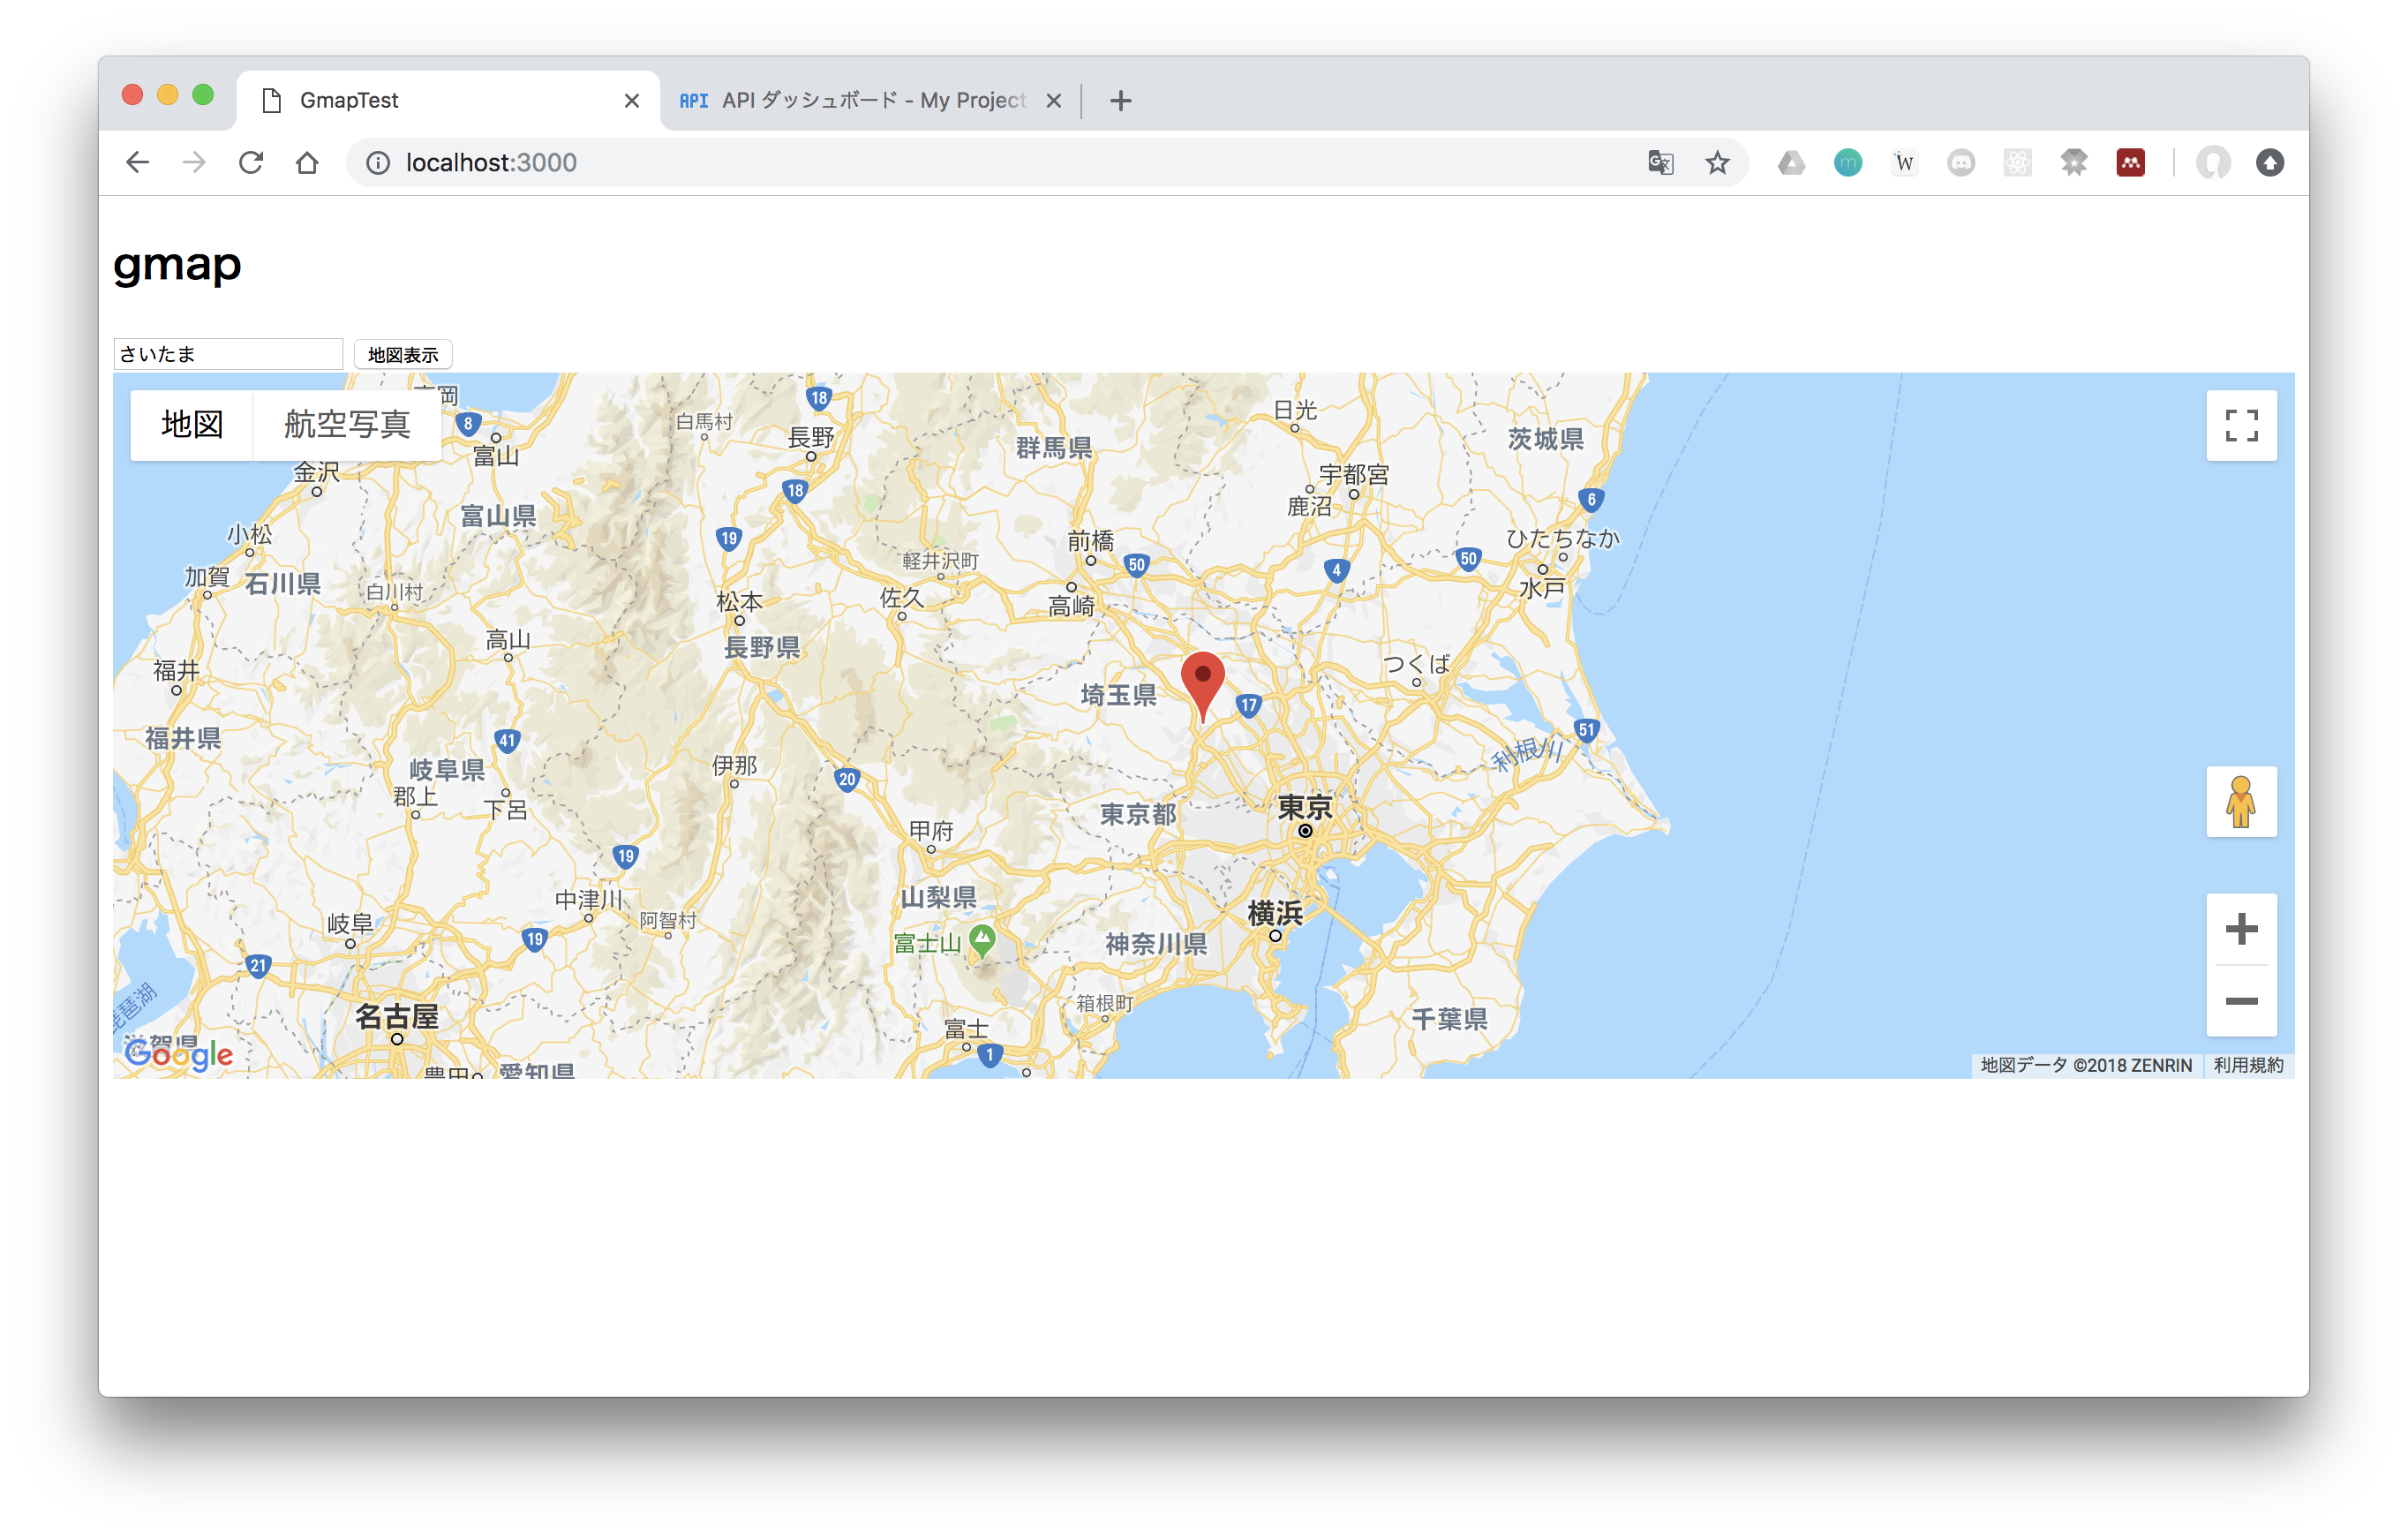
これでGoogle GeocodingAPIと同等の処理が完成しました。
GemのGeocoderを使う場合、Railsのコントローラを挟むので、
データベースで何かしたい場合はこちらのほうが楽だと思います。
おわりに
以上になります。
GoogleMapにはまだまだたくさんの機能があります。
公式ドキュメントのリンクを貼っておくので参照してみてください。
Google Maps Platform