主旨
前回のiOS データーストア版の記事の続き、プッシュ通知を試しましました!
コードとかばっかり書いていますが、開発者ではない方には、Nifty mBaaSでは「乗り換え相談窓口」を設けていますので、ぜひお気楽に!
乗り替える基本的なステップ
- (1) SDKをインポート
- (2) アプリ内、SDKを利用宣言
- (3) ニフティクラウドmobile backendでアプリ作成、キー(ApplicationKey, ClientKey)を取得
- (4) アプリ内で初期化
- (5) 実装コードを変更
- (6) プッシュ通知証明書登録
- その他:データー移行、設定変更
(1)~(4)は前回の記事を見ていただければかと思います!
実際にやってみます!
前提
Parseで動いているプッシュ通知機能のアプリのプロジェクトをニフティクラウドmobile backendに移行する場合。
従って手元にあるもの以下になるかと思います
- Appleの開発者登録 Developer Program
- Push通知用の証明書を作成済み(p12ファイル)。
作成方法はそれぞれドキュメントがありますので、もしまだ持っていない方はぜひご覧ください。
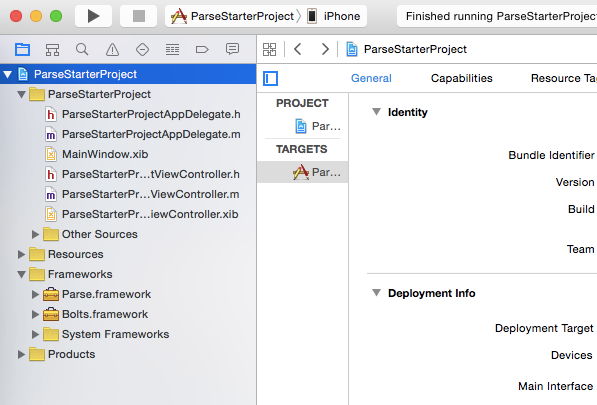
- 実装プロジェクト
ParseのQuickstartプロジェクトにはほぼ端末登録実装などプッシュ通知で利用するための実装が入っています。
(5) 実装コードを変更
以下のようにAppDelegateのdidFinishLaunchingWithOptionsメソッドを修正します。
修正前
   if (application.applicationState != UIApplicationStateBackground) {
        // Track an app open here if we launch with a push, unless
        // "content_available" was used to trigger a background push (introduced in iOS 7).
        // In that case, we skip tracking here to avoid double counting the app-open.
        BOOL preBackgroundPush = ![application respondsToSelector:@selector(backgroundRefreshStatus)];
        BOOL oldPushHandlerOnly = ![self respondsToSelector:@selector(application:didReceiveRemoteNotification:fetchCompletionHandler:)];
        BOOL noPushPayload = !launchOptions[UIApplicationLaunchOptionsRemoteNotificationKey];
        if (preBackgroundPush || oldPushHandlerOnly || noPushPayload) {
            [PFAnalytics trackAppOpenedWithLaunchOptions:launchOptions];
        }
    }

# if __IPHONE_OS_VERSION_MAX_ALLOWED >= 80000
    if ([application respondsToSelector:@selector(registerUserNotificationSettings:)]) {
        UIUserNotificationType userNotificationTypes = (UIUserNotificationTypeAlert |
                                                        UIUserNotificationTypeBadge |
                                                        UIUserNotificationTypeSound);
        UIUserNotificationSettings *settings = [UIUserNotificationSettings settingsForTypes:userNotificationTypes
                                                                                 categories:nil];
        [application registerUserNotificationSettings:settings];
        [application registerForRemoteNotifications];
    } else
# endif
    {
        [application registerForRemoteNotificationTypes:(UIRemoteNotificationTypeBadge |
                                                         UIRemoteNotificationTypeAlert |
                                                         UIRemoteNotificationTypeSound)];
    }
application:didFinishLaunchingWithOptionsメソッド内に修正(やることはほぼ一緒です)
修正後
if (NSFoundationVersionNumber > NSFoundationVersionNumber_iOS_7_1){

    //iOS8以上での、DeviceToken要求方法

    //通知のタイプを設定したsettingを用意
    UIUserNotificationType type = UIUserNotificationTypeAlert |
    UIUserNotificationTypeBadge |
    UIUserNotificationTypeSound;
    UIUserNotificationSettings *setting;
    setting = [UIUserNotificationSettings settingsForTypes:type
                                                categories:nil];

    //通知のタイプを設定
    [[UIApplication sharedApplication] registerUserNotificationSettings:setting];

    //DevoceTokenを要求
    [[UIApplication sharedApplication] registerForRemoteNotifications];
} else {

    //iOS8未満での、DeviceToken要求方法
    [[UIApplication sharedApplication] registerForRemoteNotificationTypes:
     (UIRemoteNotificationTypeAlert |
      UIRemoteNotificationTypeBadge |
      UIRemoteNotificationTypeSound)];
}
application:didRegisterForRemoteNotificationWithDeviceTokenメソッドで、端末情報をデータストアに登録します。
修正前
    PFInstallation *currentInstallation = [PFInstallation currentInstallation];
    [currentInstallation setDeviceTokenFromData:deviceToken];
    [currentInstallation saveInBackground];

    [PFPush subscribeToChannelInBackground:@"" block:^(BOOL succeeded, NSError *error) {
        if (succeeded) {
            NSLog(@"ParseStarterProject successfully subscribed to push notifications on the broadcast channel.");
        } else {
            NSLog(@"ParseStarterProject failed to subscribe to push notifications on the broadcast channel.");
        }
    }];
修正後
//端末情報を扱うNCMBInstallationのインスタンスを作成
NCMBInstallation *installation = [NCMBInstallation currentInstallation];

//Device Tokenを設定
[installation setDeviceTokenFromData:deviceToken];

//端末情報をデータストアに登録
[installation saveInBackgroundWithBlock:^(NSError *error) {
    if(!error){
        //端末情報の登録が成功した場合の処理
    } else {
        //端末情報の登録が失敗した場合の処理
    }
}];
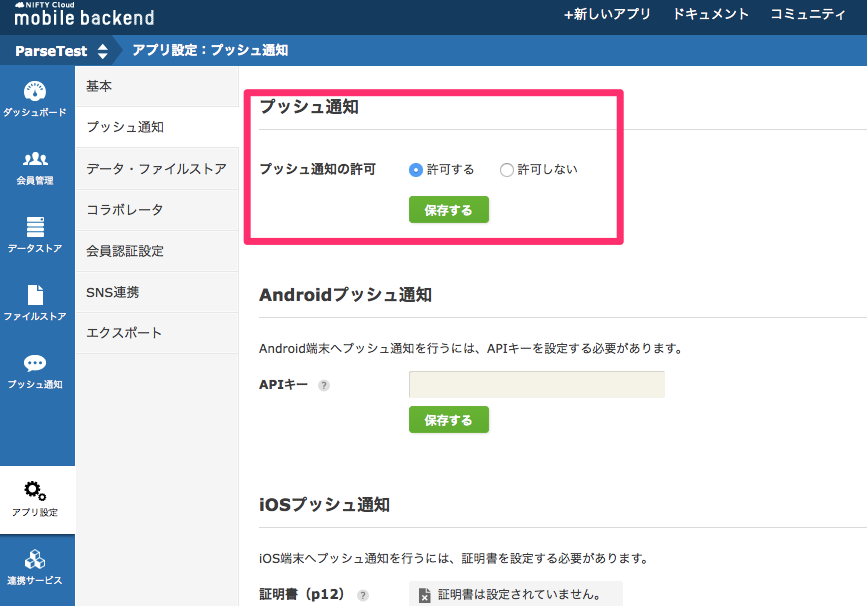
(6) プッシュ通知証明書登録
Nifty mobile backendの管理画面でプッシュ通知許可するように設定します。
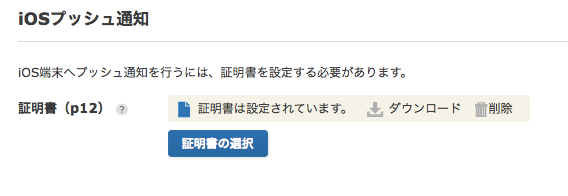
プッシュ通知の証明書p12をアップロードします
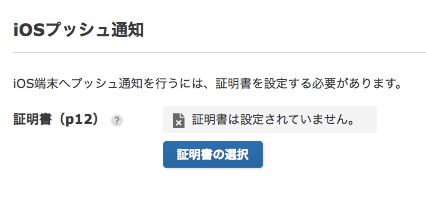
↓
(7)試しましょう!
アプリをビルドし、起動する際「プッシュ通知許可」と選択します。
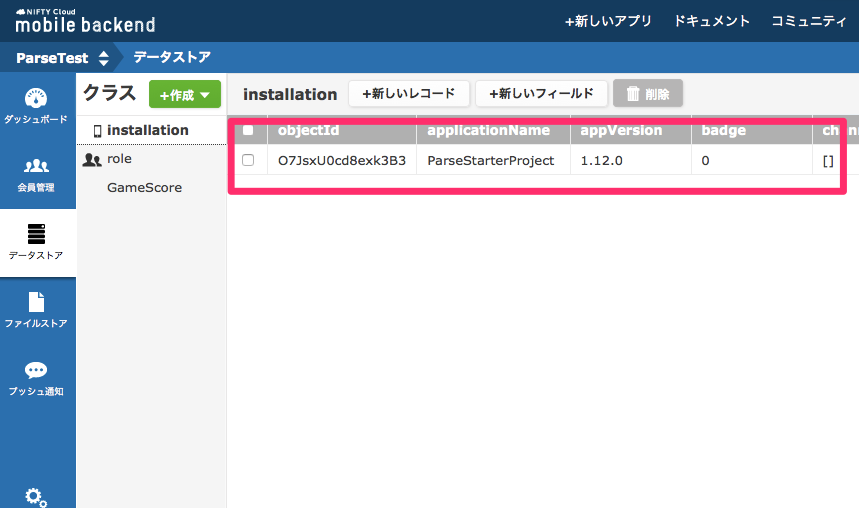
端末登録されたことを確認しましょう。
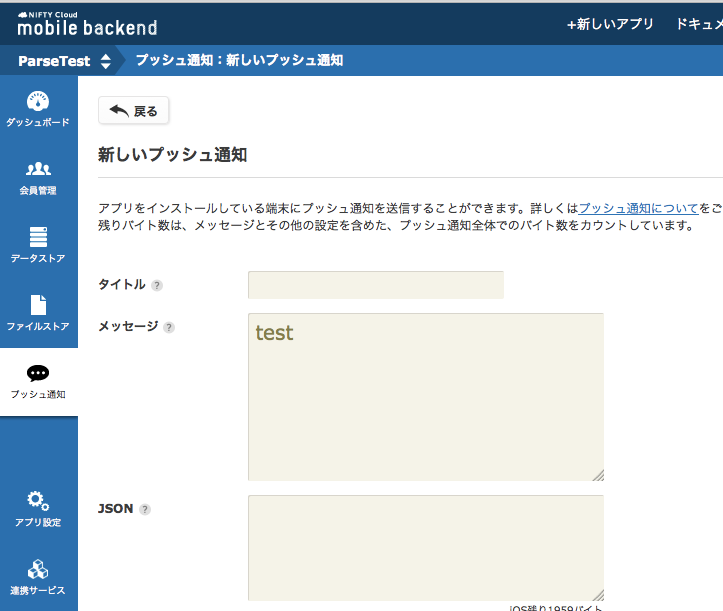
プッシュ通知を送ってみましょう
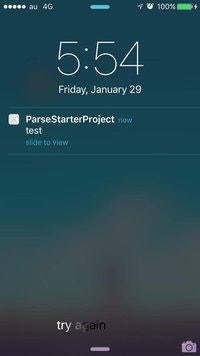
プッシュ通知が来た!
その他:データー移行、設定変更など
ここに関しては難しいところかなと思いますので、知っている範囲で書いてみます。
- ParseではExport機能あり, Data migrationツールもリリーされました。
- ニフティクラウドmobile backendではデーターストアの新規クラス作成する時、CSV、Json, txtどちらもインポートできますが、会員データーやinstallation(プッシュ通知配信端末)データーという既存のものであればできません。
- アプリ設定はそれぞれ違うので、検討した方が良さそうです!
- Nifty mBaaSでは「乗り換え相談窓口」を設けていますので、ぜひお気楽に!