Unityで、カメラに投影された部分をプレーンなりキューブなりに貼り付けたい時があると思います(ミニマップやカーレースのライブ映像、監視カメラなどなど)。それを可能にするのがRenderTextureです。
ざっくり以下の手順になります。
- Render Textureの作成
- カメラにRender Textureを追加
- Render Textureを用いたマテリアルを作成
- 投影したいオブジェクトにマテリアルをアタッチ
なお、本記事の環境は以下です。
・MacOS Sequoia 15.1.1
・Unity 6000.0.23f1 URP
それでは細かく見ていきます。
手順
-
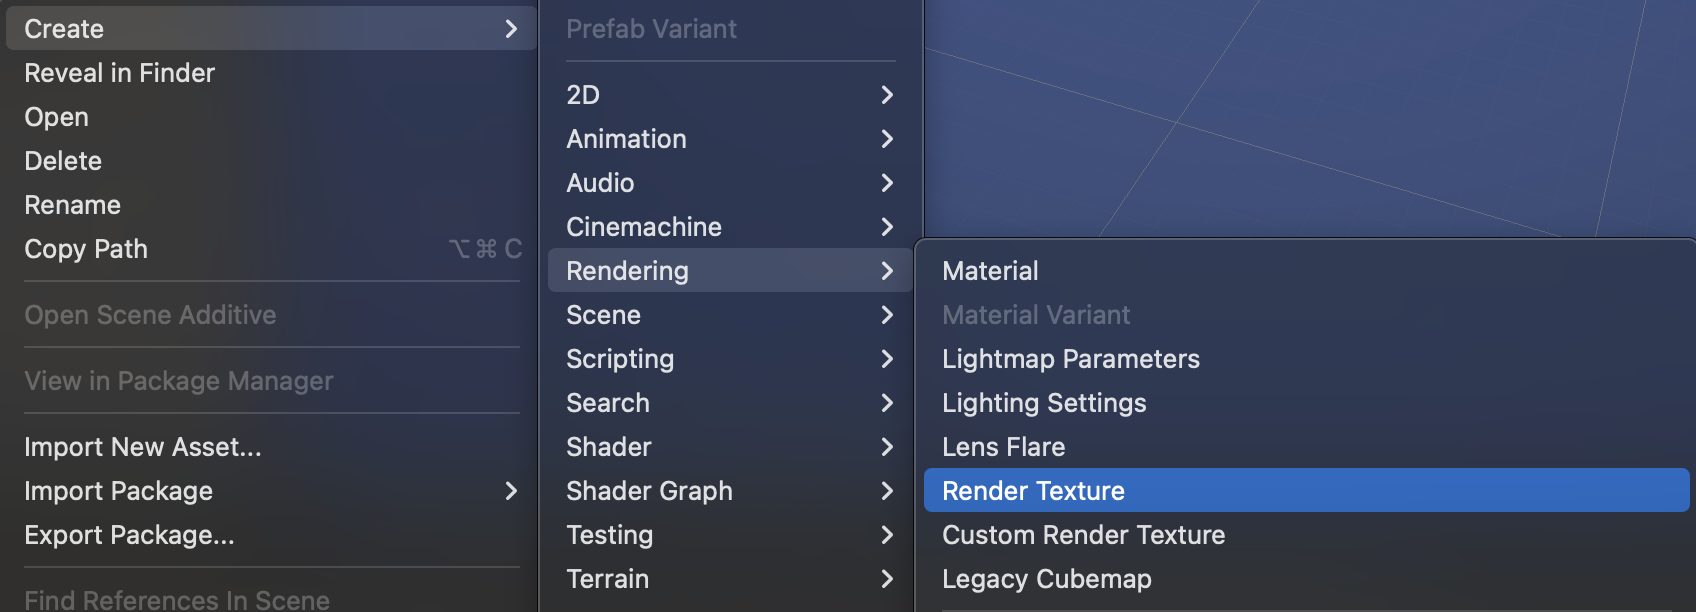
Render Textureの作成
Projectウィンドウ内で右クリック > Create > Rendering > Render Texture
作成しただけでは真っ暗ですが、この先変わるので問題ないです。

-
カメラにRender Textureを追加
テクスチャに描画したいカメラのCameraコンポーネント > Output > Output Textureに1.で作成したRender Textureを追加する。
すると、1.では真っ暗だったRender Textureにカメラで描画される部分が表示されていると思います。


-
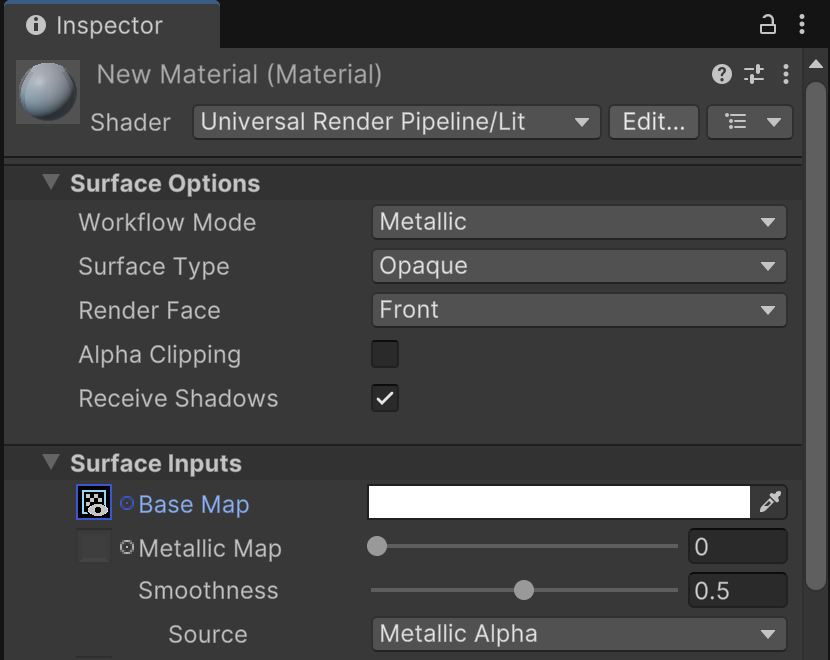
Render Textureを用いたマテリアルを作成
一旦シンプルにMaterialを作成(Projectウィンドウ > Create > Material)した後、そのMaterialのInspectorからSurface Inputs > Base Mapに1.で作成したRender Textureを追加する。

-
投影したいオブジェクトにマテリアルをアタッチ
今回はPlaneに投影したいので、HierarchyでPlaneを追加して3.で作成したMaterialをアタッチする。
以上!これでPlaneにカメラの描画範囲が投影されていると思います。


EX.) Planeに予期せぬものが映り込んでるんですけど?!ってパニクることがありますが、それはPlaneがカメラに映り込んでしまってるだけです。
回避策はカメラ描画範囲に描画したくないもの(今回でいうPlane)を入れないことか、カメラにCulling Maskを設定することです。
Culling Maskの設定は別記事で。