GoogleカレンダーにNode.jsからAPI連携する機会があったので、手順をメモしておきます。
GitHub
手順
- カレンダーAPIの有効化
- クレデンシャル作成
- トークン生成 / スケジュール一覧取得
- API連携(スケジュール作成 / スケジュール削除)
1. カレンダーAPIの有効化
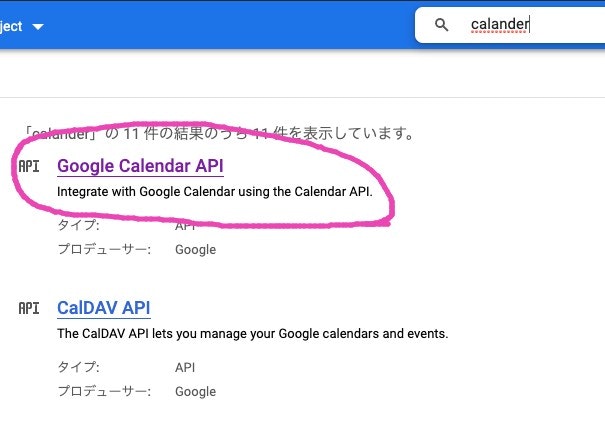
GCPにログインし、検索フォームで「Calendar」と入力し、「Google Calendar API」をクリックします。
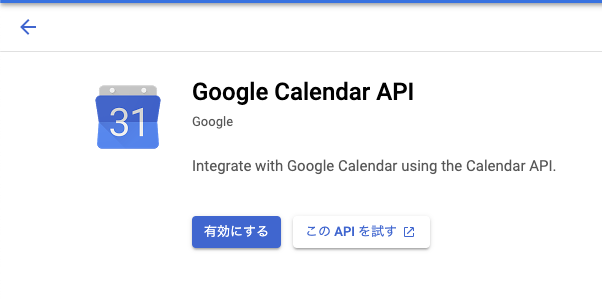
APIを有効にします。
2. クレデンシャル作成
次は、API連携に必要なクレデンシャルの作成です。
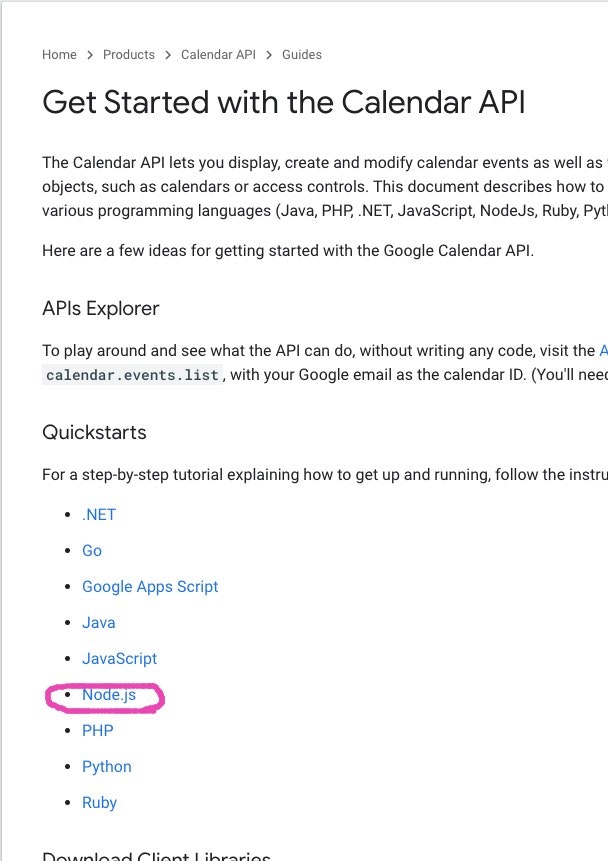
「Get Started with the Calendar API」をクリックして、公式のチュートリアルページに移動します。

チュートリアルページに移動後、「Node.js」を選択します。
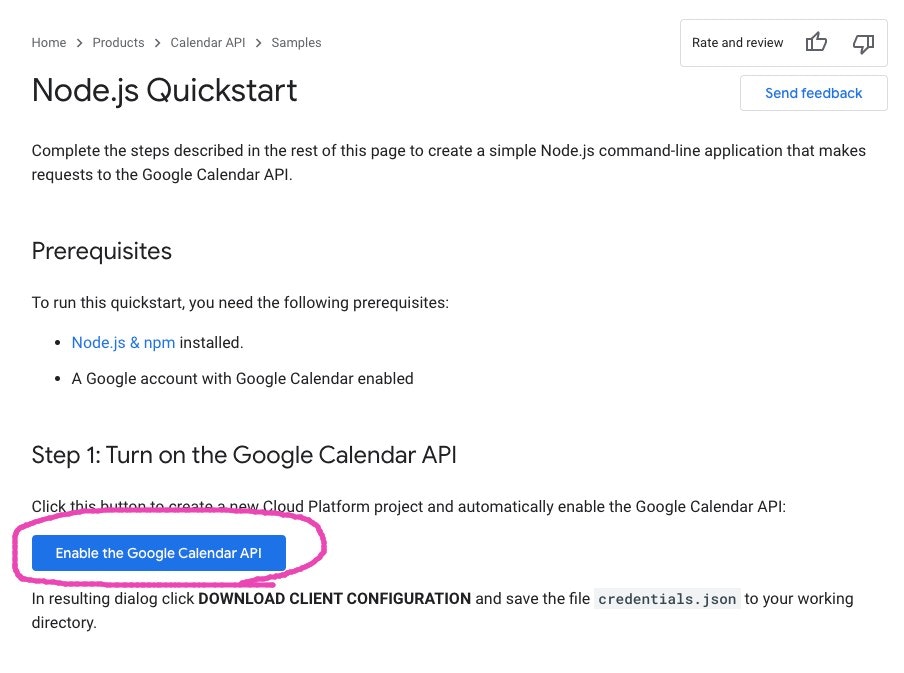
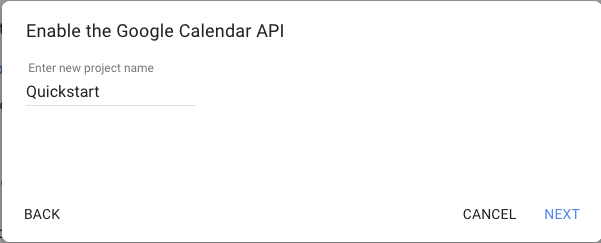
Node.jsのクイックスタートページの「Enable the Google Calendar API」ボタンをクリックします。
任意のプロジェクト名を入力して、先に進みます。
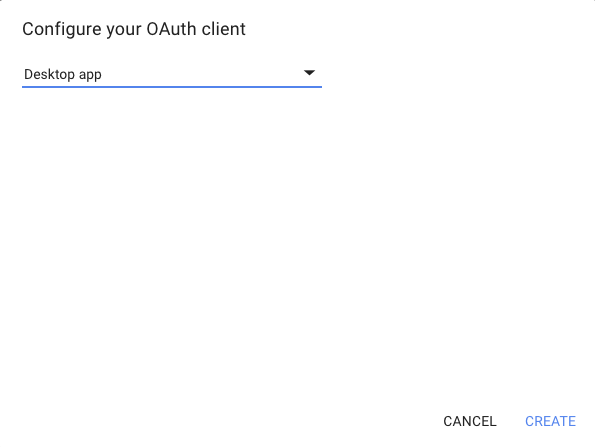
Node.jsをコマンドライン実行する場合は、「Desktop app」を選択し、作成します。
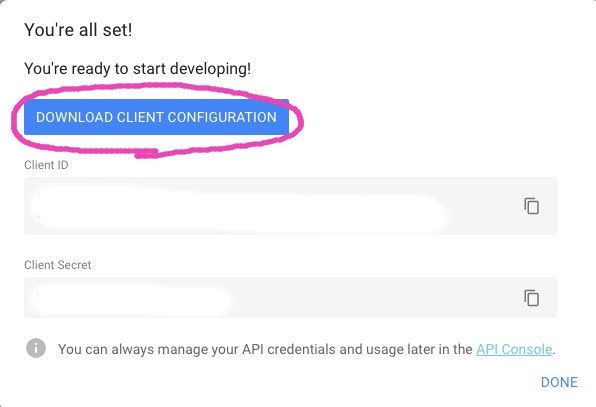
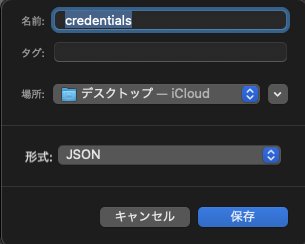
クレデンシャルファイルをダウンロードします。
本手順に従う場合は、名前を「credentials.json」としてください。
3. トークン生成 / スケジュール一覧取得
次に、API連携用のトークンを作成します。
-
git clone& 作業フォルダに移動 &2.で作成したファイルを移動 & ライブラリダウンロード(yarn install)
$ git clone git@github.com:Thirosue/gcp-sample.git
$ cd gcp-sample/calendar # 作業フォルダに移動
$ mv ~/Desktop/credentials.json . # 2.で作成したファイル(credentials.json)を作業フォルダ直下に配置してください。 ※移動元は調整
$ yarn install
- 作成したアプリの認証用ページに移動
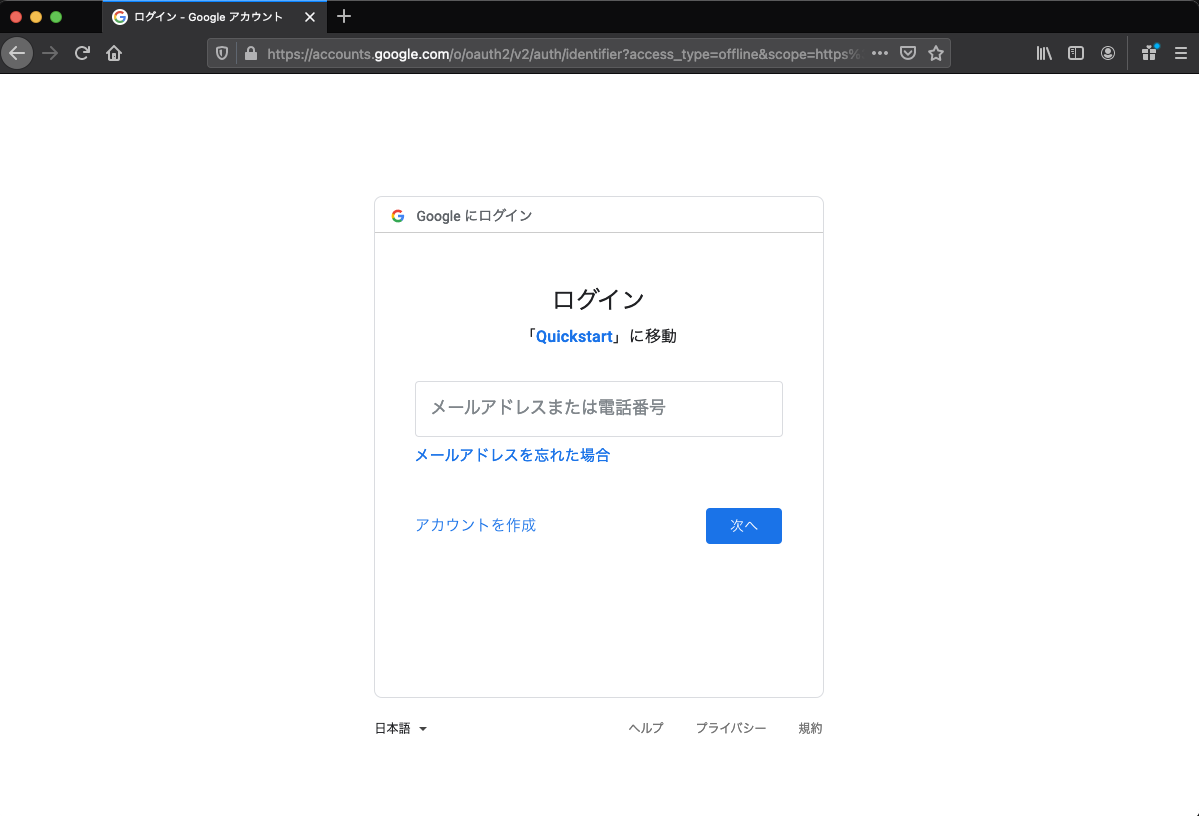
list.js(node list.js)を実行して、表示されたURLをブラウザで表示してください。
% node list.js
Authorize this app by visiting this url: https://accounts.google.com/o/oauth2/v2/auth?access_type=offline&scope=https%3A%2F%2Fwww.googleapis.com%2Fauth%2Fcalendar&response_type=code&client_id=*********************************************************
GCPユーザでログインします。
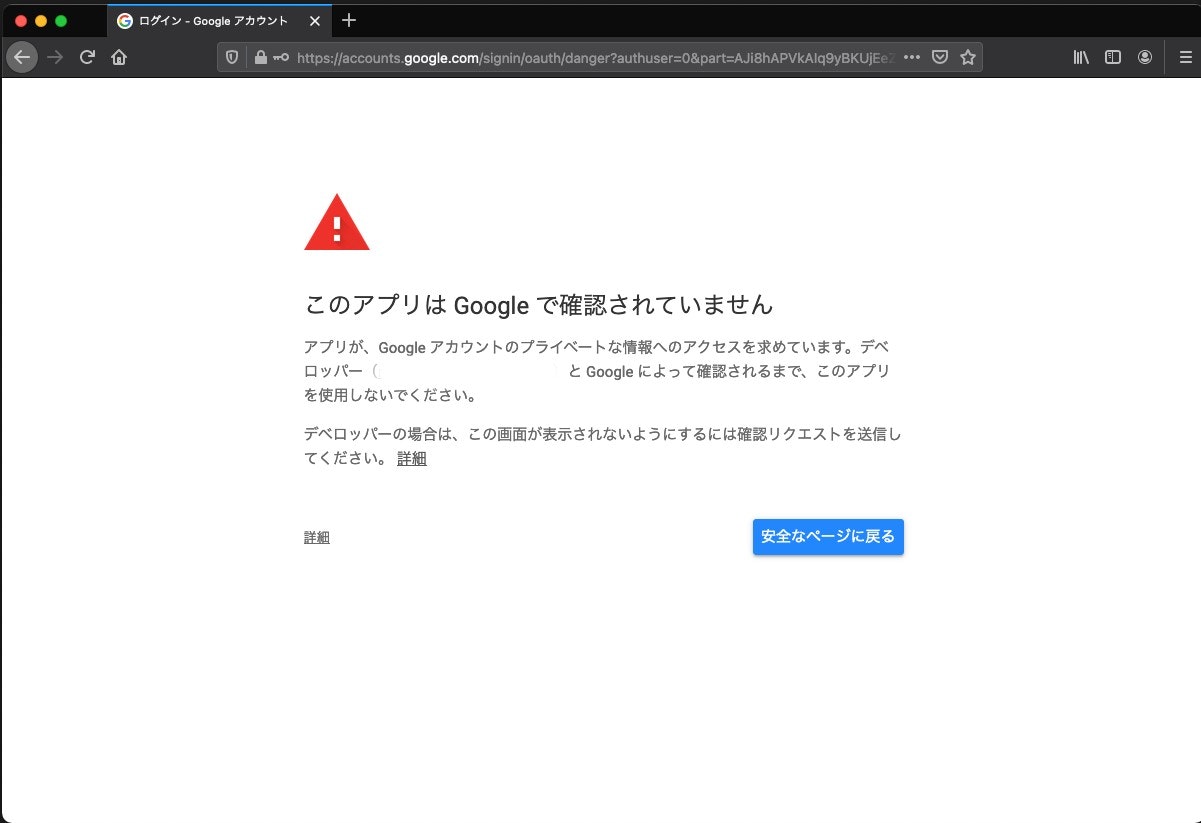
警告が表示されますが、カレンダーにアクセス権限を付与するため、先に進みます。
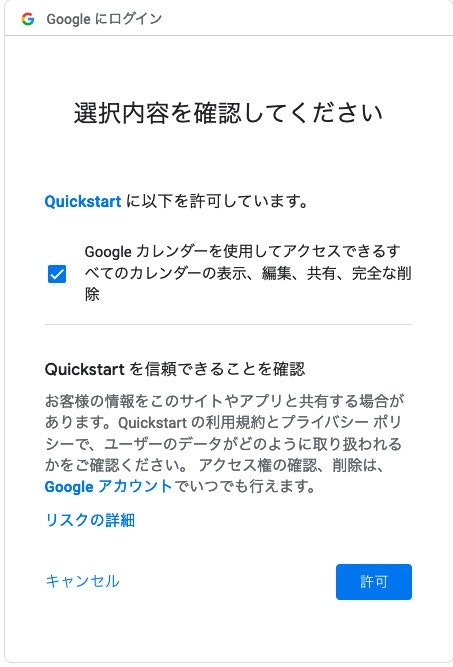
権限が適切であることを確認して、許可します。
→ここでは、カレンダーの追加 / 削除 / 閲覧を許可するため、編集権限も付与しています。

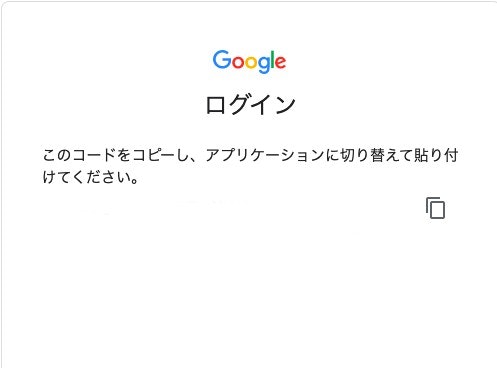
検証コードが表示されるので、コピーしておきます。
念のため、次のステップが完了するまで、ブラウザは表示したままにしておきましょう。
- トークンの作成
再度、list.js(node list.js)を実行して、先ほど生成したコードを貼り付けて、実行(Enterキー入力)します。
% node list.js
Authorize this app by visiting this url: https://accounts.google.com/o/oauth2/v2/auth?access_type=offline&scope=https%3A%2F%2Fwww.googleapis.com%2Fauth%2Fcalendar&response_type=code&client_id=*********************************************************
Enter the code from that page here: <<ここに作成したコードを貼り付ける>>
すると、スケジュール一覧APIが実行でき、直近の予定が取得できるでしょう。
% node list.js
Authorize this app by visiting this url: https://accounts.google.com/o/oauth2/v2/auth?access_type=offline&scope=https%3A%2F%2Fwww.googleapis.com%2Fauth%2Fcalendar&response_type=code&client_id=*********************************************************
Enter the code from that page here: XXXXXXXXXXXXXXXXXXXXXXXXXXXXXXX
Token stored to token.json
Upcoming 10 events:
2021-02-14T09:00:00+09:00 - 予定1
2021-02-16T09:30:00+09:00 - 予定2
...(省略)...
4. API連携
スケジュール作成
先ほど作成した、クレデンシャルとトークンを利用して、スケジュールを作成します。
create.jsを実行(node create.js)してみましょう。
スケジュール作成 実行(node create.js)
 % node create.js
Create Event captured: // イベントの情報です。
{
  summary: 'サンプル',
  description: 'カレンダー説明',
  start: { dateTime: '2021-02-13T18:41:24+09:00', timeZone: 'Asia/Tokyo' },
  end: { dateTime: '2021-02-13T19:41:24+09:00', timeZone: 'Asia/Tokyo' },
  colorId: 2,
  reminders: { useDefault: false, overrides: [ [Object], [Object] ] }
}
Event created: {
  config: {
    url: 'https://www.googleapis.com/calendar/v3/calendars/primary/events',
    method: 'POST',
    paramsSerializer: [Function (anonymous)],
    data: {
      summary: 'サンプル',
      description: 'カレンダー説明',
      start: [Object],
      end: [Object],
      colorId: 2,
      reminders: [Object]
    },
    headers: {
      ...(省略)...
    },
    params: [Object: null prototype] {},
    validateStatus: [Function (anonymous)],
    body: '{"summary":"サンプル","description":"カレンダー説明","start":{"dateTime":"2021-02-13T18:41:24+09:00","timeZone":"Asia/Tokyo"},"end":{"dateTime":"2021-02-13T19:41:24+09:00","timeZone":"Asia/Tokyo"},"colorId":2,"reminders":{"useDefault":false,"overrides":[{"method":"email","minutes":120},{"method":"popup","minutes":30}]}}',
    responseType: 'json'
  },
  data: {
    kind: 'calendar#event',
    etag: '"3226411377019000"',
    id: '01d3i44j58jp6v609ag8aehtb0', //<----- このイベントIDを削除で使います
    status: 'confirmed',
    ...(省略)...
  },
  headers: {
   ...(省略)...
  },
  status: 200,
  statusText: 'OK'
}
- 認証クライアント取得コードの内容(
./auth.js) ※スケジュール作成 / スケジュール削除で利用
const fs = require('fs').promises;
const { google } = require('googleapis');

const getOAuth2Client = async () => {
    const credentialsText = await fs.readFile('credentials.json', 'utf-8');
    const credentials = JSON.parse(credentialsText);

    const tokenText = await fs.readFile('token.json', 'utf-8');
    const token = JSON.parse(tokenText);

    const { client_secret, client_id, redirect_uris } = credentials.installed;
    const oAuth2Client = new google.auth.OAuth2(
        client_id, client_secret, redirect_uris[0]);

    oAuth2Client.setCredentials(token);
    return oAuth2Client;
}

module.exports = getOAuth2Client;
- スケジュール作成コードの内容(
./create.js)
const { google } = require('googleapis');
const moment = require('moment');
const getOAuth2Client = require('./auth');

// サンプルイベント
const event = {
    'summary': 'サンプル',
    'description': 'カレンダー説明',
    'start': {
        'dateTime': moment().add(1, 'h').format(),
        'timeZone': 'Asia/Tokyo',
    },
    'end': {
        'dateTime': moment().add(2, 'h').format(),
        'timeZone': 'Asia/Tokyo',
    },
    'colorId': 2, // @see https://lukeboyle.com/blog-posts/2016/04/google-calendar-api---color-id
    'reminders': {
        'useDefault': false,
        'overrides': [
            { 'method': 'email', 'minutes': 120 },
            { 'method': 'popup', 'minutes': 30 },
        ],
    },
};

(async () => {
    console.log('Create Event captured:');
    console.log(event);

    const auth = await getOAuth2Client(); // 認証クライアント取得

    const calendar = google.calendar({ version: 'v3', auth }); // カレンダーAPI連携用クライアント取得
    const response = await calendar.events.insert({
        auth,
        calendarId: 'primary',
        resource: event,
    });

    console.log('Event created:', response);
})()
スケジュール削除
先ほど作成した、クレデンシャルとトークンとイベントIDを利用して、スケジュールを削除します。
delete.jsを編集して、実行(node delete.js)してみましょう。
イベントIDの編集
const { google } = require('googleapis');
const getOAuth2Client = require('./auth');

const eventId = '01d3i44j58jp6v609ag8aehtb0'; //<----- イベントIDを先ほど作成したイベントのIDに変更します
...(省略)...
スケジュール削除 実行(node delete.js)
% node delete.js
Delete Google Event id: 01d3i44j58jp6v609ag8aehtb0
Event deleted: {
  config: {
    url: 'https://www.googleapis.com/calendar/v3/calendars/primary/events/01d3i44j58jp6v609ag8aehtb0',
    method: 'DELETE',
    paramsSerializer: [Function (anonymous)],
    headers: {
     ...(省略)...
    },
    params: [Object: null prototype] {},
    validateStatus: [Function (anonymous)],
    responseType: 'json'
  },
  data: '',
  headers: {
    ...(省略)...
  },
  status: 204,
  statusText: 'No Content'
}
- スケジュール削除コードの内容(
./delete.js)
const { google } = require('googleapis');
const getOAuth2Client = require('./auth');

const eventId = '01d3i44j58jp6v609ag8aehtb0'; // イベントIDを指定

(async () => {
    console.log('Delete Google Event id: %s', eventId);

    const auth = await getOAuth2Client(); // 認証クライアント取得

    const calendar = google.calendar({ version: 'v3', auth }); // カレンダーAPI連携用クライアント取得
    const response = await calendar.events.delete({
        auth,
        calendarId: 'primary',
        eventId,
    });

    console.log('Event deleted:', response);
})()
終わりに
API連携することで、簡単にGoogleカレンダーが利用できました。
Googleカレンダーは、優れたUIやリマインダー機能なども搭載されているため、スケジュール機能が必要な場合、API連携も検討してみるのも良いかもしれません。