はじめに
本記事はコンポーネントライブラリ Tremorxとマルチプラットフォームアプリ作成ライブラリElixirDesktopを使用して
株価をリアルタイムに取得するようなダッシュボードアプリを作る方法を紹介します。
Tremorxとは
Trmor Reactにインスパイアされて作成したPhoenix Component群
SaladUIとの違い
前回紹介したSaladUIとの違いとして、SaladUIは汎用的なUIに対して
Tremorxはダッシュボードの作成に特化したUIのためグラフなどの可視化コンポーネントが充実しているのが特徴です。
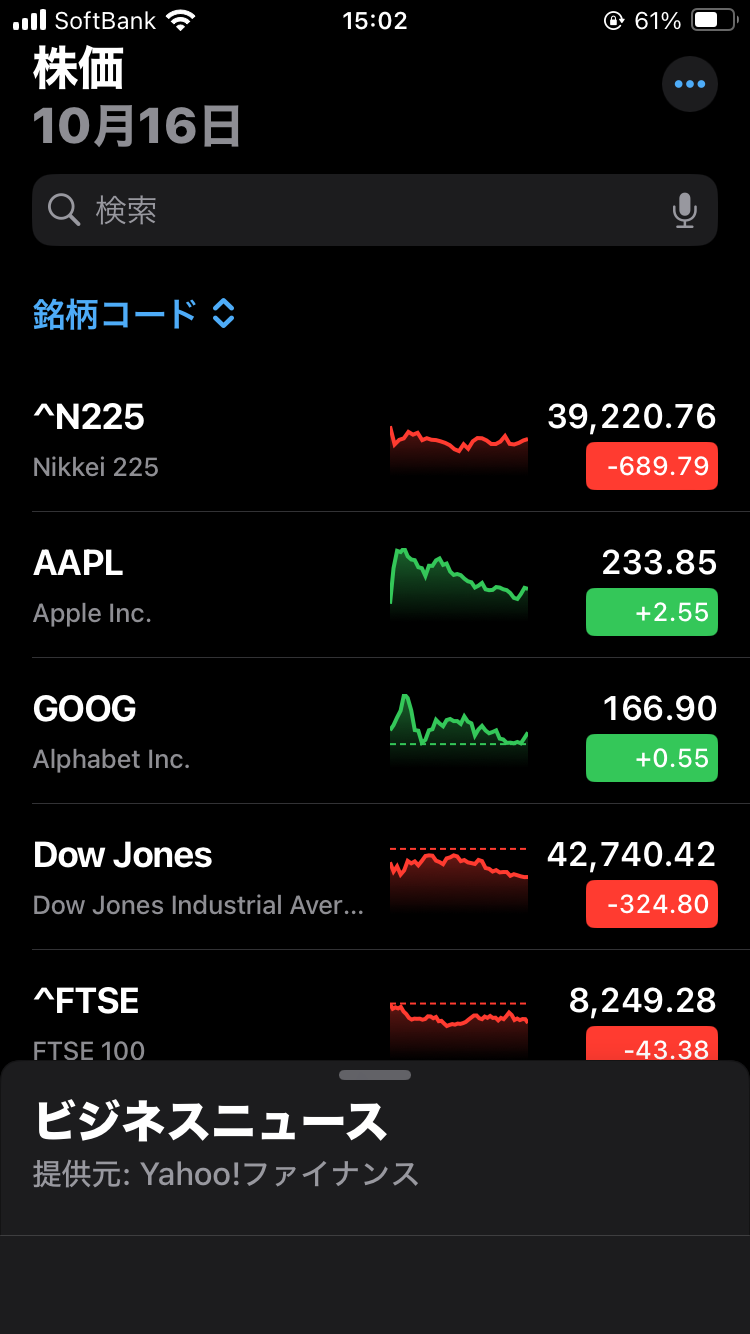
作るもの
データのビジュアライズに特化しているので
ラインチャートで株価ダッシュボード風なアプリを作ってみようかと思います
こんな感じの
プロジェクト作成
mix phx.new dashboard --database sqlite3
使用するライブラリを追加します。
デスクトップアプリ化ジェネレーターのdesktop_setup
コンポーネントライブラリのtremorx
  defp deps do
    [
-     {:bandit, "~> 1.5"}
+     {:bandit, "~> 1.5"},
+     {:desktop_setup, github: "thehaigo/desktop_setup", only: :dev},
+     {:tremorx, "~> 0.1.0"},
    ]
  end
ライブラリのインストールが完了したら以下のコマンドでデスクトップ化します
mix desktop.install
完了したら以下のコマンドで起動します
iex -S mix
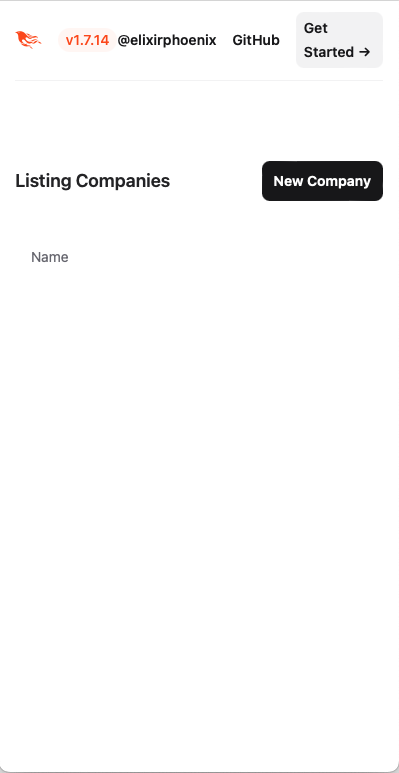
CRUD作成
とりあえずCRUD画面を作ります
データは動的に取ってくるので名前だけ保存します
mix phx.gen.live Companies Company companies name:string
router.exに上記のコマンドで出てきたルーティングを追加します
  scope "/", DashboardWeb do
    pipe_through :browser

    get "/", PageController, :home
+   live "/companies", CompanyLive.Index, :index
+   live "/companies/new", CompanyLive.Index, :new
+   live "/companies/:id/edit", CompanyLive.Index, :edit

+   live "/companies/:id", CompanyLive.Show, :show
+   live "/companies/:id/show/edit", CompanyLive.Show, :edit
  end
ElixirDesktopのアプリの場合、mix ecto.migrationで端末内等のSqliteファイルにマイグレーションを実行できないため、アプリ起動時にマイグレーションを実行するようになっています
アプリ起動時のマイグレーションを行えるように以下の処理を行います
priv/repo/migrationsフォルダをdashboard/にコピーします
マイグレーションファイルを[timestamp]_create_companies.exs から [timestamp]_create_companies.exに変更します
コピー後はもとのpriv/repo/migrations/[timestamp]_create_companies.exsファイルを削除します
migrationスクリプトがrepo.exにあるので以下のように追加する
  def migration() do
+    Ecto.Migrator.up(Dashboard.Repo, 1, Dashboard.Repo.Migrations.CreateCompanies)
  end
アプリ起動時に開くページを/companiesに変更します
    {:ok, _} =
      Supervisor.start_child(sup, {
        Desktop.Window,
        [
          app: @app,
          id: DashboardWindow,
          title: "dashboard",
          size: {400, 800},
-        url: "http://localhost:#{port}"
+        url: "http://localhost:#{port}/companies"
        ]
      })
アプリを起動するとcompaniesを初期ページに開いてくれます
Tremorx読み込み
tremorxを読み込みます
最初にpackage.jsonを以下のコマンドで作成します
cd assets
npm init -y
dependenciesにtremorxを追加します
{
  ...
- "license": "ISC"
+ "license": "ISC",
+ "dependencies": {
+   "tremorx": "file:../deps/tremorx"
+ }
}
追加したらインストールを実行します
npm i
app.jsからJS Hooks経由で呼び出せるように読み込みます。
+ import TremorHooks from "../../deps/tremorx/lib/hooks";

let csrfToken = document
  .querySelector("meta[name='csrf-token']")
  .getAttribute("content");
let liveSocket = new LiveSocket("/live", Socket, {
  longPollFallbackMs: 2500,
- params: { _csrf_token: csrfToken }
- params: { _csrf_token: csrfToken },
+ hooks: { ...TremorHooks },
});
最後に、tailwind.config.jsに追加して完了です
  content: [
    "./js/**/*.js",
    "../lib/dashboard_web.ex",
-   "../lib/dashboard_web/**/*.*ex"
+   "../lib/dashboard_web/**/*.*ex",
+   "../deps/tremorx/lib/components/**/*.ex",
+   "../deps/tremorx/lib/js/*.js",
  ],
テーマ情報を以下で差し替えます
theme: {
  extend: {
    colors: {
      tremor: {
        brand: {
          faint: "#eff6ff",
          muted: "#bfdbfe",
          subtle: "#60a5fa",
          DEFAULT: "#3b82f6",
          emphasis: "#1d4ed8",
          inverted: "#ffffff",
        },
        background: {
          muted: "#f9fafb",
          subtle: "#f3f4f6",
          DEFAULT: "#ffffff",
          emphasis: "#374151",
        },
        border: {
          DEFAULT: "#e5e7eb",
        },
        ring: {
          DEFAULT: "#e5e7eb",
        },
        content: {
          subtle: "#9ca3af",
          DEFAULT: "#6b7280",
          emphasis: "#374151",
          strong: "#111827",
          inverted: "#ffffff",
        },
      },
      "dark-tremor": {
        brand: {
          faint: "#0B1229",
          muted: "#172554",
          subtle: "#1e40af",
          DEFAULT: "#3b82f6",
          emphasis: "#60a5fa",
          inverted: "#030712",
        },
        background: {
          muted: "#131A2B",
          subtle: "#1f2937",
          DEFAULT: "#111827",
          emphasis: "#d1d5db",
        },
        border: {
          DEFAULT: "#374151",
        },
        ring: {
          DEFAULT: "#1f2937",
        },
        content: {
          subtle: "#4b5563",
          DEFAULT: "#6b7280",
          emphasis: "#e5e7eb",
          strong: "#f9fafb",
          inverted: "#000000",
        },
      },
    },
    boxShadow: {
      "tremor-input": "0 1px 2px 0 rgb(0 0 0 / 0.05)",
      "tremor-card":
        "0 1px 3px 0 rgb(0 0 0 / 0.1), 0 1px 2px -1px rgb(0 0 0 / 0.1)",
      "tremor-dropdown":
        "0 4px 6px -1px rgb(0 0 0 / 0.1), 0 2px 4px -2px rgb(0 0 0 / 0.1)",
      "dark-tremor-input": "0 1px 2px 0 rgb(0 0 0 / 0.05)",
      "dark-tremor-card":
        "0 1px 3px 0 rgb(0 0 0 / 0.1), 0 1px 2px -1px rgb(0 0 0 / 0.1)",
      "dark-tremor-dropdown":
        "0 4px 6px -1px rgb(0 0 0 / 0.1), 0 2px 4px -2px rgb(0 0 0 / 0.1)",
    },
    borderRadius: {
      "tremor-small": "0.375rem",
      "tremor-default": "0.5rem",
      "tremor-full": "9999px",
    },
    fontSize: {
      "tremor-label": ["0.75rem"],
      "tremor-default": ["0.875rem", { lineHeight: "1.25rem" }],
      "tremor-title": ["1.125rem", { lineHeight: "1.75rem" }],
      "tremor-metric": ["1.875rem", { lineHeight: "2.25rem" }],
    },
  },
}
画面の作成
最初にコンポーネントを読み込みます
card,col,badge,titleを使いたいので以下の3つをimportで読み込みます
Layout配下にcard,col、Badge配下にbadge、Text配下にtitleがあります
defmodule DashboardWeb.CompanyLive.Index do
  use DashboardWeb, :live_view

  alias Dashboard.Companies
  alias Dashboard.Companies.Company
+ import Tremorx.Components.Layout
+ import Tremorx.Components.Badge
+ import Tremorx.Components.Text
companiesを株価のリアルタイム更新ができないのでstreamから通常のassignに変えます
株価を入れる箱pricesをassignしておきます
  @impl true
  def mount(_params, _session, socket) do
    socket
    |> assign(:companies, Companies.list_companies())
    |> assign(:prices, [])
    |> then(&{:ok, &1})
  end
追加時のstreamもassignに変更します
  @impl true
  def handle_info({DashboardWeb.CompanyLive.FormComponent, {:saved, company}}, socket) do
-   {:noreply, stream_insert(socket, :companies, company)}
+   {:noreply, assign(socket, :companies, Companies.list_companies())}
  end
tableがあった箇所を以下のように書き換えます。
<.line_chart>に
dataでグラフに表示するデータで次のようなリストを渡します
[{"date" => 日付, 会社名 => 株価}]
colorsで色、categoriesでグラフで表示するマップのキーをリストで渡します。
x_axis_formatとy_axis_formatで各軸のフォーマットをしているのですが、ドキュメントがないので詳細は不明です
グラフ描画はD3.jsを使っているようなので以下のURLが参考になるかもしれません。
<div id="companeis" class="mt-4 flex flex-col">
  <%= for company <- @companies do %>
    <.link navigate={~p"/companies/#{company}"}>
      <.card class="p-1 h-full">
        <.title><%= company.name %></.title>
        <.line_chart
          data={@prices}
          id="line-chart-single-default"
          index="date"
          class="mx-auto overflow-hidden h-64"
          colors={["indigo"]}
          categories={[company.name]}
          x_axis_format="%d"
          y_axis_format="(,.0f"
        />
        <.col class="">
          <.link patch={~p"/companies/#{company}/edit"}>
            <.badge>Edit</.badge>
          </.link>
          <.link
            phx-click={JS.push("delete", value: %{id: company.id}) |> hide("##{company.id}")}
            data-confirm="Are you sure?"
          >
            <.badge class="bg-red-400 text-white">Delete</.badge>
          </.link>
        </.col>
      </.card>
    </.link>
  <% end %>
</div>
リアルタイム更新
リアルタイムにグラフを更新する処理を入れていきます。
indexを開いたときに Prosess.send_after()で1秒後に handle_info(:update,socket)が実行されるようにします。
  defp apply_action(socket, :index, _params) do
+   Process.send_after(self(), :update, 1_000)

    socket
    |> assign(:page_title, "Listing Companies")
    |> assign(:company, nil)
  end
更新処理handle_info(:update, socket)を実装します
一行目にProcess.send_after(self(), :update, 1_000)をいれて
1秒毎に実行してもらうようにします
新しい株価を会社事に 100 + 0-100の乱数で追加します。
次に数が増えすぎるとグラフが壊れてしまうので末尾から20件を取得して、dateの値を振り直してassignしています。
  def handle_info(:update, socket) do
    Process.send_after(self(), :update, 1_000)
    prices = socket.assigns.prices

    new_price =
      socket.assigns.companies
      |> Enum.reduce(
        %{"date" => Integer.to_string(Enum.count(prices) + 1)},
        fn company, acc ->
          Map.put(acc, company.name, 100 + :rand.uniform(100))
        end
      )

    new_prices =
      Enum.concat(prices, [new_price])
      |> Enum.reverse()
      |> Enum.take(20)
      |> Enum.reverse()
      |> Enum.with_index(fn price, i -> Map.put(price, "date", i + 1) end)

    {:noreply, assign(socket, :prices, new_prices)}
  end
動作確認
1秒毎にグラフが更新されるのを確認できました!
#最後に
Tremorxを使えばPhoenixで割と楽にグラフ描画ができるようになり、それをリアルタイムに更新する方法を紹介しました。
今回は乱数をグラフ描画しましたが、APIクライントで実際の値を使うことで実用的なアプリができるかもしれませんので是非試してみてください
本記事は以上になりますありがとうございました