はじめに
以前Spring+Doma+H2DBでWEBシステムを構築を行いましたが、テンプレートエンジンにThymeleafを使用してページを作ってみようと思います。
環境準備
以前のプロジェクトをそのまま使用します。
まずpom.xmlに以下を追加します。
pom.xml
<dependency>
	<groupId>org.springframework.boot</groupId>
	<artifactId>spring-boot-starter-thymeleaf</artifactId>
</dependency>
HTML、Controllerの作成
まずHTMLファイルを追加します。
今回はtest.htmlを追加します。
追加する場所はsrc/main/resources/templatesです。
test.html
<!DOCTYPE html>
<html xmlns:th="http://www.thymeleaf.org">
	<head>
		<meta charset="UTF-8">
		<title>Test</title>
	</head>
	<body>
		<table>
			<thead>
				<tr>
					<th>ID</th>
					<th>Name</th>
				</tr>
			</thead>
			<tbody>
				<tr th:each="entity : ${entities}" th:object="${entity}">
					<td th:text="*{id}">id</td>
					<td th:text="*{name}">name</td>
				</tr>
			</tbody>
		</table>
	</body>
</html>
最後にControllerにHTML表示用のメソッドを追加します。
以下のメソッドをTestController.javaに追加します。
TestController.java
@RequestMapping(value = "test_th", method = RequestMethod.GET)
public String getEntitiesHtml(Model model) {
	List<TestEntity> list = service.getAllEntities();
	model.addAttribute("entities", list);
	return "test";
}
クラスに付いていたアノテーションを@RestControllerから@Controllerに変更します。
TestController.java
//@RestController
@Controller
public class TestController {
	...
}
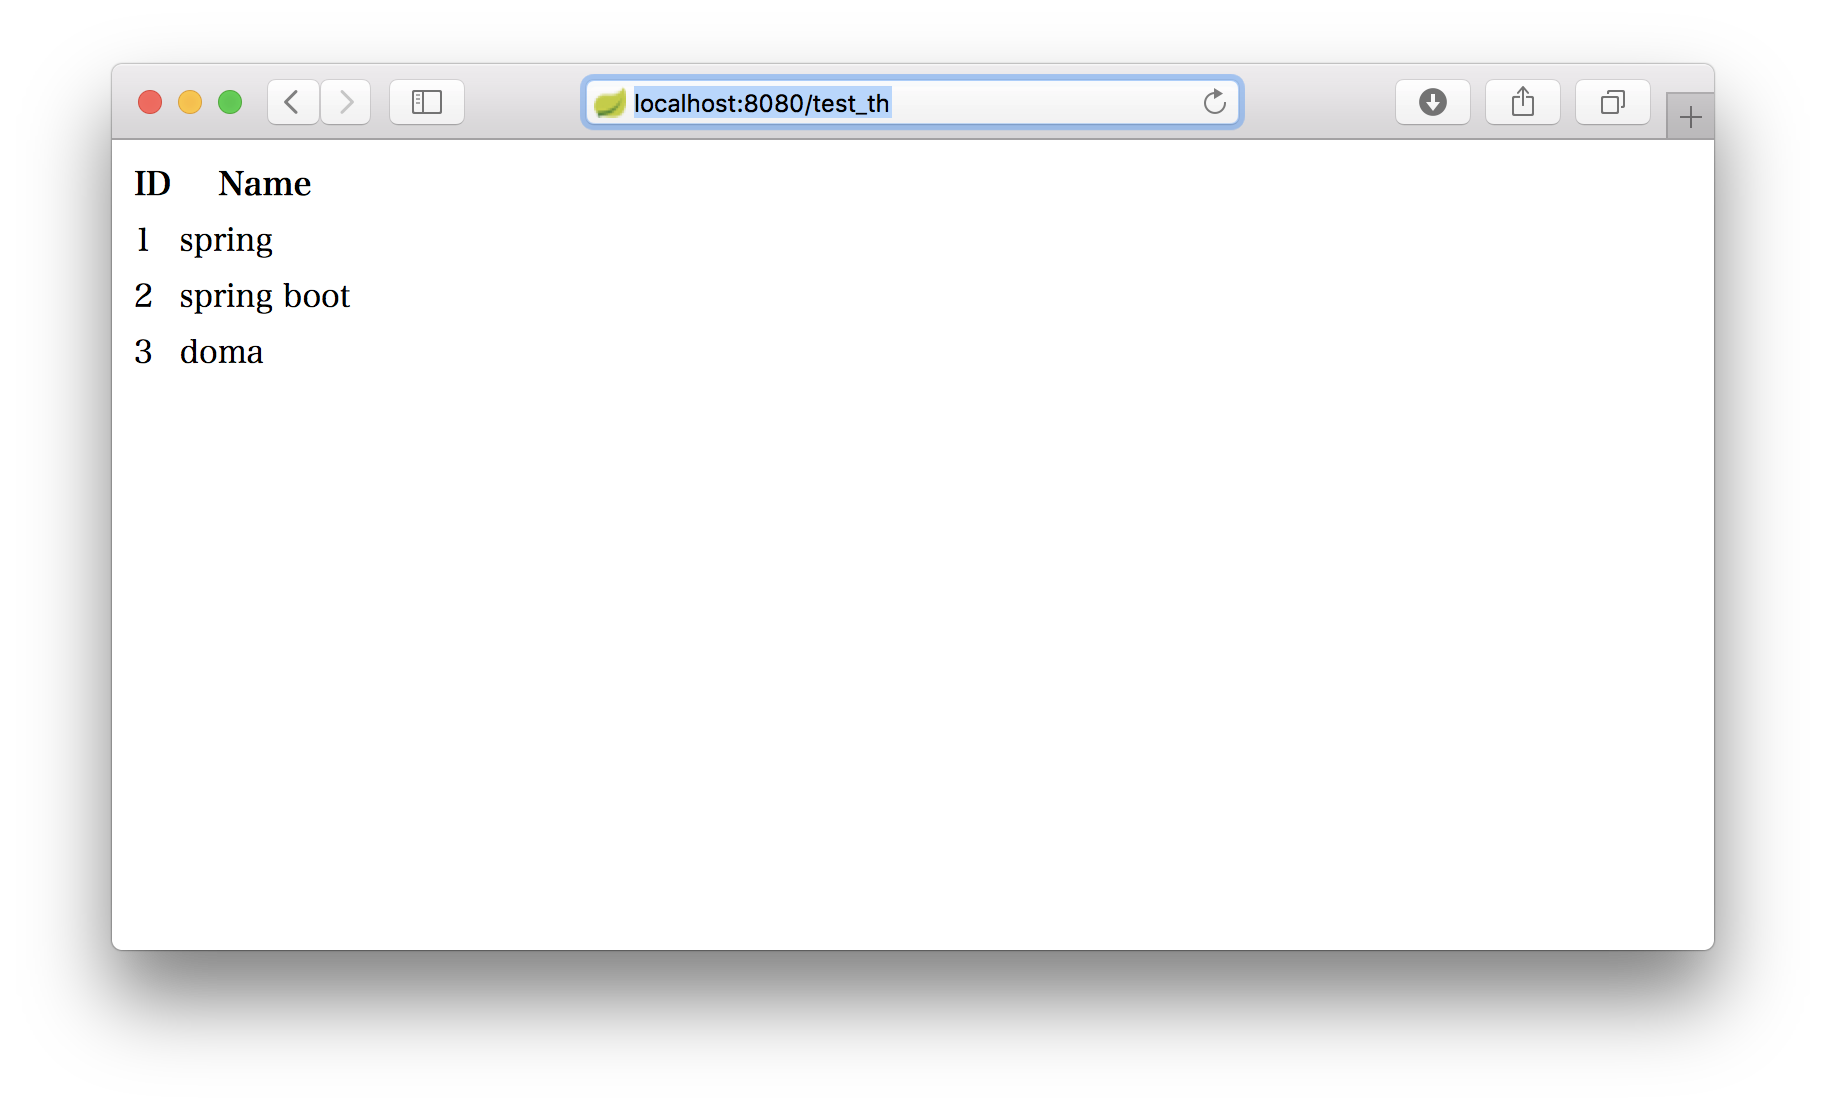
動かしてみる
http://localhost:8080/test_thにアクセスすると、無事データがテーブル形式で表示された。