先日 AWS SAM CLI v1.3.0 がリリースされ、マルチコンフィグがサポートされました。
このアップデートにより、これまで面倒だった複数コンフィグの使い分けがとても楽になったので紹介してみます。
まず AWS SAM CLI の簡単なおさらいをしてから、アップデート前後でどう変わったかを見ていきます。
AWS SAM と AWS SAM CLI
AWS SAM (Serverless Application Model) はサーバレスアプリケーション構築用のフレームワークです。
CloudFormation テンプレートを拡張する SAM 構文を使ってテンプレートを記述することで、簡単にアーキテクチャを定義できます。
例えば API Gateway と Lambda だけのシンプルなアプリケーションなら、たったこれだけの行数で書くことができます。
AWSTemplateFormatVersion: '2010-09-09'
Transform: AWS::Serverless-2016-10-31
Resources:
  SampleFunction:
    Type: AWS::Serverless::Function
    Properties:
      Handler: index.lambda_handler
      Runtime: python3.7
      InlineCode: |
        import json

        def lambda_handler(event, context):
            return {
                'statusCode': 200,
                'body': json.dumps('Hello world!')
            }
      Events:
        GetResource:
          Type: Api
          Properties:
            Path: /helloworld
            Method: get
AWS SAM CLI は SAM ベースのアプリケーションの構築をサポートする CLI ツールで、AWS へのデプロイやローカルでの実行、テストなどをすることができます。
それでは SAM CLI を使って上記のアプリケーションをデプロイしてみましょう。
テンプレートを template.yaml という名前で保存したら、このコマンドを実行します。
$ sam --version
SAM CLI, version 1.2.0
$ sam deploy --guided
いろいろ聞かれるので、答えていきましょう。
Stack Name [sam-app]: helloworld         # 任意のスタック名を入力
AWS Region [us-east-1]: us-west-2        # 任意のリージョンを入力
# Shows you resources changes to be deployed and require a 'Y' to initiate deploy
Confirm changes before deploy [y/N]: y
# SAM needs permission to be able to create roles to connect to the resources in your template
Allow SAM CLI IAM role creation [Y/n]:
SampleFunction may not have authorization defined, Is this okay? [y/N]: y
Save arguments to samconfig.toml [Y/n]:  # 設定をコンフィグファイルに保存するか

...

Deploy this changeset? [y/N]: y
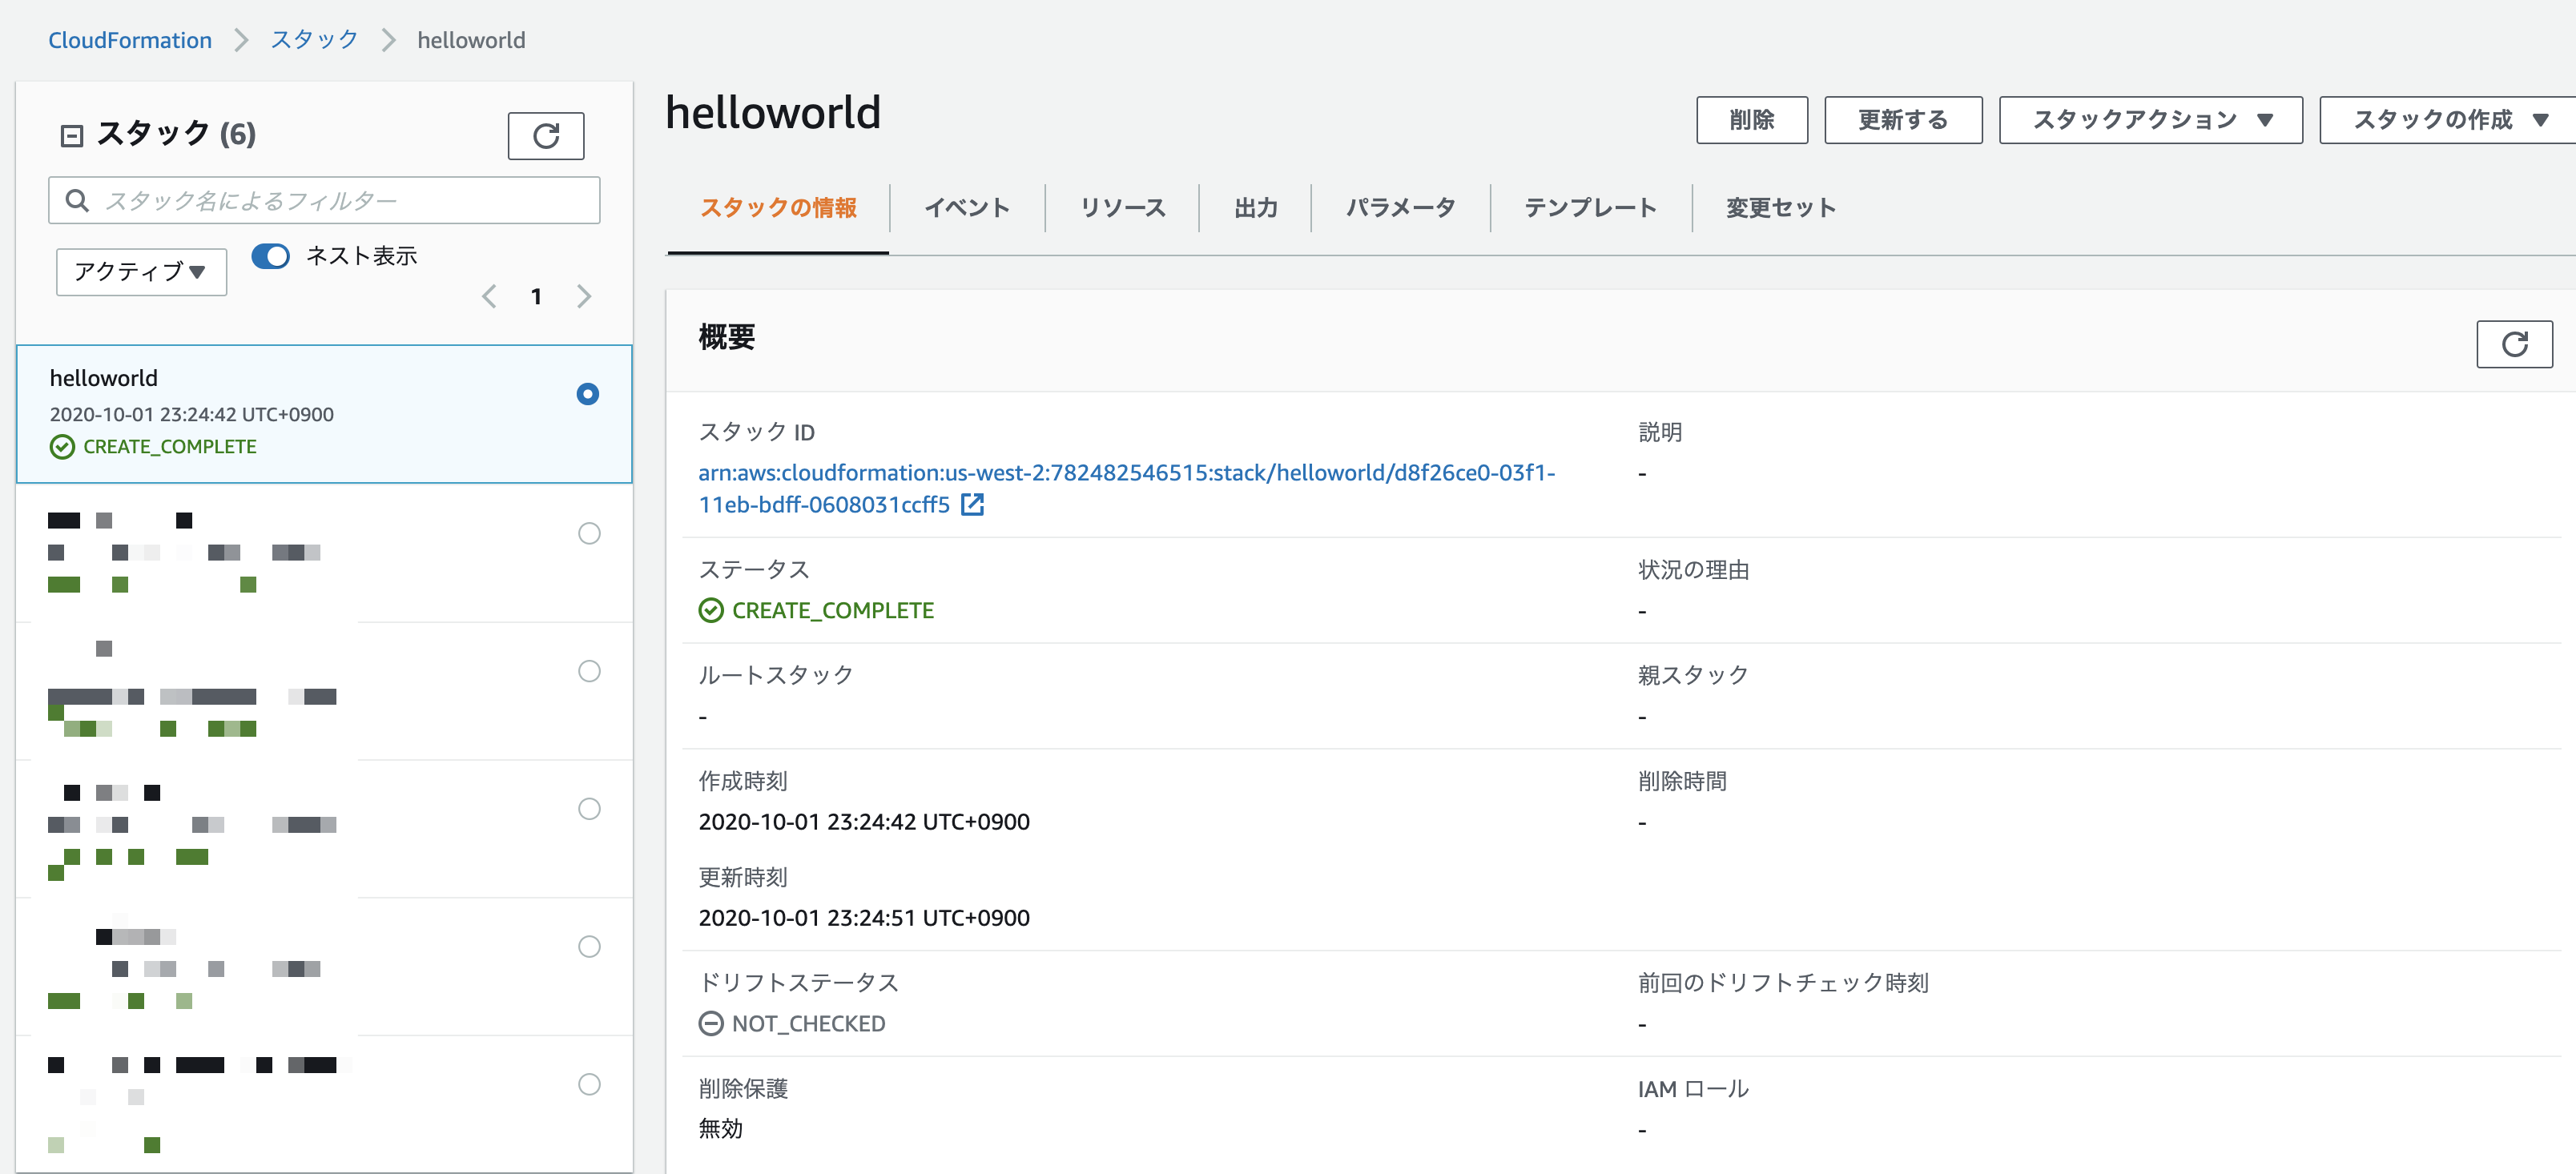
CloudFormation コンソールを開くと、スタックが作成されています。
作成した API を実行してみます。
以下のコマンドは、スタック名から API Gateway のリソース ID を調べてエンドポイント URL を組み立て、curl でリクエストしています。
$ aws cloudformation describe-stack-resources \
--stack-name helloworld \
--query 'StackResources[?ResourceType==`AWS::ApiGateway::RestApi`].PhysicalResourceId' \
--output text \
 | xargs -IX curl https://X.execute-api.us-west-2.amazonaws.com/Prod/helloworld
"Hello world!"
ちゃんと動いていますね!
このように、SAM CLI を使うとサクッとアプリケーションを作ることができます。
ここでタイトルに関係してくるのが、先ほど sam deploy --guided を実行した際、デプロイ時の設定をコンフィグファイル samconfig.toml に保存してくれることです。
このファイルがあることで次回からは sam deploy だけでデプロイできるようになりますが、後述のとおり、これまでは少し使いづらい点がありました。
version = 0.1
[default]
[default.deploy]
[default.deploy.parameters]
stack_name = "helloworld"
s3_bucket = "aws-sam-cli-managed-default-samclisourcebucket-xxxxxxxxxxxxx"
s3_prefix = "helloworld"
region = "us-west-2"
confirm_changeset = true
capabilities = "CAPABILITY_IAM"
次に進む前に、デプロイしたリソースを消しておきます。
$ aws cloudformation delete-stack --stack-name helloworld
(出力なし)
--config-env オプションが実装される前
ここから本題です。
SAM CLI を使うと samconfig.toml に設定を保存できますが、同じテンプレートでパラメータだけ変えて複数デプロイし、それぞれのコンフィグを保持しておく、ということを簡単に実現する方法がありませんでした。
これは、テンプレートファイルと同じ場所で samconfig.toml を探すことと、samconfig.toml にひとつの設定しか保存できないこと、samconfig.toml 以外の名前で保存できないことが原因でした。
そこで私は以下のようにディレクトリを分けることで複数のコンフィグ(ここでは例として開発用 dev と本番用 prod とします)を使い分けていました。
まず、共通の template.yaml と、環境別のディレクトリを用意しておきます。
app
├── dev
│   └── (empty)
├── prod
│   └── (empty)
└── template.yaml
デプロイ時は、template.yaml を各環境のディレクトリにコピーして sam deploy します。
# dev デプロイ時
$ cp template.yaml app/dev
$ cd app/dev
$ sam deploy --guided

# prod デプロイ時
$ cp template.yaml app/prod
$ cd app/prod
$ sam deploy --guided
これにより各ディレクトリに samconfig.toml が作成されるので複数のコンフィグを使い分けられます。
ですが、もともとがシンプルだっただけに、少し複雑になったことですごく面倒に感じていました。
app
├── dev
│   └── samconfig.toml
├── prod
│   └── samconfig.toml
└── template.yaml
--config-env オプションを使うと
前述の複数コンフィグの使い分けがとても簡単になります。
まずは SAM CLI を v1.3.0 にしておきます(以下は brew の例)。
$ brew upgrade aws-sam-cli
$ sam --version
1.3.0
テンプレートファイルを用意します。
app
└── template.yaml
複数コンフィグを切り替えていることを確認できるように、先ほどとは少しだけ中身を変えておきます(EnvType の部分)。
AWSTemplateFormatVersion: '2010-09-09'
Transform: AWS::Serverless-2016-10-31
Parameters:
  EnvType:
    Type: String
Resources:
  SampleFunction:
    Type: AWS::Serverless::Function
    Properties:
      Handler: index.lambda_handler
      Runtime: python3.7
      InlineCode: |
        import os
        import json

        def lambda_handler(event, context):
            return {
                'statusCode': 200,
                'body': json.dumps(os.environ.get('ENV_TYPE'))
            }
      Events:
        GetResource:
          Type: Api
          Properties:
            Path: /envtype
            Method: get
      Environment:
        Variables:
          ENV_TYPE: !Ref EnvType
--config-env オプションを指定してデプロイします。
# dev デプロイ時
$ sam deploy --guided --config-env dev
先ほどと同じように質問されますが、最後の質問でコンフィグの環境名を指定できるように変わっています(オプションで指定した dev がデフォルト値になっている)。
Stack Name [sam-app]: sample-dev
...
Parameter EnvType []: dev                  # EnvType パラメータに env 名を入力しておきます

...(アップデート前と同じ質問)

SAM configuration file [samconfig.toml]:   # コンフィグの保存名
SAM configuration environment [dev]:       # コンフィグの環境名 ← こっちが重要
スタックを作成して保存された samconfig.toml を見てみると、先ほどは [default] だった部分が [dev] になっています。
version = 0.1
[dev]
[dev.deploy]
[dev.deploy.parameters]
stack_name = "sample-dev"
s3_bucket = "aws-sam-cli-managed-default-samclisourcebucket-xxxxxxxxxxxxx"
s3_prefix = "sample-dev"
region = "us-west-2"
confirm_changeset = true
capabilities = "CAPABILITY_IAM"
parameter_overrides = "EnvType=\"dev\""
続けて prod をデプロイします。
# prod デプロイ時
$ sam deploy --guided --config-env prod
Stack Name [sam-app]: sample-prod
...
Parameter EnvType []: prod                 # 今度は prod を入力しておきます

...(アップデート前と同じ質問)

SAM configuration file [samconfig.toml]:
SAM configuration environment [prod]:
コンフィグに [prod] セクションが追記されました。
version = 0.1
[dev]
[dev.deploy]
[dev.deploy.parameters]
stack_name = "sample-dev"
s3_bucket = "aws-sam-cli-managed-default-samclisourcebucket-xxxxxxxxxxxxx"
s3_prefix = "sample-dev"
region = "us-west-2"
confirm_changeset = true
capabilities = "CAPABILITY_IAM"
parameter_overrides = "EnvType=\"dev\""

[prod]
[prod.deploy]
[prod.deploy.parameters]
stack_name = "sample-prod"
s3_bucket = "aws-sam-cli-managed-default-samclisourcebucket-xxxxxxxxxxxxx"
s3_prefix = "sample-prod"
region = "us-west-2"
confirm_changeset = true
capabilities = "CAPABILITY_IAM"
parameter_overrides = "EnvType=\"prod\""
動作確認してみます。
$ aws cloudformation describe-stack-resources \
--stack-name sample-dev \
--query 'StackResources[?ResourceType==`AWS::ApiGateway::RestApi`].PhysicalResourceId' \
--output text \
 | xargs -IX curl https://X.execute-api.us-west-2.amazonaws.com/Prod/envtype
"dev"

$ aws cloudformation describe-stack-resources \
--stack-name sample-prod \
--query 'StackResources[?ResourceType==`AWS::ApiGateway::RestApi`].PhysicalResourceId' \
--output text \
 | xargs -IX curl https://X.execute-api.us-west-2.amazonaws.com/Prod/envtype
"prod"
dev と prod がどちらもデプロイされていること、スタックパラメータで指定された EnvType が正常に反映されていることが確認できました。
最後に、スタックは削除しておきましょう。
$ aws cloudformation delete-stack --stack-name sample-dev
$ aws cloudformation delete-stack --stack-name sample-prod
参考
- AWS Serverless Application Model (SAM) コマンドラインインターフェイス。サーバレスアプリケーションをローカルで構築、テスト、デバッグする: https://aws.amazon.com/jp/blogs/news/aws-serverless-application-model-sam-command-line-interface-build-test-and-debug-serverless-apps-locally/
- AWS SAM CLI: https://github.com/aws/aws-sam-cli
- Release 1.3.0: https://github.com/aws/aws-sam-cli/releases/tag/v1.3.0
- --config-env の Proposal: https://github.com/aws/aws-sam-cli/issues/1615