研究でShapeNetのオブジェクトをNeRFで学習させる機会があったのですが,あまり結果が出なかったのでここで成仏させます.
Github: https://github.com/tf63/ngp_tutorial
概要
- ShapeNetのデータのレンダリングし,Instant NGPの学習を行う.
- ShapeNetだけでなく一般に
.objファイルに対応. - 数十秒で学習可能
base repository
-
npg_pl: instant-ngpのPyTorch実装,実装がとてもわかりやすい
環境構築
ライブラリ
以下にインストールするライブラリを示します.
-
PyTorch: pythonの機械学習用ライブラリ
-
torch-scatter: PyTorchのためのグラフ・ネットワーク処理ライブラリ
-
tiny-cuda-nn: C++で書かれたNVIDIA製の機械学習用ライブラリ
-
apex: 学習の高速化のためのライブラリ https://github.com/NVIDIA/apex
-
vren: レンダリング用ライブラリ
-
blender: レンダリング用のソフトウェア
データセット
データセットとしてShapeNetを使います.
-
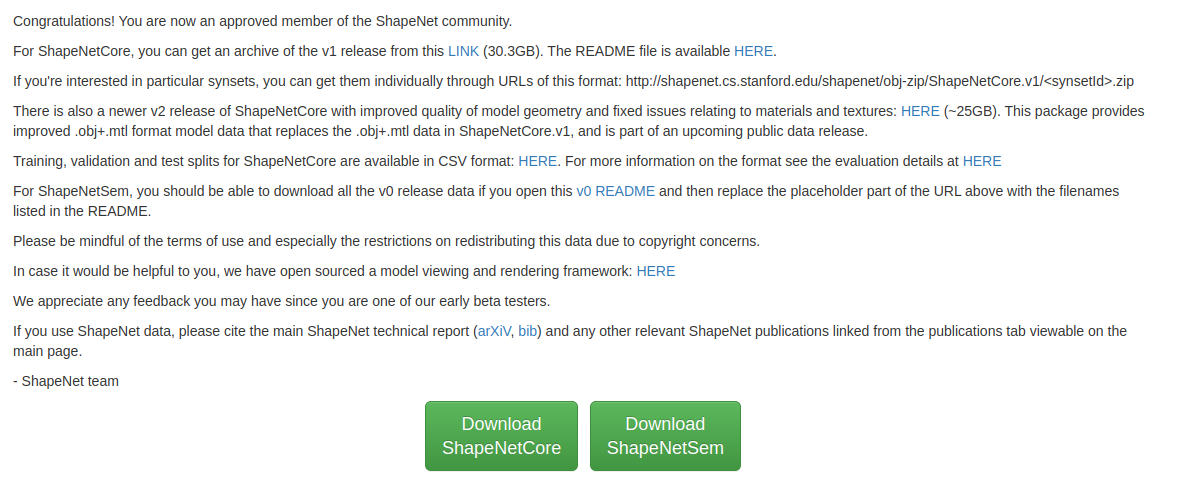
https://shapenet.org/ (アカウントの登録が必要)
-
そのままだとShapeNet v1しか対応していません
-
ちょっと改良すればShapeNet v2にも対応できます
動作環境
-
OS: Ubuntu20.04
-
GPU: GeForce RTX 3060Ti (8GB), NVIDIA RTX A5000 (24GB)
- GRAM 6GBくらいは必要
仮想環境の作成
- venvでpython環境作成
  python -m venv venv
  source venv/bin/activate
PyTorchのインストール
-
CUDA11.1, PyTorch 1.9.0をインストールします.
-
バージョンを変えたい場合は https://download.pytorch.org/whl/torch_stable.html で探してください.
  pip install --no-cache-dir -U pip setuptools wheel
  pip install --no-cache-dir -r requirements.txt
  pip install --no-cache-dir torch==1.9.0+cu111 torchvision==0.10.0+cu111 -f https://download.pytorch.org/whl/torch_stable.html
torch_scatterのインストール
- CUDA, PyTorchのバージョンにあったものを https://data.pyg.org/whl/ で探して-fで指定.
pip install torch-scatter -f https://data.pyg.org/whl/torch-1.9.0+cu111.html
CMake
-
他のライブラリをインストールするために導入する必要がある.
-
aptでインストールできるものよりも高いバージョンでないといけない.
-
githubからダウンロードしてビルドする https://github.com/Kitware/CMake/releases/
    sudo apt install build-essential checkinstall zlib1g-dev libssl-dev -y
    wget https://github.com/Kitware/CMake/releases/download/v3.23.3/cmake-3.23.3.tar.gz
    cd cmake-3.23.3
    sudo ./bootstrap
    sudo make
    sudo make install
    hash -r
    cmake --version
tiny-cuda-nnのインストール
-
NVIDIA製の機械学習用ライブラリ https://github.com/nvlabs/tiny-cuda-nn
-
Instant NGPのMultiresolution Hash Encodingもこれに入っているはず. (多分)
-
これをPyTorchから呼び出すことで高速に処理が可能.
-
-
公式のインストール方法とは異なります.
-
結構warningが出るが無視しても大丈夫.インストールにかなり時間がかかります.
    git clone --recursive https://github.com/nvlabs/tiny-cuda-nn
    cd tiny-cuda-nn

    mkdir build && cd build
    cmake ..
    make

    cd ../
    pip install git+https://github.com/NVlabs/tiny-cuda-nn/#subdirectory=bindings/torch

    cd bindings/torch
    python setup.py install
- 環境変数の設定
- https://github.com/NVlabs/instant-ngp#compilation から自分のGPUの値を確認
(例)
- NVIDIA RTX 2070: 75
- NVIDIA RTX 3060 Ti: 86
- NVIDIA A100: 80
- NVIDIA V100: 70
export TCNN_CUDA_ARCHITECTURES=86
apexのインストール
- 学習の高速化のためのライブラリ https://github.com/NVIDIA/apex#linux
- インストールに非常に長い時間がかかります.
    git clone https://github.com/NVIDIA/apex
    cd apex
    pip install -v --disable-pip-version-check --no-cache-dir --global-option="--cpp_ext" --global-option="--cuda_ext" ./
vren
- レンダリング用ライブラリ
pip install git+https://github.com/kwea123/ngp_pl/#subdirectory=models/csrc
blender
- https://github.com/nv-tlabs/GET3D/tree/master/render_shapenet_data を参考にインストール
- バージョンはv2.90.0でないとダメ
- インストール後,
benchmarking/render.shを実行する際にblenderのパスを指定する
実行
ShapeNetのレンダリング
-
GET3Dからレンダリングスクリプト(
render_shapenet_data/)をダウンロードする. -
次のコマンドを実行します.
-
benchmarking/render.shのオプションは以下の通りです.うまく変更してください.-
--save_folder: レンダリング画像の保存先 -
--dataset_folder: ダウンロードしたShapeNetへのパス -
--blender_root: blenderへのパス
-
bash benchmarking/render.sh
- レンダリングしたいオブジェクトを変更したい場合は
render_shapenet_data/render_all.pyを修正してください. - カメラの位置など,詳細な変更を加えたい場合は
render_shapenet_data/render_shapenet.pyを修正してください.
NeRF用データセットの準備
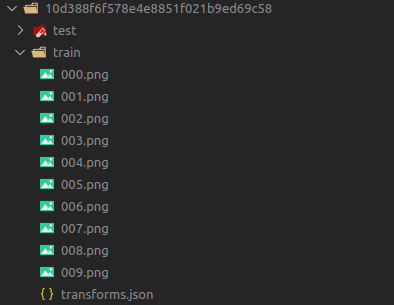
- train, test, val用のデータセットを作成します.
- 現時点では
benchmarking/render.shを実行するとランダムなviewがレンダリングされます - 面倒ですが,1つのオブジェクトに対して3回レンダリングし,それぞれをtrain, test, valディレクトリに入れ直してください.
- 実際には
render_shapenet_data/render_shapenet.pyを編集して使っています. - しかし,ライセンスの関係で改変して公開できていません.
NeRFの学習
- 次のコマンドを実行します.
-
benchmarking/benchmark_blender.shのオプションの一部を以下に示します.詳細はopt.pyを見てください.-
--exp_name: 実行の名前 -
--dataset_name: データセットの種類 -
--num_epochs: エポック数 -
--batch_size: バッチサイズ
-
bash benchmarking/benchmark_blender.sh
- 実行するとエラーが出ますが,面倒なので無理やり対処します
    File "ngp_tutorial/venv/lib/python3.8/site-packages/apex/transformer/tensor_parallel/mappings.py", line29, in <module> torch.distributed.reduce_scatter_tensor = torch.distributed._reduce_scatter_base

    AttributeError: module 'torch.distributed' has no attribute '_reduce_scatter_base'
- おそらくPyTorchのバージョンの問題です.
venv/lib/python3.8/site-packages/apex/transformer/tensor_parallel/mappings.pyを開いて修正します.
(修正前)
if "reduce_scatter_tensor" not in dir(torch.distributed):
    torch.distributed.reduce_scatter_tensor = torch.distributed._reduce_scatter_base
(修正後)
if "reduce_scatter_tensor" not in dir(torch.distributed):
    torch.distributed.reduce_scatter_tensor = torch.distributed.reduce_scatter
実行結果
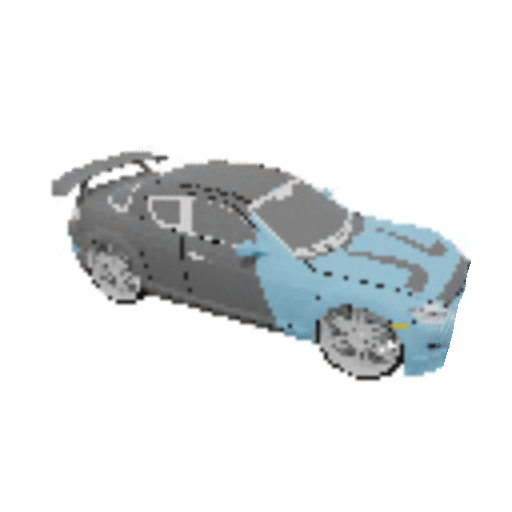
- train 24枚 (128x128),10エポック学習.
-
results/<exp_name>/に結果が保存されます.
- train 50枚,15エポック学習くらいで十分高品質なものができると思います.
- ここで保存される画像は,testデータセットの各画像と対応しています.
- ぐるぐる回転させるgifを作りたい場合は,testデータセットの画像を回転させながらレンダリングしてください.
NeRFのネットワークの拡張
-
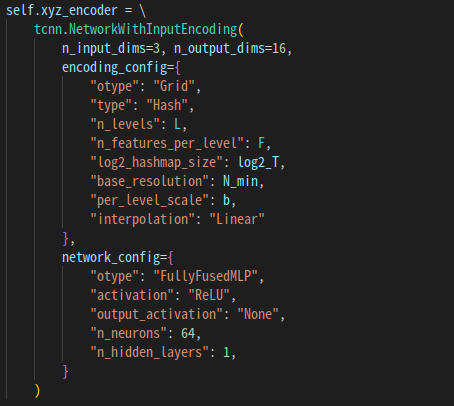
models/networks.pyでネットワークのアーキテクチャを変更できます
参考
最近はこんなのもあるそうです.
他のデータセットで学習したい場合の参考


