やったこと
公式手順などを参考に、AWS上にOpenShift4.1のクラスタを構築しました。
-
Install on AWS: Installer-Provisioned Infrastructure
- 公式のたぶんスタート地点。
-
Configuring an AWS account
- OpenShift構築前にAWSアカウントでやっておくことの手順。
-
Installing a cluster quickly on AWS
- AWSアカウントの設定を終えて、実際にOpenShiftクラスタを構築していく手順。
前提
- AWSのアカウントを持っている
- RedHatのアカウントを持っている
環境
- クライアント:Windows10Pro上のWSL1のUbuntu
- 公式の前提条件にLinuxまたはmacOSと記載されていたので
構築する
準備
Route53のドメインを取得する
取得したことなかったので、こちらを参考にさせてもらって.comをとりあえず取得。
以下xxx.comとする。
OpenShift用のIAMユーザを作成する
名前はなんでもよい。
ポリシーはAdministratorAccessをアタッチしておく。
アクセスキーは用意しておく。
AWS CLIのインストール
AWS公式を見てaptで導入しました。
AWS CLIの設定
作成したOpenShift用のIAMユーザのアクセスキーなどを設定する。
$ aws configure
AWS Access Key ID [****************7VGL]:
AWS Secret Access Key [****************Gxfq]:
Default region name [ap-northeast-1]:
Default output format [json]:
OpenShift CLIの導入
wget https://mirror.openshift.com/pub/openshift-v4/clients/ocp/latest/openshift-client-linux-4.1.0.tar.gz
tar zxvf openshift-client-linux-4.1.0.tar.gz
sudo cp oc /usr/local/bin/
OpenShift Installerを取得
wget https://mirror.openshift.com/pub/openshift-v4/clients/ocp/latest/openshift-install-linux-4.1.0.tar.gz
tar zxvf openshift-install-linux-4.1.0.tar.gz
Secretのダウンロード
こちらを参考にさせて頂きました。
実際の構築
以下、解凍したインストーラのあるディレクトリで実行する。
install-config.yamlを作成する。
↓のコマンドを実行すると構成情報をいろいろ要求されるので、提供すると勝手に作成される。
installation_directoryは、適当なディレクトリを作っておく。
./openshift-install create install-config --dir=<installation_directory>
Platform、Region、Base Domainは、上下で選択する形式。AWSを選択すれば、後は恐らくAWS CLIの現在の設定を参照して指定できる候補を表示してくれるようなので、あまり悩まなくて済む。
Cluster Nameはクラスタ名を決めてやる。
Pull Secretで、ダウンロードしておいたpull-secret.txt中身をコピペする。
特に「設定終わったよ」的なメッセージは出ないが、終わっていた。
クラスタ作成
create clusterコマンドを実行したら、後は待つだけ。
$ ./openshift-install create cluster --dir=./config
INFO Consuming "Install Config" from target directory
INFO Creating infrastructure resources...
INFO Waiting up to 30m0s for the Kubernetes API at https://api.machida-oc-cluster.xxx.com:6443...
INFO API v1.13.4+838b4fa up
INFO Waiting up to 30m0s for bootstrapping to complete...
INFO Destroying the bootstrap resources...
INFO Waiting up to 30m0s for the cluster at https://api.machida-oc-cluster.xxx.com:6443 to initialize...
INFO Waiting up to 10m0s for the openshift-console route to be created...
INFO Install complete!
INFO To access the cluster as the system:admin user when using 'oc', run 'export KUBECONFIG=/mnt/c/dev/openshiftaws/installer/config/auth/kubeconfig'
INFO Access the OpenShift web-console here: https://console-openshift-console.apps.machida-oc-cluster.xxx.com
INFO Login to the console with user: kubeadmin, password: xxxxx-xxxxx-xxxxx-xxxxx
$
おおむね、30分ちょっとで完了しました。
アクセスしてみる
ブラウザから
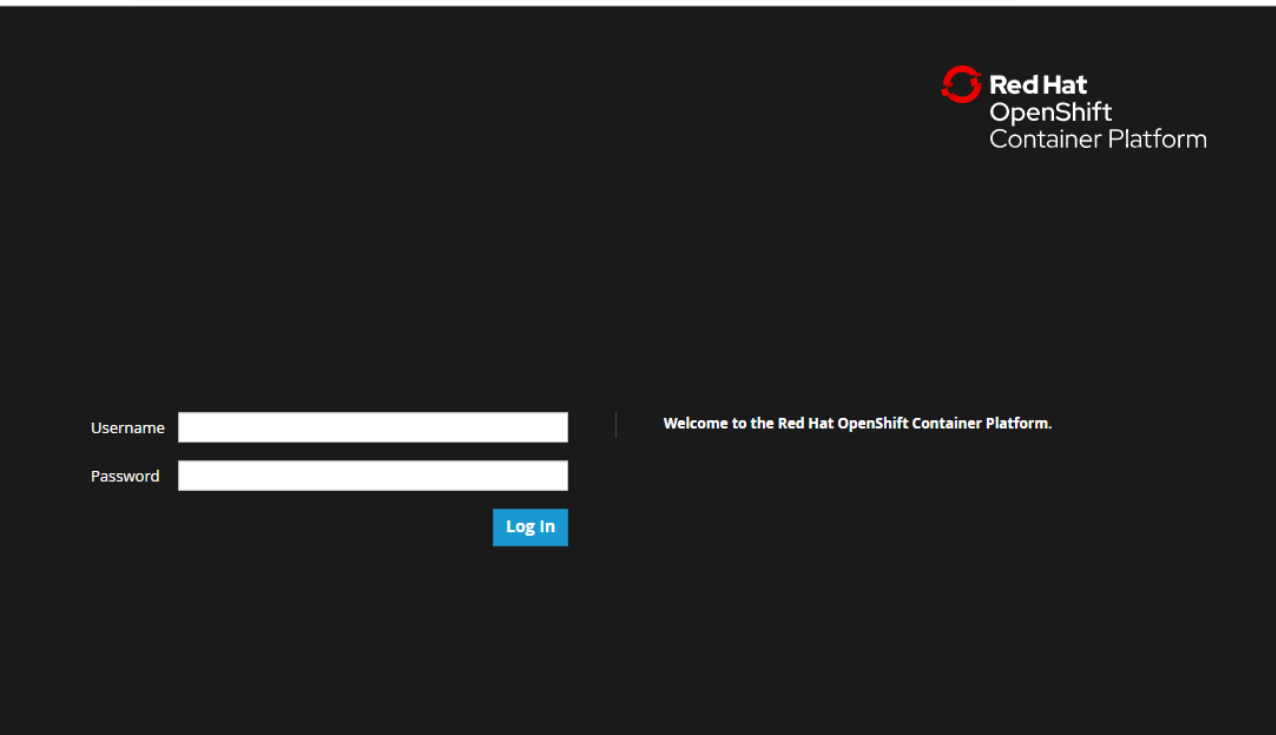
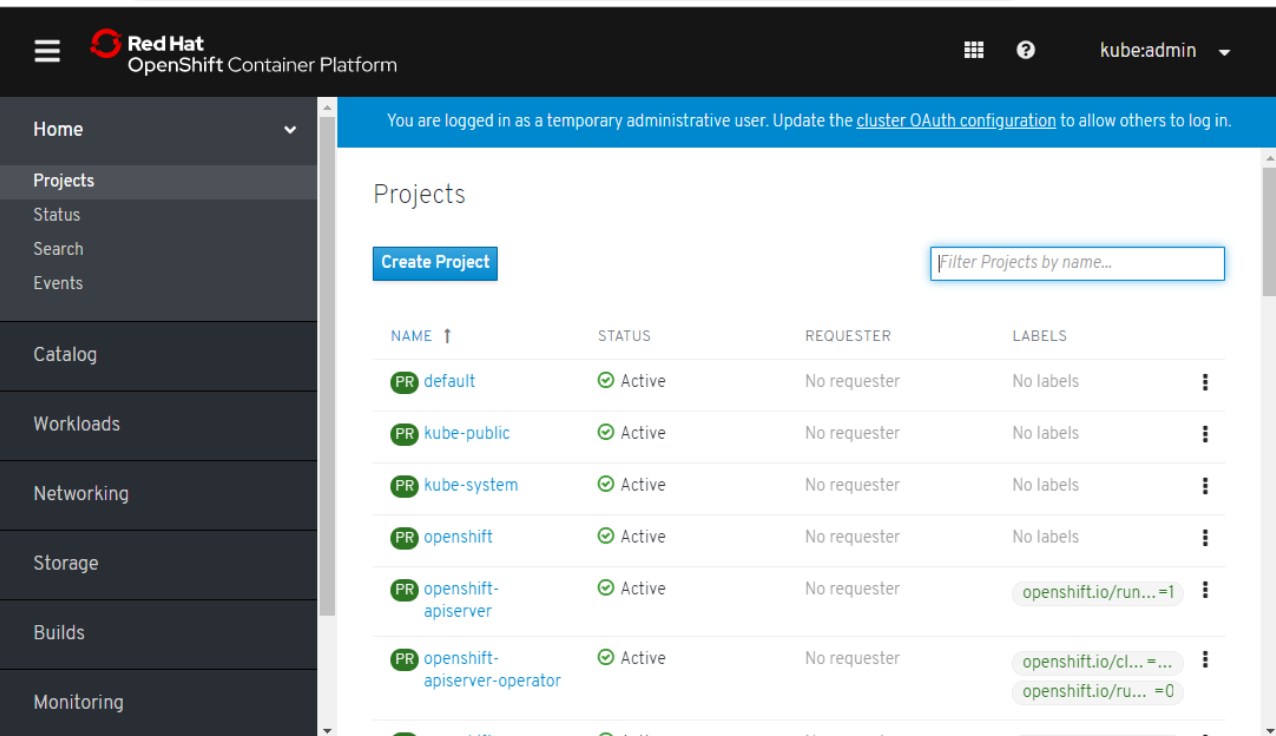
create clusterコマンドの最後に表示されたURLにブラウザからアクセスする。

CLIから
クラスタ作成後にkubeconfigが作成されているので、exportすればocコマンドでクラスタを操作できる。
$ export KUBECONFIG=<インストールディレクトリ>/auth/kubeconfig
自動で作られたものをいくつか確認してみる
ec2
masterノード3台、workerノード3台のようです。
これらを構築するための一時的なインスタンスとしてbootstrapというインスタンスもいましたが、クラスタ構築後しばらく経って自動的に消えました。

node
$ oc get node -o wide
NAME                                              STATUS   ROLES    AGE    VERSION             INTERNAL-IP    EXTERNAL-IP   OS-IMAGE                                                   KERNEL-VERSION               CONTAINER-RUNTIME
ip-10-0-129-152.ap-northeast-1.compute.internal   Ready    master   166m   v1.13.4+cb455d664   10.0.129.152   <none>        Red Hat Enterprise Linux CoreOS 410.8.20190520.0 (Ootpa)   4.18.0-80.1.2.el8_0.x86_64   cri-o://1.13.9-1.rhaos4.1.gitd70609a.el8
ip-10-0-142-245.ap-northeast-1.compute.internal   Ready    worker   158m   v1.13.4+cb455d664   10.0.142.245   <none>        Red Hat Enterprise Linux CoreOS 410.8.20190520.0 (Ootpa)   4.18.0-80.1.2.el8_0.x86_64   cri-o://1.13.9-1.rhaos4.1.gitd70609a.el8
ip-10-0-156-139.ap-northeast-1.compute.internal   Ready    worker   158m   v1.13.4+cb455d664   10.0.156.139   <none>        Red Hat Enterprise Linux CoreOS 410.8.20190520.0 (Ootpa)   4.18.0-80.1.2.el8_0.x86_64   cri-o://1.13.9-1.rhaos4.1.gitd70609a.el8
ip-10-0-159-45.ap-northeast-1.compute.internal    Ready    master   166m   v1.13.4+cb455d664   10.0.159.45    <none>        Red Hat Enterprise Linux CoreOS 410.8.20190520.0 (Ootpa)   4.18.0-80.1.2.el8_0.x86_64   cri-o://1.13.9-1.rhaos4.1.gitd70609a.el8
ip-10-0-174-174.ap-northeast-1.compute.internal   Ready    master   166m   v1.13.4+cb455d664   10.0.174.174   <none>        Red Hat Enterprise Linux CoreOS 410.8.20190520.0 (Ootpa)   4.18.0-80.1.2.el8_0.x86_64   cri-o://1.13.9-1.rhaos4.1.gitd70609a.el8
ip-10-0-175-103.ap-northeast-1.compute.internal   Ready    worker   158m   v1.13.4+cb455d664   10.0.175.103   <none>        Red Hat Enterprise Linux CoreOS 410.8.20190520.0 (Ootpa)   4.18.0-80.1.2.el8_0.x86_64   cri-o://1.13.9-1.rhaos4.1.gitd70609a.el8
ちょっと長いですが、端の方まで見るとOSはCoreOS、コンテナランタイムはcri-oっぽいです。
project(k8sでいうnamespace)
$ oc get ns
NAME                                                    STATUS   AGE
default                                                 Active   159m
kube-public                                             Active   159m
kube-system                                             Active   159m
openshift                                               Active   153m
openshift-apiserver                                     Active   154m
openshift-apiserver-operator                            Active   158m
openshift-authentication                                Active   158m
openshift-authentication-operator                       Active   158m
openshift-cloud-credential-operator                     Active   158m
openshift-cluster-machine-approver                      Active   158m
openshift-cluster-node-tuning-operator                  Active   158m
openshift-cluster-samples-operator                      Active   158m
openshift-cluster-storage-operator                      Active   158m
openshift-cluster-version                               Active   159m
openshift-config                                        Active   159m
openshift-config-managed                                Active   159m
openshift-console                                       Active   150m
openshift-console-operator                              Active   150m
openshift-controller-manager                            Active   158m
openshift-controller-manager-operator                   Active   158m
openshift-dns                                           Active   157m
openshift-dns-operator                                  Active   158m
openshift-etcd                                          Active   159m
openshift-image-registry                                Active   158m
openshift-infra                                         Active   159m
openshift-ingress                                       Active   152m
openshift-ingress-operator                              Active   158m
openshift-kube-apiserver                                Active   159m
openshift-kube-apiserver-operator                       Active   159m
openshift-kube-controller-manager                       Active   159m
openshift-kube-controller-manager-operator              Active   159m
openshift-kube-scheduler                                Active   159m
openshift-kube-scheduler-operator                       Active   158m
openshift-machine-api                                   Active   158m
openshift-machine-config-operator                       Active   159m
openshift-marketplace                                   Active   158m
openshift-monitoring                                    Active   158m
openshift-multus                                        Active   158m
openshift-network-operator                              Active   158m
openshift-node                                          Active   153m
openshift-operator-lifecycle-manager                    Active   158m
openshift-operators                                     Active   158m
openshift-sdn                                           Active   157m
openshift-service-ca                                    Active   156m
openshift-service-ca-operator                           Active   158m
openshift-service-catalog-apiserver-operator            Active   158m
openshift-service-catalog-controller-manager-operator   Active   158m
いっぱい作られてる。
openshift-monitoring
$ oc get pod -n openshift-monitoring
NAME                                           READY   STATUS    RESTARTS   AGE
alertmanager-main-0                            3/3     Running   0          3h24m
alertmanager-main-1                            3/3     Running   0          3h24m
alertmanager-main-2                            3/3     Running   0          3h23m
cluster-monitoring-operator-6b875c9f45-kwftv   1/1     Running   0          3h30m
grafana-7cbddfd4f6-bpdx7                       2/2     Running   0          3h25m
kube-state-metrics-76dbd866ff-xpj9p            3/3     Running   0          3h30m
node-exporter-62z2v                            2/2     Running   0          3h30m
node-exporter-b5vmr                            2/2     Running   0          3h30m
node-exporter-gfftq                            2/2     Running   0          3h27m
node-exporter-k52pr                            2/2     Running   0          3h27m
node-exporter-ldgtc                            2/2     Running   0          3h30m
node-exporter-nzrz5                            2/2     Running   0          3h27m
prometheus-adapter-65d479d44f-b62m9            1/1     Running   0          3h24m
prometheus-adapter-65d479d44f-hl9wt            1/1     Running   0          3h24m
prometheus-k8s-0                               6/6     Running   1          3h24m
prometheus-k8s-1                               6/6     Running   1          3h24m
prometheus-operator-7bfd67bf6c-xqk6n           1/1     Running   0          3h24m
telemeter-client-6cc78889f8-5dzbv              3/3     Running   0          3h30m
grafanaやprometheusがデフォルトで上がるようです。
ほか
そもそもAWS側の作業はVPCやサブネット、ELBの作成やEIPの取得などほぼ全て自動でやってくれてます。
etcd含めてコンポーネントたちは、kubeadmなどと同様にpodとして上がってるようです。
感想
すごすぎる。
