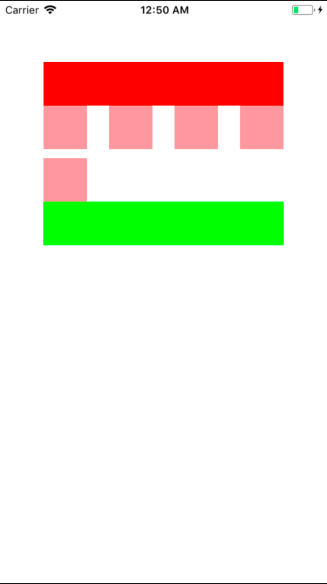
UICollectionView作成時に、ヘッダとフッタがなかなか表示されなかったので、改めてサンプルを作成し手順を整理しました。
手順1: StoryBoard上でUICollectionViewとヘッダ、フッタの追加
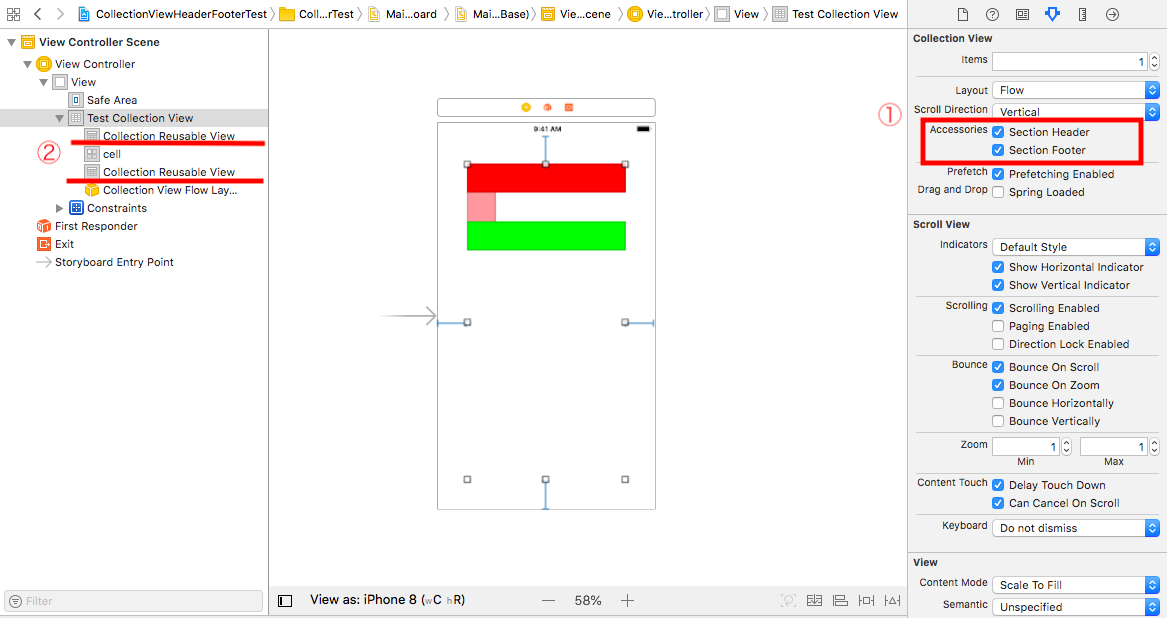
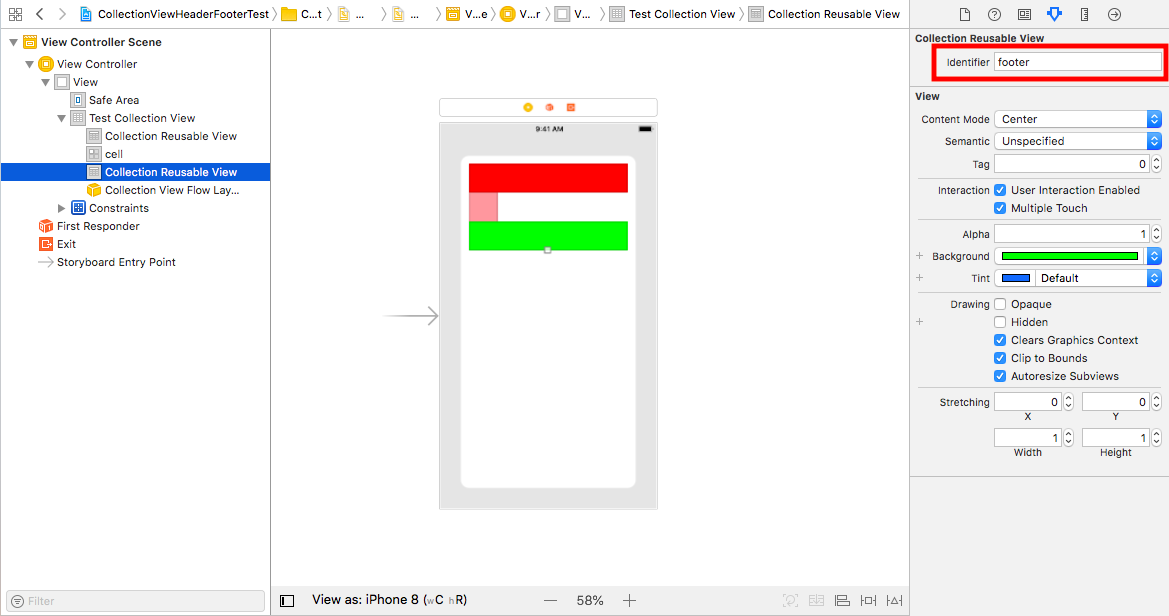
まず、下記の図のように、UICollectionViewをViewControllerに追加し、インスペクター(画面右)内のAccessoriesの”Section Header”、”Section Footer”を追加します。(①)
追加すると②の下線部のようにCollectionReusableViewが追加されます。
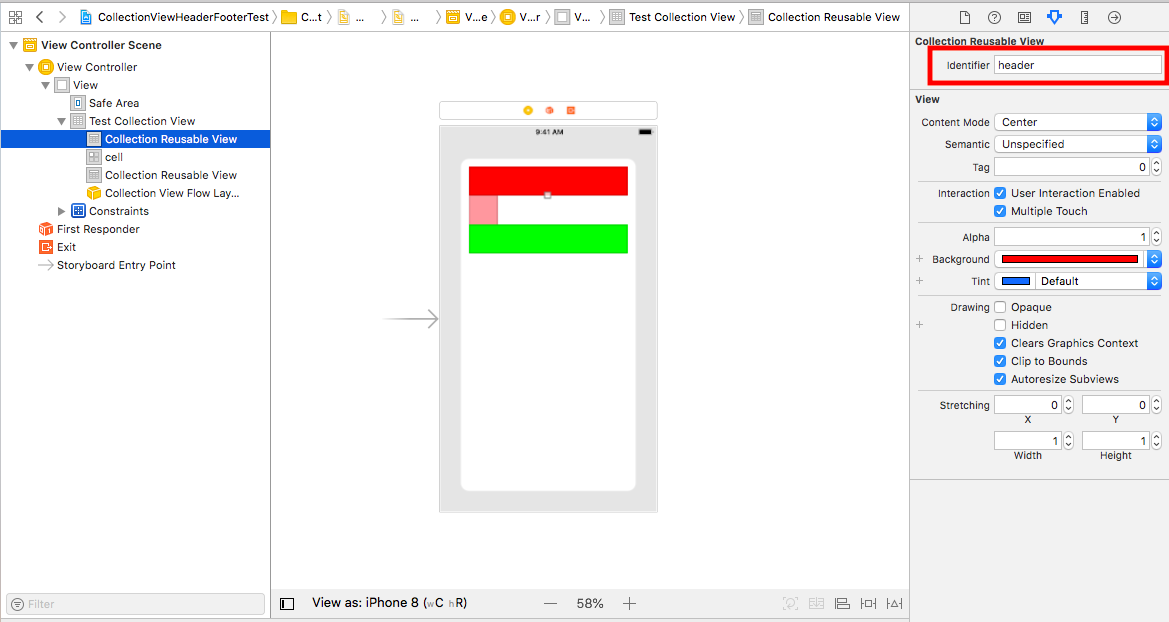
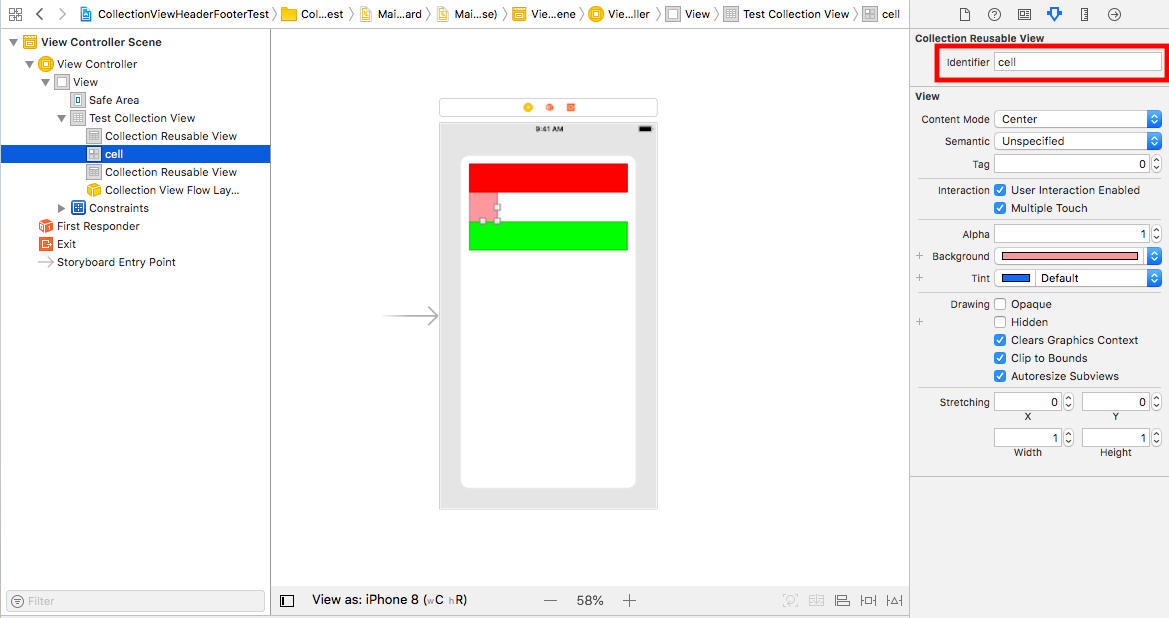
その後、各cellにIDをつけます。
■ヘッダ
■セル
■フッタ
手順2: ViewController.swiftの設定
下記のコードを参照してください。
ViewController.swift
import UIKit

// ①UICollectionViewDelegateとUICollectionViewDataSourceの継承
class ViewController: UIViewController, UICollectionViewDelegate, UICollectionViewDataSource {

    // ②StoryBoardのUICollectionViewと紐づけ
    @IBOutlet weak var testCollectionView: UICollectionView!

    override func viewDidLoad() {
        super.viewDidLoad()

        // ③UICollectionViewのdelegateとdataSourceの設定
        testCollectionView.delegate = self
        testCollectionView.dataSource = self
    }

    // ④セクション内のセルの数を返すメソッド (今回は5個を設定)
    func collectionView(_ collectionView: UICollectionView, numberOfItemsInSection section: Int) -> Int {
        return 5
    }

    // ⑤実際にセルを設定するメソッド
    func collectionView(_ collectionView: UICollectionView, cellForItemAt indexPath: IndexPath) -> UICollectionViewCell {
        let cell = testCollectionView.dequeueReusableCell(withReuseIdentifier: "cell", for: indexPath)
        return cell
    }

    // ⑥ヘッダ、フッタを設定するメソッド
    func collectionView(_ collectionView: UICollectionView, viewForSupplementaryElementOfKind kind: String, at indexPath: IndexPath) -> UICollectionReusableView {

        if (kind == "UICollectionElementKindSectionHeader") {
            //ヘッダーの場合
            let testSection = collectionView.dequeueReusableSupplementaryView(ofKind: UICollectionElementKindSectionHeader, withReuseIdentifier: "header", for: indexPath)

            return testSection


        } else {
            //フッターの場合
            let testSection = collectionView.dequeueReusableSupplementaryView(ofKind: UICollectionElementKindSectionFooter, withReuseIdentifier: "footer", for: indexPath)

            return testSection

        }
    }

}
