MinecraftのModを作成する場合は、EclipseやIntelliJ IDEAが主流のようですが、今回はVisual Studio Codeを使用してデバッグできる環境を整えます。・・・個人的に使い慣れているからという理由です。はい。
必要なもの
・Minecraft PC版(JAVA版)
・Minecraft Forge
・Visual Studio Code
(Forge環境の作成はMinecraftのModを作る①を参照してください。)
作業手順
1.Visual Studio Codeの準備
2.デバッグ
1. Visual Studio Codeの準備
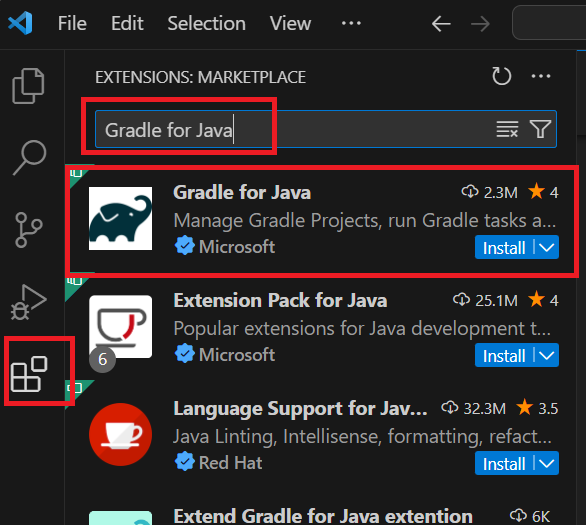
Visual Studio Codeに「Gradle for Java」を追加します。
① Viasual Studo Codeを起動
② Extensionsのアイコンをクリック
③「Gradle for Java」を検索

④「Gradle for Java」の[Install]をクリックしてインストール
⑤ コマンドプロンプトを起動
⑥ Forgeのディレクトリ(gradlew.batのあるディレクトリ)にて、gradlew genVSCodeRunsを実行しVisual Studio Code用の環境を生成

BUILD SUCCESSFULが出力されれば完了です。
(私の環境で15分かかりました。)
2. デバッグ
ひとまずサンプルコードをデバッグできるか確認します。
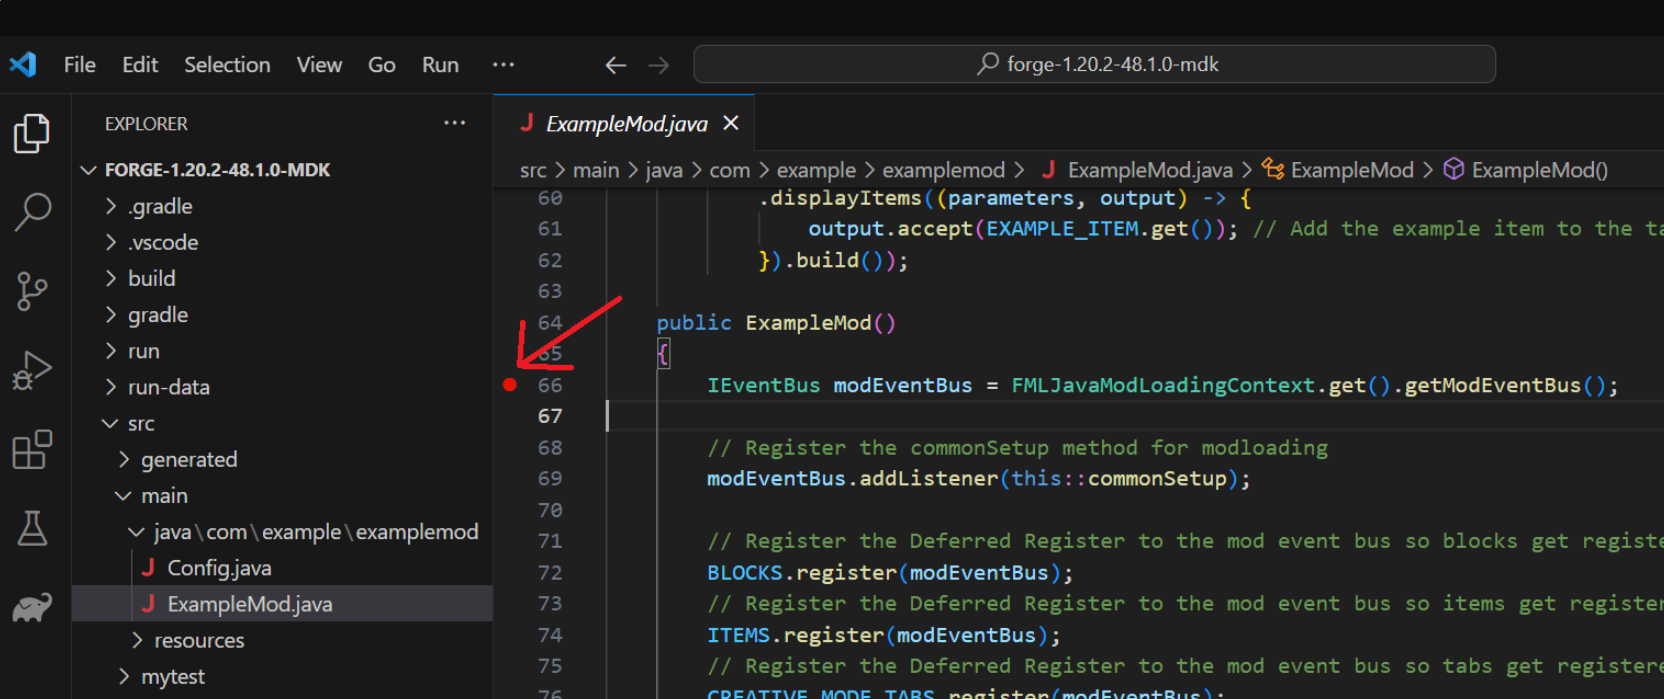
① Visual Studio CodeでForgeのフォルダを指定して開く
② src\main\java\com\example\examplemod\ExampleMod.javaを開く
③ ExampleMode()のコードにブレークポイントを設定

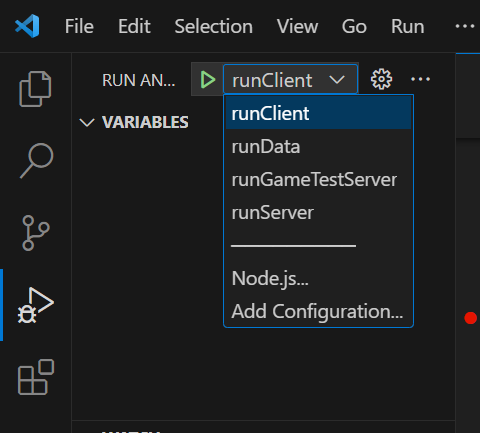
④ [Run and Debug]を選択後、プルダウンリストが[runClient]であることを確認し、実行

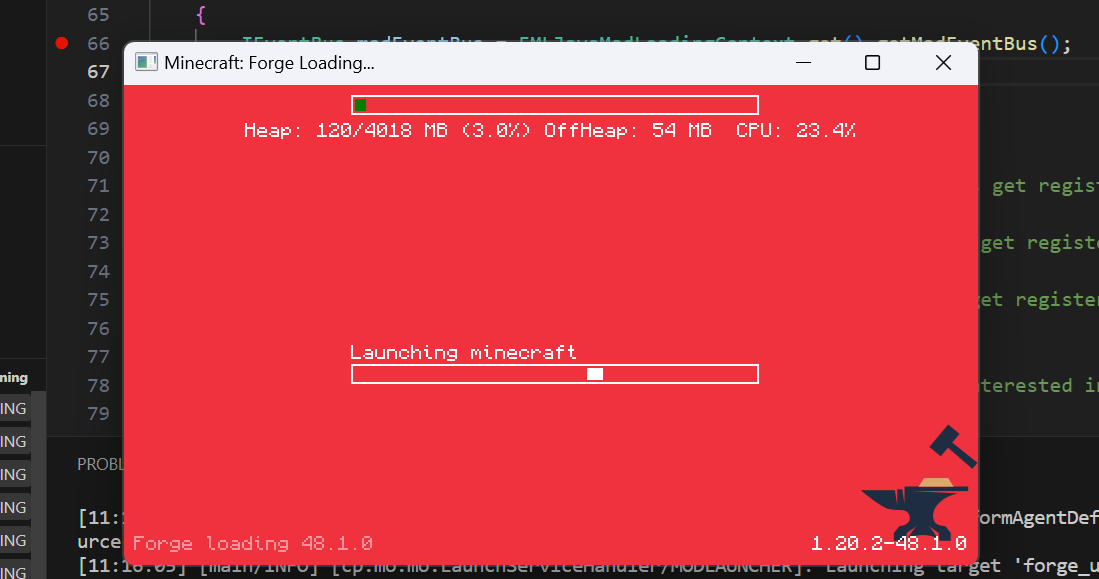
(途中の画面)

⑤ 無事ブレークポイントに来ました
あとは(いつも通り)デバッグするだけです。

もし分からないことがあれば、本家が出しているマニュアルを参照してください。
https://docs.minecraftforge.net/en/latest/
