前回までの内容
カウントアップアプリの作成まではこちら
作:https://qiita.com/appgrape
今回のゴール
- 通知の基本文法がわかる
- UISwitchの基本的な使い方がわかる
- Switchをオンにした時に通知される
- アプリ内で通知が来る
- カウントアップで指定した数秒後に通知が出せる
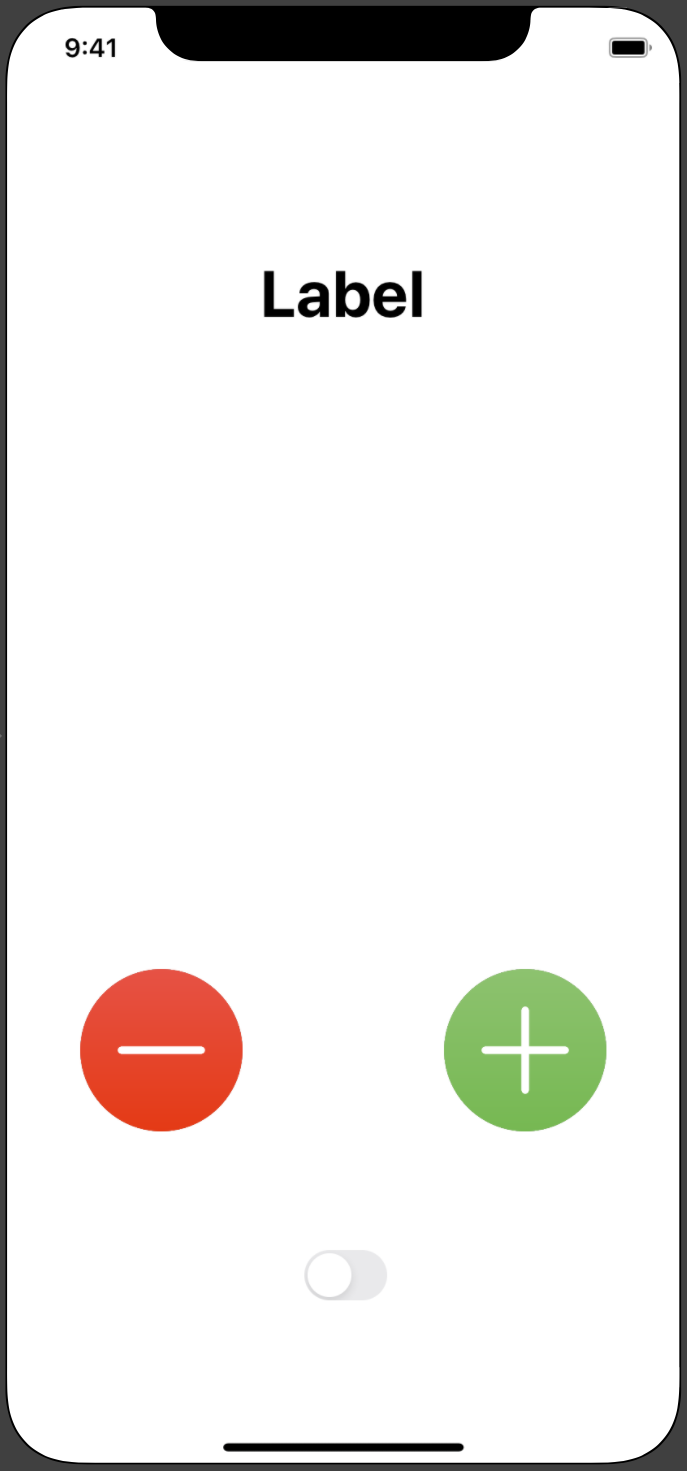
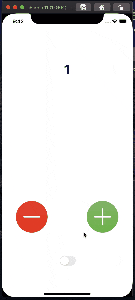
完成アプリ
完成品がこちらになります
アプリの実装
UISwitchの実装
UIの実装
前回までと同様にMain.StoryboardにUIパーツを配置する(今回はUISwitch)

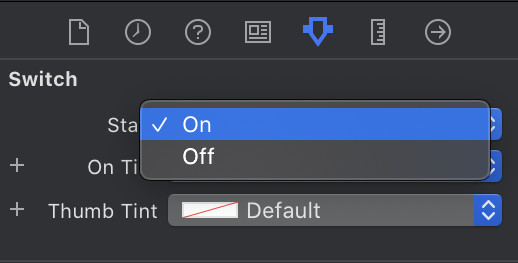
次に設置したUISwitchをクリックし,画面右のAttributes Inspectorをクリックする
するとAttributes Inspectorの一番上に,Switchの初期状態をセットするStateがあるのでオンからオフに変える
そしてAssistant Editorを起動してViewController.SwiftにUISwitchを紐付ける.
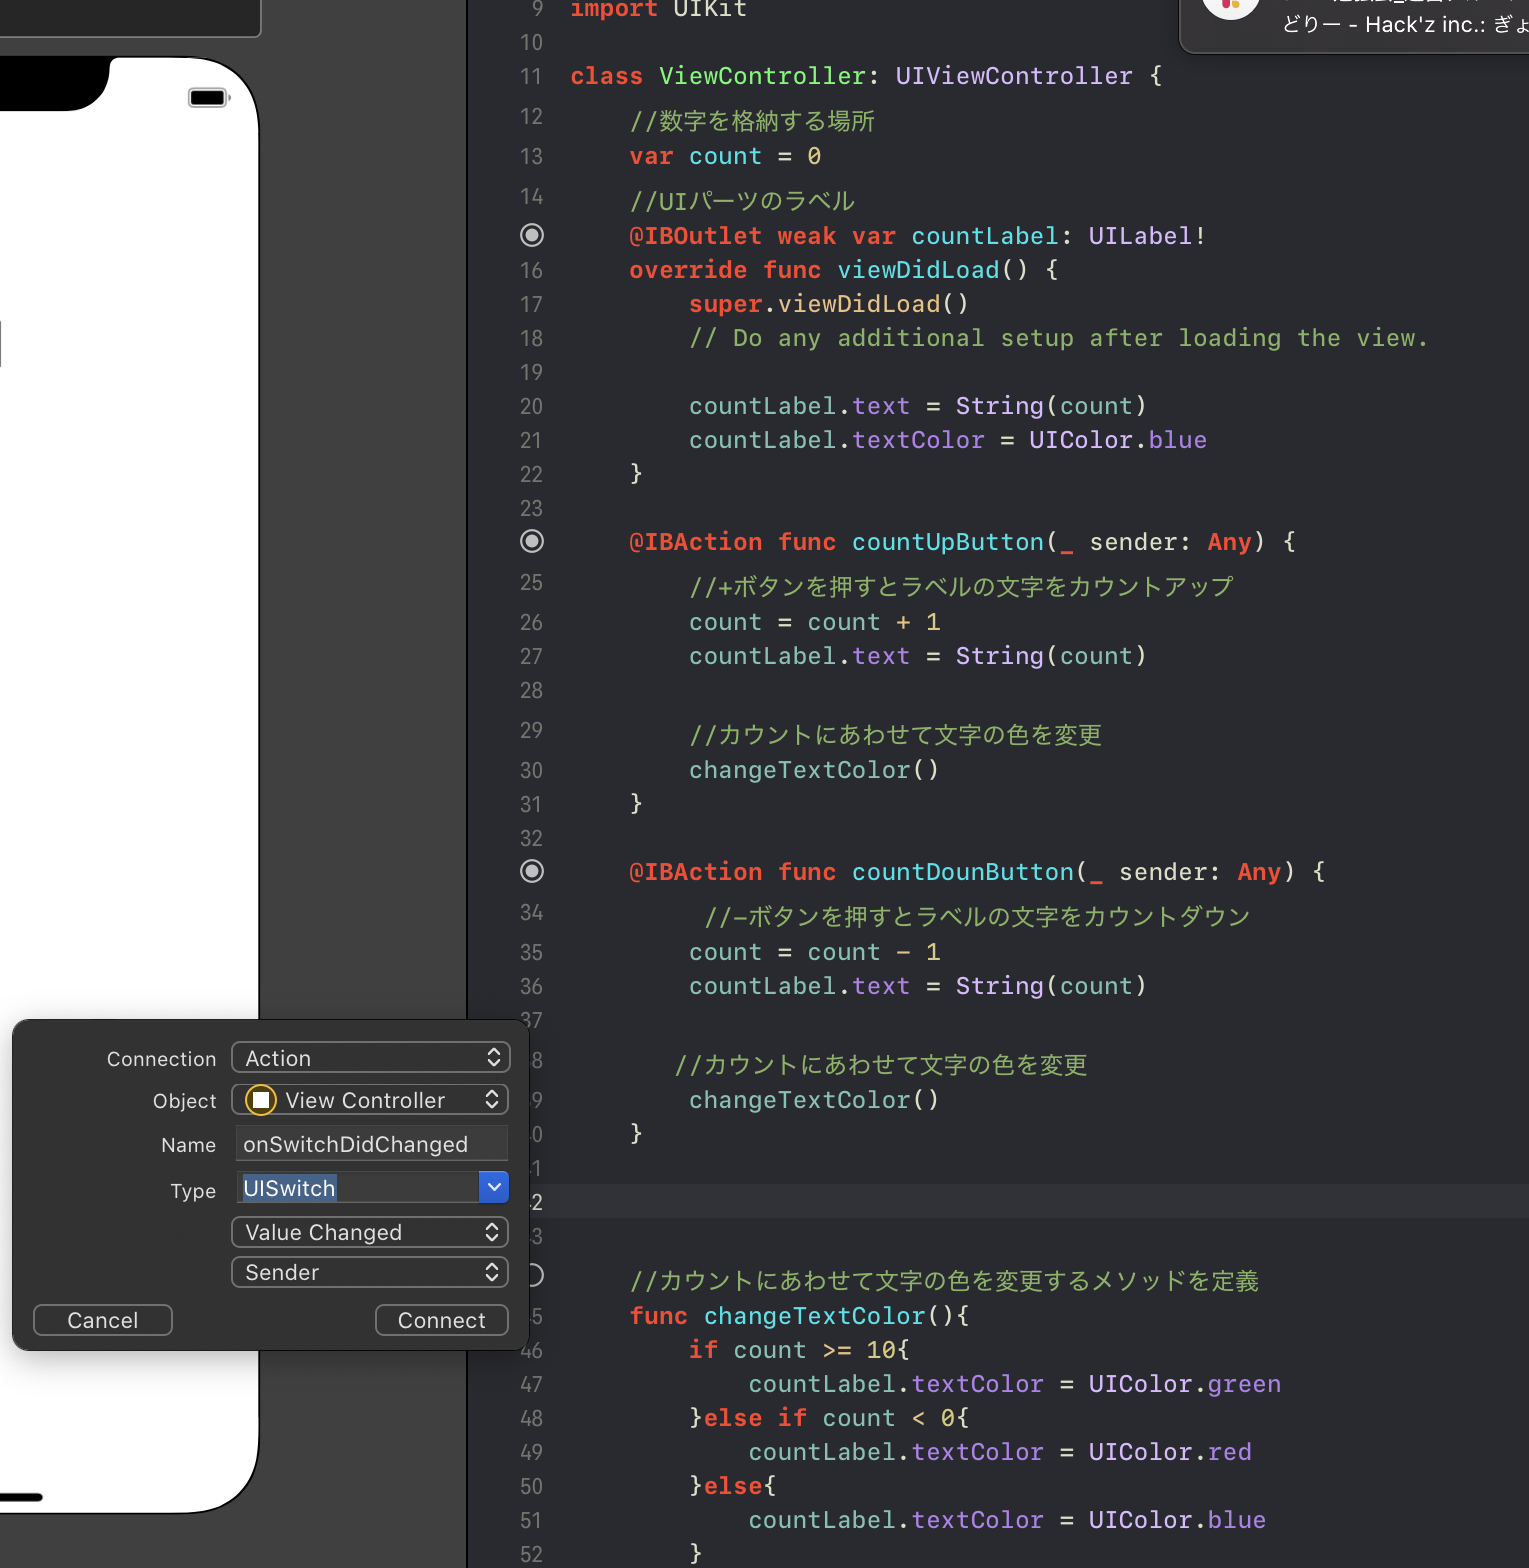
名前はonSwitchDidChangedとした.
画像のようにTypeはUISwitchとする
コードの実装
次にコードを書く
@IBAction func onSwitchDidChanged(_ sender: UISwitch) {
//switchを押すとこの中身が動く
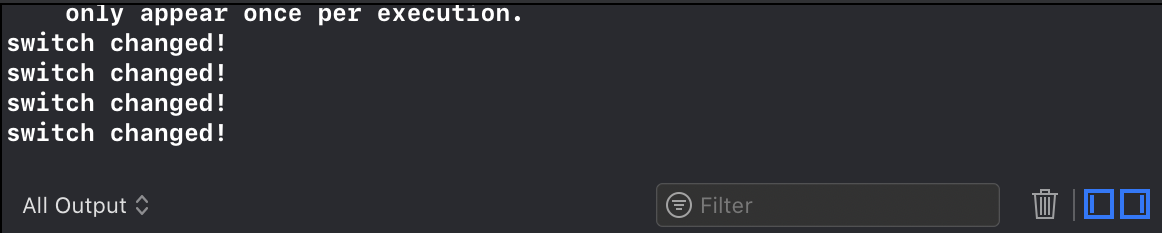
if sender.isOn {
//switchをオンにするとswitch tapped!が出力される
print("switch tapped!")
}
}
実際に動かしてみる
通知の実装
通知の実装ではStoryboardをいじることはない
(全部コードで完結する)
通知の許可を取る
通知機能のあるiOSアプリには,まず起動時に通知の許可を取る必要がある
次のコードを追加する
import UIKit
import UserNotifications //<-通知関係を使用する時に必要
//~~(中略)~~
    func application(_ application: UIApplication, didFinishLaunchingWithOptions launchOptions: [UIApplication.LaunchOptionsKey: Any]?) -> Bool {
        // Override point for customization after application launch.
//ここから
        // 通知許可の取得
        UNUserNotificationCenter.current().requestAuthorization(
        options: [.alert, .sound, .badge]){ //許可を取るもの:
                                            // .alert -> 通知のポップアップを許可するか,
                                            // .sound -> 通知音を許可するか,
                                            // .badge -> 通知時にアプリアイコンに通知数の表示を許可するか
            (granted, _) in
            if granted{
                UNUserNotificationCenter.current().delegate = self
            }
        }
//ここまで追加
    return true
}
//~~(中略)~~
//コード末尾に追加
extension AppDelegate: UNUserNotificationCenterDelegate{
}
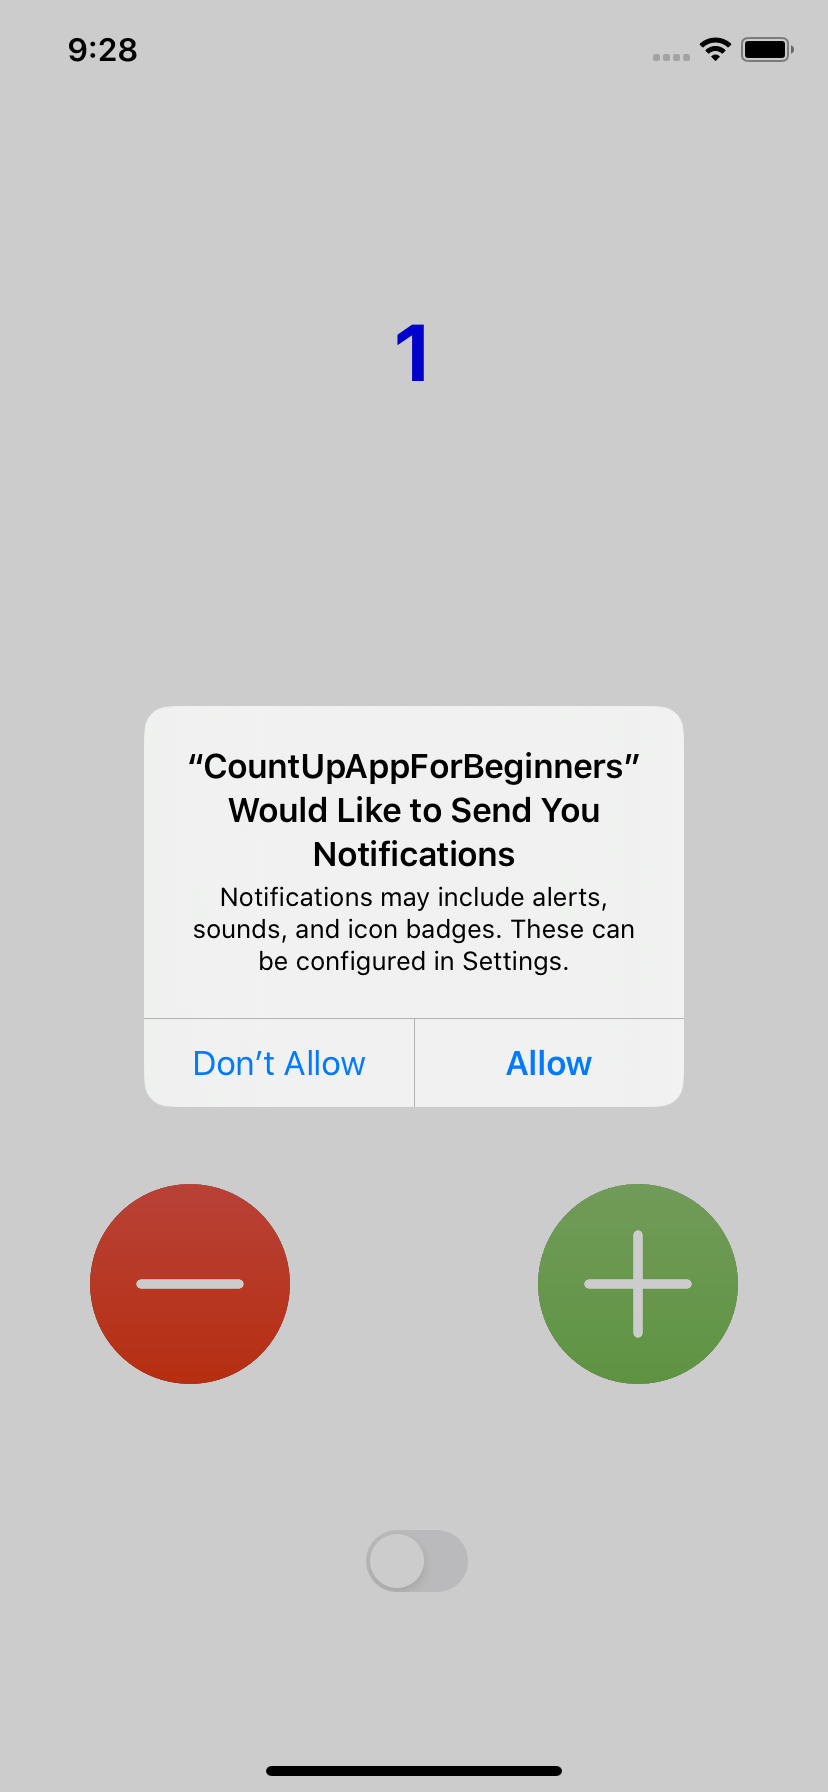
このコードを書くと,アプリ起動時に1回だけ通知許可のポップアップが出てくる.
ただこれは許可を取っただけなので,通知自体は実装されていない.
通知のテストをしてみる
前のページで通知の許可を取ったため,次は実際にswitchを押して通知させてみる.
次のコードを追加する
import UIKit
import UserNotifications //<-通知関係を使用する時に必要
//~~(中略)~~
@IBAction func countDounButton(_ sender: Any) {
}
//ここから
@IBAction func onSwitchDidChanged(_ sender: UISwitch) {
    //switchを押すとこの中身が動く
    if sender.isOn {
        //switchをオンにすると通知が来る
        showNotification()
    }
}

func showNotification() {
    let content = UNMutableNotificationContent() //<-通知のコンテンツを入れる定数contentを初期化
    content.title = "countUpAppForBeginners" //<-通知のタイトル
    content.body = "switchをオンにしました。" //<-通知の詳細文
    content.sound = UNNotificationSound.default //<-通知の音はデフォルトのやつ

    let request = UNNotificationRequest(identifier: "changedSwitch", content: content, trigger: nil)
    //通知のリクエストを任意の名前(identifier),内容(content),発動条件(trigger)をつけて定数に保存する

    UNUserNotificationCenter.current().add(request, withCompletionHandler: nil)
    //通知センターに通知のリクエストを追加する
}
実際に試してみる
動かない
実はlet requestのtriggerがnilだと,即座に通知が呼ばれる
しかし通知するアプリが起動中は通知はこない(設定でアプリ内でも通知可能)
つまり通知は機能してるが見えない状態
なので3秒後に通知に設定して確認する
3秒後に通知してみる
ViewController.swiftに次のコードを追加,編集する
func showNotification() {
    let content = UNMutableNotificationContent()
    //content:通知に表示するものを編集する
    content.title = "countUpAppForBeginners"
    content.body = "switchをオンにしました。"
    content.sound = UNNotificationSound.default

    let trigger = UNTimeIntervalNotificationTrigger(timeInterval: TimeInterval(3), repeats: false) //3秒後に通知させる

    let request = UNNotificationRequest(identifier: "changedSwitch", content: content, trigger: trigger)//<-ここをnilからtriggerに変える
        UNUserNotificationCenter.current().add(request, withCompletionHandler: nil)
    }
試してみる
注意点としてtrriger=0だとエラーが出る
n秒後に通知してみる(n > 0)
最後にカウントアップで設定した値秒後に通知を実装する
前回のところでtrriger=0だとエラーが出ると述べた.
試していないがおそらく負の値でもエラーが出るのでカウントアップを1未満にならないように設定する.
//~~(前略)~~
//数字を格納する場所
var count = 1 //<- 初期値を0から1に
//~~(中略)~~
@IBAction func countDounButton(_ sender: Any) {
    //-ボタンを押すとラベルの文字をカウントダウン
    if count > 1 {
        //countが1未満にならないようにカウントダウンさせる
        count = count - 1
        countLabel.text = String(count)
    }
    //カウントにあわせて文字の色を変更
    changeTextColor()
}
//~~(中略)~~
//n秒後に通知させる(n>0)
let trigger = UNTimeIntervalNotificationTrigger(timeInterval: TimeInterval(count), repeats: false) //countをTimerIntervalに変換する
//~~(後略)~~
試してみる
これで完成
おまけ:アプリ内で通知させてみる
AppDelegateに次のコードを追加するだけ
extension AppDelegate: UNUserNotificationCenterDelegate{
    func userNotificationCenter(_ center: UNUserNotificationCenter, willPresent notification: UNNotification, withCompletionHandler completionHandler: @escaping (UNNotificationPresentationOptions) -> Void) {
        // アプリ起動中でも通知させる
        completionHandler([.alert, .sound])
    }
}
最後に
今回はUISwitchの使い方と通知の実装をざっくりと説明しました.
質問,訂正があればコメント欄かtwitterにお願いします