WEBアプリケーションを開発していくための初期設定を行います。
project1フォルダ内のproject1の中にあるsettings.pyファイルを編集していきます。
今回、エディタとしてAtomを使用していきます。
settings.pyの編集
settings.pyでは、データベース設定や認証などの記述がされています。
Djangoの標準としてsqlite3が設定されています。
(ただし、sqliteはアクセス数が多くなるとレスポンスが遅くなるため、本番環境では、PostgreSQLやMySQLが使用されるようです。)
まず、変更する点として「言語設定」「タイムゾーン」を変更します。
# 言語設定
# LANGUAGE_CODE = 'en-us'
LANGUAGE_CODE = 'ja'

# タイムゾーン設定
# TIME_ZONE = 'UTC'
TIME_ZONE = 'Asia/Tokyo'
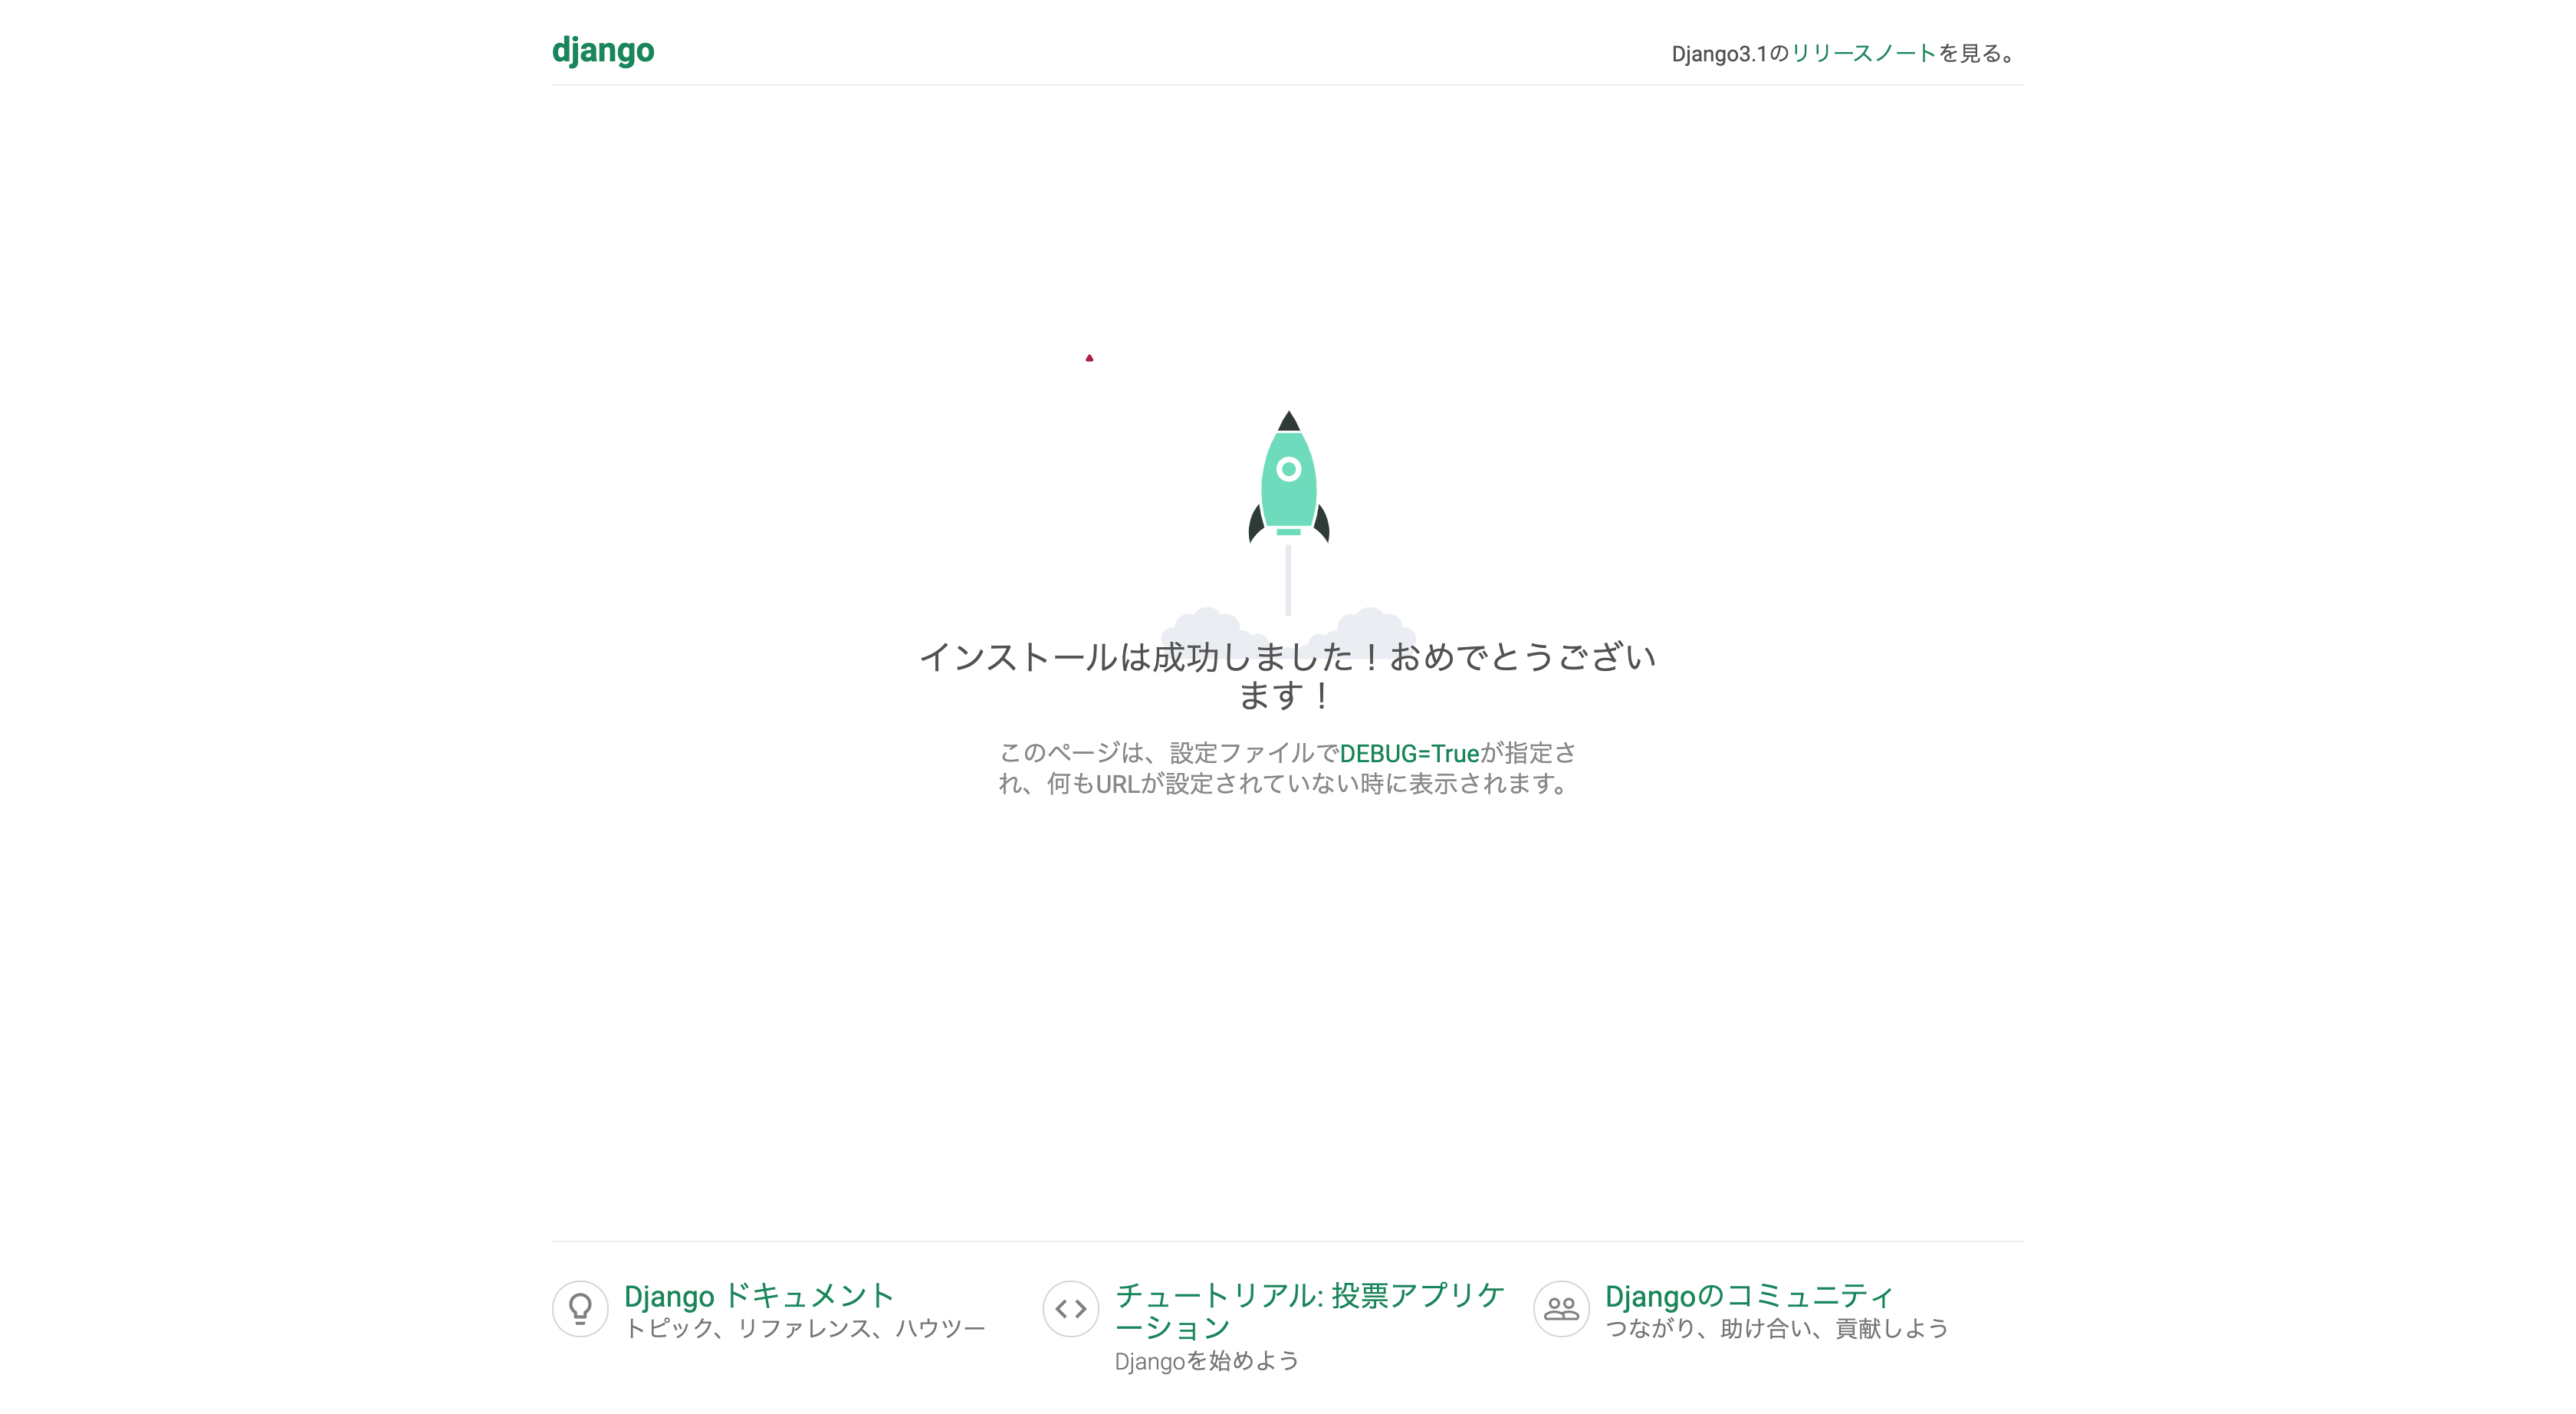
そして、Djangoサーバーを起動し変化の確認を行います。
$ python3.6 manage.py runserver
ブラウザに「http://127.0.0.1:8000/」を入力することで起動画面を確認できます。

日本語に変化することを確認できました。
コマンドプロンプトでControl + Cでサーバーを停止させておきます。
マイグレート
次にマイグレートを行います。
マイグレートを行うことでデータベースのテーブルを作成することができます。
$ python3.6 manage.py migrate

Operations to perform:
  Apply all migrations: admin, auth, contenttypes, sessions
Running migrations:
  Applying contenttypes.0001_initial... OK
  Applying auth.0001_initial... OK
  Applying admin.0001_initial... OK
  Applying admin.0002_logentry_remove_auto_add... OK
  Applying admin.0003_logentry_add_action_flag_choices... OK
  Applying contenttypes.0002_remove_content_type_name... OK
  Applying auth.0002_alter_permission_name_max_length... OK
  Applying auth.0003_alter_user_email_max_length... OK
  Applying auth.0004_alter_user_username_opts... OK
  Applying auth.0005_alter_user_last_login_null... OK
  Applying auth.0006_require_contenttypes_0002... OK
  Applying auth.0007_alter_validators_add_error_messages... OK
  Applying auth.0008_alter_user_username_max_length... OK
  Applying auth.0009_alter_user_last_name_max_length... OK
  Applying auth.0010_alter_group_name_max_length... OK
  Applying auth.0011_update_proxy_permissions... OK
  Applying auth.0012_alter_user_first_name_max_length... OK
  Applying sessions.0001_initial... OK
無事、データベースの作成ができました。
今後このテーブルに必要な情報を追加していくことになります。