やりたいこと、完成イメージ
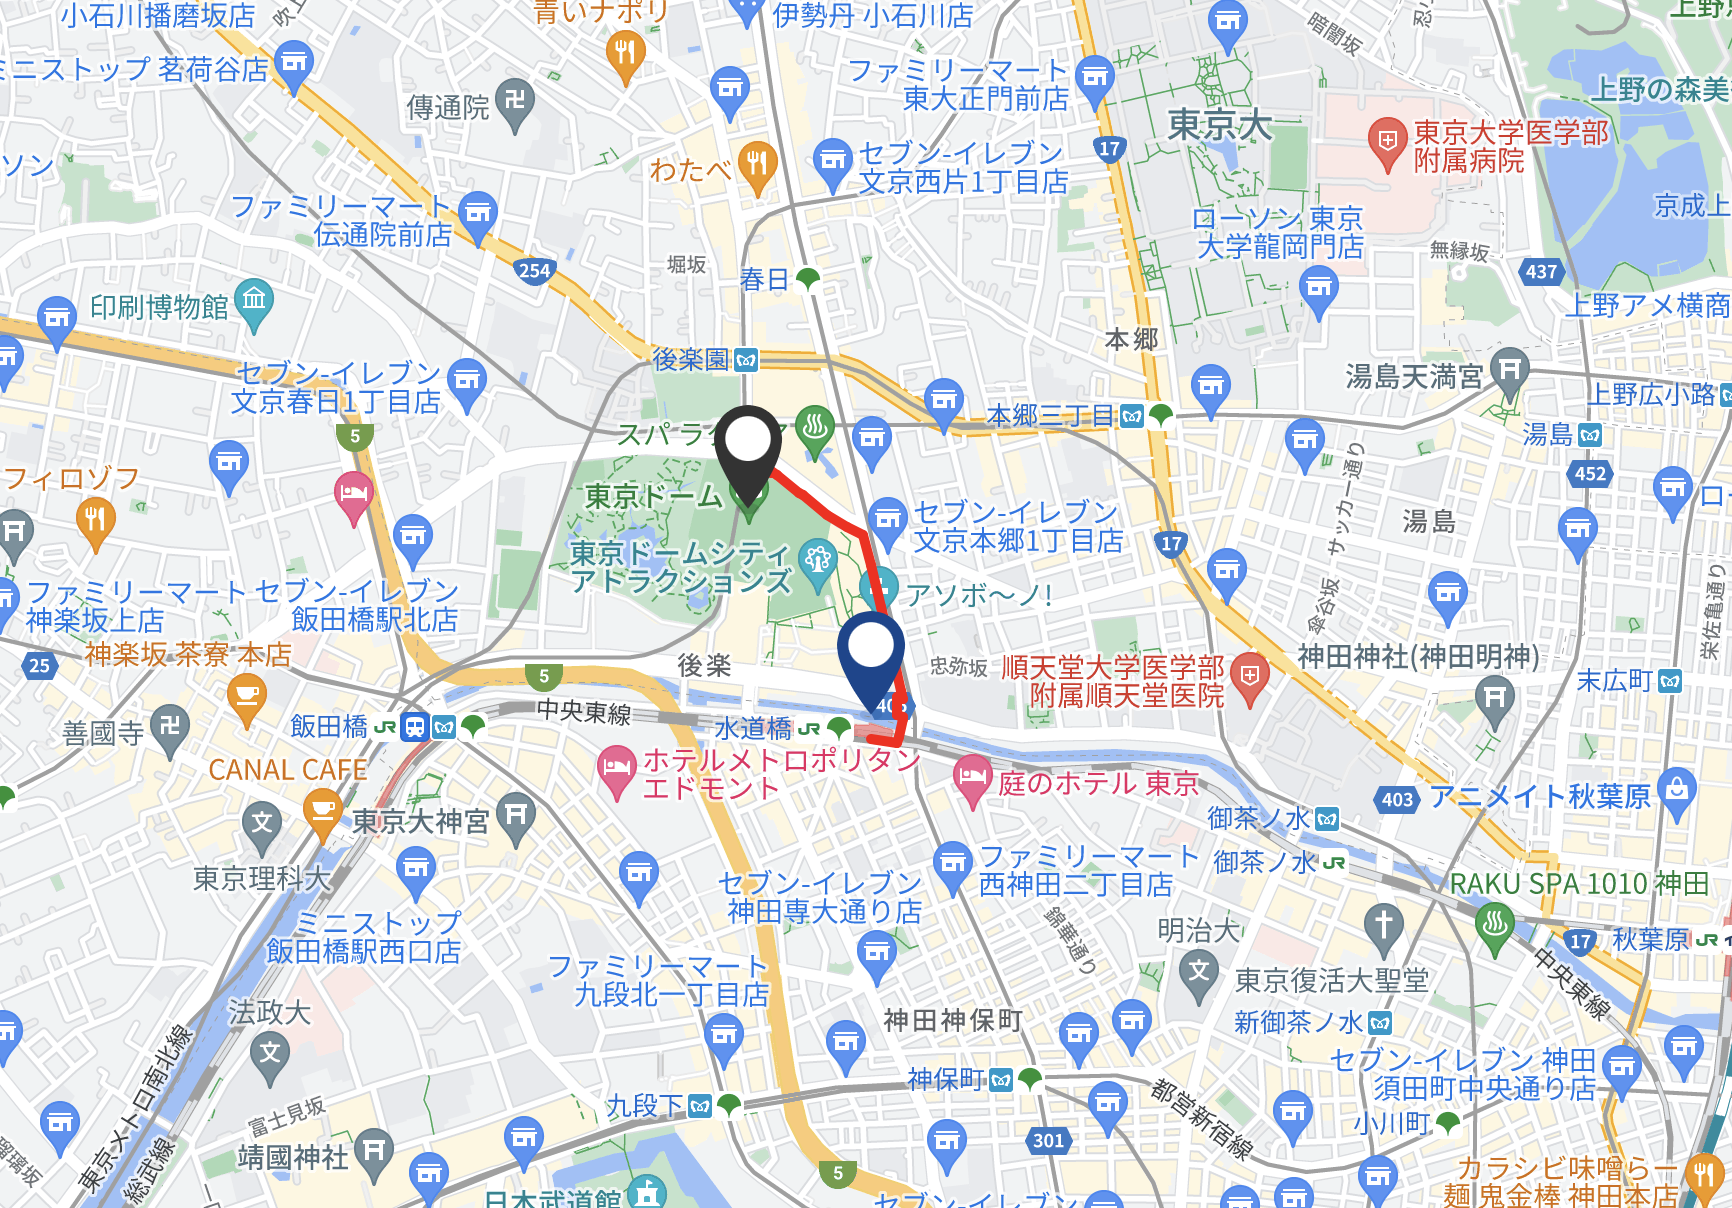
以下のように地図を表示し、二点間に線を引きます。
前提
vue.jsのcompositio apiを使って実装しています。
1まずは地図表示させる
・vue3-google-mapをインストールします。
% npm install vue3-google-map
・Google cloud PlatformでAPIキーを取得しておいてください。
あとは以下のようにかけば
<template>
 <GoogleMap
    ref="mapRef"
    :api-key="取得したAPIキー"
    :center="center"
    :zoom="15"
    :disable-default-ui="true"
    :language="ja"
    region="JP"
 >
 </GoogleMap>

</template>
import { GoogleMap, CustomMarker, Polyline } from 'vue3-google-map'
これで地図の表示ができました。

2線をひく
ここから地点間に道なりの線を引く処理です。
Polyline要素をつかえば線を引くことができます。
<div v-for="path in pathList" :key="path">
                    <Polyline :options="path" />
</div>
例えば、水道橋-東京ドーム間を結びたいと思います。
地点の緯度を経度を取得する方法は以下を参照。
【Vue】Geolocation APIで現在地情報を取得する
const pathList = ref([])


const dests = [{name: '水道橋',lat: 35.658504, lng: 139.7018},
         {name: '東京ドーム',lat: 35.68131, lng: 139.76723}
         ]


onBeforeMount(() => {
    for (let i = 0; i < dests.length - 1; ++i) {
        let deplat = dests[i].lat
        let deplng = dests[i].lng
        let arrlat = dests[i + 1].lat
        let arrlng = dests[i + 1].lng

        google.googleDirections(
            {
                origin: deplat + ',' + deplng,
                destination: arrlat + ',' + arrlng,
                key: 'APIキー',
                mode: 'walking',
            },
            (res) => {
                console.log('res', res)

                let encoded = res.data.routes[0].overview_polyline.points
                let decoded = decodePolyline(encoded)

                for (let i = 0; i < decoded.length - 1; ++i) {
                    let data = {
                        path: [
                            {
                                lat: decoded[i][0],
                                lng: decoded[i][1],
                            },
                            {
                                lat: decoded[i + 1][0],
                                lng: decoded[i + 1][1],
                            },
                        ],
                        geodesic: true,         //曲線かどうか
                        strokeColor: '#FF0000', //線の色
                        strokeOpacity: 1.0,     //透明度
                        strokeWeight: 5,        //太さ
                    }
                    pathList.value.push(data)
                }
            },
            (err) => {
                console.log('err', err)
            }
        )
    }
})
ただ、単に置くだけだと直線になってしまいます。
なので、これを道なりにひくためにDirections APIを使用します。
Directions APIは、RoadsサービスのAPIの1つで、A地点〜B地点までの距離、 ルート、移動時間が計測できます。Google Mapsアプリでよく使う機能ですね。
Directions APIを利⽤するには別途有効化する必要があるので、コンソールから有効化しておきましょう。
DirectionAPIから以下のようなoverview_polylineが返ってくるので、
overview_polyline: "msxE}qtsYa@mBMeAGiABMKsBGkAO"
それをデコードすると以下のようになります。
曲がり角ごとの地点情報が返ってくるので、これを一つ一つdataとして、pathListに入れてあげれば、Polylineがループさせて線を引いてくれるのです。

destsに地点を増やしたとしても、例えば渋谷→新宿→東京としたとしても、地点がいくつあったとしても、同じように実装すれば大丈夫です。