はじめに
Androidではデフォルトのダイアログが用意されていますが、細かいレイアウトの調整ができなかったりします。
ということで今回は、自作のレイアウトで自由にカスタマイズ可能なダイアログを作っていきます。
1.ダイアログ用のレイアウトファイルを作成
表示させたいダイアログのレイアウトをxmlファイルで作成します。
custom_dialog.xml
<?xml version="1.0" encoding="utf-8"?>
<androidx.constraintlayout.widget.ConstraintLayout xmlns:android="http://schemas.android.com/apk/res/android"
    xmlns:tools="http://schemas.android.com/tools"
    android:layout_width="match_parent"
    android:layout_height="match_parent"
    xmlns:app="http://schemas.android.com/apk/res-auto">

    <androidx.constraintlayout.widget.ConstraintLayout
        android:id="@+id/custom_dialog"
        android:layout_width="344dp"
        android:layout_height="274dp"
        android:background="#ffffff"
        app:layout_constraintTop_toTopOf="parent"
        app:layout_constraintStart_toStartOf="parent"
        app:layout_constraintEnd_toEndOf="parent">

        <TextView
            android:id="@+id/dialogTitle"
            android:layout_width="match_parent"
            android:layout_height="wrap_content"
            android:gravity="center"
            android:text="test"
            android:textColor="#000000"
            android:textSize="16sp"
            app:layout_constraintEnd_toEndOf="parent"
            app:layout_constraintHorizontal_bias="0.0"
            app:layout_constraintStart_toStartOf="parent"
            app:layout_constraintTop_toTopOf="parent" />

    </androidx.constraintlayout.widget.ConstraintLayout>
</androidx.constraintlayout.widget.ConstraintLayout>
2.フラグメントファイルを作成
DialogFragmentファイルを作成します。
DialogFragment.kt
class CustomDialog: DialogFragment(){
    private lateinit var dTitle: String

    override fun onCreateDialog(savedInstanceState: Bundle?): Dialog {

        val dialog = Dialog(requireContext())

        // ダイアログを透過状態に変更
        dialog.window?.setBackgroundDrawable(ColorDrawable(Color.TRANSPARENT))

        // カスタムしたレイアウトをわたす
        dialog.setContentView(R.layout.custom_dialog)

        val dialogTitle = dialog.findViewById<TextView>(R.id.dialogTitle)


        dTitle = "ダイアログタイトル"

        dialogTitle.setText(dTitle)

        return dialog
    }
}
3.ダイアログを表示させる処理
最後に、呼び出したいボタンにsetOnClickListenerイベントでフラグメントを呼び出す処理を書いてあげれば完了です。
MainActivity.kt
class MainActivity : AppCompatActivity() {
    override fun onCreate(savedInstanceState: Bundle?) {
        super.onCreate(savedInstanceState)
        setContentView(R.layout.activity_main)

        val displayDialog = findViewById<Button>(R.id.button)

        displayDialog.setOnClickListener{
            val dialog = CustomDialog()
            val manager: FragmentManager = supportFragmentManager
            dialog.show(manager, "simple")
        }
    }
}
以上です。今回は最もシンプルに作成しましたが、custom_dialog.xmlを編集することで
お好みのダイアログを作ることが可能です。
以下は、上記をもとに少しカスタマイズしてみたダイアログになります。
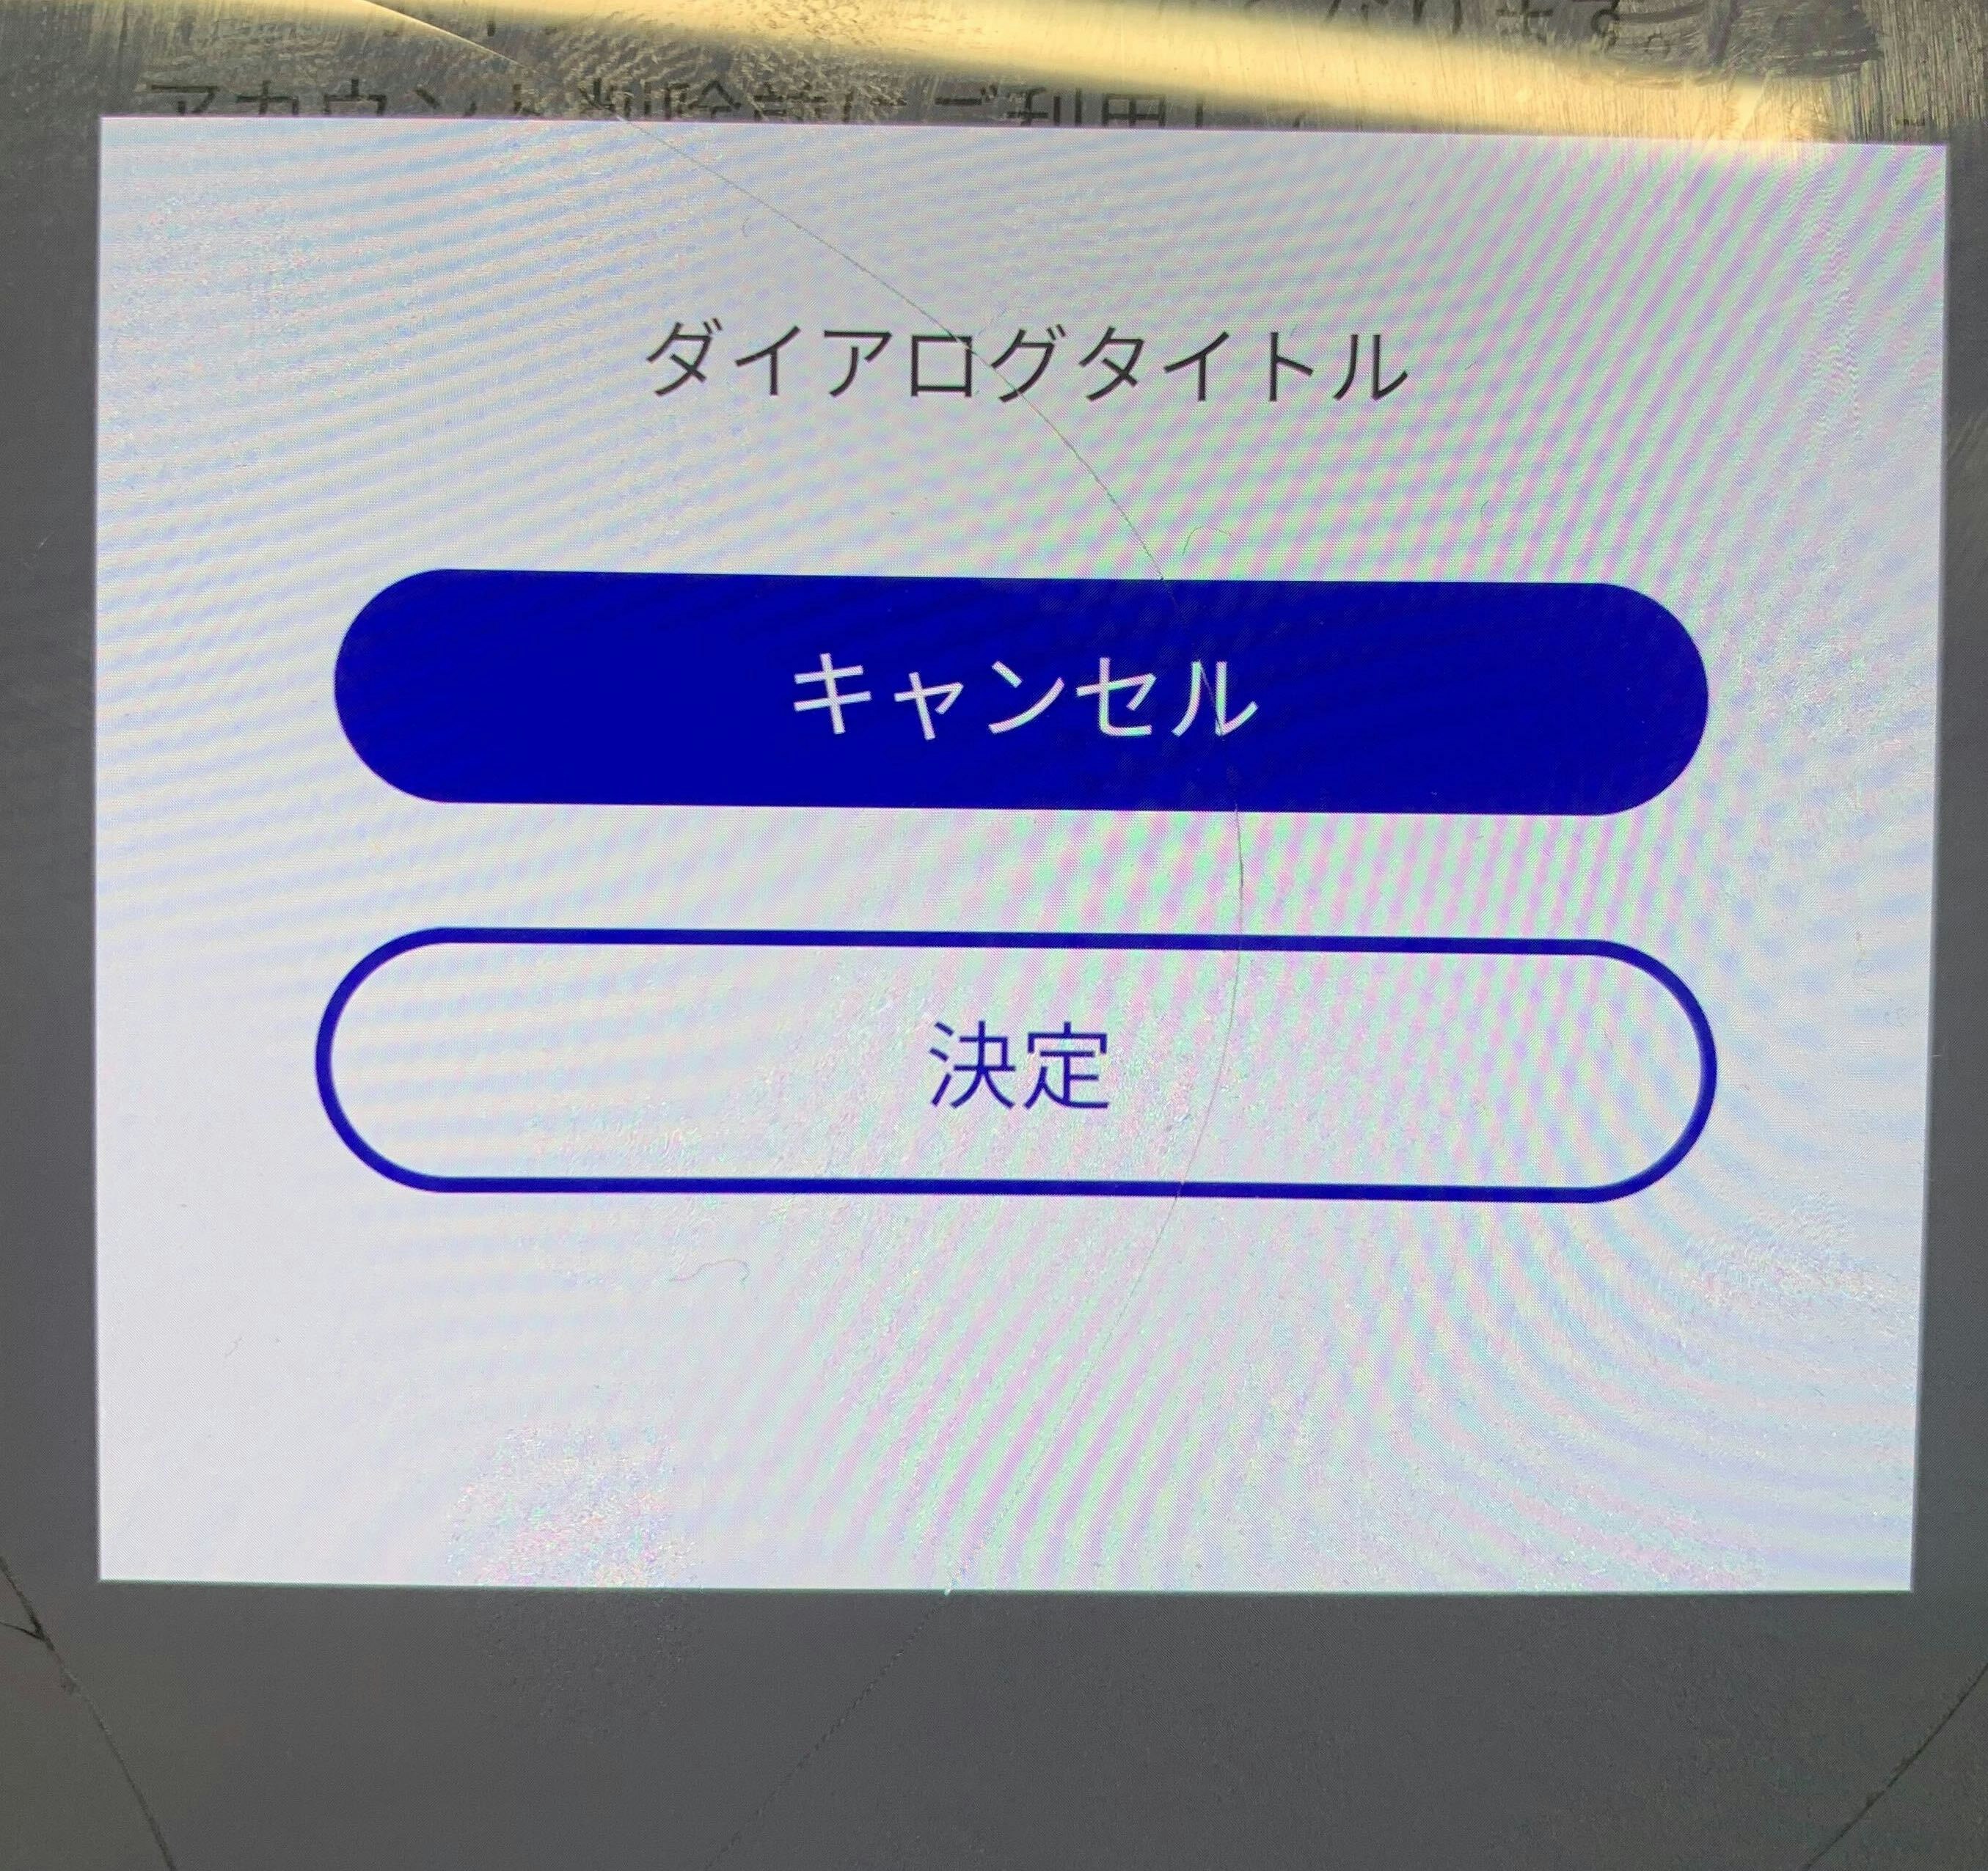
ぜひ参考にしてみてください。