さくっとelectronでbabel呼び出すところまでが良さそうな情報無くて錯綜した。
一旦出来たのでメモ
(ビルド&配布あたりまでは行ってないが、まず動く感じのところまでなのでご了承)
出来上がりが見たい場合はこれ (もう記事より古くなってるので多分参考になりません)
https://github.com/suisho/example-electron-babel/
構成
好みだがこんな感じにしている
$ tree -I node_modules
.
├── app
│   ├── client
│   │   ├── Foo.jsx
│   │   └── main.jsx
│   ├── index.html
│   └── index.js
└── package.json
コード本体は./app以下に固めている。トップ階層に入れておくと後でgulpfileとか膨れてきた時に汚い感じになるため。
サーバー側とクライアント側のコードも区別付けれるように./app/clientも切っておく
手順
1. インストール
一旦今回は起動するまでぐらいを考える。
electron-prebuilt
パッケージングの事などを考えるとこれでは足りないが、今回はelectron-prebuiltを使うとこまでに留める
$ npm init -y
$ npm i -D electron-prebuilt
react
次にreactのインストール
$ npm i -S react
babel
次にbabel
babel6からは、最低限で下記のパッケージのインストールがほしいところ。preset-es2015は必須ではないが、どうせやるなら入れておきたい
$ npm i -D babel babel-register babel-preset-react babel-preset-es2015
package.jsonにはstartコマンドと、babelの設定を記載しておく。
{
  "name": "example-electron-babel",
     :
     :
  // ↓これ
  "scripts": {
    "start": "electron ./app"
  },
      :
      :
}
babel v6からは、babelrcの設定が必要なので、package.jsonに下記のように追加してあげる(.babelrcでもいいし引数にオプションとして渡してもいいしそのへんはお好みで)。
sourceMapsの設定はinlineにすればsourcemapを読み込んでくれる
    :
  "babel":{
    "sourceMaps": "inline",
    "presets": [
      "react"
    ]
  }
     :
2. ボイラープレート的にコードを準備
https://github.com/atom/electron/blob/master/docs/tutorial/quick-start.md
ここのquick-start通りに記述。だるいけどまだこのへんはちゃんと理解できてないので従っとく。
3. 動かしたいコードを書く
こんな具合。
import React from 'react'

class Foo extends React.Component{
  render(){
    return <div>This is React component</div>
  }
}

var container = document.querySelector("#container")

React.render(<Foo />, container)
4. babelの登録
index.htmlをこんな感じで書き換える。babel-registerは多分もうちょっとオプション入れたほうが良さそう(詳しくはbabeljs.ioを参照のこと)。
今はシンプルにしとく。
<!DOCTYPE html>
<html>
  <head>
    <title>Hello World!</title>
  </head>
  <body>
    <h1>Hello World!</h1>
    We are using io.js
    <div id="container"></div>
    <script>
      window.onload = function(){
        require('babel-register')() //ここ重要
        require("./client/main.jsx")
      }
    </script>
  </body>
</html>
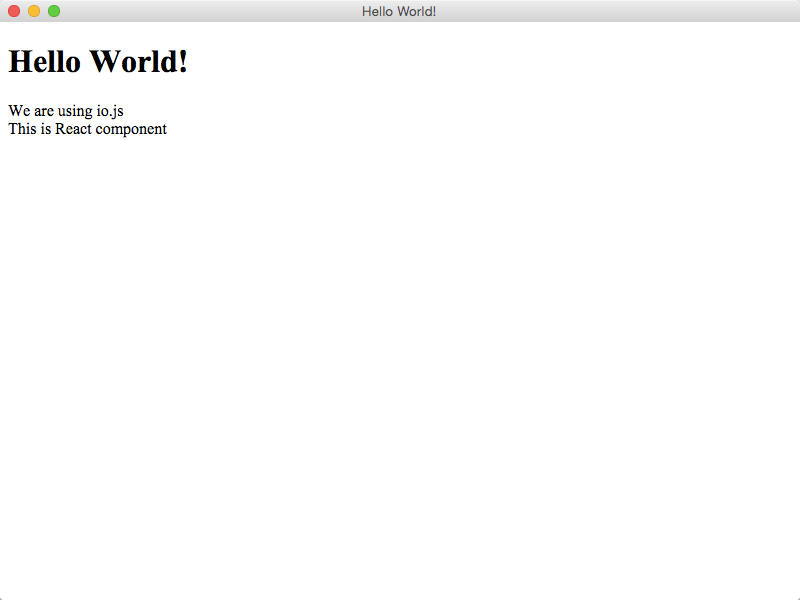
5. できた!
startコマンドを登録済みなので、下記で起動可能。
$ npm start
まとめ
- 結果として
require("babel-register")を呼び出すだけだったのに結構試行錯誤してしまった。 - まだまだ「electron」だと情報が少なく「atom-shell」じゃないとぐぐっても出てこない情報多そう。
- 「electron babel」あたりでぐぐって出てくるelectron-starterは情報が古いのかどうも参考にならず動かなかった。
