WebサイトのURLを入力するとカラーパレット生成してくれるツールを作成しました。
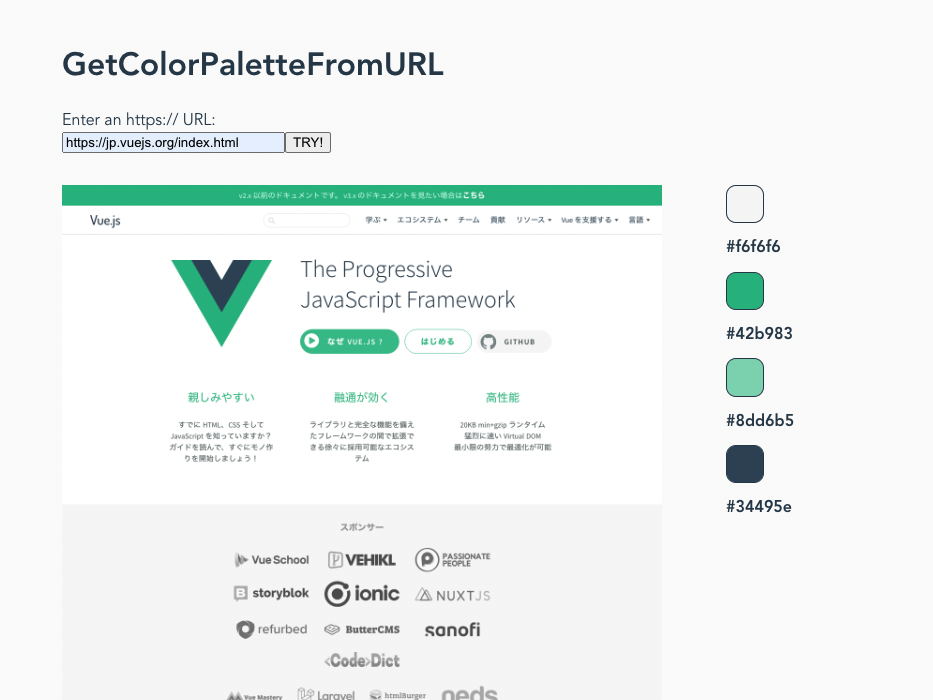
↓ 動いてるところ
何をやっているか
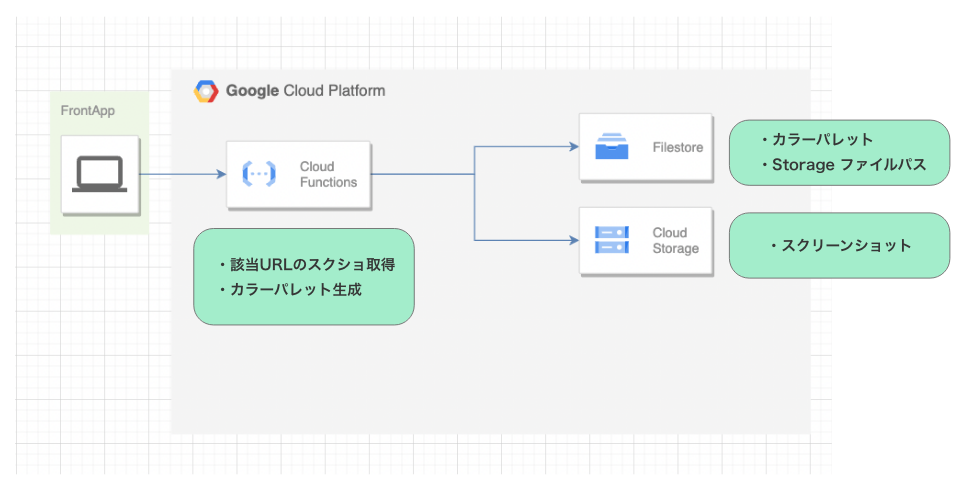
- ヘッドレスブラウザを用いて該当URLのフルスクリーンショット取得
- スクショ画像からカラーパレット生成
- Firebaseを用いたバックエンド実装
それぞれ簡単にやり方を記載していきます。
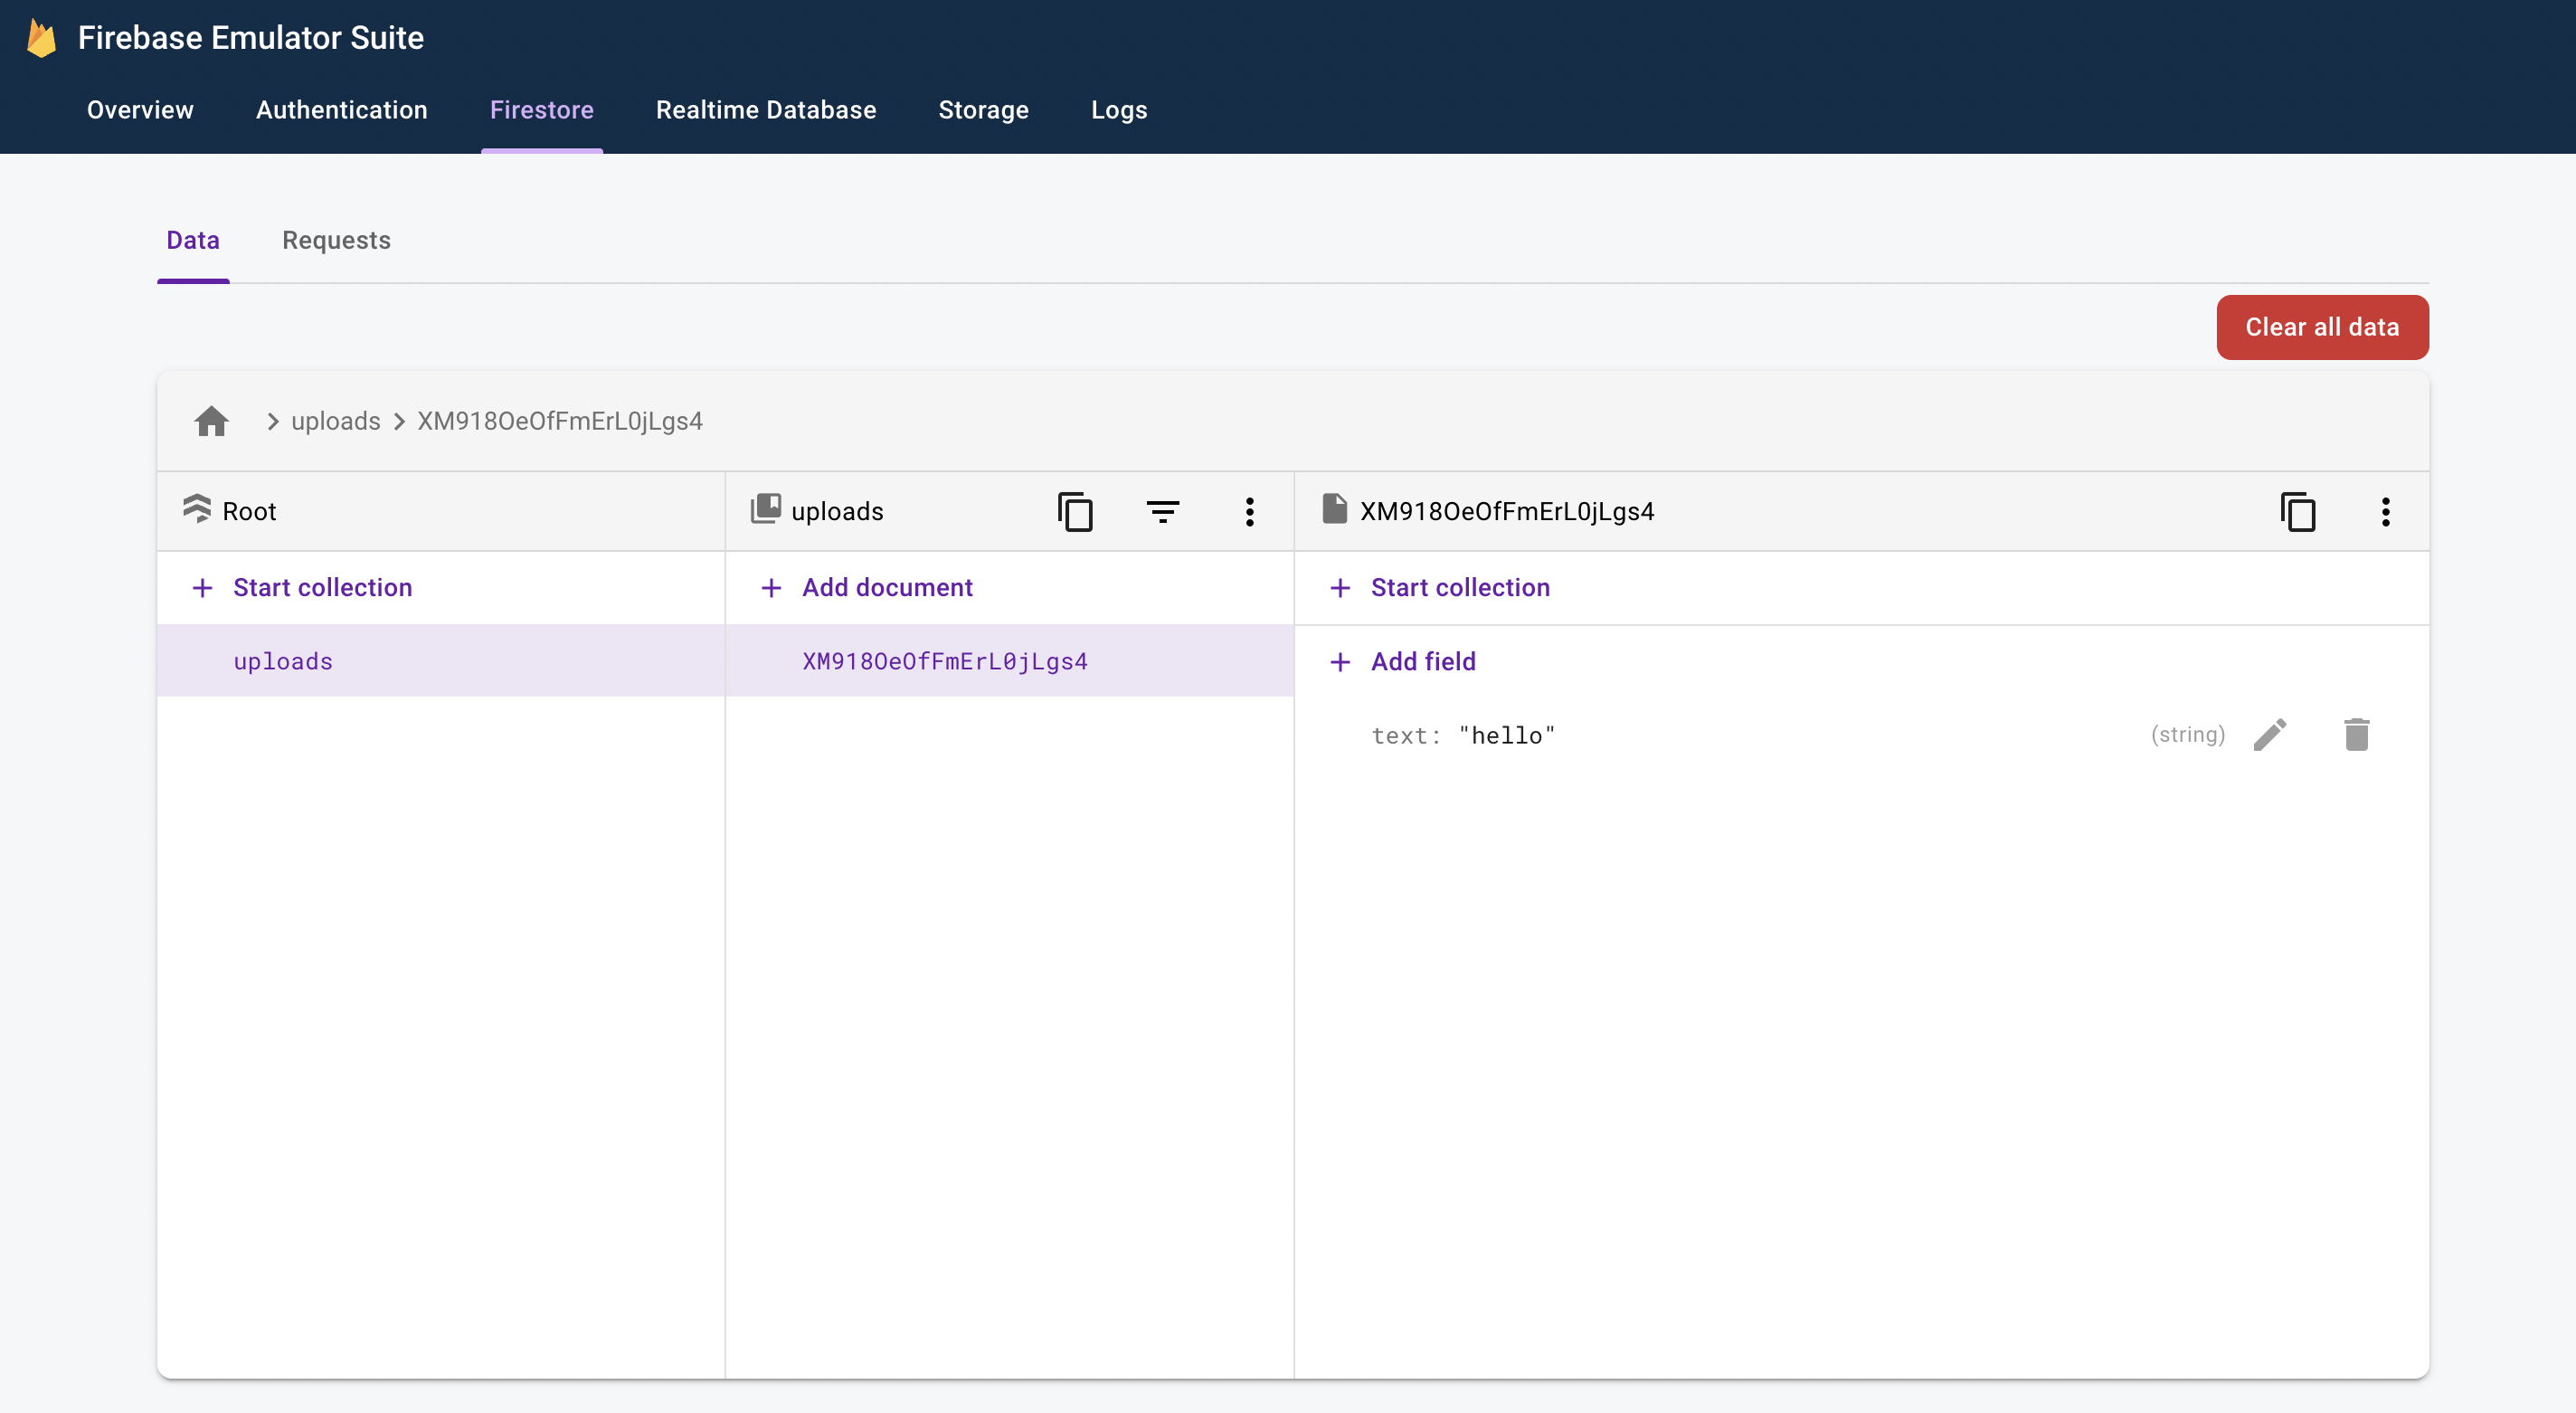
Firebase Local Emulator Suite を使用したローカル処理です。
クラウドへのデプロイ時の挙動は未確認であることをご了承ください。
Backend
Firebase初期設定
ドキュメントが詳しいですが簡単に手順を記載します。
任意のフォルダでFirebaseの設定コマンドを実行し、機能の選択とエミュレーターのインストールを行います。
$ firebase init

? Which Firebase features do you want to set up for this directory?
 ● Firestore
 ● Functions
 ● Storage
 ● Emulators

=== Emulators Setup
? Which Firebase emulators do you want to set up? Press Space to select emulators, then Enter to confirm your choices.
 Functions Emulator, Firestore Emulator, Storage Emulator
? Which port do you want to use for the functions emulator? 5001
? Which port do you want to use for the firestore emulator? 8080
? Which port do you want to use for the storage emulator? 9199
? Would you like to enable the Emulator UI? Yes
? Which port do you want to use for the Emulator UI (leave empty to use any available port)?
? Would you like to download the emulators now? Yes
エミュレーターのインストールがうまくいかない場合は、Local Emulator Suite のインストール、構成、統合を参照し、Node.jsやJava JDKのバージョンなどご確認下さい。
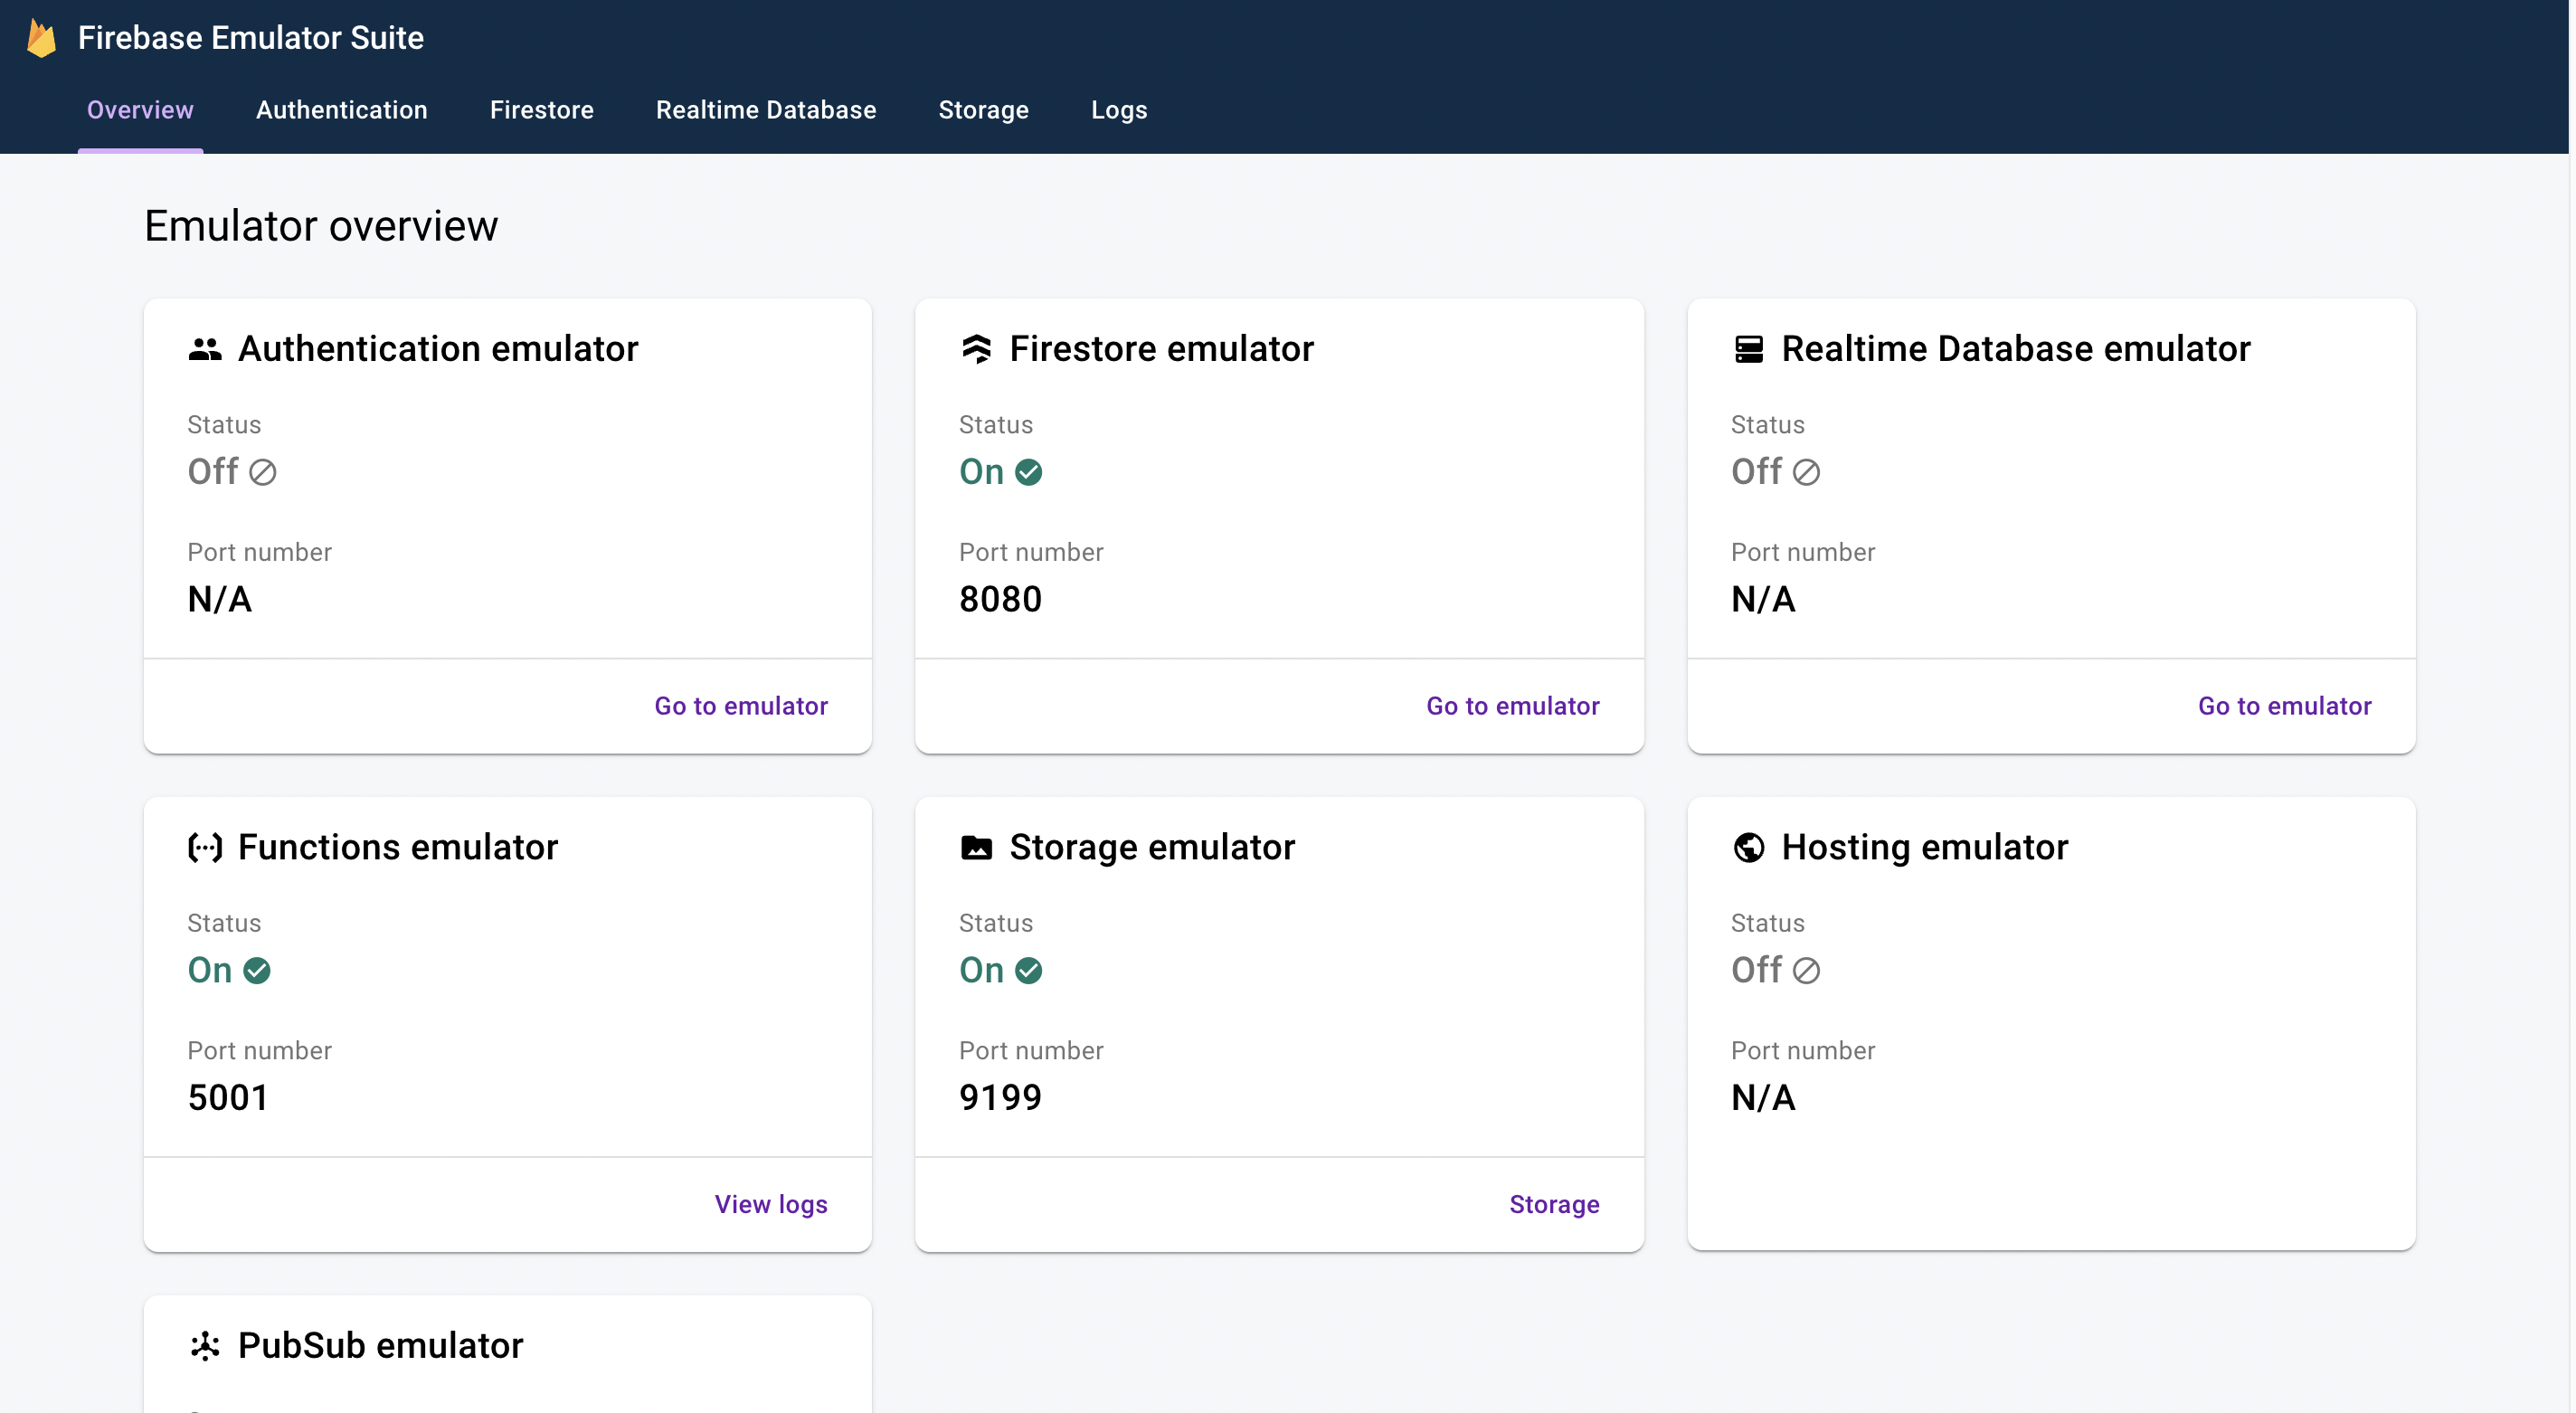
エミュレーター起動コマンドを実行し、ブラウザでデバッグ用画面が表示されれば準備完了です。
$ firebase emulators:start

┌─────────────────────────────────────────────────────────────┐
│ ✔  All emulators ready! It is now safe to connect your app. │
│ i  View Emulator UI at http://localhost:4000                │
└─────────────────────────────────────────────────────────────┘
画像からカラーパレット生成
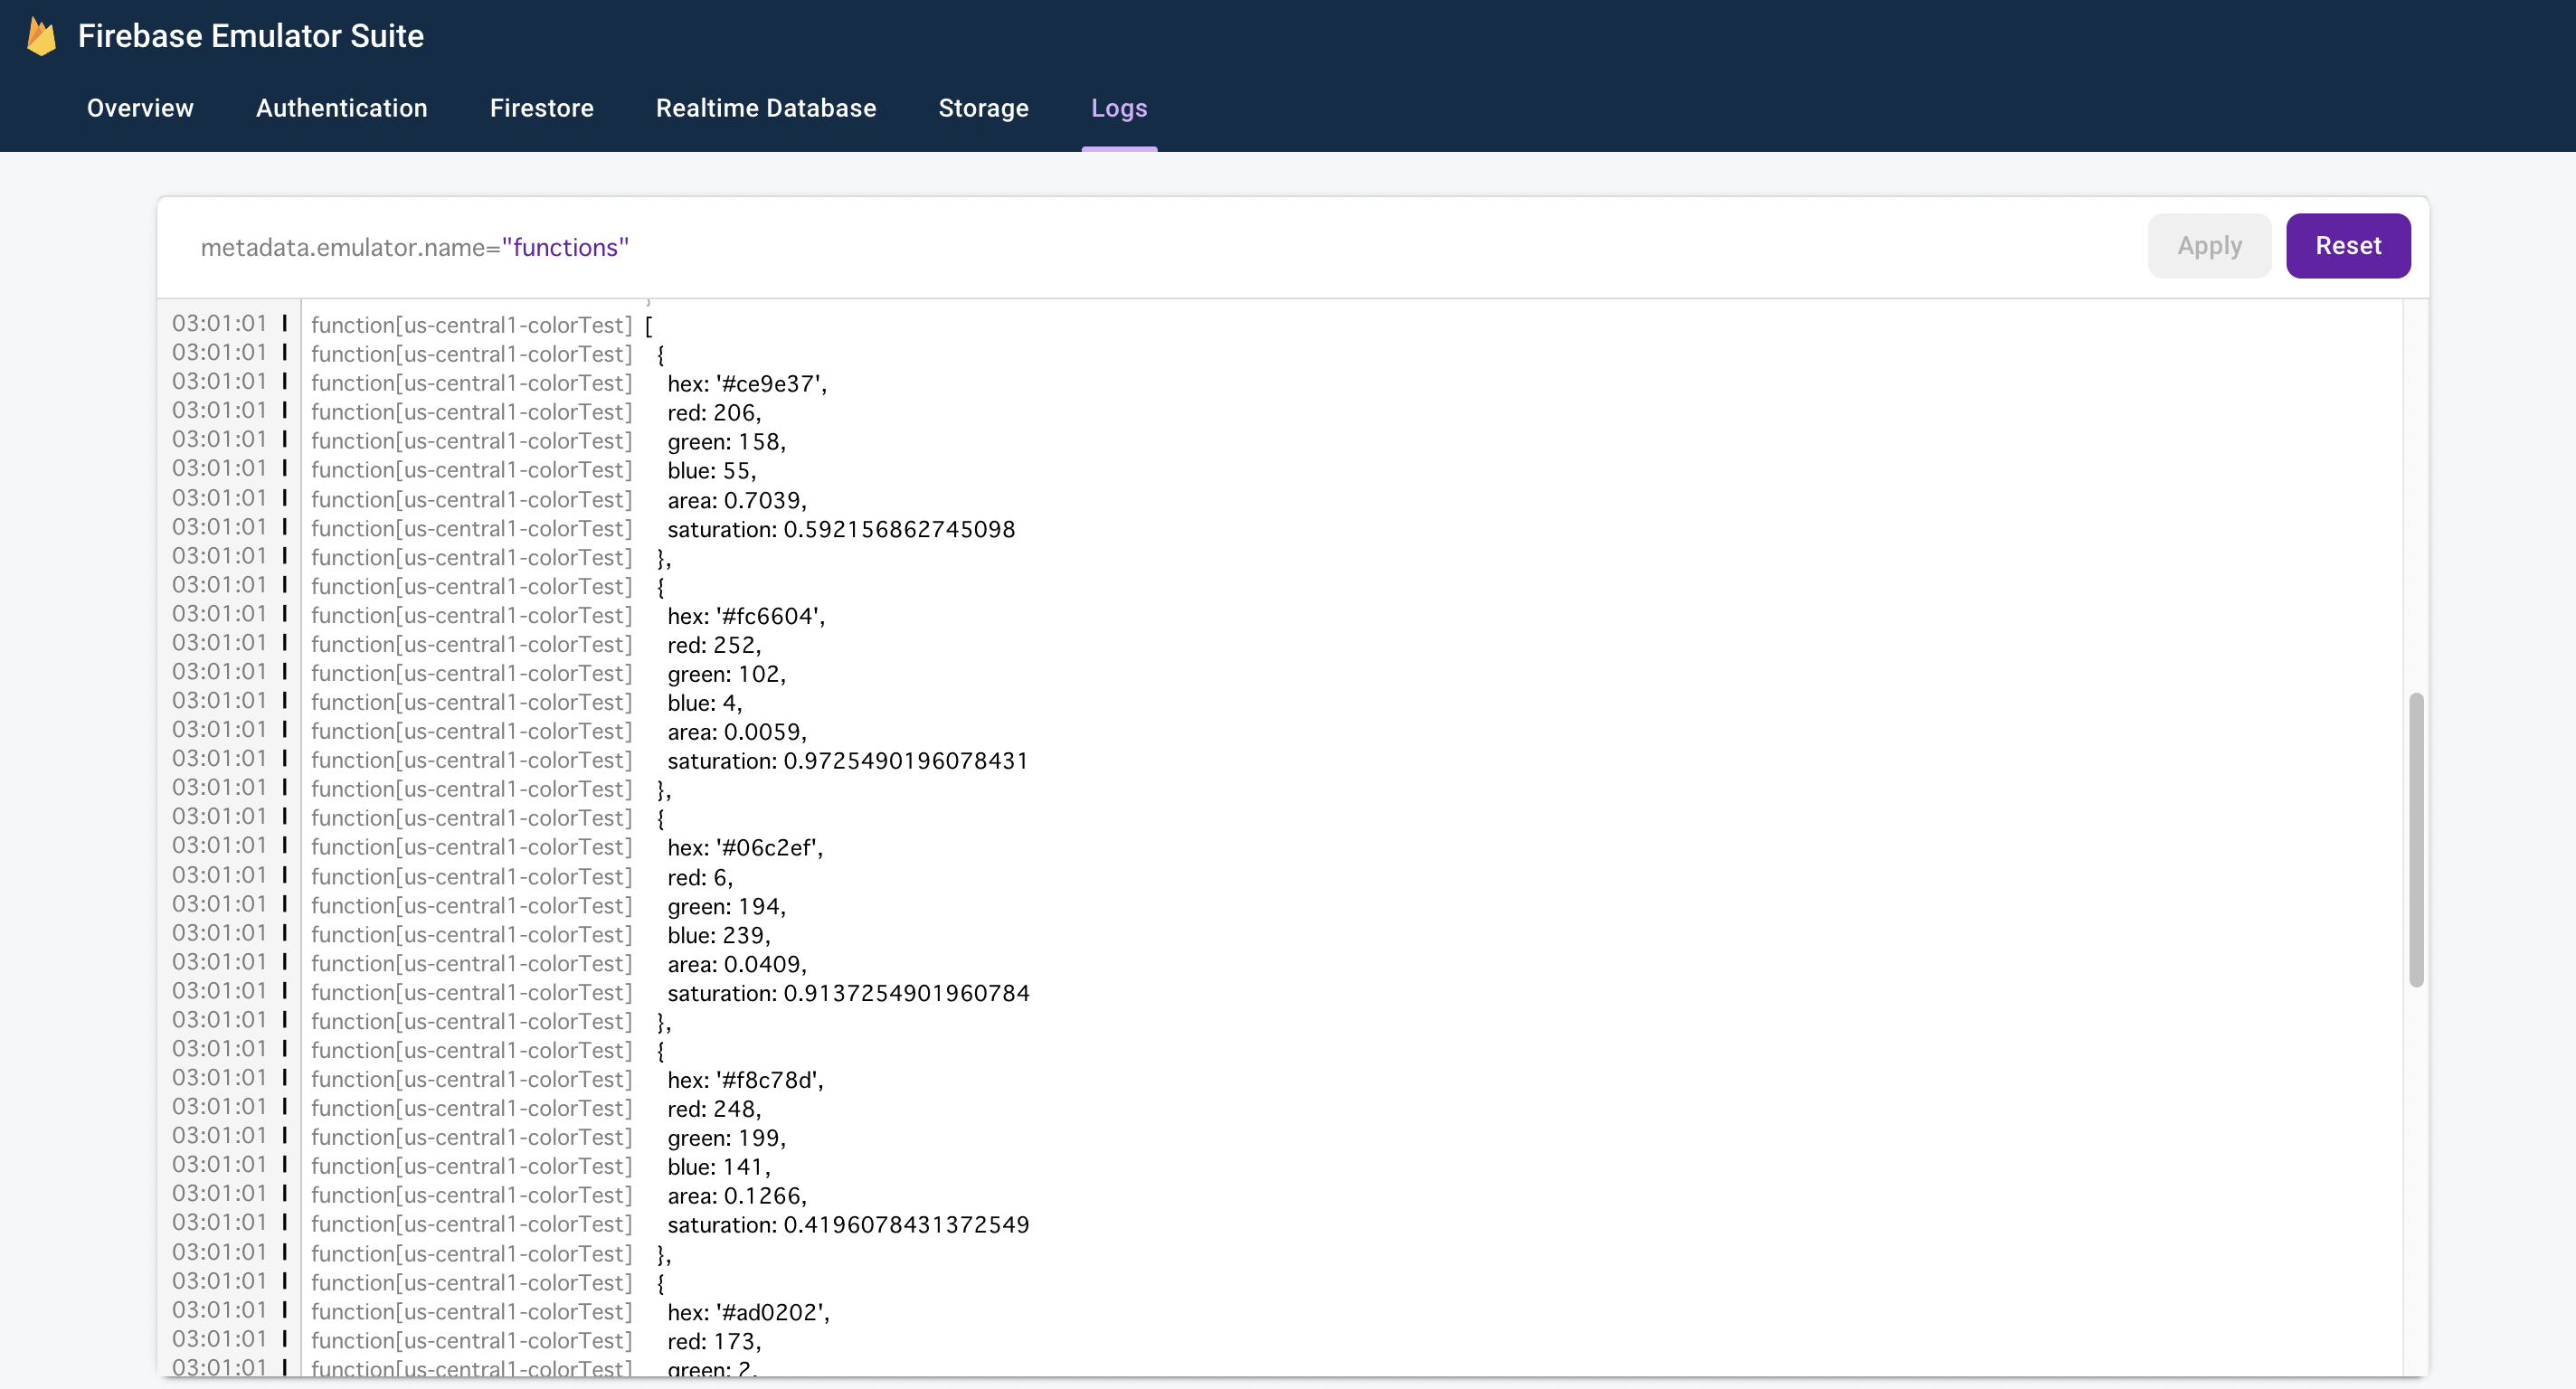
extract-colorsを使用して画像からカラーパレットを生成する処理を作成します。
使い方はシンプルで、ファイルパスとオプション設定を指定してextractColorsを実行すると色情報が得られます。
// functions/index.js
const functions = require("firebase-functions");

const path = require("path");
const {extractColorsFromSrc} = require("extract-colors");
const src = path.join(__dirname, "../assets/test.jpg");

exports.helloWorld = functions.https.onRequest((request, response) => {
  functions.logger.info("Hello logs!", {structuredData: true});
  response.send("Hello from Firebase!");
});

// 画像からカラーパレット生成
exports.colorTest = functions.https.onRequest((request, response) => {
  functions.logger.info("colorTest logs!", {structuredData: true});
  extractColorsFromSrc(src)
      .then(functions.logger.info)
      .then(() => response.send("colorTest from Firebase!"))
      .catch((err) => {
        response.send(`[Error] ${err.message}`);
        functions.logger.warn(err);
      });
});
URLからWebサイトのスクリーンショットを取得する
ヘッドレスブラウザ操作ができるPuppeteerを用いて、Webサイトのフルスクーリンショットを取得します。
コードはこちらの記事を参考にさせていただきました。
const puppeteer = require("puppeteer");
const {existsSync, mkdirSync} = require("fs");

const SCREENSHOT_DIR = "./screenshot";
const SCREENSHOT_FILE_PATH = `${SCREENSHOT_DIR}/screenshot.png`;
const VIEW_PORT = {width: 1280, height: 720};

exports.getScreenshot = async (url) => {
  if (!existsSync(SCREENSHOT_DIR)) {
    mkdirSync(SCREENSHOT_DIR);
  }

  const browser = await puppeteer.launch();

  const page = await browser.newPage();
  await page.setViewport(VIEW_PORT);
  await page.goto(`${url}`);

  await page.screenshot({
    path: SCREENSHOT_FILE_PATH,
    fullPage: true,
  });

  await browser.close();
};
// functions/index.js
const functions = require("firebase-functions");

exports.screenshotTest = functions.https.onRequest(
    async (request, response) => {
      functions.logger.info("screenshotTest logs!", {structuredData: true});

      const url = request.query.url;
      if (typeof url !== "string" || url.length === 0) {
        response.send("invalid url!");
      }
      getScreenshot(url)
          .then(functions.logger.info)
          .then(() => response.send("screenshotTest from Firebase!"))
          .catch((err) => {
            response.send(`[Error] ${err.message}`);
            functions.logger.warn(err);
          });
    },
);
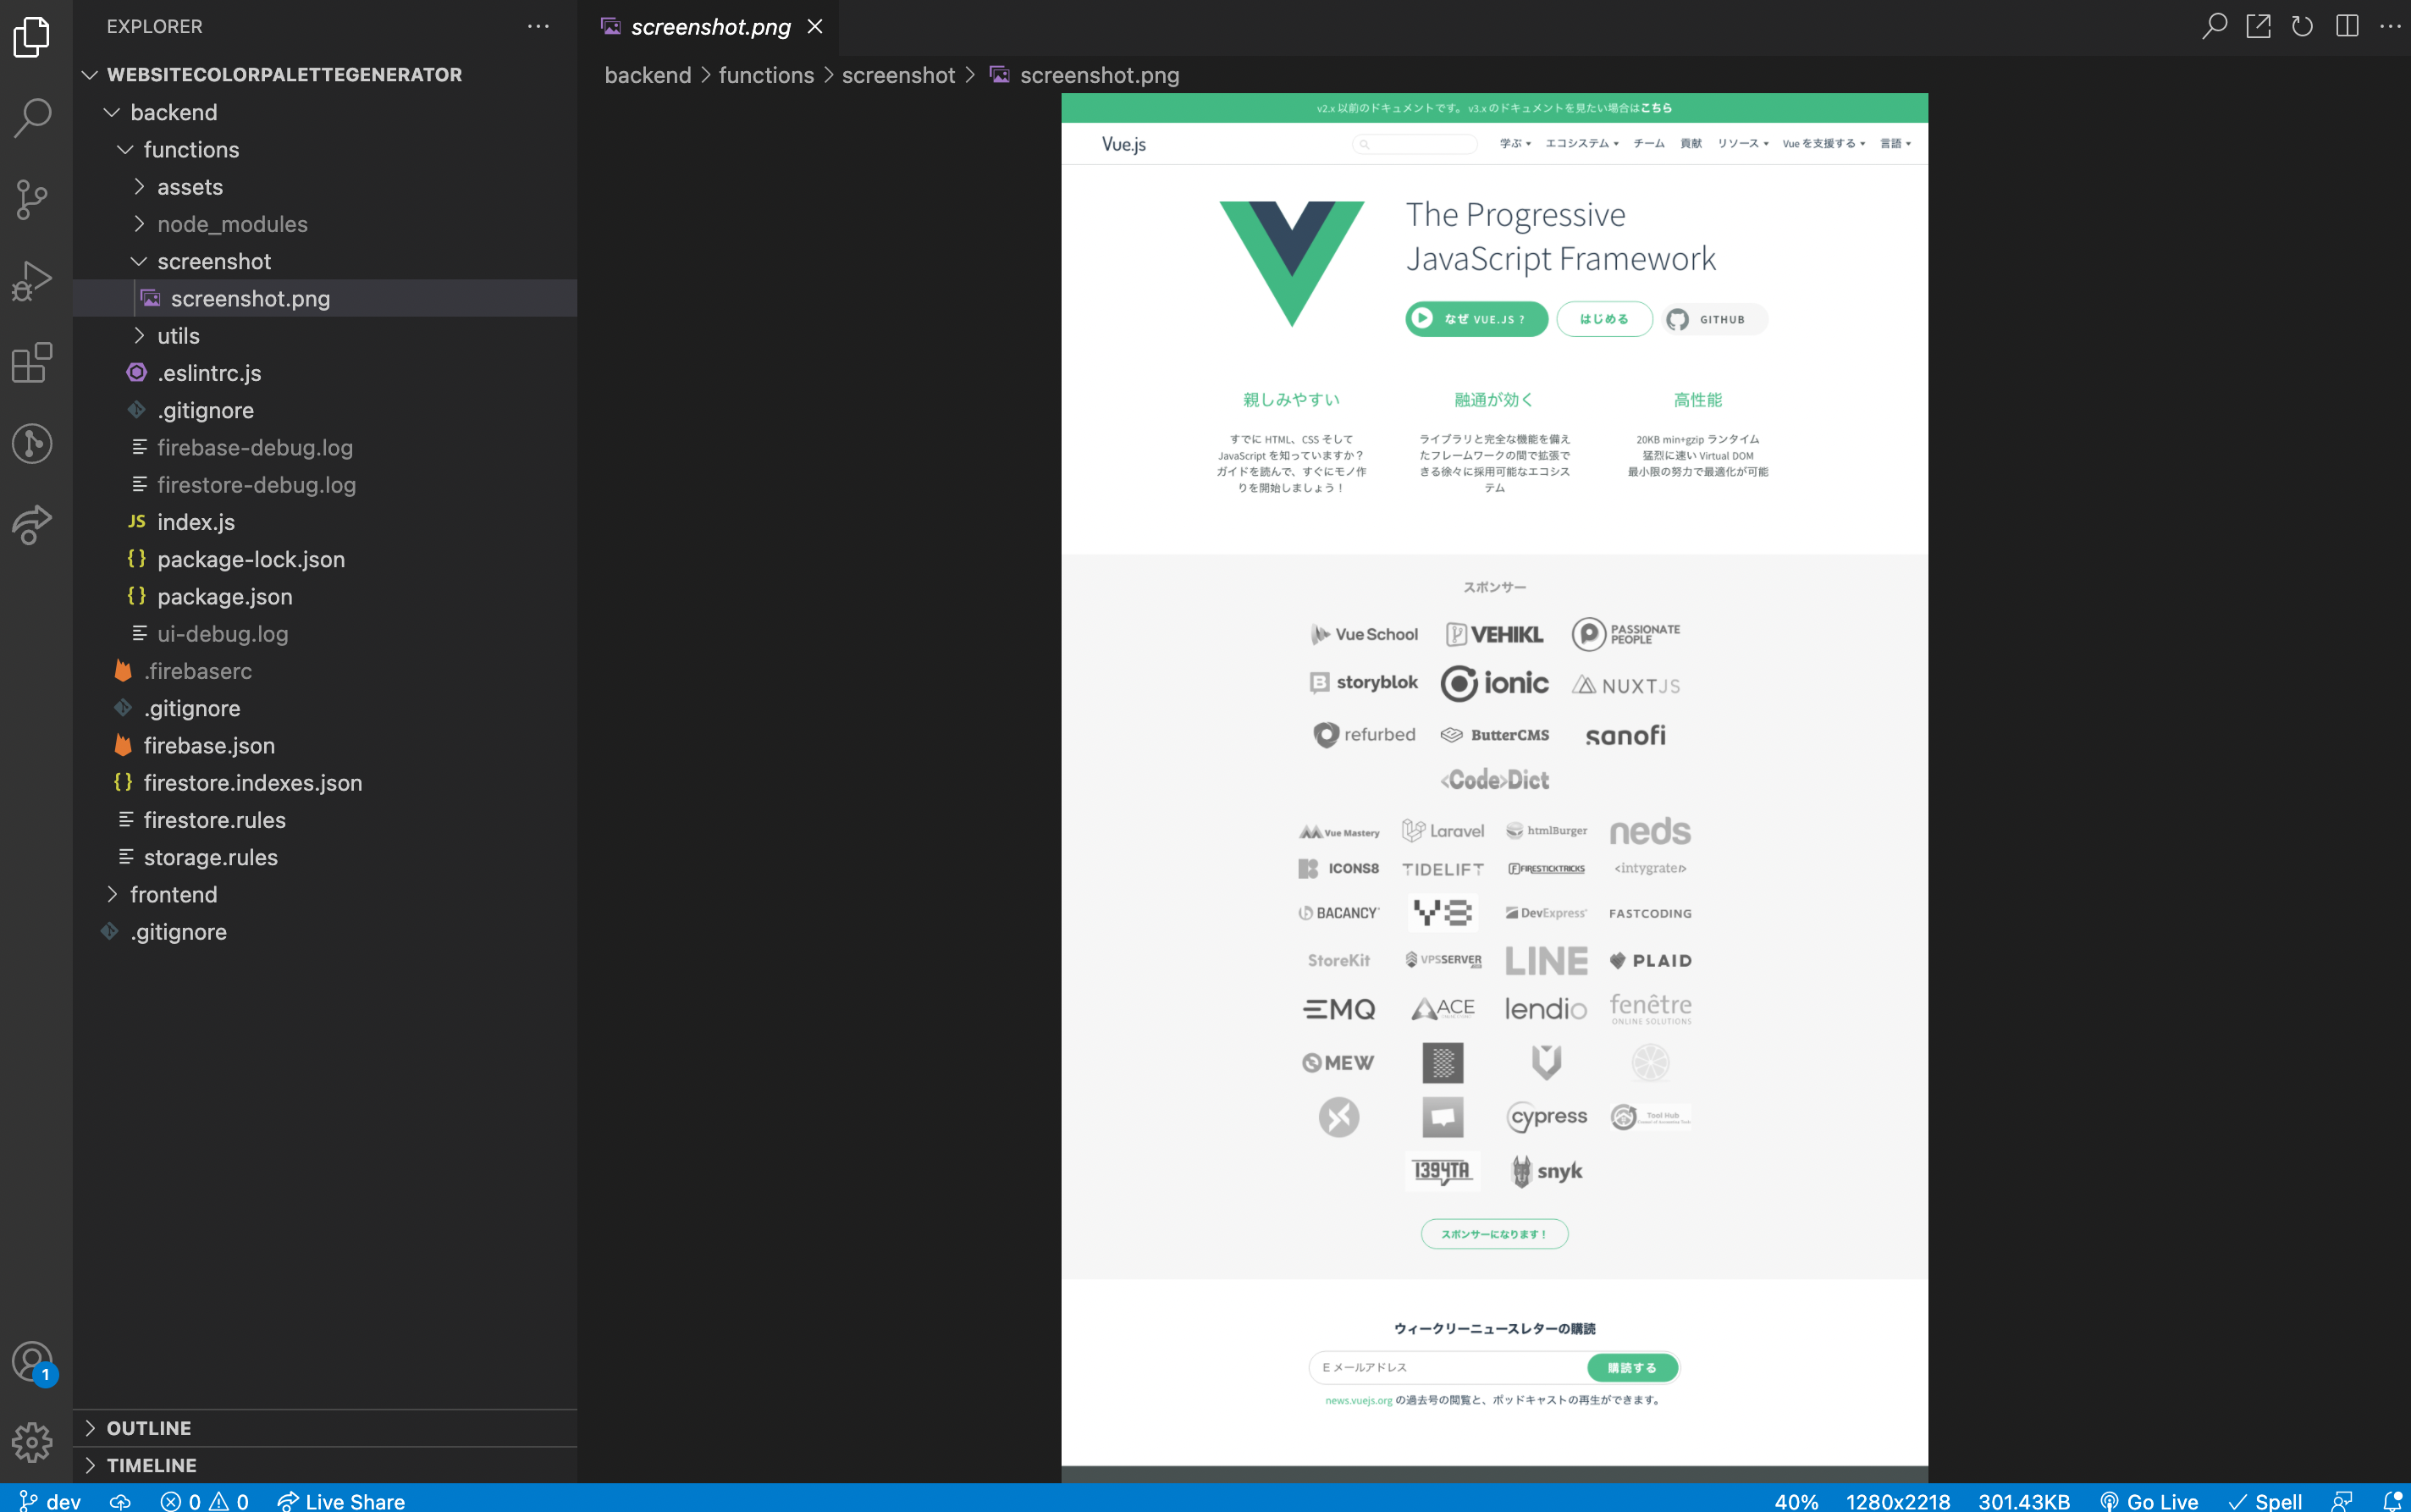
適当にURLを渡して呼び出すとscreenshotフォルダにフルスクリーンショットが格納されます。
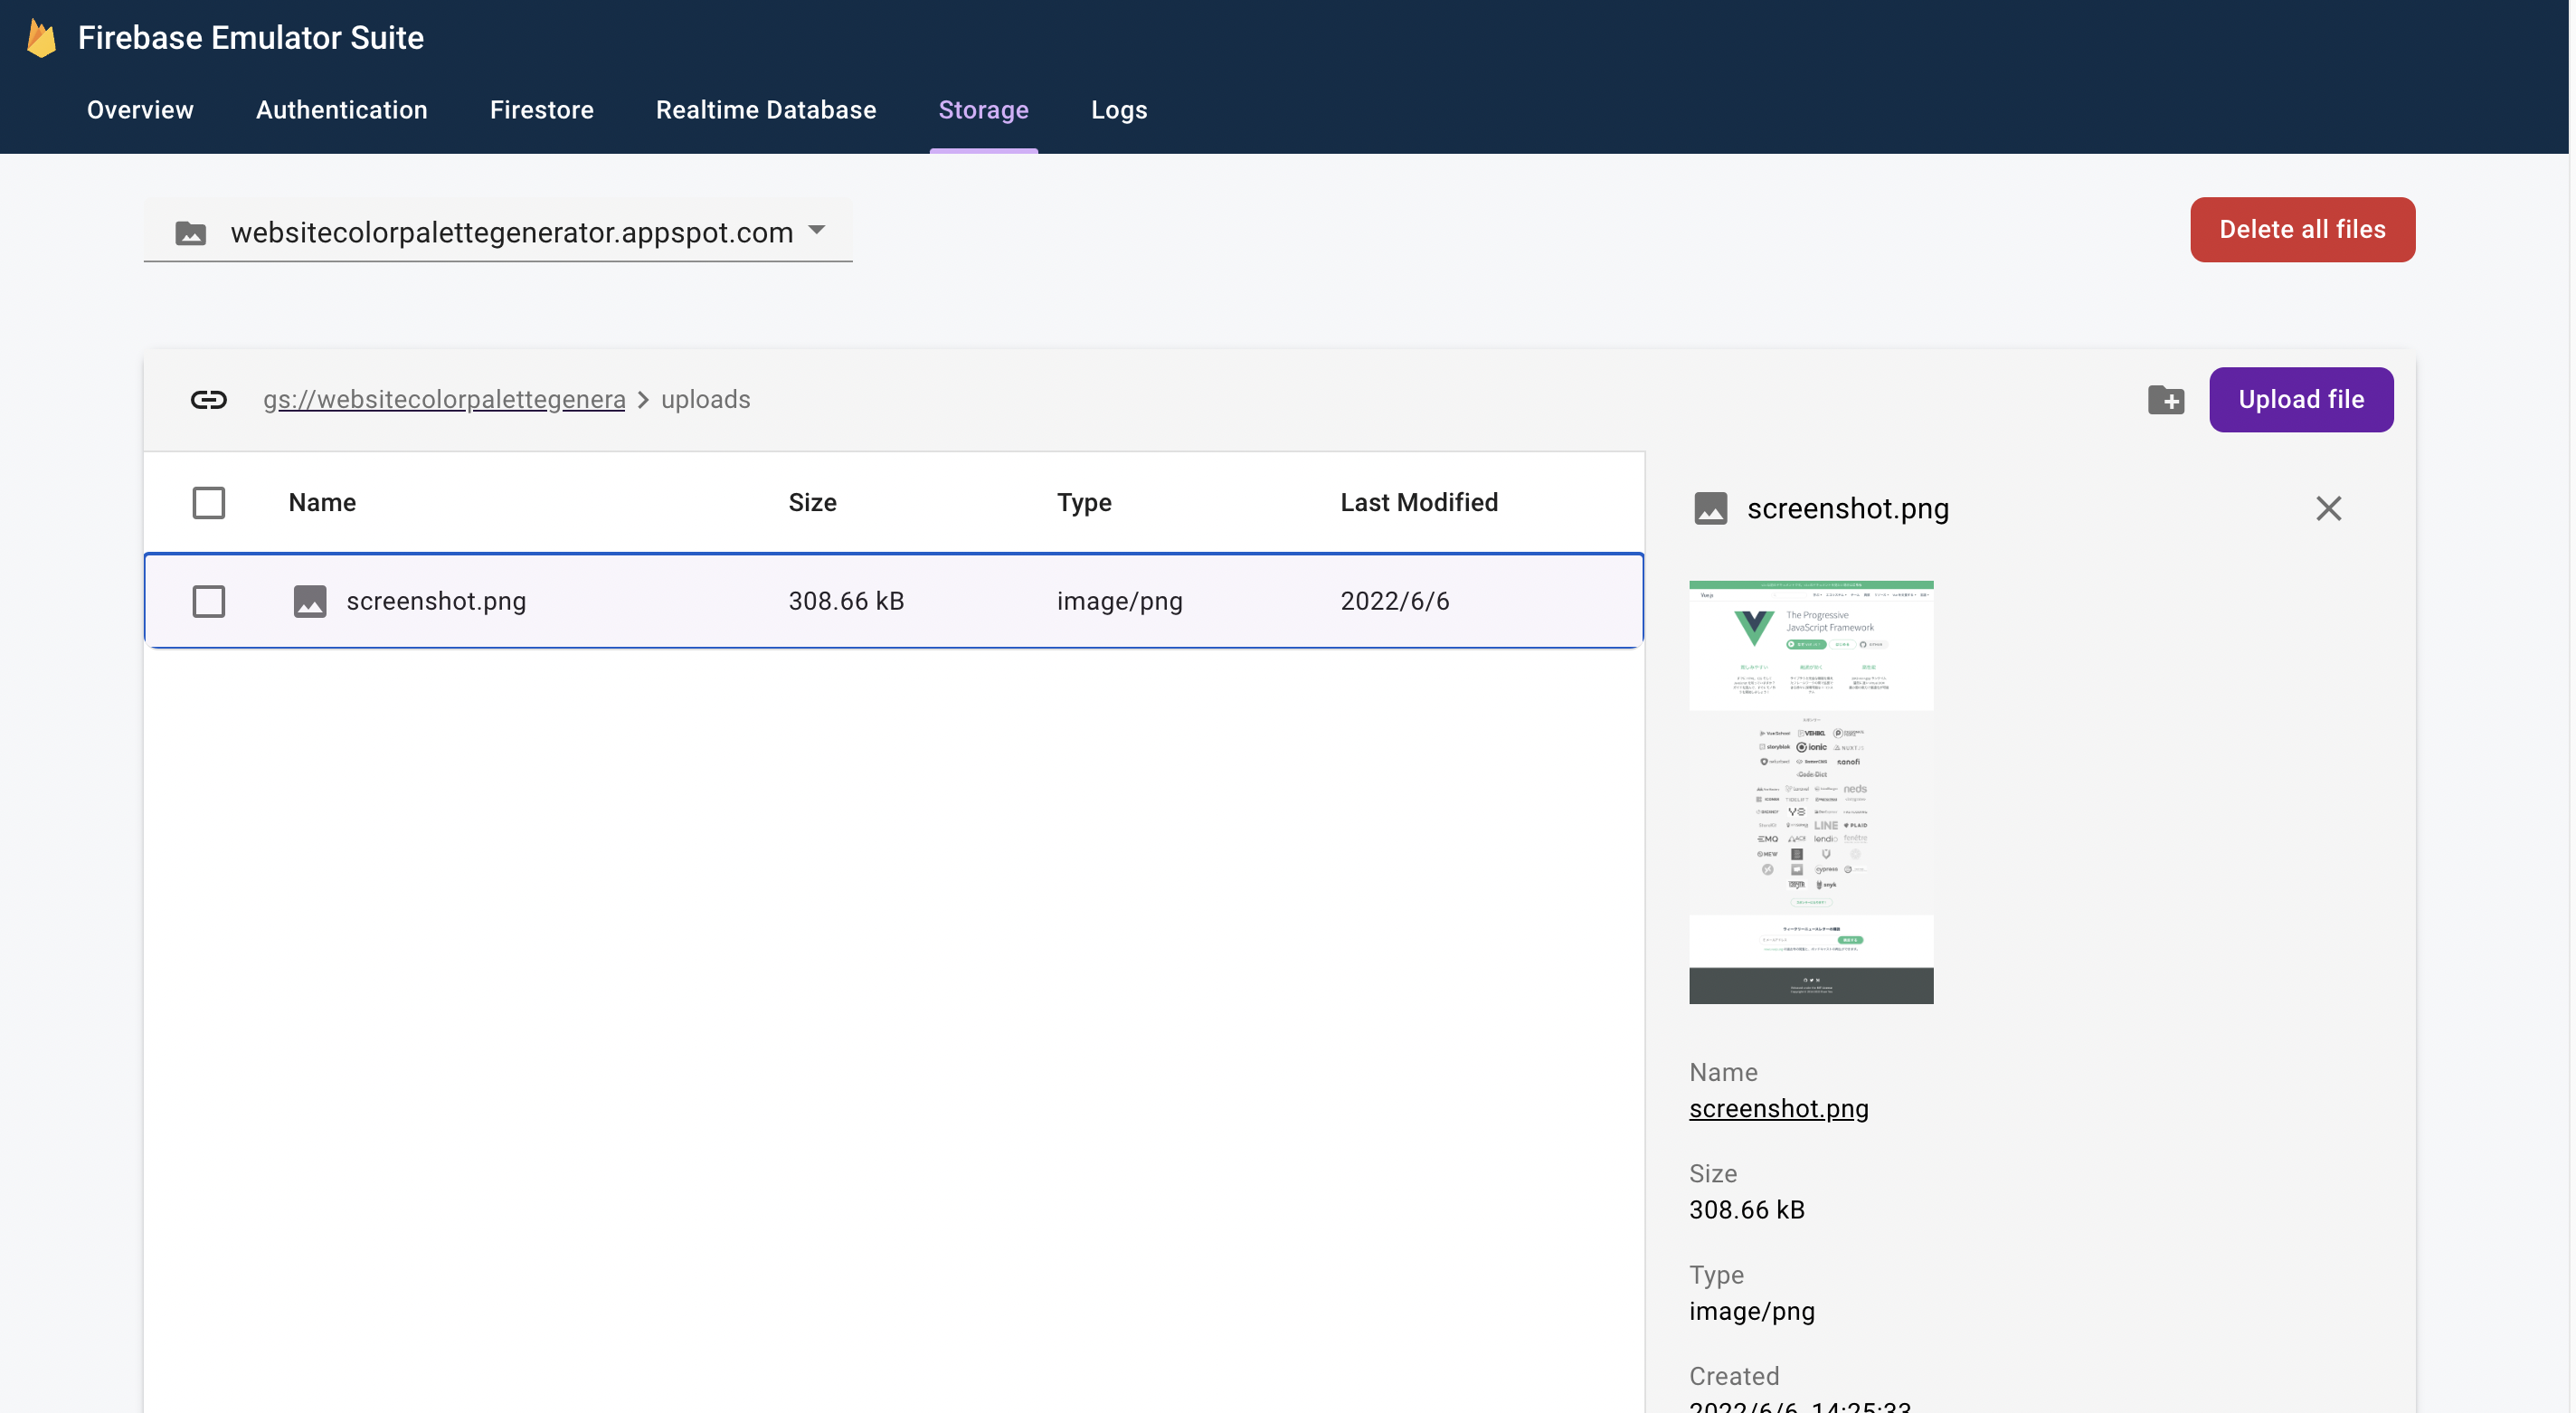
Storageへの画像保存
Firebase Admin SDKを用いてバケットを利用します。
bucket.uploadで指定した格納先に画像があることを確認します。
// functions/index.js
const functions = require("firebase-functions");

// バケット初期化
const admin = require("firebase-admin");
admin.initializeApp();
const bucket = admin.storage().bucket();

// ストレージへの画像保存
exports.storageTest = functions.https.onRequest(
    (request, response) => {
      functions.logger.info("storageTest logs!", {structuredData: true});

      bucket.upload(
          "./screenshot/screenshot.png",
          {destination: "uploads/screenshot.png"},
      );

      response.send("storageTest from Firebase!");
    },
);
FireStoreへの保存
Cloud Storageへの画像保存と同様にFirebase Admin SDKを用いて保存します。
// functions/index.js
const functions = require("firebase-functions");

const admin = require("firebase-admin");
admin.initializeApp();
const collection = admin.firestore().collection("uploads");

exports.firestoreTest = functions.https.onRequest(
    (request, response) => {
      functions.logger.info("firestoreTest logs!", {structuredData: true});

      collection.add({text: "hello"});

      response.send("firestoreTest from Firebase!");
    },
);
Frontend
Firebase Local Emulator Suiteとの接続
エミュレーターと接続するには、initializeAppで初期化したのちにポート番号を指定してローカルへ向き先を設定します。
// Import the functions you need from the SDKs you need
import { initializeApp } from "firebase/app";
import { getFirestore, connectFirestoreEmulator } from "firebase/firestore";
import { getStorage, connectStorageEmulator } from "firebase/storage";

const firebaseConfig = {
  // ...
};

initializeApp(firebaseConfig);

const db = getFirestore();
connectFirestoreEmulator(db, "localhost", 8080);

const storage = getStorage();
connectStorageEmulator(storage, "localhost", 9199);
終わりに
Firebase Local Emulator Suiteはバックエンド実装の手間を省けるので個人ツール程度であればとても使いやすく感じました。
また、スクリーンショット取得の部分ですがスクロールアニメーションなどに対応するのであれPuppeteerでの設定が必要になりますのでご注意ください。
