こんにちわ、てぬ太![]() です。
です。
この記事では「Three.jsことはじめ」と銘打って立方体を表示するまでの過程を示します。

細かいパラメータ等には触れずThree.jsを扱うにあたって必要な処理を中心にまとめます。
同じような初心者の方が3D空間にオブジェクトを配置するイメージをつかめれば幸いです。
また、アップデート等に対応できるようドキュメントへのリンクを都度貼ります。
【目次】
3Dコンテンツを作りたい!※ポエム
Three.jsとは
Getting Started
①HTMLファイルを用意する
②Three.jsを用意する
③scene、camera、rendererを作成する
④立方体を作成する
⑤立方体を表示する
⑥立方体を回転させる
まとめ
おまけ
【github】
https://github.com/tenugui-taro/threejs_sample_public
3Dコンテンツを作りたい!
これまで Vue × Vuetify でアプリを作成してきました。
この構成でもマテリアルデザインに準拠した基本的なアプリは出来ますが、
やっぱりログイン画面くらいは動きをつけてユーザーを惹きつけたい!!
というわけで javascriptを用いて3Dコンテンツを扱えるThree.jsを触ってみることにしました。
Three.jsとは
three.js
HTML5で3Dコンテンツを制作できる javascriptライブラリ
サイトを訪れると様々な作品が紹介されていました。

crossy-road
※昔ハマったゲームが紹介されていたのもライブラリ選定のポイント

Getting Started
①HTMLファイルを用意する
Before we startを参照し、HTMLファイルを作成してコピペします。
<!DOCTYPE html>
<html>
	<head>
		<meta charset="utf-8">
		<title>My first three.js app</title>
		<style>
			body { margin: 0; }
		</style>
	</head>
	<body>
		<script src="js/three.js"></script>
		<script>
			// ここにjavascript処理を記述する
		</script>
	</body>
</html>
②Three.jsを用意する
githubを参照しthree.jsファイルをダウンロードしてきます。
※CDNで用意する方法もあります。お好みで。

この時点でのディレクトリ構成は以下の通りです。
C:.
│  index.html
│
└─js
        three.js
③scene、camera、rendererを作成する
Three.jsを扱うための3種の神器です。
細かいパラメータはさておき、用語のイメージは下記の通り。
- scene:3D空間
- camera:カメラ、いくつかあるので用途に応じて選択する。今回は人間の見え方に近いPerspectiveCameraを選択
- renderer:WebGLを扱うためのレンダラー
const scene = new THREE.Scene();
const camera = new THREE.PerspectiveCamera( 75, window.innerWidth / window.innerHeight, 0.1, 1000 );

const renderer = new THREE.WebGLRenderer();
renderer.setSize( window.innerWidth, window.innerHeight );
document.body.appendChild( renderer.domElement );
④立方体を作成する
オブジェクト作成にあたっては、形状指定とマテリアルの2点が必要です。
まずgeometry(形状)を指定します。今回はBoxGeometryを参照し立方体を指定します。
次にmaterialを用意します。MeshBasicMaterialではパラメータをいじって仕上がりを確認することもできます。
const geometry = new THREE.BoxGeometry();
const material = new THREE.MeshBasicMaterial( { color: 0x00ff00 } );
const cube = new THREE.Mesh( geometry, material );
scene.add( cube );

// 表示の都合上、カメラの位置を設定しておく
camera.position.z = 5;
⑤立方体を表示する
ここまでの手順を踏んでもまだ何も表示されません。
実はまだ何もレンダリングしていないからです。
renderer.render( scene, camera ); // レンダリング
この時点でindex.htmlを開くと以下の画像のように表示されます。

⑥立方体を回転させる
現在は立方体の一面を映しているだけなので正方形のように見えます。
そこで、アニメーション処理を加えて立方体であることを確認します。
また、レンダリング処理も加えて更新します。
function animate() {
    requestAnimationFrame(animate);
    cube.rotation.x += 0.01;
    cube.rotation.y += 0.01;
    renderer.render(scene, camera); // レンダリング
}
animate();
動きがついて立方体であることが確認できました!

すべての処理を記述したindex.htmlは以下の通りです。
<!DOCTYPE html>
<html>
  <head>
    <meta charset="utf-8" />
    <title>My first three.js app</title>
    <style>
      body {
        margin: 0;
      }
    </style>
  </head>
  <body>
    <script src="js/three.js"></script>
    <script>
      // ③scene、camera、rendererを用意する
      const scene = new THREE.Scene();
      const camera = new THREE.PerspectiveCamera(
        75,
        window.innerWidth / window.innerHeight,
        0.1,
        1000
      );

      const renderer = new THREE.WebGLRenderer();
      renderer.setSize(window.innerWidth, window.innerHeight);
      document.body.appendChild(renderer.domElement);

      // ④立方体を用意する
      const geometry = new THREE.BoxGeometry();
      const material = new THREE.MeshBasicMaterial({ color: 0x00ff00 });
      const cube = new THREE.Mesh(geometry, material);
      scene.add(cube);

      camera.position.z = 5;

      // ⑤立方体を表示する
      // ⑥立方体を回転させる
      function animate() {
        requestAnimationFrame(animate);
        cube.rotation.x += 0.01;
        cube.rotation.y += 0.01;
        renderer.render(scene, camera); // レンダリング
      }
      animate();
    </script>
  </body>
</html>
まとめ
ひとまず立方体を表示することができました!
やはりライブラリを利用すると手軽に実装できますね。学習コストはかかりますが...
インタラクティブなアプリを目指して引き続き勉強していきます![]()
![]()
おまけ
公式ドキュメントでは様々なパラメータをいじりながら仕上がりを確認することができます。
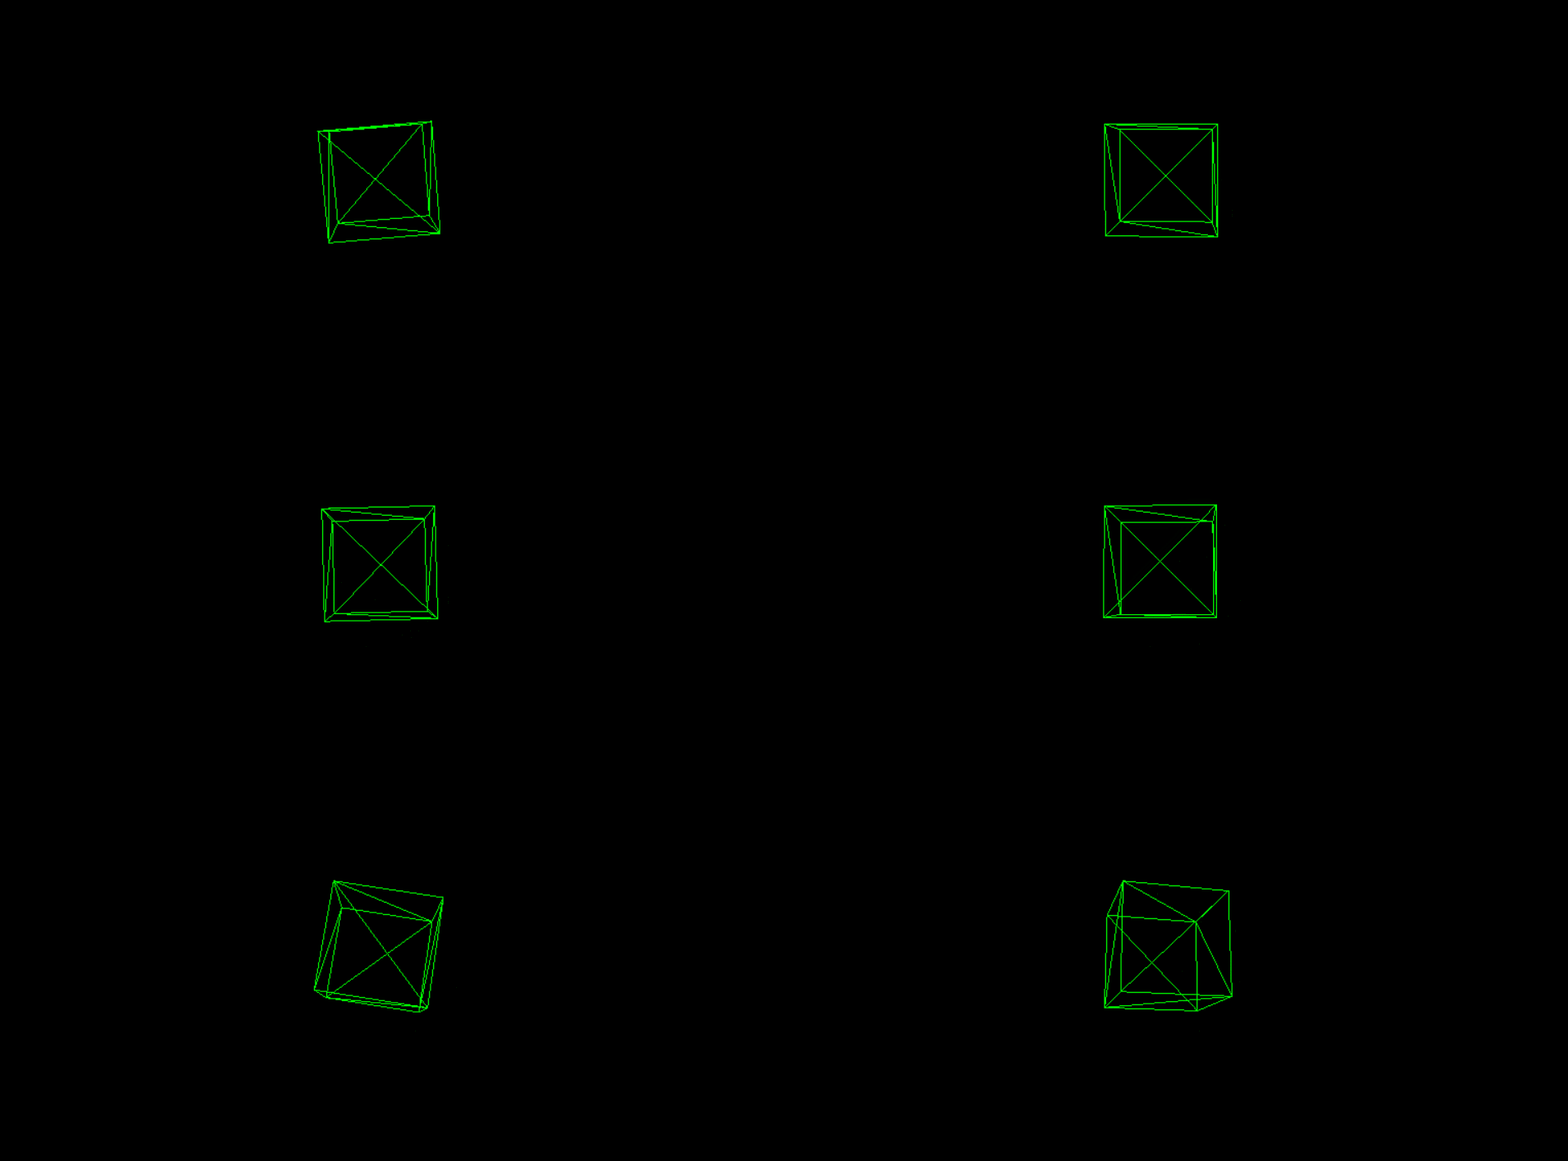
試しにBoxGeometryにワイヤーフレーム表示の設定を加えます。
const material = new THREE.MeshBasicMaterial({
    color: 0x00ff00,
    wireframe: true, // ワイヤーフレーム表示
});
