Jupyter Advent Calendar 2017 12日目です。
Jupyter Notebookの内部構造を解説します。
Jupyter Notebookを輸出する
Jupyter は、科学技術文書を作成する環境として大変便利ですね。Download as のメニューから、Notebook以外の形式でも保存できます。現時点で保存可能な形式は、HTML、markdown、PDF、LaTeX、reST (restructured text)、使用中言語ソース (下では Julia) です。

Jupyterから直接保存できない形式で使う場合には、Notebookファイルから直接変換するのがよいかもしれません。Notebook形式 (.ipynb) は JSONファイルですから、読み書きするのも簡単です。
Notebookの内部構造
Notebook形式(.ipynb)の内部構造は、The Notebook file format に説明がありますが、構文規則のみです。実務家としては、実際の Notebook の中身をみるのが分かりやすいでしょう。
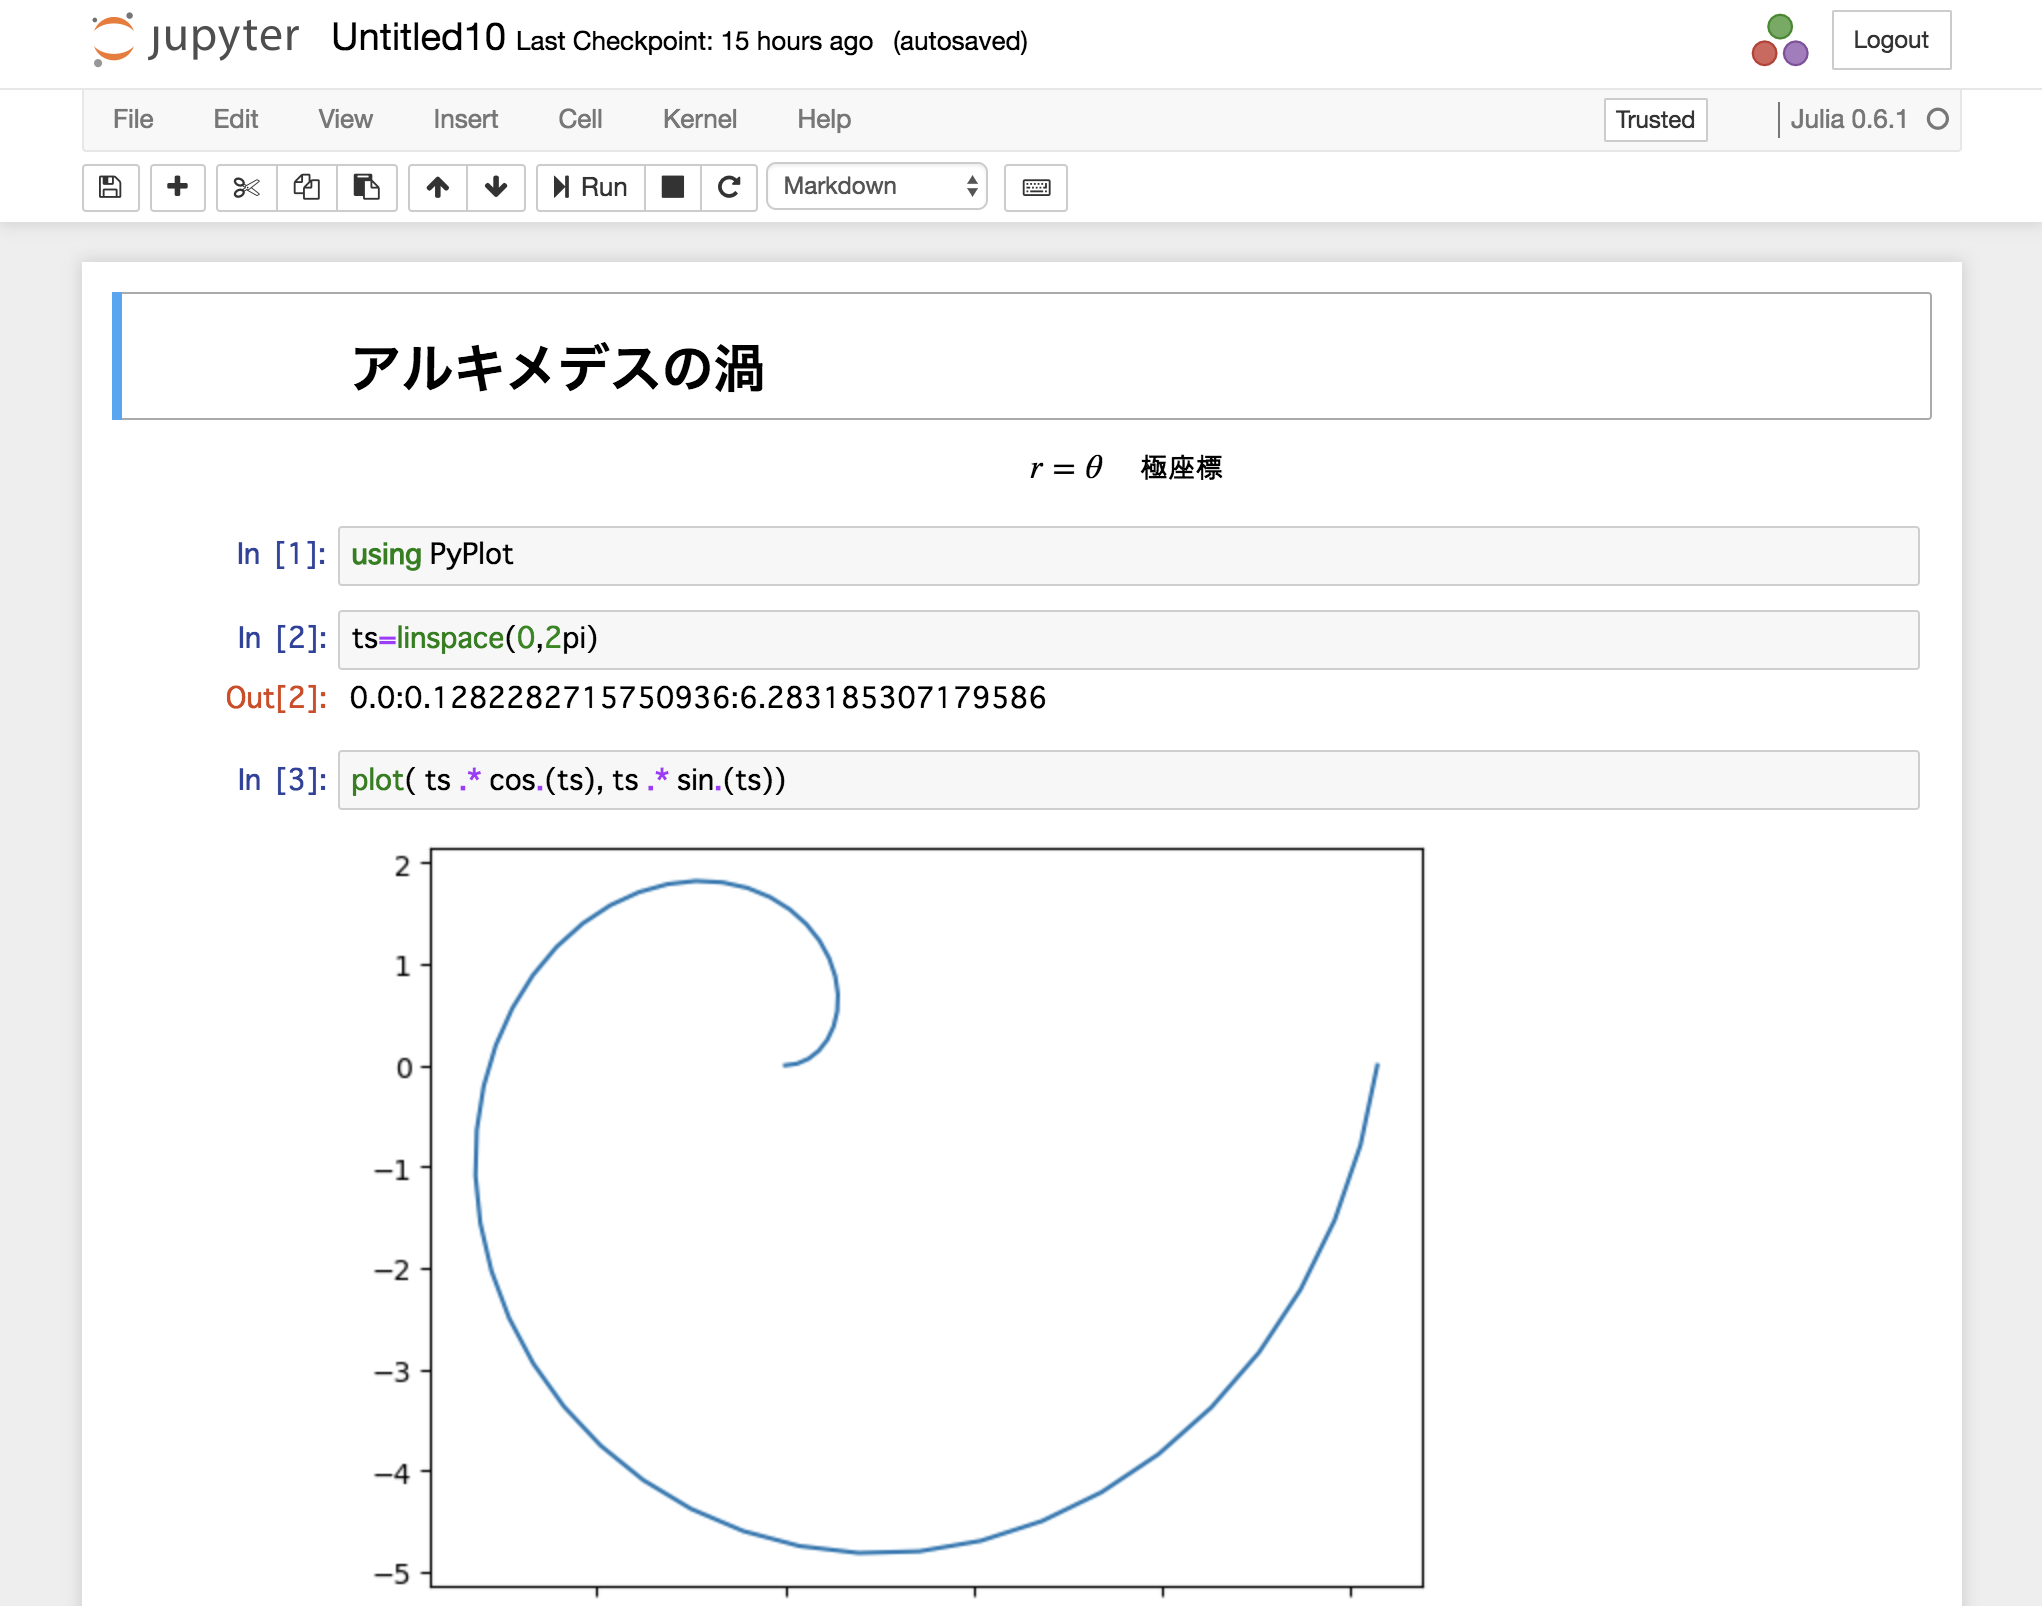
以下のような、Juliaプログラムの Notebookの中身を見てみます。gist に貼っておきます → https://gist.github.com/anonymous/8d51c367d5cee2828f3da30390033010
using PyPlot
ts=linspace(0,2pi)
plot( ts .* cos.(ts), ts .* sin.(ts))
NotebookのJSONの中身は、gist のraw形式で表示できます。そのまま貼り付けるのも芸がないので、Rubyを使ってYAMLで表示してみます。参考 → YAML <-> JSON 変換 (Rubyで実装)
require "JSON"
json=JSON.parse( File.read("Untitled10.ipynb"));
require "YAML"
YAML.dump(json)
---
cells:
- cell_type: markdown
  metadata: {}
  source:
  - "# アルキメデスの渦"
- cell_type: markdown
  metadata: {}
  source:
  - "$$r = \\theta\\quad\\text{極座標}$$"
- cell_type: code
  execution_count: 1
  metadata: {}
  outputs: []
  source:
  - using PyPlot
- cell_type: code
  execution_count: 2
  metadata: {}
  outputs:
  - data:
      text/plain:
      - 0.0:0.1282282715750936:6.283185307179586
    execution_count: 2
    metadata: {}
    output_type: execute_result
  source:
  - ts=linspace(0,2pi)
- cell_type: code
  execution_count: 3
  metadata: {}
  outputs:
  - data:
      image/png:
      iVBORw0KGgoAAAANSUhE ..(途中省略).. 64AAAAASUVORK5CYII=
      text/plain:
      - PyPlot.Figure(PyObject <matplotlib.figure.Figure object at 0x11e764eb8>)
    metadata: {}
    output_type: display_data
  - data:
      text/plain:
      - '1-element Array{PyCall.PyObject,1}:

'
      - " PyObject <matplotlib.lines.Line2D object at 0x1248e2eb8>"
    execution_count: 3
    metadata: {}
    output_type: execute_result
  source:
  - plot( ts .* cos.(ts), ts .* sin.(ts))
- cell_type: code
  execution_count:
  metadata: {}
  outputs: []
  source: []
metadata:
  kernelspec:
    display_name: Julia 0.6.1
    language: julia
    name: julia-0.6
  language_info:
    file_extension: ".jl"
    mimetype: application/julia
    name: julia
    version: 0.6.1
nbformat: 4
nbformat_minor: 2
以下のような内部構造が読み取れます。
- 最上位の要素は
metadata,cells,nbformat,nbformat_minorです。前2つは配列で、最後の二つは整数です。 -
metadataには、Jupyterのカーネルと、言語の情報が入ります。 -
cellsには、Notebookの各セルが入ります。- 各セルで重要な要素は、
cell_type,metadata,sourcesです。 -
cell_typeは、セルの型です。 markdownセルではmarkdown、codeセルではcodeという値が入ります。Raw NBConvertセル(=表示の際に変換されたくないデータを入れる)ではrawという値が入ります。-
sourceには、入力文字列の各行が配列で入ります - codeセルには、
execution_countとoutputの要素があります。-
execution_countは、入力セルの通し番号です。In[n]の n に相当する整数またはnullが入ります。 -
outputには、出力結果が配列で入ります。- 出力結果の重要な要素は
output_typeとdataです。 -
outout_typeは、出力の形式です。 -
dataには、データ本体が入ります。
以上です。
- 出力結果の重要な要素は
-
-
- 各セルで重要な要素は、
本例では、画像を一つ含んでいます。 画像に対応する出力セルは output_type=display_data という値となり、dataにはimage/pngの行に引き続き、BASE64形式で png画像が格納されていました。
ちなみに昨年のAdvent Calendarでは、Mayavi という3DオブジェクトをNotebookに埋め込む試みを紹介しました。 → [Python, Julia] Jupyter で 3D 表示 - Mayavi ライブラリ
Mayaviオブジェクトに対応する出力セルは、output_type = execute_result となり、dataにはtext/html に続き、xml形式のデータが含まれていました。
Scrapboxに輸出したい
Nota Inc. が提供するScrapboxは、複数人でリアルタイムに編集できるWikiです。各ページ中のタグやリンクを使うと、関連する複数のページが整理されて表示されます、Markdownと比べて記法が簡単です。 → Scrapboxヘルプ: 記法
私は、Jupyter NotebookをScrapboxに輸出したくなりました。始めは手作業で、以下のようにすれば、scrapboxのページと親和性が高いことが分かりました。
- markdownセルは、Scrapboxの地のテキストに入れる。
- codeセルは、
source(= プログラム)と出力テキストを、別々のコードブロックに格納する。
JupyterToScrapboxの紹介
Notebook形式からScrapbox形式への変換を支援するツールJupyterToScrapboxを紹介します。 Rubyで書かれていて gemでインストールできます。 bundler を使っていますが、その辺の環境設定は割愛します。
gem install jupyter_to_scrapbox
簡単な使い方は、以下の通りです。 Scrapboxで輸入できる形式のJSONファイルが scrapbox.json に格納されます。
bundle exec jupyter_to_scrapbox convert notebook1.ipynb notebook2.ipynb > scrapbox.json
さらに、Notebook内の画像を取り込む機能もつけました。Scrapboxの画像は、Nota Inc. の画像キャプチャサービス Gyazoへの各リンクになっています。Gyazo APIへのuser access tokenを環境変数GYAZO_TOKENに指定しておき、--imageオプションをつけて jupyter_to_scrapboxを起動します。
export GYAZO_TOKEN="(gyazo user access token)"
bundle exec jupyter_to_scrapbox convert Untitled10.ipynb --image > scrapbox.json
冒頭の Notebookから生成したScrapbox形式JSONを、YAMLで表示しましょう。
- title: '2017-12-10 01:15:04 +0900'
  lines:
  - '2017-12-10 01:15:04 +0900'
  - "Untitled10.ipynb"
  - ''
  - "[*** アルキメデスの渦]"
  - "[$ r = \\theta\\quad\\text{極座標} ]"
  - code:source.jl
  - "\t# In[1]"
  - "\tusing PyPlot"
  - ''
  - code:source.jl
  - "\t# In[2]"
  - "\tts=linspace(0,2pi)"
  - ''
  - code:output.txt
  - "\t0.0:0.1282282715750936:6.283185307179586"
  - ''
  - code:source.jl
  - "\t# In[3]"
  - "\tplot( ts .* cos.(ts), ts .* sin.(ts))"
  - ''
  - code:output.txt
  - "\timage/png"
  - "[https://i.gyazo.com/f720e453a77bd42bfe666fb5f8a2d914.png]"
  - ''
  - code:output.txt
  - "\tPyPlot.Figure(PyObject <matplotlib.figure.Figure object at 0x11e764eb8>)"
  - ''
  - code:output.txt
  - "\t1-element Array{PyCall.PyObject,1}:"
  - "\t PyObject <matplotlib.lines.Line2D object at 0x1248e2eb8>"
  - ''
  - code:source.jl
  - "\t# In[]"
  - ''
codeブロックは、code:(ファイル名) で始まり、空行''で終わる範囲です。
プログラム列はsource.jlブロックに、出力テキストはoutput.txtブロックに格納することにしました。
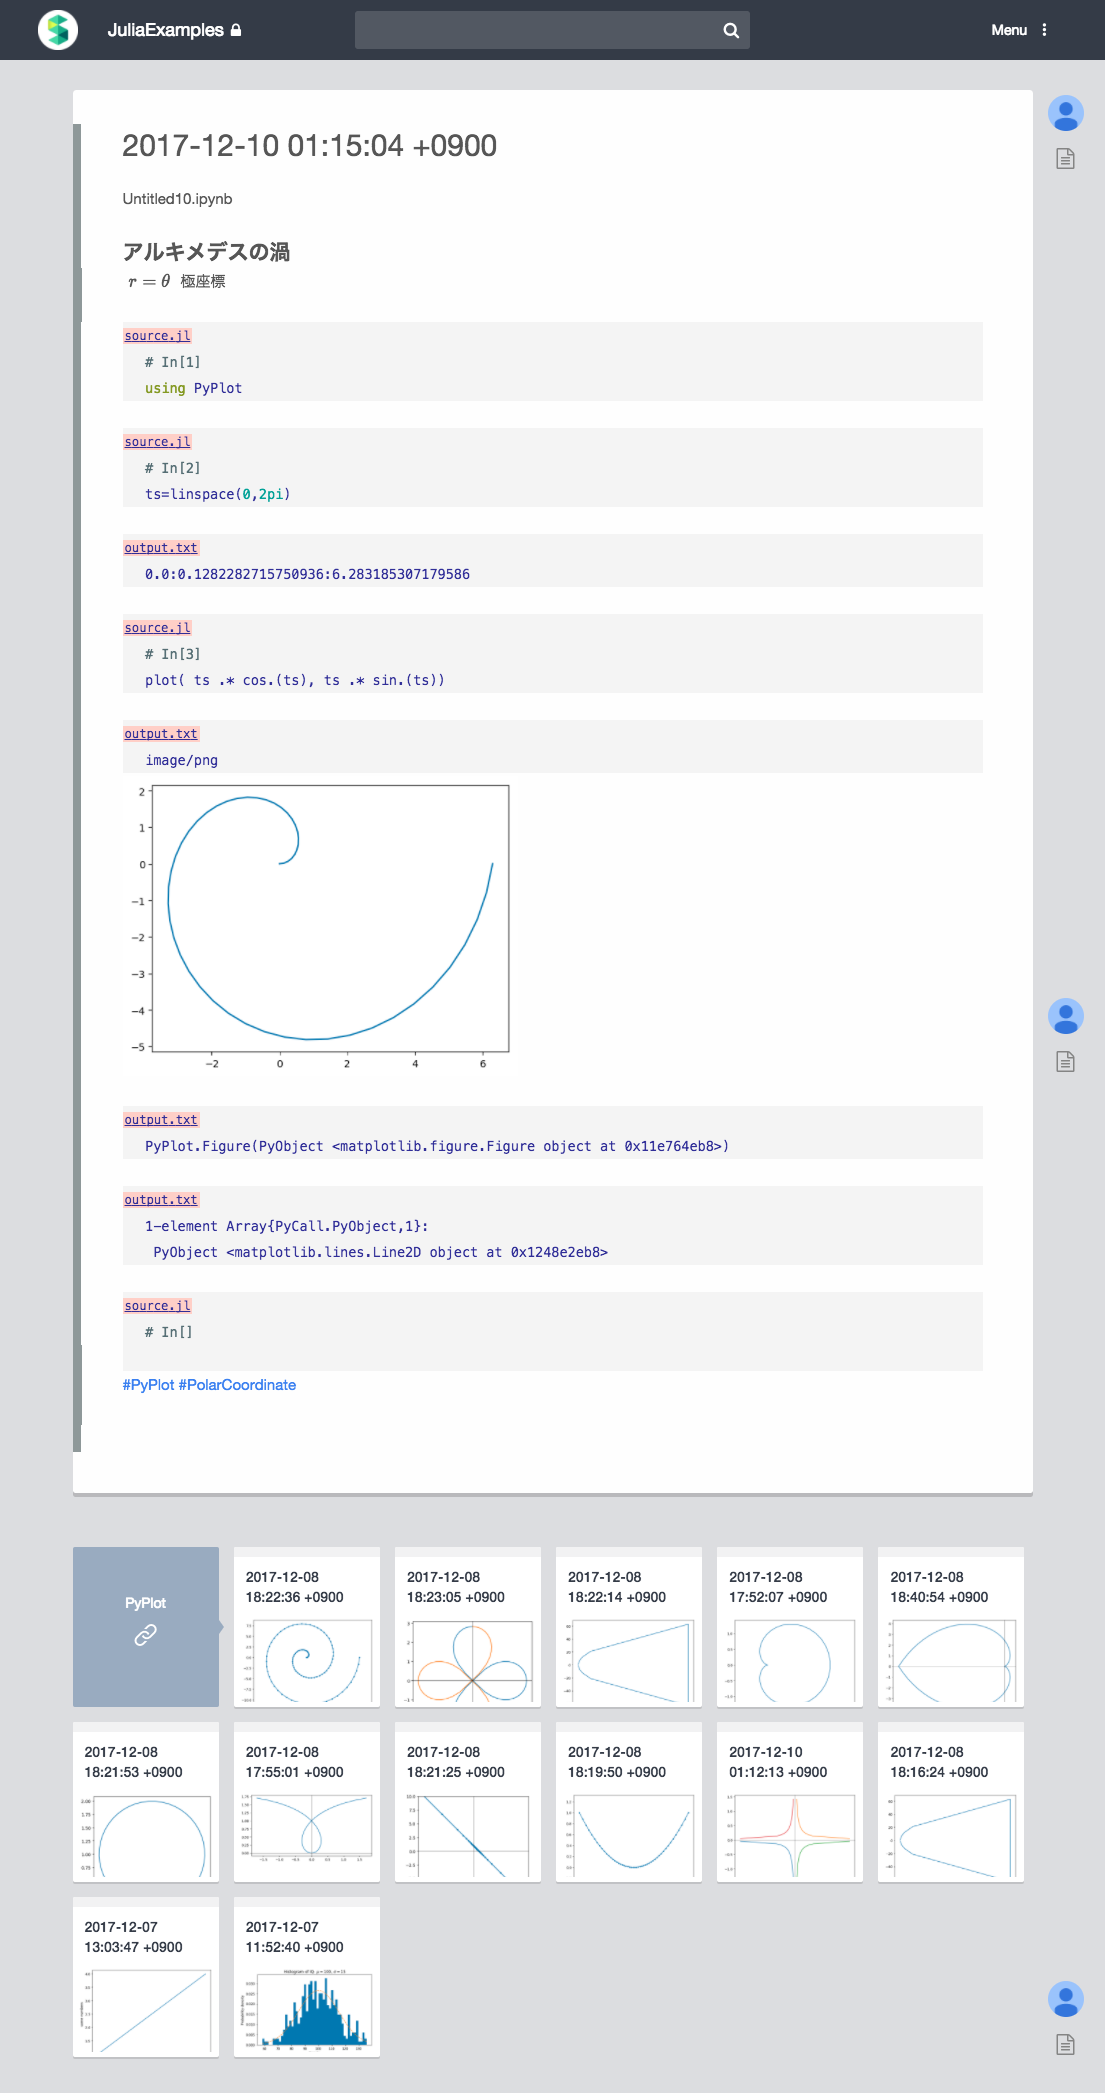
これをScrapboxに取り込むと、以下のようになります。画像も含めて取り込まれています。
なお、上のURLに source.jlを付与すると、プログラム列のみが取り出せます。
https://scrapbox.io/api/code/JuliaExamples/2017-12-10_01:15:04_+0900/source.jl
# In[1]
using PyPlot
# In[2]
ts=linspace(0,2pi)
# In[3]
plot( ts .* cos.(ts), ts .* sin.(ts))
# In[]
終わりに
Jupyter Notebookの内部構造と、Scrapboxへの変換ツールを紹介しました。 たくさんのNotebookをScrapboxに輸出して実例集を作ってみたいと考えています。詳細は Julia Advent Calendarとして書きます。


