TL;DR
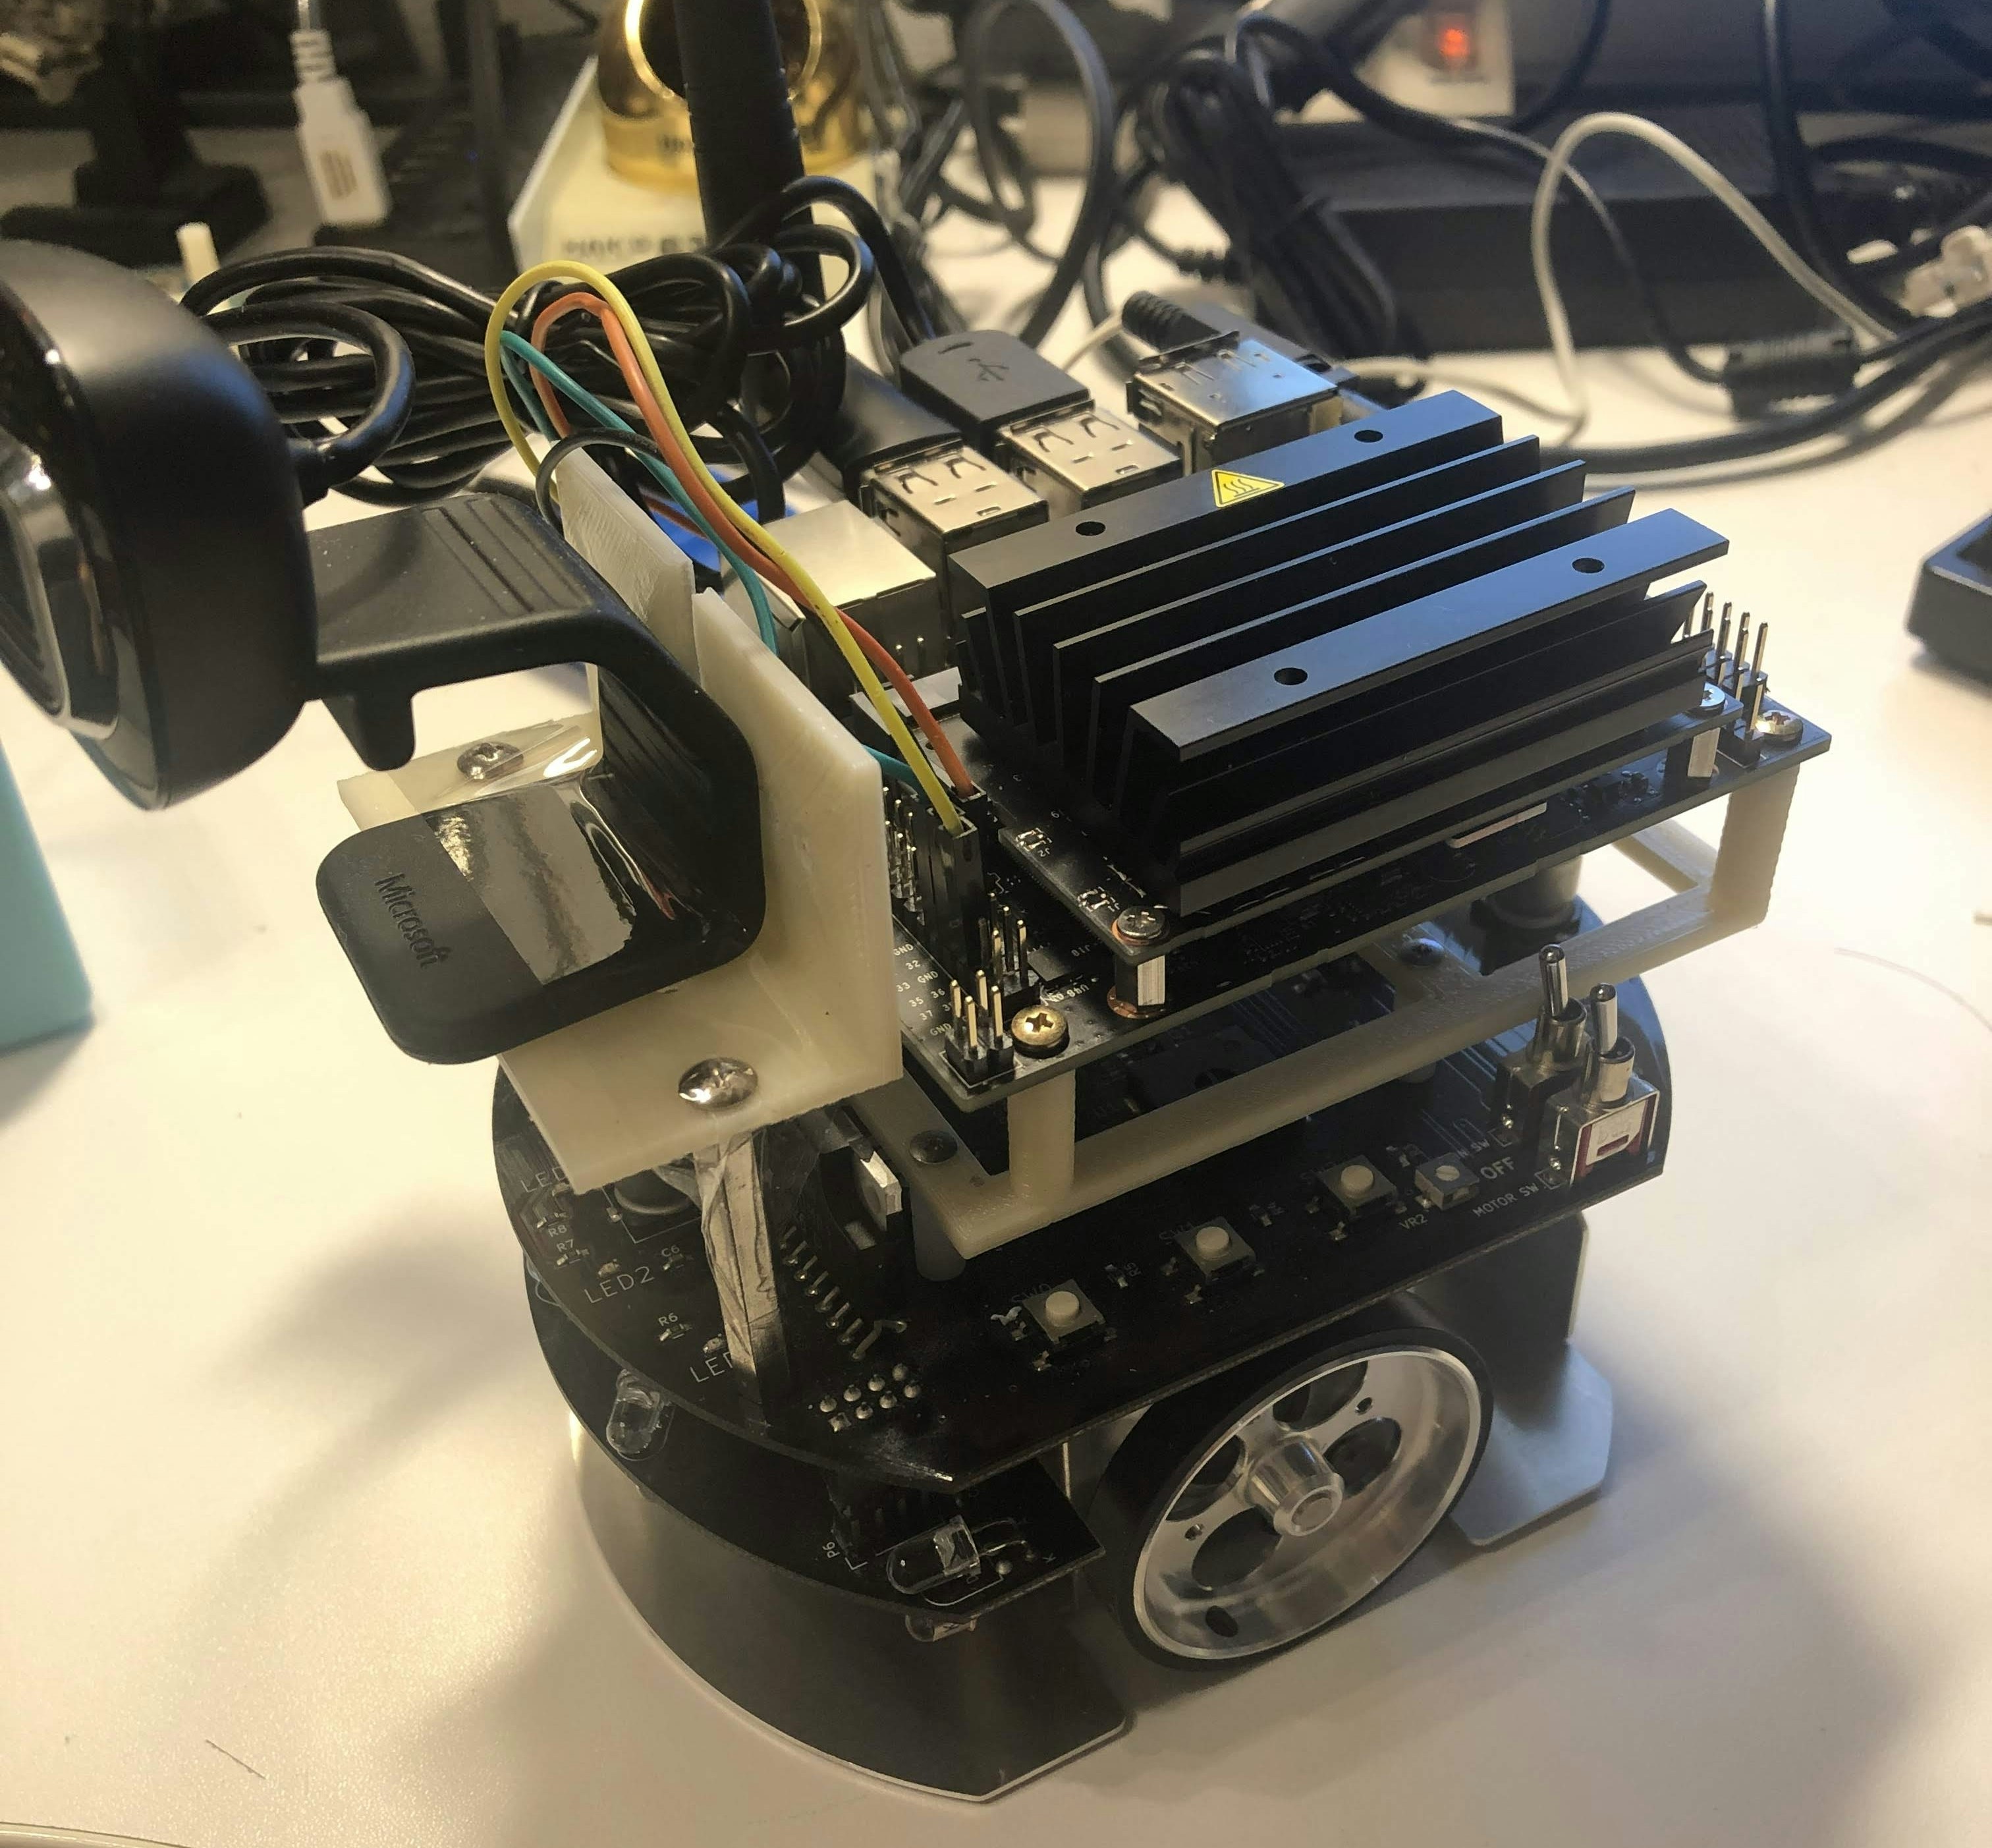
JetsonNanoでラズパイマウス [http://products.rt-net.jp/micromouse/raspberry-pi-mouse] のとりあえずモーターを動かすROS node件driver を作ったので公開と、解説記事になります。
[https://github.com/imoted/raspimouse_with_Jetson_nano_ROS]This package is derived from "pimouse_ros_2" package[https://github.com/ryuichiueda/raspimouse_ros_2]
buzzar, light sensor, switch, LEDは、また今度
必要な物
- Ubuntu
- Ubuntu 18.04
ROS Melodic
-
電気接続
- raspimouse P2 pin31 - Jetson nano J41 pin35
- raspimouse P2 pin33 - Jetson nano J41 pin33
- raspimouse P2 pin32 - Jetson nano J41 pin32
- raspimouse P2 pin36 - Jetson nano J41 pin31
- raspimouse P2 pin29 - raspimouse 3V
以下注意
JetsonNanoのIOボードのIOピンは、TXB0108 という双方向ドライバで3.3Vに昇圧してあるが、70pF以上の容量をドライブできない。
Raspberry pi MouseのモーターのEnableピンのFET irlml6402は
633pFの入力容量があり、そのまま直接ドライブすると、発振する。
そのため、Enableピンには3.3V入力させて固定する。
http://www.tij.co.jp/jp/lit/ds/symlink/txb0108.pdf
http://akizukidenshi.com/download/ds/ir/irlml6402.pdf
それぞれのヘッダピンアサイン
https://github.com/rt-net/RaspberryPiMouse_Hardware/blob/master/supplement/RaspberryPiMouseV2_circuit.pdf
https://www.jetsonhacks.com/nvidia-jetson-nano-j41-header-pinout/
-
5V電源を、つなぐこと。
- raspimouseのP2からJetson nano J25につなぐ。J48をジャンパするのを忘れないこと
-
Mechanical setup
- git にjetson3.stlというraspiの固定スペーサーにそのままJetson Nanoを載せられる3Dプリント部品を一緒にpush。
ROS nodeから直接Jetson nanoのIOのメモリ番地を叩くので、raspimouse driverは必要なし。
Installation
1. Setup the Jetson nano
- PWM pin assign on Jetson nano
- Connect PWM pwm0 function to pin32 and pwm2 function to pin33 by following the instruction
2. Install the ROS1 Melodic
Please refer to ROS WiKi for installation, or run the following ros setup scripts.
3. clone and build
mkdir -p ~/catkin_ws/src
cd ~/catkin_ws/src
catkin_init_worksapce
Add the follwing line to ~/.bashrc:
source ~/catkin_ws/devel/setup.bash
cd ~/catkin_ws/src
git clone https://github.com/imoted/raspimouse_with_Jetson_nano.git
rosdep install raspimouse_with_Jetson_nano
catkin build
remaining issue
- implement LED, light sensor, buzzar driver
- software and circuit fix to drive the motot enable
- implement the RT-USB-9axisIMU2