はじめに
タイトルの技術でポートフォリオを作成する予定です。メモとして記事を作成しました。
アプリ構成
| バックエンド | Rails |
| フロントエンド | Vue.js |
| webサーバー | Nginx |
| DB | MySQL |
ディレクトリ&ファイルの作成
ディレクトリ構造は以下の通りです。
ルートディレクトリ
├── .env
├── .gitignore # .envを記載
├── backend
│   ├── Dockerfile
│   ├── Gemfile
│   ├── Gemfile.lock
│   └── entrypoint.sh
├── docker-compose.yml
├── frontend
│   └── Dockerfile
└── web
    ├── Dockerfile
    └── nginx.conf
docker-compose
docker-compose.yml
version: '3.8'

services:

  db:
    image: mysql:8.0.33

    command: --default-authentication-plugin=mysql_native_password

    volumes:
      - db_data:/var/lib/mysql

    environment:
      MYSQL_ROOT_PASSWORD: $MYSQL_ROOT_PASSWORD

  backend:

    build:
      context: ./backend

      args:
        WORKDIR: $WORKDIR

    volumes:
      - "./backend:/$WORKDIR"

    environment:
      MYSQL_ROOT_PASSWORD: $MYSQL_ROOT_PASSWORD

    ports:
      - "8000:3000"

    depends_on:
      - db

  web:
    build:

      context: ./web
    volumes:

      - ./web:/app/public

      - ./backend/tmp/sockets:/app/tmp/sockets
    ports:
      - 80:80

    depends_on:
      - backend

  frontend:

    build:
      context: ./frontend

      args:
        WORKDIR: $WORKDIR

    volumes:
      - "./frontend:/$WORKDIR"

    ports:
      - "5173:5173"

    depends_on:
      - backend

volumes:
  db_data:
【Railsの環境構築】
env
環境変数を設定します。
.env
WORKDIR=app
MYSQL_ROOT_PASSWORD=password
Gemfile&Gemfile.lock
使用するRailsのバージョンを記載します。
Gemfile
source 'https://rubygems.org'
gem 'rails', '~> 6.1.7'
Gemfile.lock
# 何も記載しない
Dockerfile(backend)
Dockerfile
FROM ruby:2.7.8-alpine

ARG WORKDIR

ARG RUNTIME_PACKAGES="bash imagemagick nodejs yarn tzdata mysql-dev mysql-client git less"
ARG DEV_PACKAGES="build-base curl-dev"

ENV HOME=/${WORKDIR}

WORKDIR ${HOME}


COPY Gemfile* ./

RUN apk update && \
    apk upgrade && \
    apk add --no-cache ${RUNTIME_PACKAGES} && \
    apk add --virtual build-dependencies --no-cache ${DEV_PACKAGES} && \
    bundle install -j4 && \
    apk del build-dependencies

COPY . ./

COPY entrypoint.sh /usr/bin/
RUN chmod +x /usr/bin/entrypoint.sh
ENTRYPOINT ["entrypoint.sh"]


CMD ["bundle", "exec", "puma", "-C", "config/puma.rb"]
entrypoint.sh
entrypoint.sh
#!/bin/bash
set -e

# Remove a potentially pre-existing server.pid for Rails.
rm -f /app/tmp/pids/server.pid

# Then exec the container's main process (what's set as CMD in the Dockerfile).
exec "$@"
バックエンドのプロジェクトを作成
# docker-composeのwebとfrontendをコメントアウトしてビルドする
docker compose build

# 作成されたbackendのコンテナ上でrails newする
docker-compose run --rm backend rails new . -f -B -d mysql --api --skip-test --skip-turbolinks
database.yml
dbのコンテナに接続できるように編集します。
database.yml
# 〜省略〜

default: &default
  adapter: mysql2
  encoding: utf8mb4
  pool: <%= ENV.fetch("RAILS_MAX_THREADS") { 5 } %>
  username: root
  password: <%= ENV['MYSQL_ROOT_PASSWORD'] %>
  host: db

development:
  <<: *default
  database: app_development

# 〜省略〜
DB作成
# database.ymlの編集を反映させる
docker compose build

# DBを作成
docker-compose run --rm backend rails db:create
【RailsとNginxの設定】
Nginxでリバースプロキシを立てる設定をしていきます。
pumaの設定ファイルにソケットを作成するコードを追加します。
/config/puma.rb
# ~省略~

bind "unix:///app/tmp/sockets/puma.sock"
nginx.conf
nginx.conf
upstream app {
  server unix:///app/tmp/sockets/puma.sock;
}

server {
  listen 80;
  server_name localhost;

  root /app/public;

  try_files  $uri/index.html $uri @app;

  location @app {
    proxy_set_header X-Real-IP $remote_addr;
    proxy_set_header X-Forwarded-For $proxy_add_x_forwarded_for;
    proxy_set_header Host $http_host;
    proxy_pass http://app;
  }
}
Dockerfile(web)
Dockerfile
FROM nginx:1.24.0-alpine

# デフォルトの設定ファイルを削除
RUN rm -f /etc/nginx/conf.d/*

# 独自の設定ファイルを配置
COPY nginx.conf /etc/nginx/conf.d/custom.conf
# frontendをコマンドアウトしてビルド
docker compose build
動作確認
docker compose up
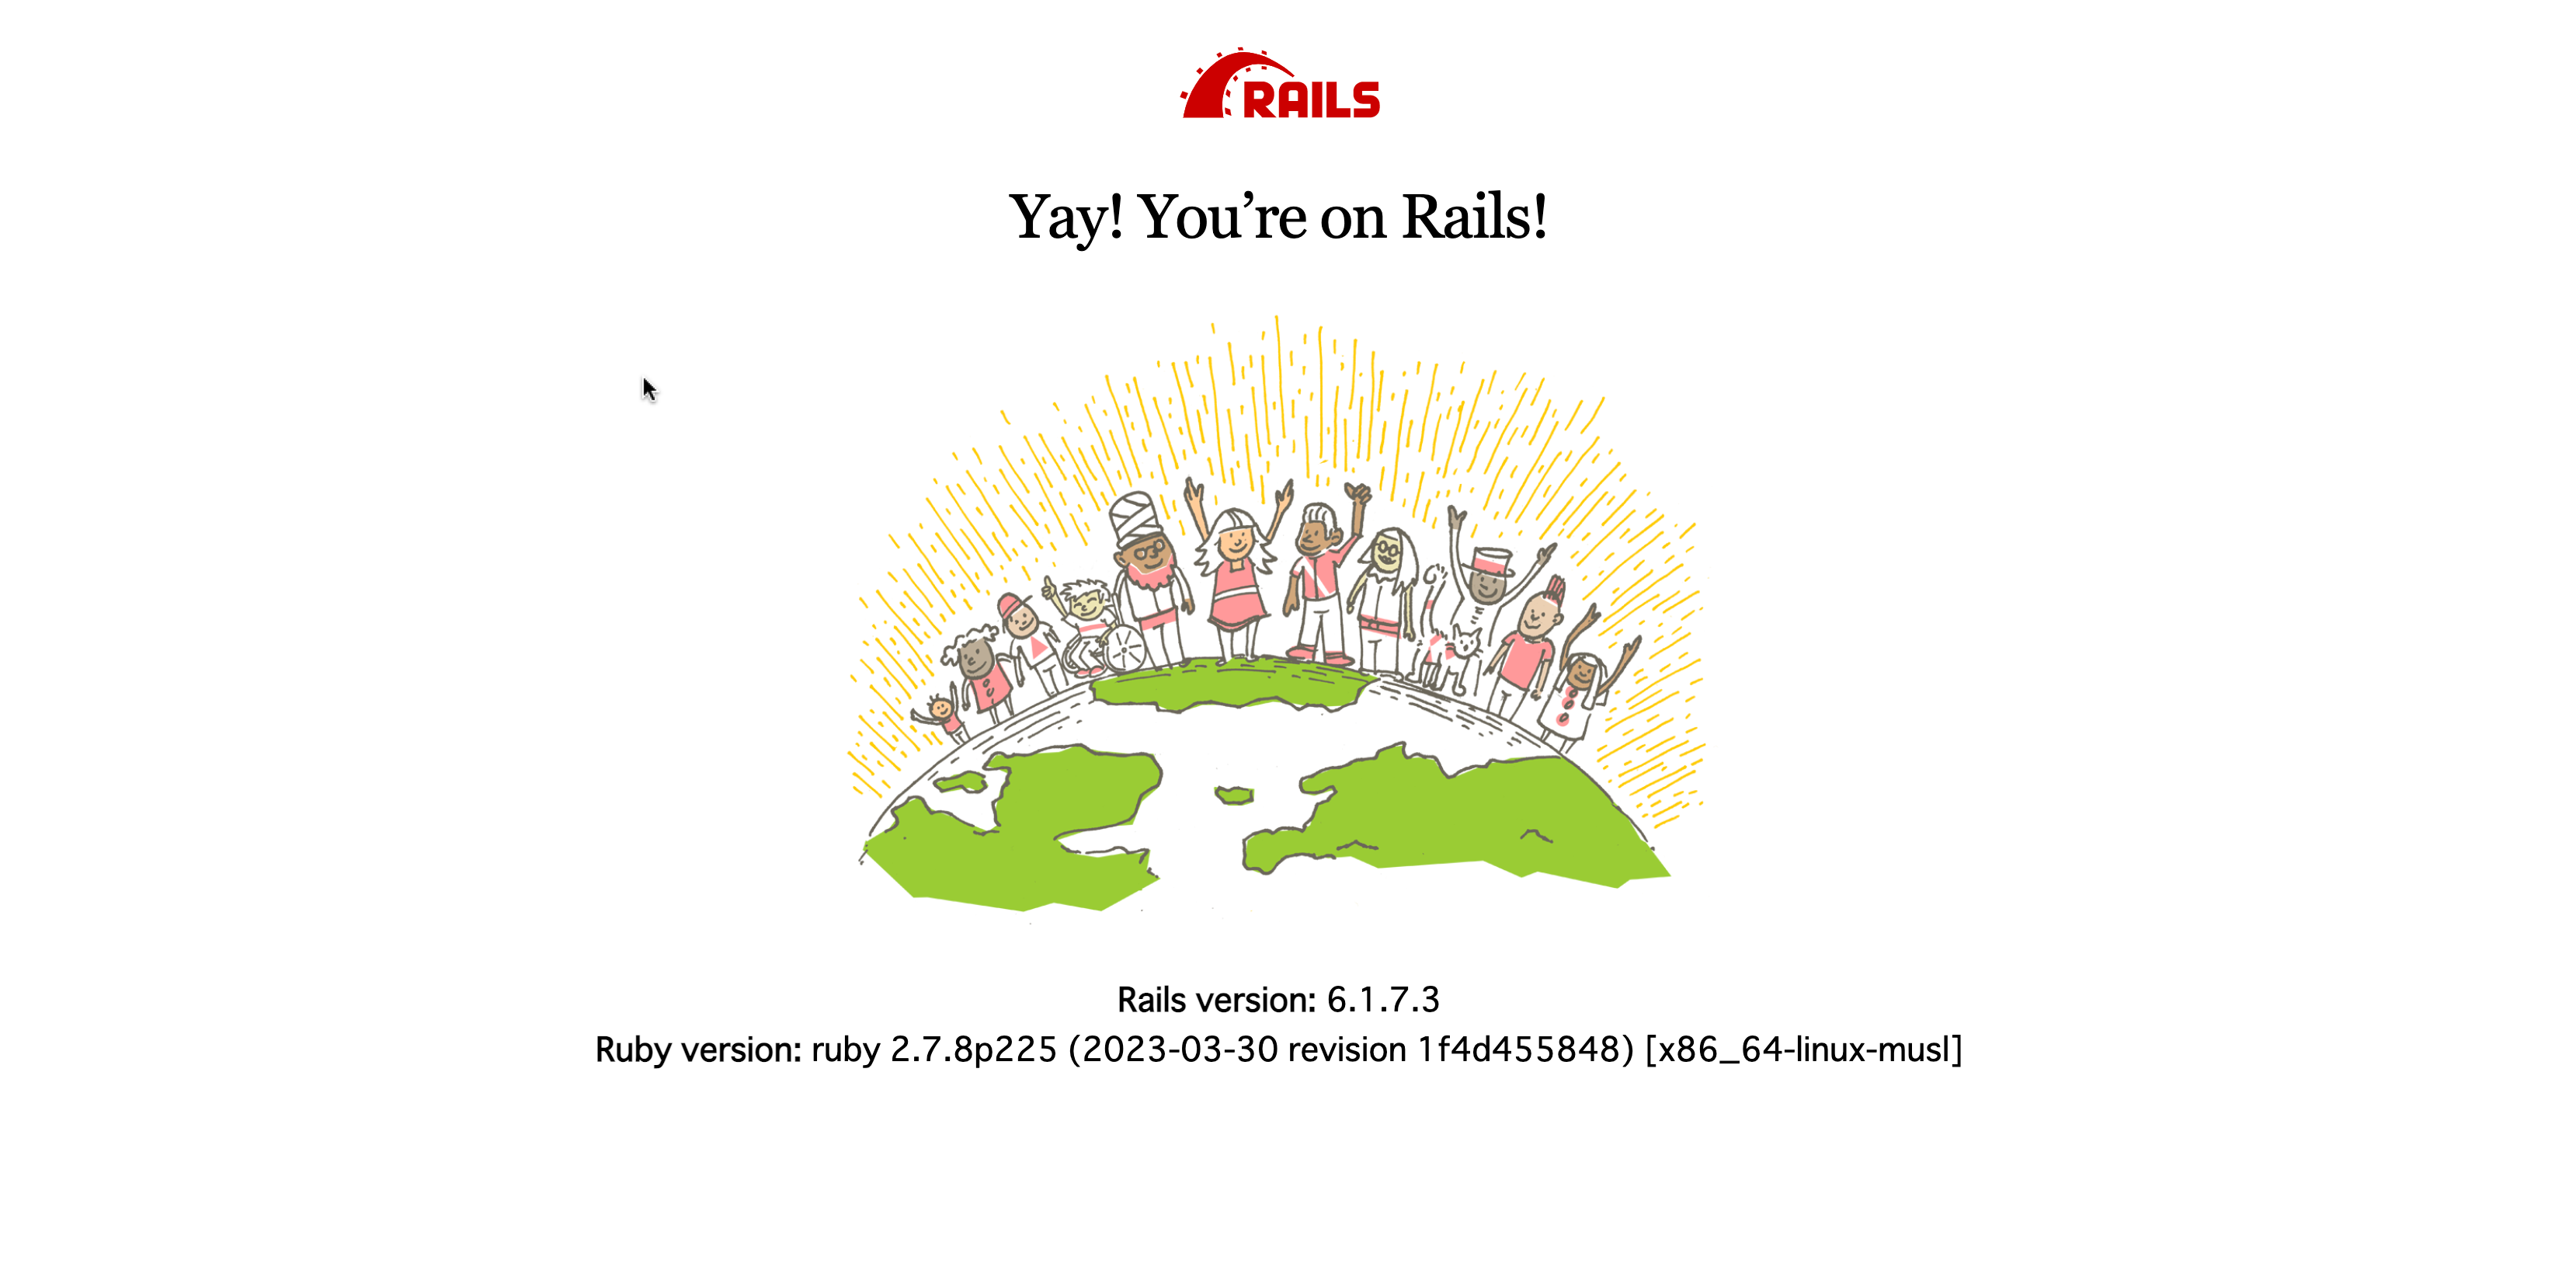
http://localhostにアクセスします。起動画面が出力されればOKです。
【Vueの環境構築】
Dockerfile(Vue)
Dockerfile
FROM node:18.16.0-alpine

ARG WORKDIR

ENV HOME=/${WORKDIR}

WORKDIR ${HOME}

RUN apk update && npm install -g npm

CMD ["npm", "run", "dev"]
フロントエンドのプロジェクト作成
# frontendのコメントアウトを外してビルド
docker compose build

# frontendのコンテナに接続
docker-compose run frontend ash

# コンテナ上でプロジェクト作成
npm init vite@latest

# 生成されたファイルをapp配下へ移動
/app  ls -a
.            ..            .ash_history  .npm          Dockerfile    vite-project
/app  mv vite-project/* /app/
/app  mv vite-project/.gitignore /app/
/app  mv vite-project/.vscode /app/
/app  rmdir vite-project
/app  ls
Dockerfile      README.md       index.html      package.json    public          src             vite.config.js
/app
/app  ls -a
.              .ash_history    .npm            Dockerfile      index.html      public          vite.config.js
..             .gitignore      .vscode         README.md       package.json    src

# ライブラリをインストール
npm install
ブラウザからfrontendのコンテナにアクセスできるようにviteの設定ファイルを編集します。
vite.config.js
import { defineConfig } from 'vite'
import vue from '@vitejs/plugin-vue'

// https://vitejs.dev/config/
export default defineConfig({
  plugins: [vue()],
  // 追加
  server:{
    host: true
  }
})
動作確認
# コンテナ起動
docker compose up
http://localhost:5173/にアクセスします。起動画面が出力されればOKです。

あとがき
最低限の環境構築ができました!これからaxiosの設定などの記事を作成していく予定です。
