前回の記事の続きで、.xlsxに変換したExcelファイルを操作してみます。
ライブラリには、Excelizeを使います。
go get github.com/xuri/excelize/v2
Excelの指定セルの値を読み取る
Excelizeの機能を使って、最初のシート
package main

import (
	"fmt"

	"github.com/xuri/excelize/v2"
)

func main() {
    path := "sample.xlsx"

    // Excelで操作
    f, err := excelize.OpenFile(path)
    if err != nil {
        fmt.Println("error opening excel file: %w", err)
    }
    defer f.Close()

    // シート名をインデックスを指定して取得
    sheetName := f.GetSheetName(0)

    // 指定したシートの指定したセルの値を取得
    value, err := f.GetCellValue(sheetName, "A1")
    if err != nil {
        fmt.Println(fmt.Errorf("error getting cell value: %w", err))
    }

    fmt.Println(value)
}
R1C1形式の変換
Excelizeでセルの値を取りに行く場合、"A1"などのstringで指定します。ExcelのR1C1形式で指定したい場合、以下のように変換する必要があります。
func main() {
// 例として、(1, 1)をA1形式に変換
cellRef := CoordsToCellRef(1, 1)
fmt.Println(cellRef) // 出力: A1
}
// rowIndexとcolIndexからA1形式のセルアドレスに変換する関数
func CoordsToCellRef(colIndex, rowIndex int) string {
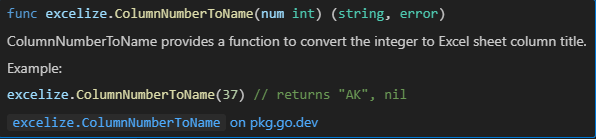
col, _ := excelize.ColumnNumberToName(colIndex)
return fmt.Sprintf("%s%d", col, rowIndex)
}
列番号をアルファベットに変換するColumnNumberToName関数が利用できます。