Electonは、JavaSriptとHTML、CSSを知っていればアプリを作ることができるフレームワーク。
公式のドキュメントが日本語対応しているところもうれしい。
https://www.electronjs.org/
ビルド時のコマンドにオプションを指定すると、winodwsやMac、Linux用のアプリも作れる。
1. インストール
electronは、devDependenciesにインストール。
npm init -y
npm i -D electron
2. index.htmlを用意
ルートディレクトにindex.htmlを作成。
アプリを実行したときのトップページになる。
index.html
<!DOCTYPE html>
<html>
  <head>
    <meta charset="UTF-8" />
    <meta
      http-equiv="Content-Security-Policy"
      content="default-src 'self'; script-src 'self'"
    />
    <meta
      http-equiv="X-Content-Security-Policy"
      content="default-src 'self'; script-src 'self'"
    />
    <title>Hello from Electron renderer!</title>
  </head>
  <body>
    <h1>Hello from Electron renderer!</h1>
    <p>👋</p>
    <p id="info"></p>
  </body>
  <script src="./renderer.js"></script>
</html>
3. main.jsを用意
Electronのモジュールを扱うためのjsファイル。
Common.js形式に対応している。
main.js
const { app, BrowserWindow } = require('electron');

const createWindow = () => {
  const win = new BrowserWindow({
    width: 800,
    height: 600,
  });

  win.loadFile('index.html');
};

app.whenReady().then(() => {
  createWindow();

  app.on('activate', () => {
    if (BrowserWindow.getAllWindows().length === 0) {
      createWindow();
    }
  });
});

app.on('window-all-closed', () => {
  if (process.platform !== 'darwin') {
    app.quit();
  }
});
package.jsonには、srciptを記入しておく。
package.json
{
  "name": "electron_quick",
  "description": "Hello World",
  "version": "1.0.0",
  "main": "main.js",
  "scripts": {
    "start": "electron ."
  },
  "devDependencies": {
    "electron": "^20.1.0"
  }
}
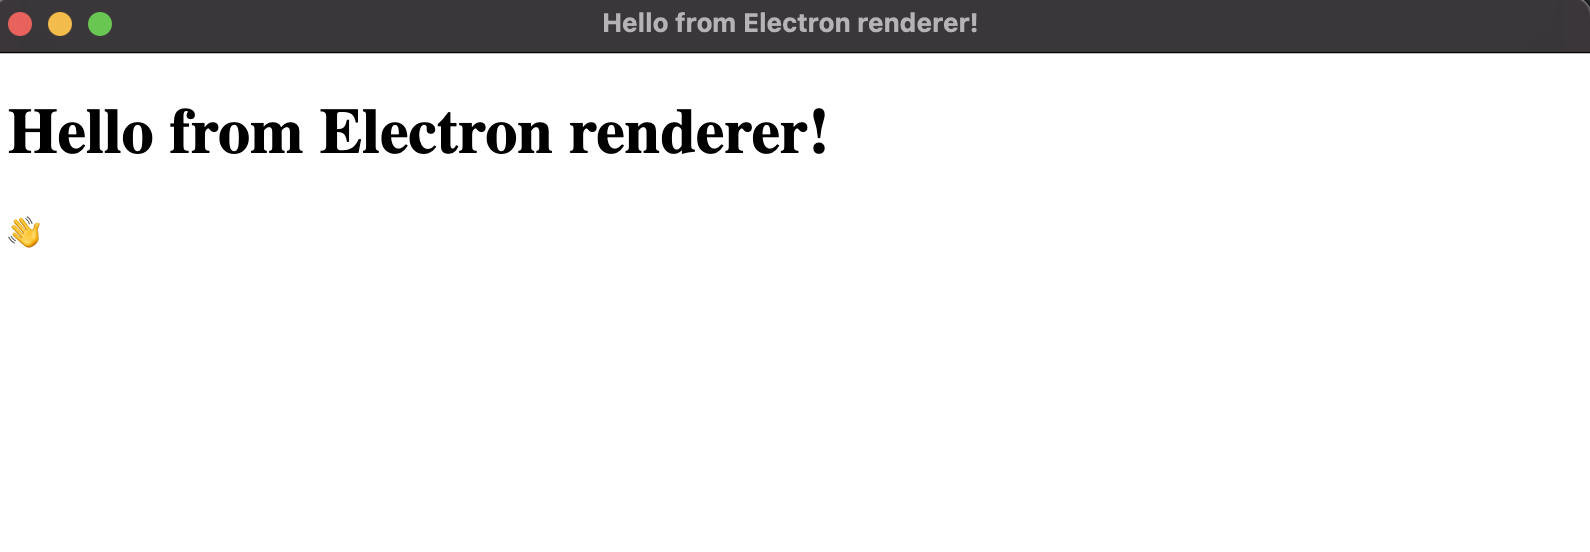
ここまで用意できたらnpm startで実行。
アプリを起動できるようになる。
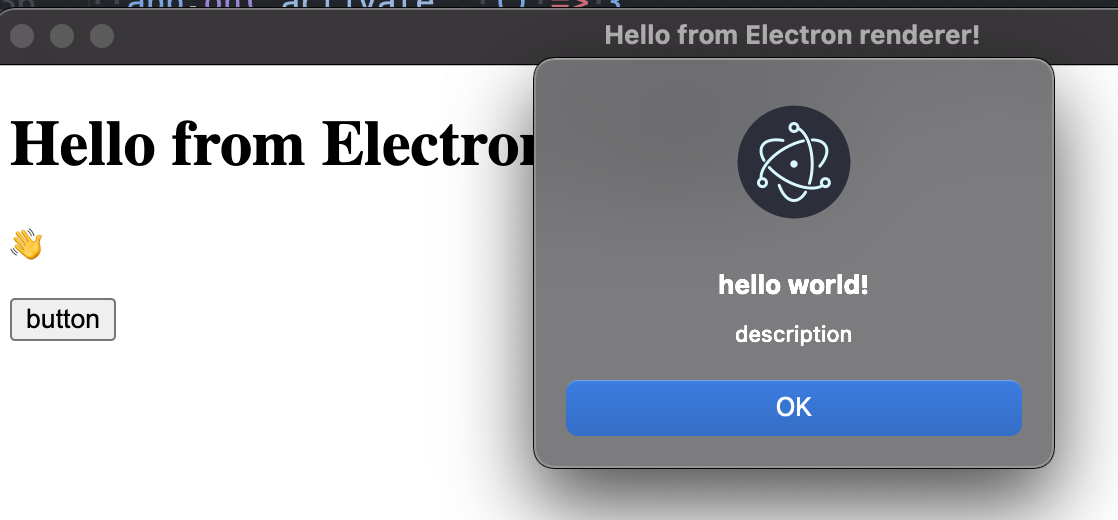
4. ボタンをつけてみる
適当なイベントを持ったボタンをつけた場合のサンプル。
index.htmlに読み込んだrenderer.jsからmain.jsのプロセスを呼ぶ。
ボタンを用意。
index.html
<button id="btnTest">button</button>
グローバル変数にメソッドを定義。
preload.js
const { contextBridge, ipcRenderer } = require('electron');

contextBridge.exposeInMainWorld('apis', {
    runClickEvent: async () => ipcRenderer.invoke('click-event'),
});
イベントをセット。
renderer.js
const btnTest = document.getElementById('btnTest');
btnTest.addEventListener('click', async () => {
    await window.apis.runClickEvent();
});
main.jsでプロセスをリッスンする。
main.js
const { app, BrowserWindow, ipcMain, dialog } = require('electron')
const path = require('path')

const createWindow = () => {
  const win = new BrowserWindow({
    width: 800,
    height: 600,
    webPreferences: {
        preload: path.join(__dirname, 'preload.js'),
    },
  });

  // IPC handler
  ipcMain.handle('click-event', async (_e, _arg) => {
    const options = {
        type: 'info',
        title: 'quick start',
        message: 'hello world!',
        detail: 'description'
    };
    dialog.showMessageBox(options);
  });

  ipcMain.on('close', () => {
    app.quit();
  });

  win.loadFile('index.html');

  //win.webContents.openDevTools();
};

app.whenReady().then(() => {
  createWindow();

  app.on('activate', () => {
    if (BrowserWindow.getAllWindows().length === 0) {
      createWindow();
    }
  });
});

app.on('window-all-closed', () => {
  if (process.platform !== 'darwin') {
    app.quit();
  }
});
ボタンをクリックで、アラートを鳴らすイベントが簡単にできた。
今回作ったサンプルコードはこちら
https://github.com/pixcelo/electron_quick