PaaS の Cloud Foundry(PCF-DEV) を OSX 上に構築する
1. はじめに
PaaS の1つである Cloud Foundry(PCF-DEV)をオンプレミス(ローカル)のOSX上に構築する方法を記載します。
なお、Cloud Foundryの使い方については本記事では取扱いません。
検証環境等でのデモ、素振り用などの参考にして頂ければと思います。
2. 環境
- OSX Yosemite
- VirtualBox バージョン 5.1.4
以下は今回の記事でインストールするもの
- CF version 6.22.2+a95e24c-2016-10-27
- PCF Dev v0.22.0 PCF1.8.2
3. 前提条件
- OSX にVirtualBox5.x 以上がインストールされている前提です。
- PCF Dev及びVMをダウンロードするためにPivotalのサイトへユーザー登録が事前に必要です。
- PCF Dev用のVMについて メモリ4GBの割当が必要です。
4. 手順
4.1 CF CLI(Cloud Foundry Command Line Interface)のインストール
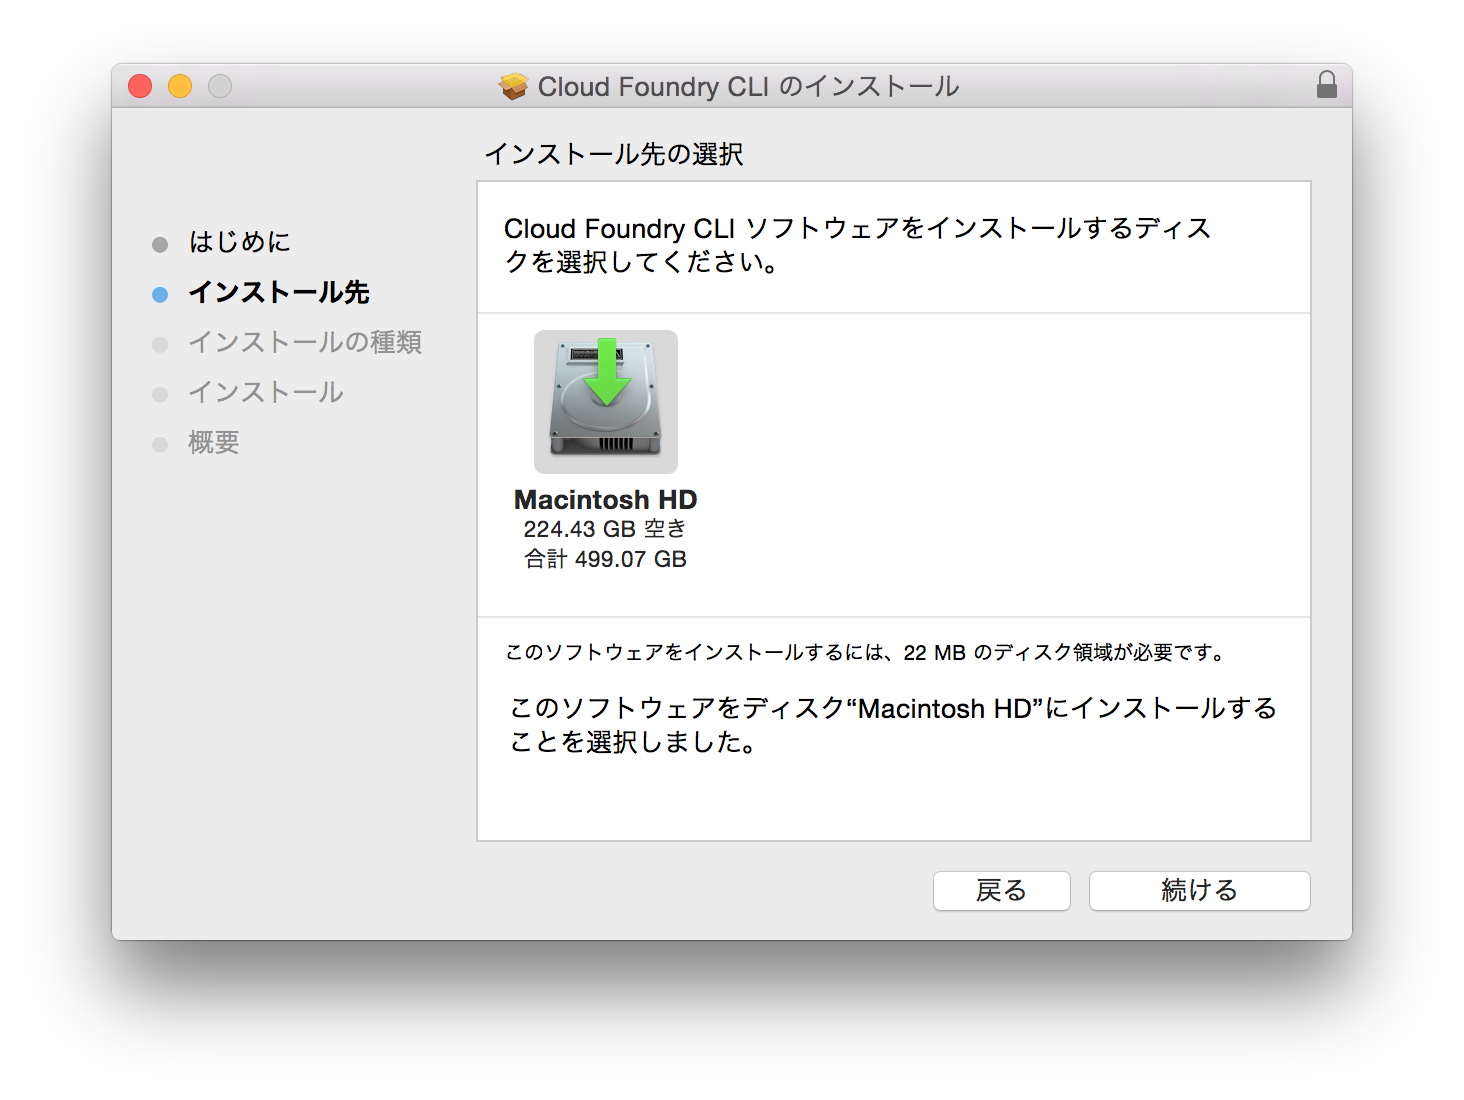
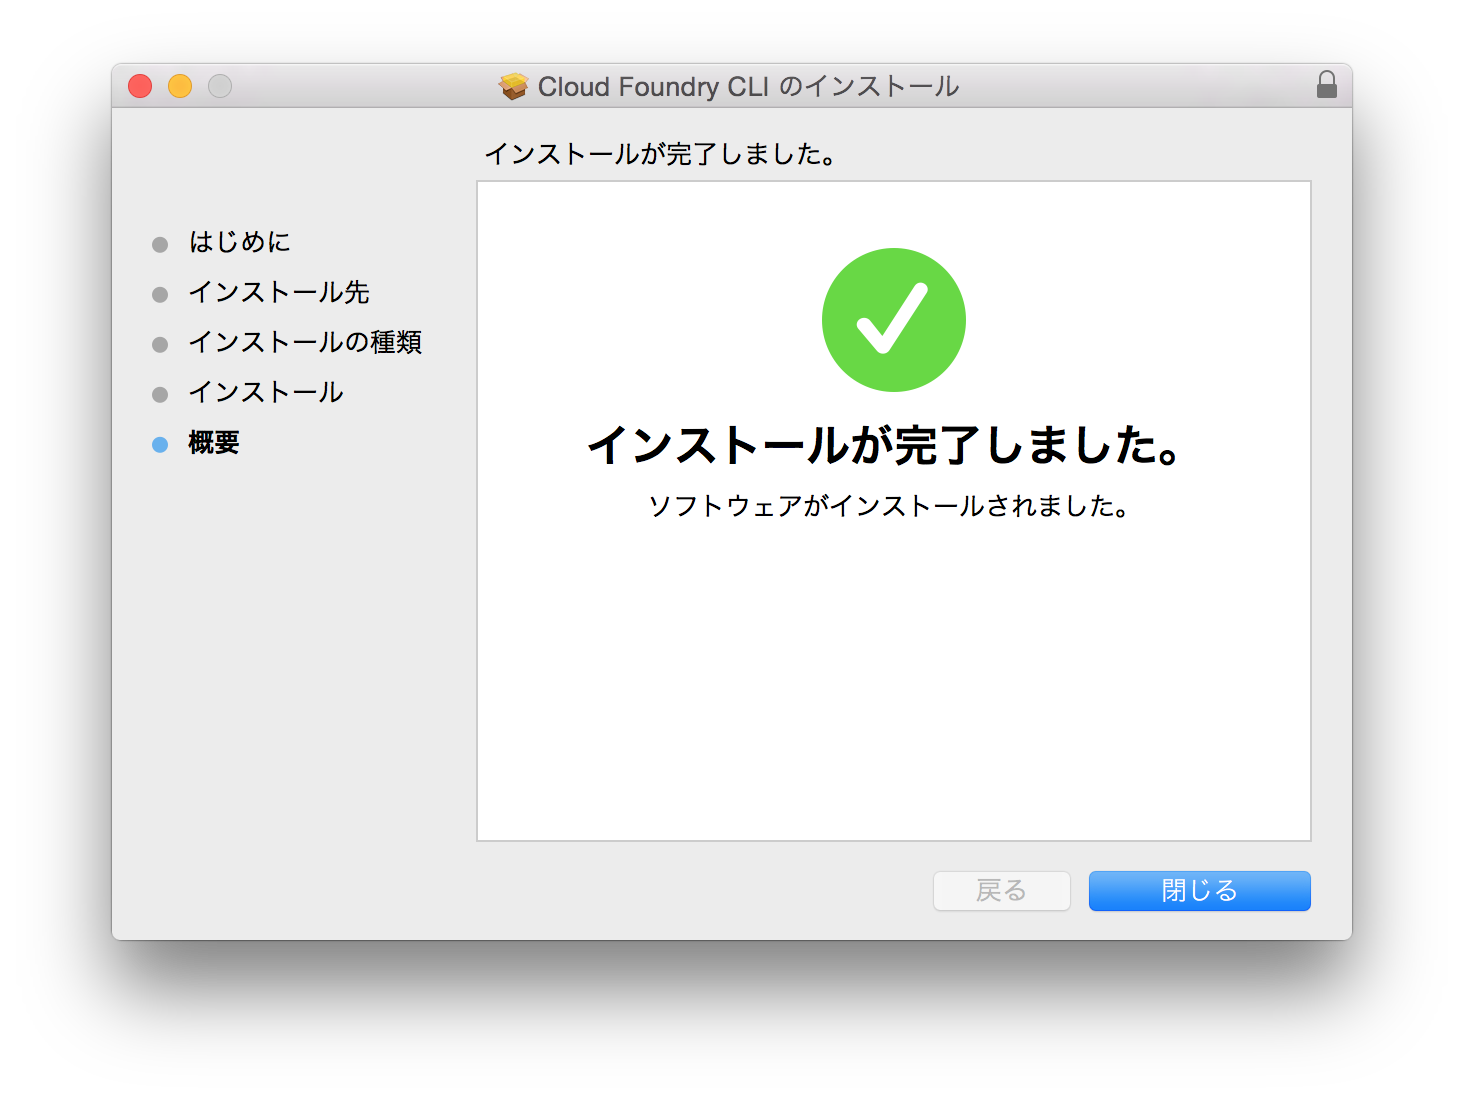
- こちらよりOSX用のpkgファイルをダウンロードします。
- ダウンロードしたpkg(cf-cli-installer_6.22.2_osx.pkg)をダブルクリックしてインストールします。


4.2 PCF Devのインストール
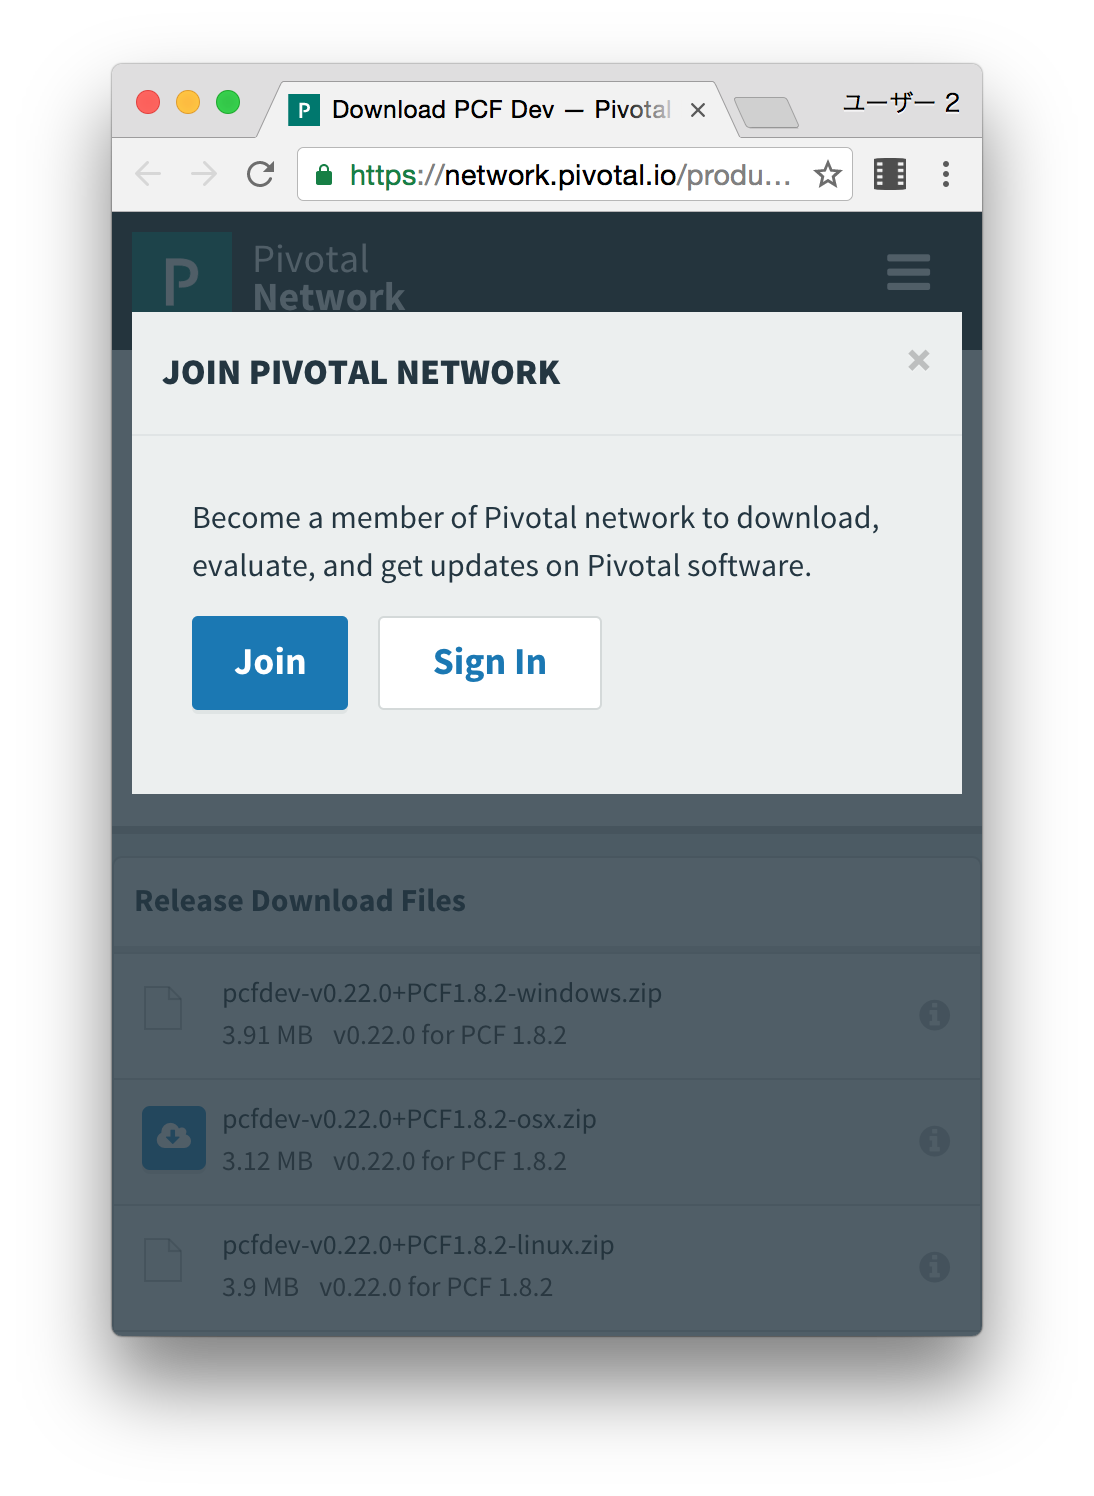
こちらよりOSX用のファイルをダウンロードします。
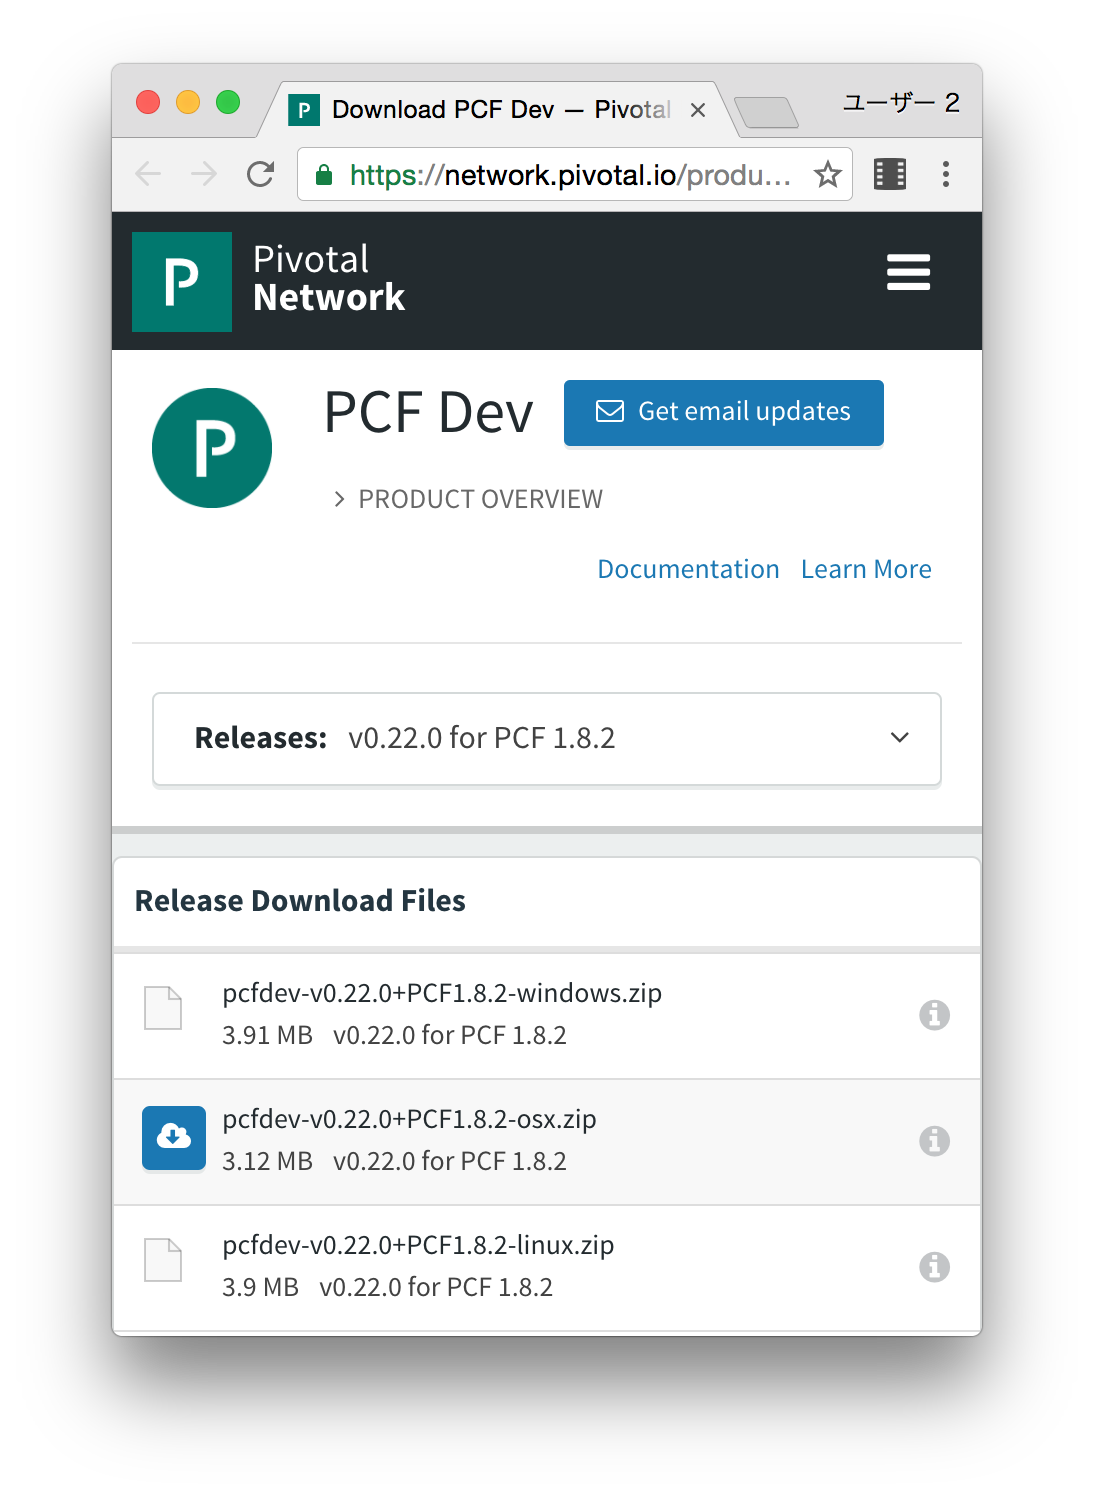
なお、ダウンロード時にPivotalへSign Inまたは新規にJoinする必要があります。
以下 Terminalより
#作業用ディレクトリへコピー
cp -p ~/Downloads/pcfdev-v0.22.0+PCF1.8.2-osx ./

#ファイルを実行してプラグインをインストール
./pcfdev-v0.22.0+PCF1.8.2-osx
Plugin successfully installed. Current version: 0.22.0. For more info run: cf dev help

# cf dev VMのダウンロード及びプロビジョニング
cf dev start
#continue (y/N): > y
#Email> YOUR_PIVOTAL_ACCOUNT_MAIL
#Password> YOUR_PIVOTAL_ACCOUNT_PASSWORD
なお、cf dev startの後にVMをダウンロードする際にも、Pivotalアカウントでのログインが必要です。
また、実行マシンにもよると思いますが、途中のWaiting for services to start...の部分で10〜15分くらい待ちました。
- 以下実行結果(参考)
$cp -p ~/Downloads/pcfdev-v0.22.0+PCF1.8.2-osx ./
$./pcfdev-v0.22.0+PCF1.8.2-osx
Plugin successfully installed. Current version: 0.22.0. For more info run: cf dev help
$cf dev start

Less than 4096 MB of free memory detected, continue (y/N): > y
Please sign in with your Pivotal Network account.
Need an account? Join Pivotal Network: https://network.pivotal.io

Email> YOUR_PIVOTAL_ACCOUNT_MAIL

Password> YOUR_PIVOTAL_ACCOUNT_PASSWORD

Downloading VM...
Progress: |====================>| 100%
VM downloaded.
Allocating 4096 MB out of 8192 MB total system memory (792 MB free).
Importing VM...
Starting VM...
Provisioning VM...
Waiting for services to start...
8 out of 56 running
8 out of 56 running
8 out of 56 running
40 out of 56 running
54 out of 56 running
56 out of 56 running
 _______  _______  _______    ______   _______  __   __
|       ||       ||       |  |      | |       ||  | |  |
|    _  ||       ||    ___|  |  _    ||    ___||  |_|  |
|   |_| ||       ||   |___   | | |   ||   |___ |       |
|    ___||      _||    ___|  | |_|   ||    ___||       |
|   |    |     |_ |   |      |       ||   |___  |     |
|___|    |_______||___|      |______| |_______|  |___|
is now running.
To begin using PCF Dev, please run:
   cf login -a https://api.local.pcfdev.io --skip-ssl-validation
Apps Manager URL: https://local.pcfdev.io
Admin user => Email: admin / Password: admin
Regular user => Email: user / Password: pass
4.3 オフライン用DNSの設定
local.pcfdev.ioドメインに対して今回のVMのアドレス192.168.11.11を割当てます。
以下Terminalより
#dnsmasqのインストール
brew install dnsmasq

#設定ファイルのコピー
cp /usr/local/opt/dnsmasq/dnsmasq.conf.example /usr/local/etc/dnsmasq.conf

#dnsmasqの開始
sudo brew services start dnsmasq

#dnsmasqの設定追加
echo "address=/.local.pcfdev.io/192.168.11.11" >> /usr/local/etc/dnsmasq.conf

#dnsmasqの停止と開始
sudo launchctl stop homebrew.mxcl.dnsmasq
sudo launchctl start homebrew.mxcl.dnsmasq
5. ブラウザよりログインして確認
ブラウザより
https://local.pcfdev.io/を入力してログイン画面を表示します。

adminアカウントでログインします。(Admin user => Email: admin / Password: admin)

6. 参考
主に以下Pivotal公式サイト等のドキュメントを参考にさせて頂きました。
OSXへのインストール方法
http://docs.pivotal.io/pcf-dev/install-osx.html
オフラインでの利用方法
http://docs.pivotal.io/pcf-dev/work-offline.html
その他Github
https://github.com/pivotal-cf/pcfdev
以上